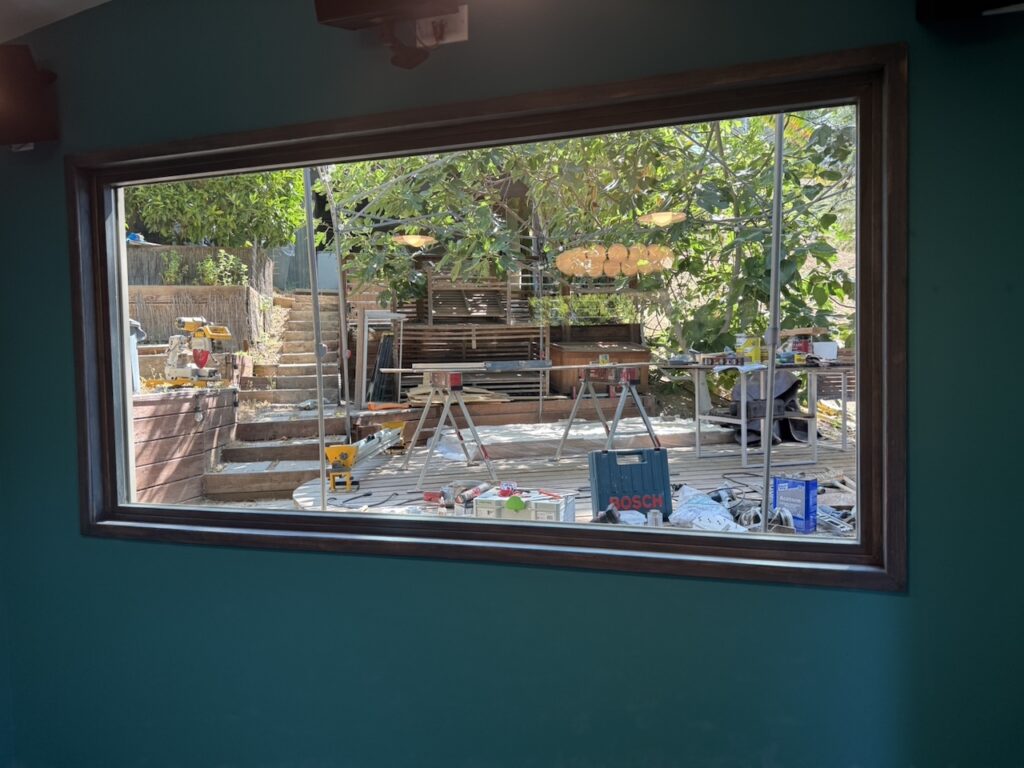
It’s been over three years (scratch that. It was three years when I started this project, now five while nearing completion) since I’ve been working from home. It was a hasty period back in March, 2020 when I lugged all my office equipment to my house. While planning where to setup my office, I decided against the most likely room in the house- the guest room upstairs, where our personal computers reside. The reasoning was that I would bother my wife and child, who would also be stuck inside and doing remote learning and socializing by phone. The guest room has a hole in the wall to allow light into the stairwell to the lower floor, but that means that noise travels unabated from the living area and the thought of having zoom meetings would be too bothersome to my upstairs housemates.
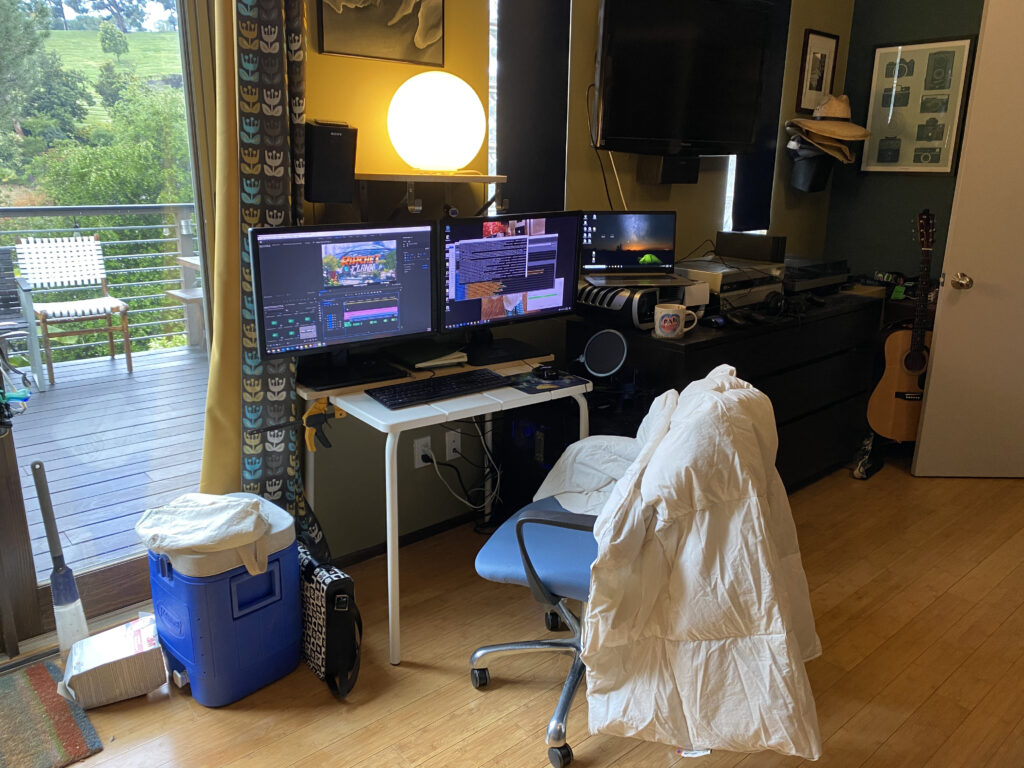
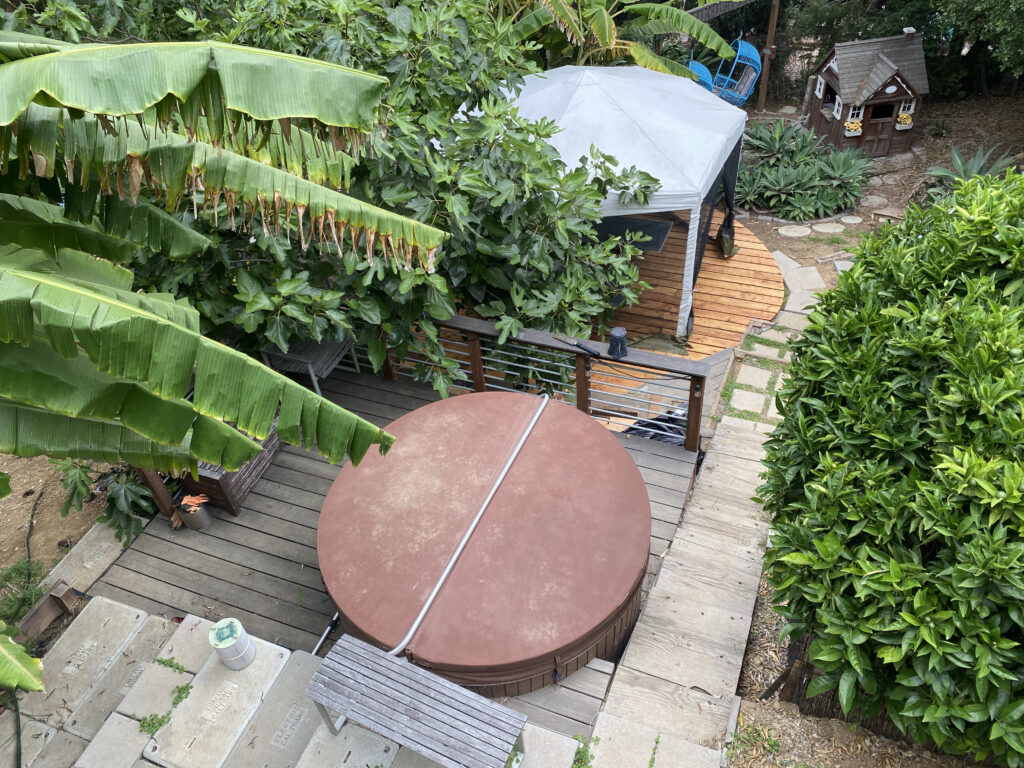
I decided ultimately to setup in our bedroom downstairs. There was a space that would allow a small desk between our dresser and door leading out to the backyard/deck. This area served me well as I always had greenery in my vision thanks to the french door. However, there is a metal downside to having your work setup in your bedroom- there is no division between “work” and “life”. During the lock down, this didn’t seem problematic to me as I buried myself in work anyway- there was nothing else to do! As things returned to ‘normal’, however, not having the commute meant there was no delineation to “turn off work” and not going into an office meant making my lovely home feel like a prison cell as I rarely ever left its walls.
I’m not sure why it took so long to discuss building an office in the backyard. In fact, I’d long had it on a list of future backyard projects, but was thinking about it as a “writing retreat” and had an illogical location in mind. I thought I could squeeze a little structure up in the corner of our yard, but the elevation is too steep, it would mean cutting back too many branches of our yard-defining oak tree, and would require building over a sewer easement that spans the last four feet of our property (which is also pointless as a neighbor down the line built a non-permitted garage over the top of it, making it unusable, decades ago. This is why all water drained in the lower floor of our house needs to be collected in a sump and pumped up to the top floor instead of flowing smoothly down to the downhill side sewer). We also have a giant sliding glass door that has been occupying space in our garage since we built the house, over 15 years ago. As soon as Sylvia suggested we could use it, the office project had more energy.
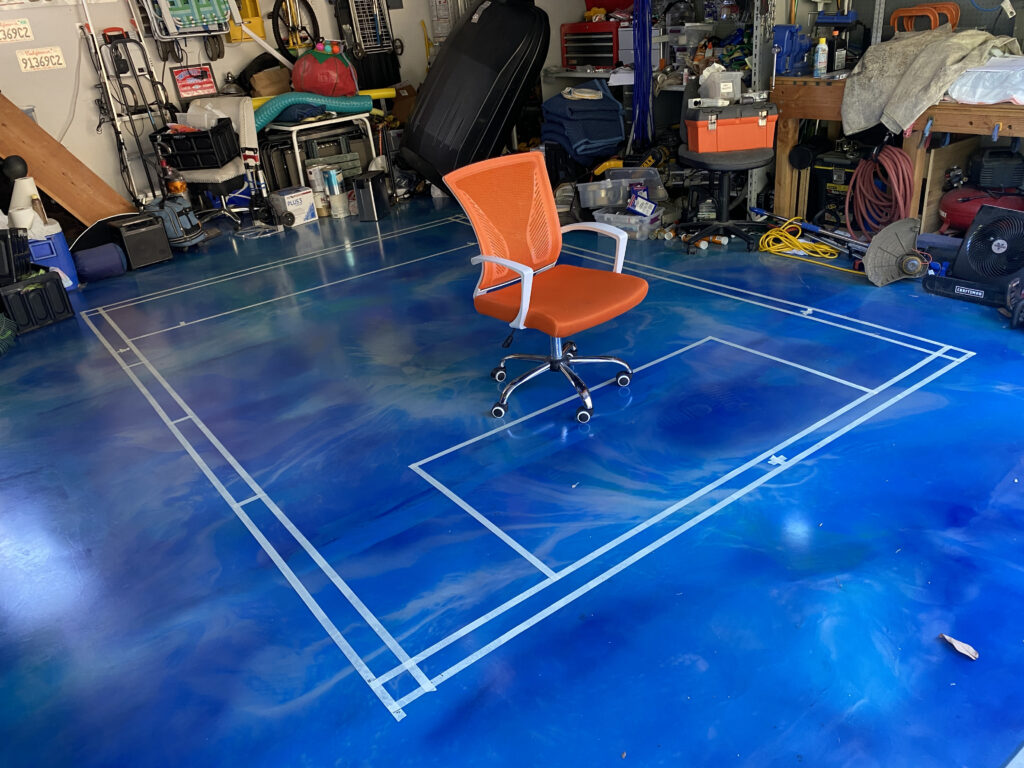
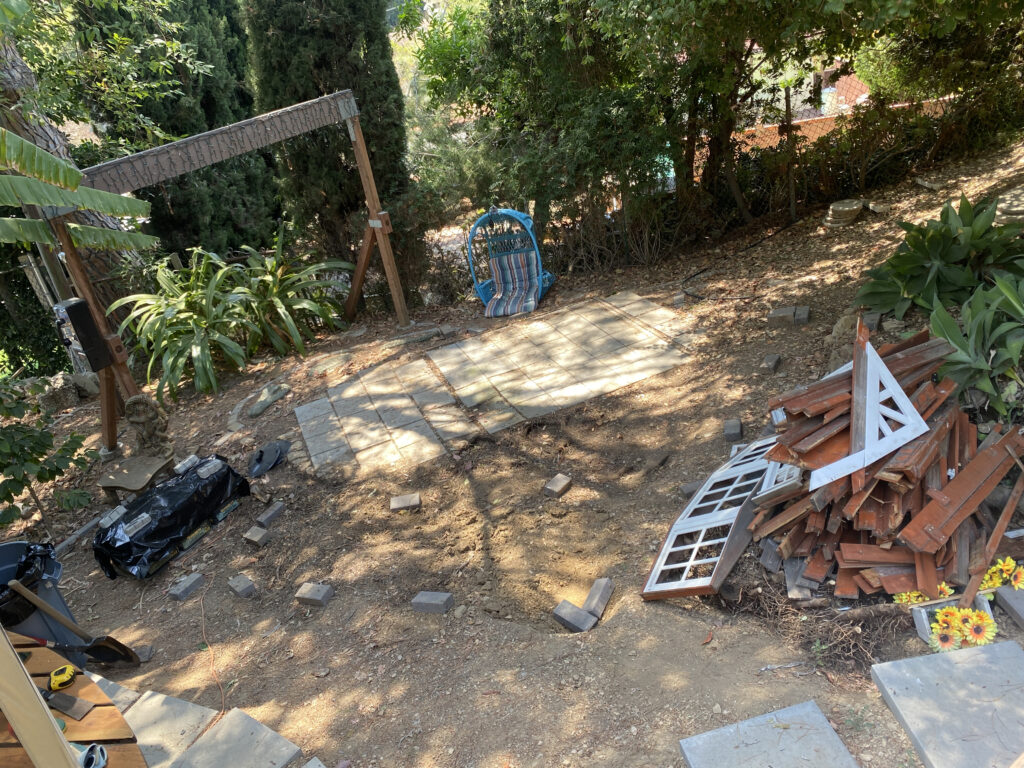
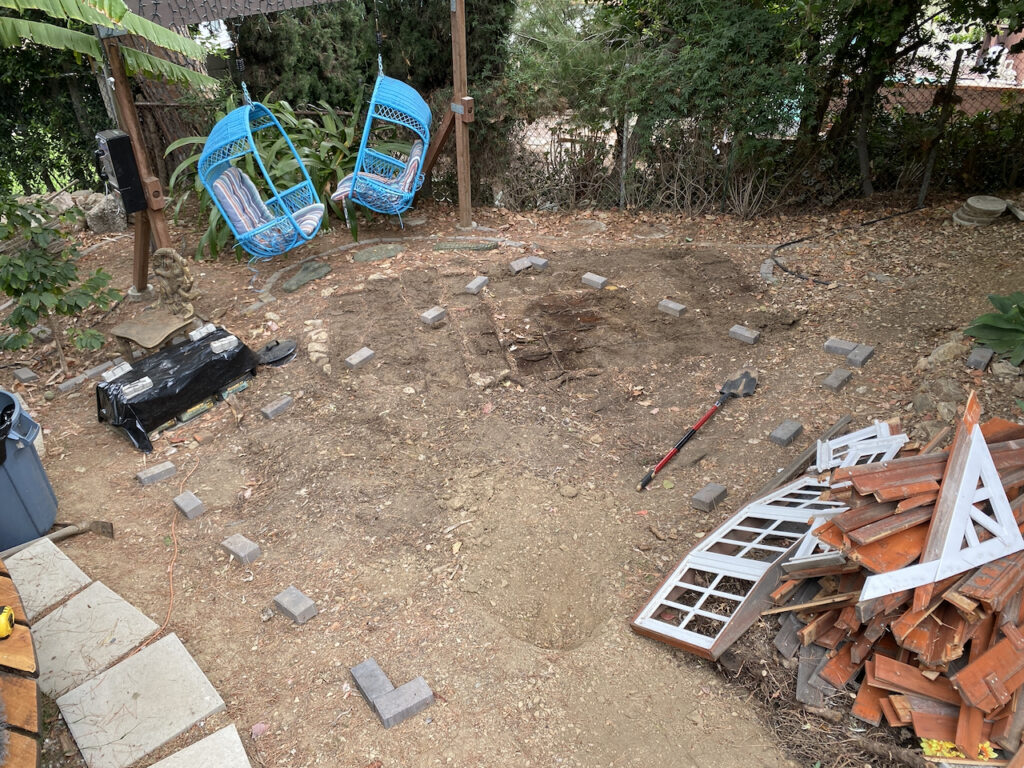
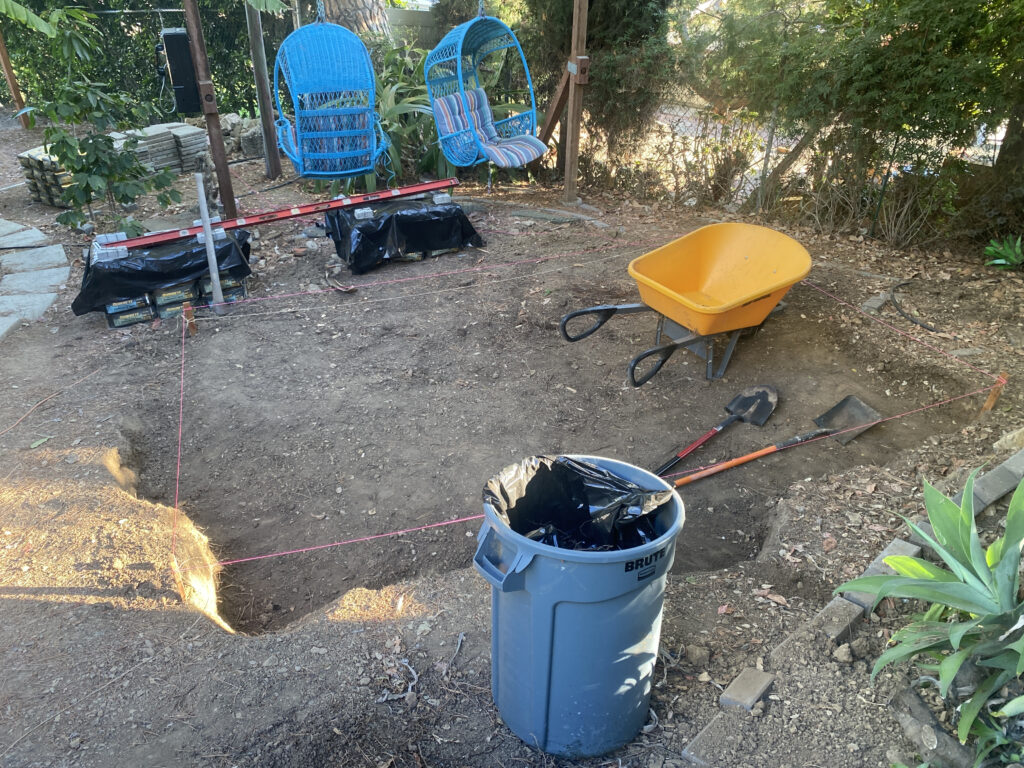
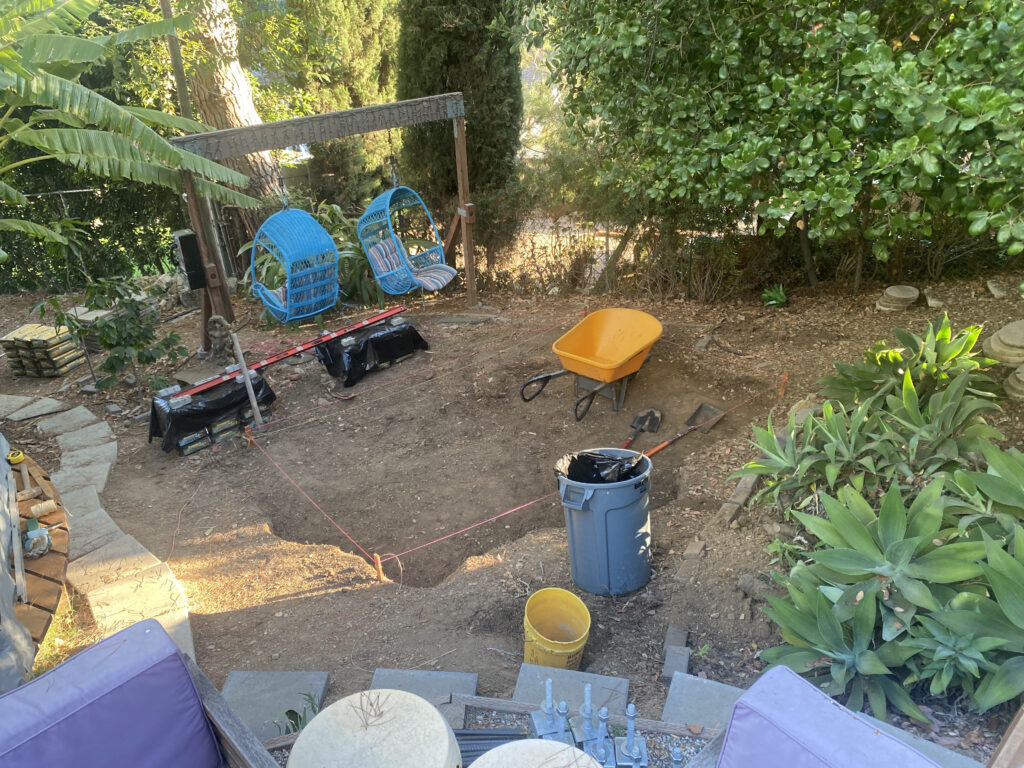
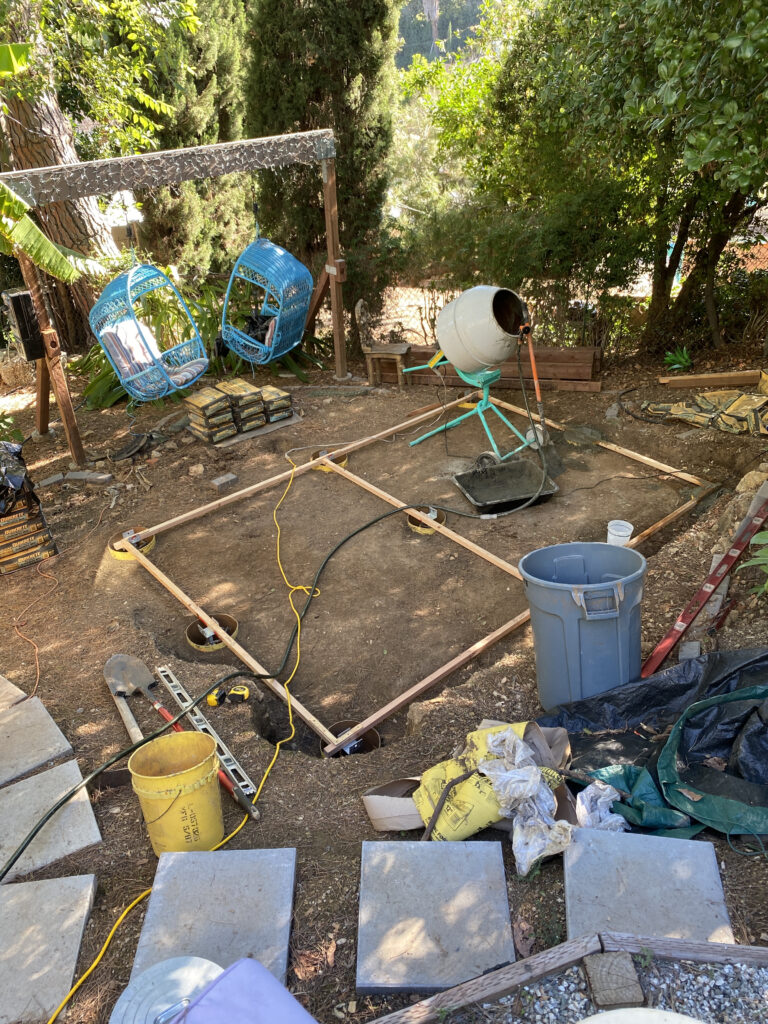
The proposed space was a (relatively) flat space that was occupied by a cute little playhouse we’d built for our kid around a decade ago and which was now mostly unused, except by spiders and their creepy-crawly variously numbered legged lunch. We had build a frame for hanging-chairs a wile back, which we could use to tie-in a foundation and eventually add a little deck in front that would lead to the sliding door entry point. Sylvia and I started doing research and it turns out that in the city of LA, we could build a “shed” that serves as an office without need for a permit, as long as it was under 120 square feet. We both immediately started drawing dimensions on grid paper and it wasn’t long before I created an 1:1 scale footprint with masking tape on the garage floor, Sylvia pulled-out all the agave plants that were in the footprint area, and I pulled out all the other landscaping and broke up the old playhouse into “hauling to the dump” sized pieces.
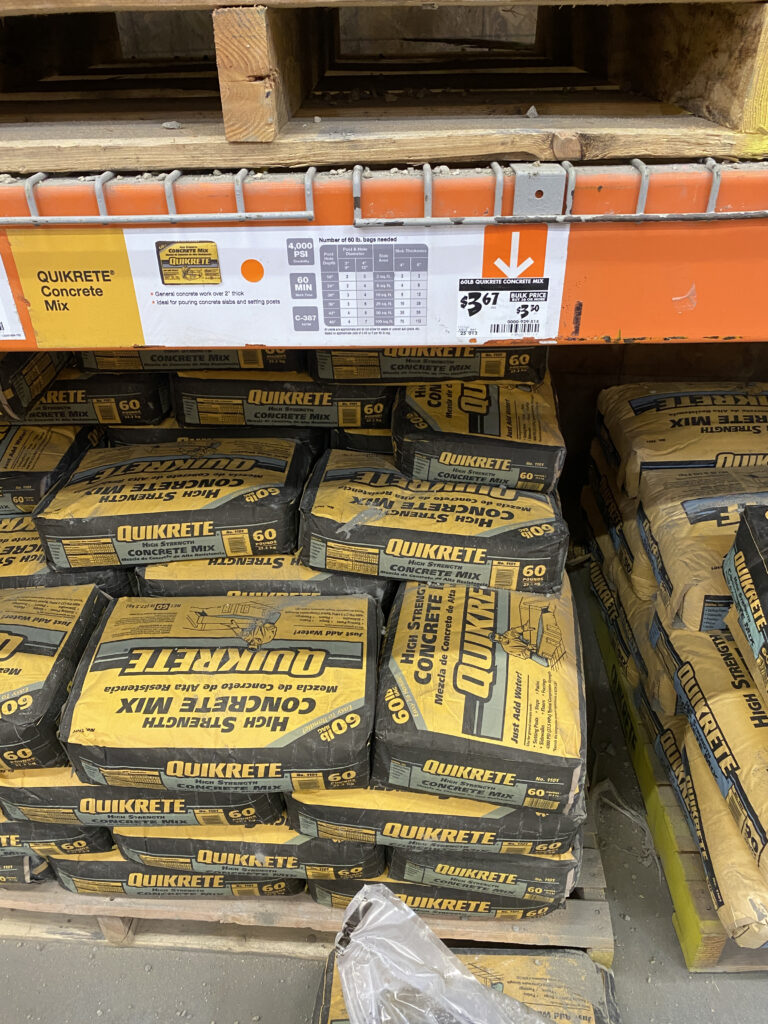
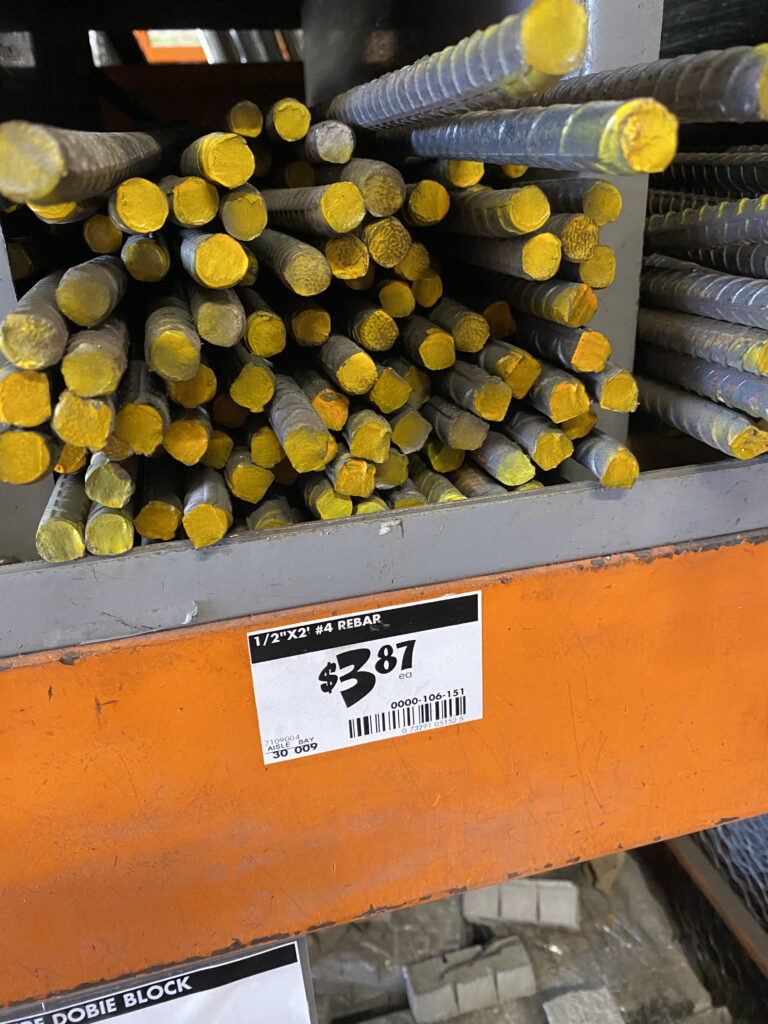
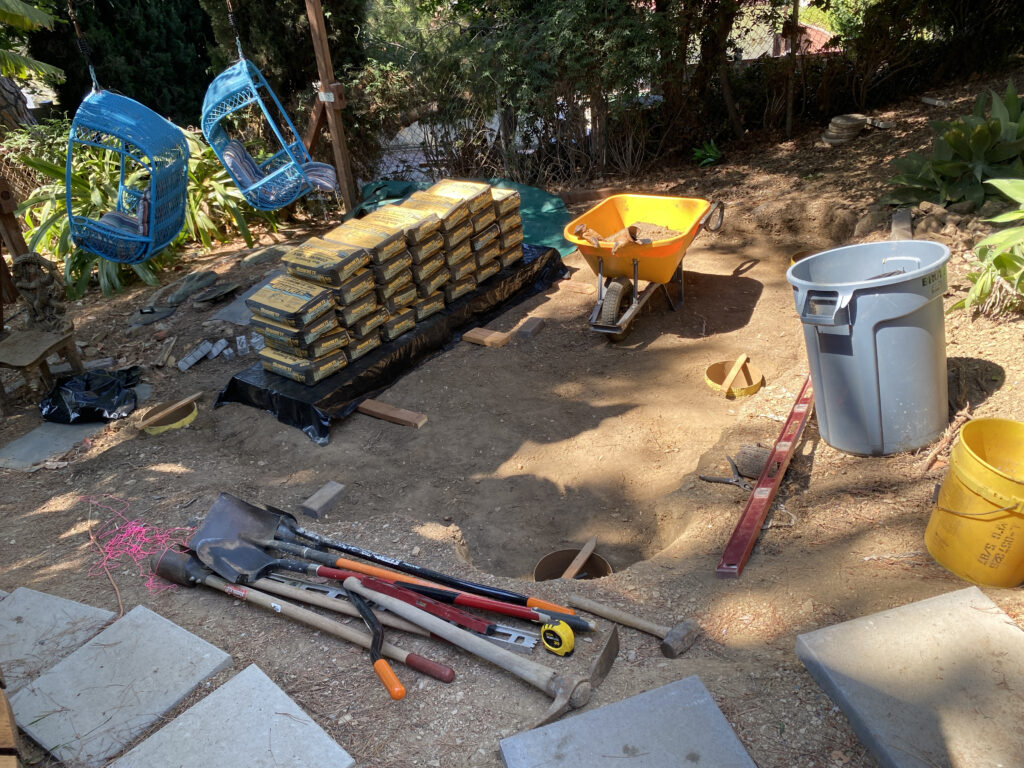
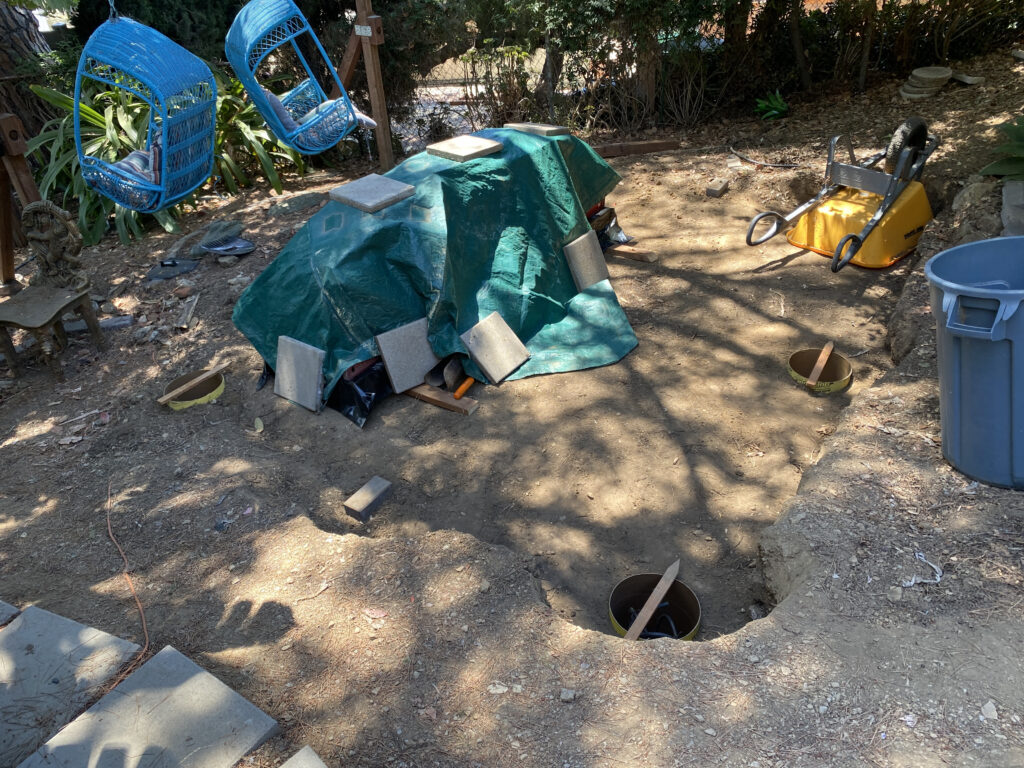
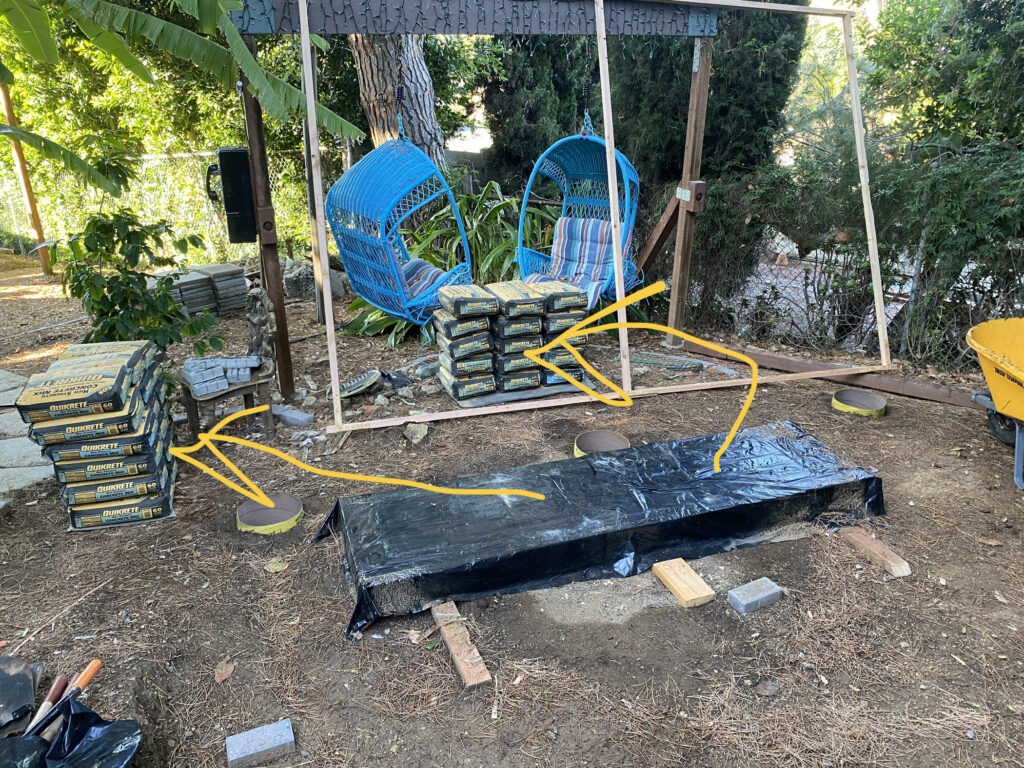
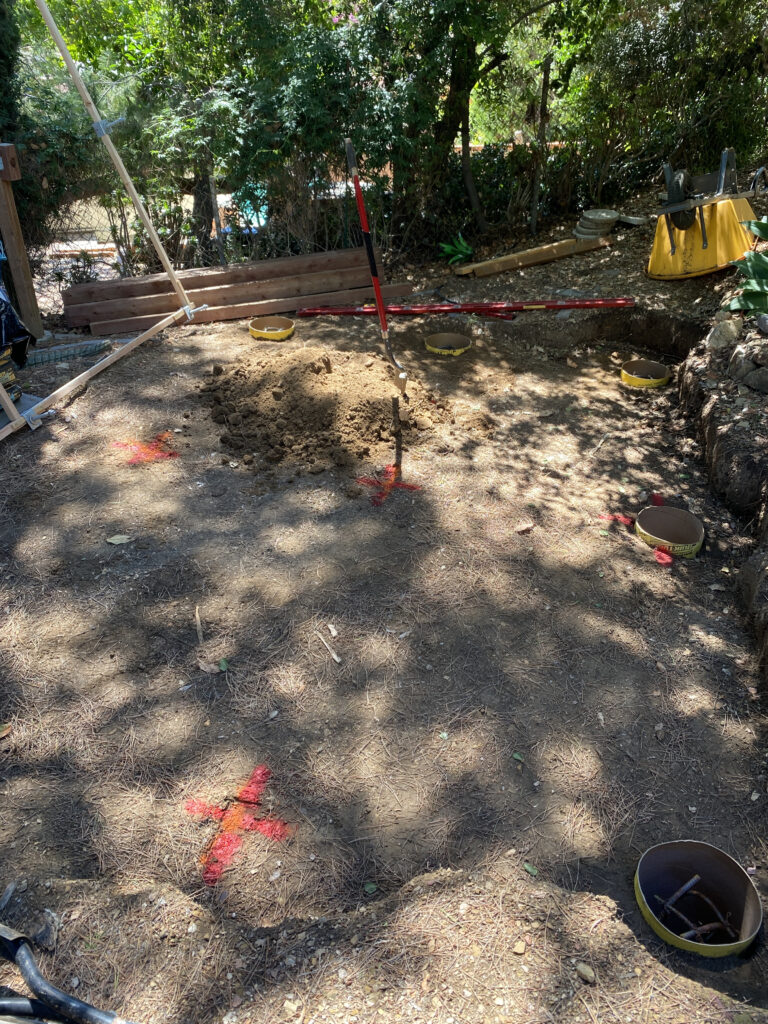
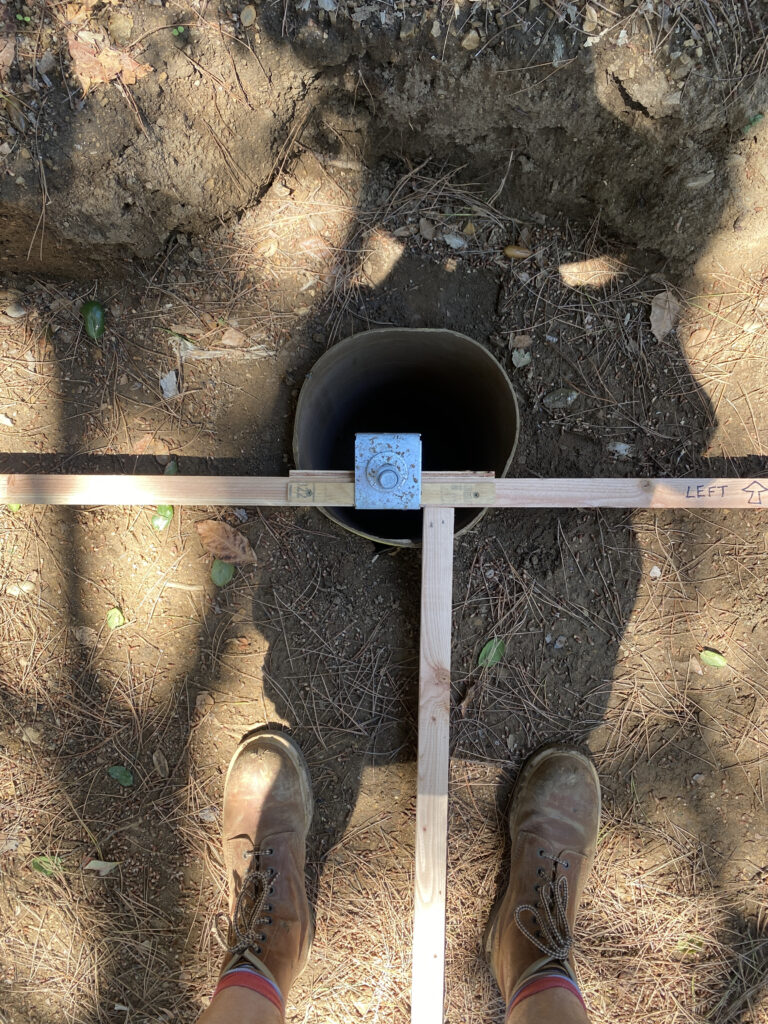
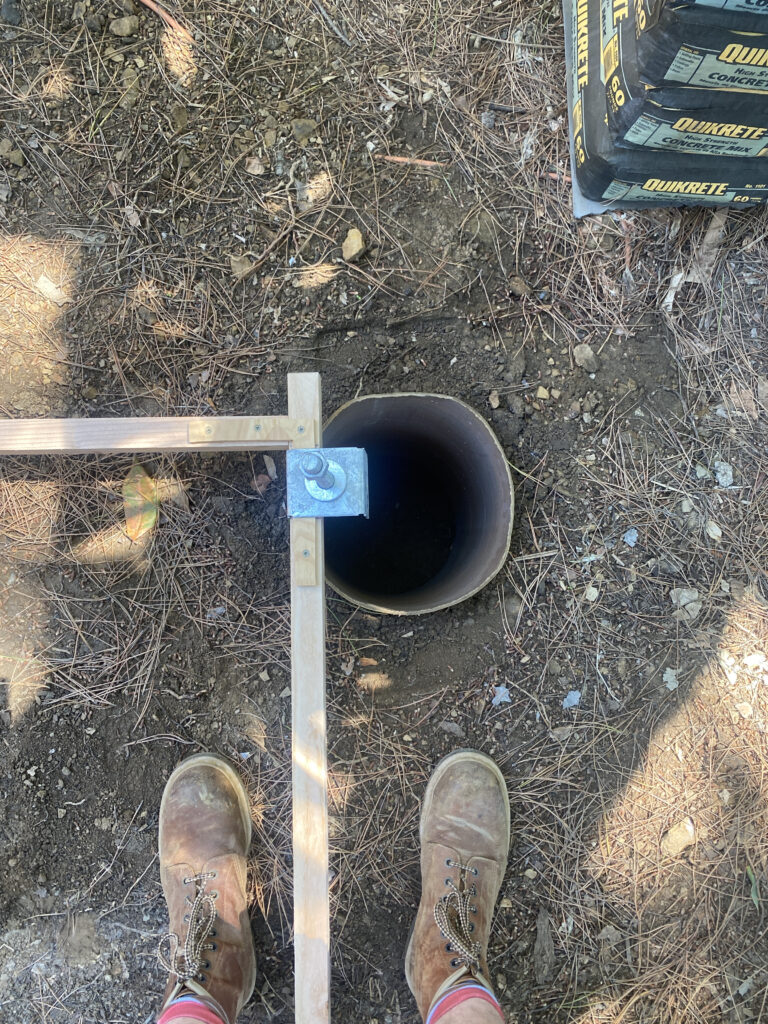
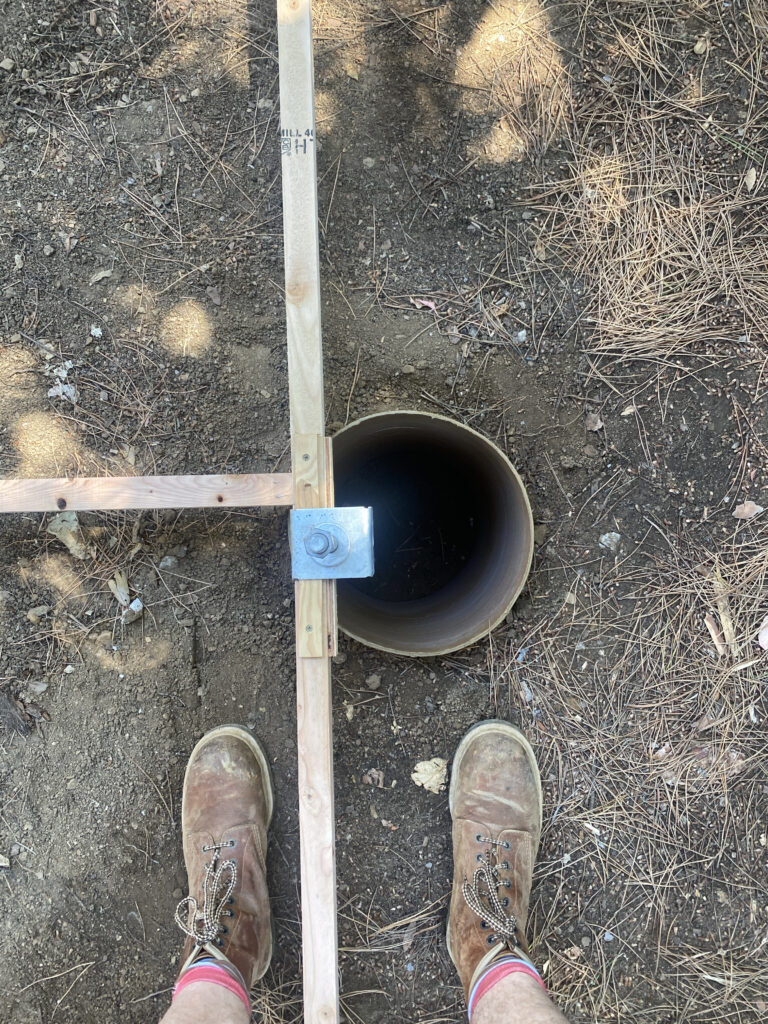
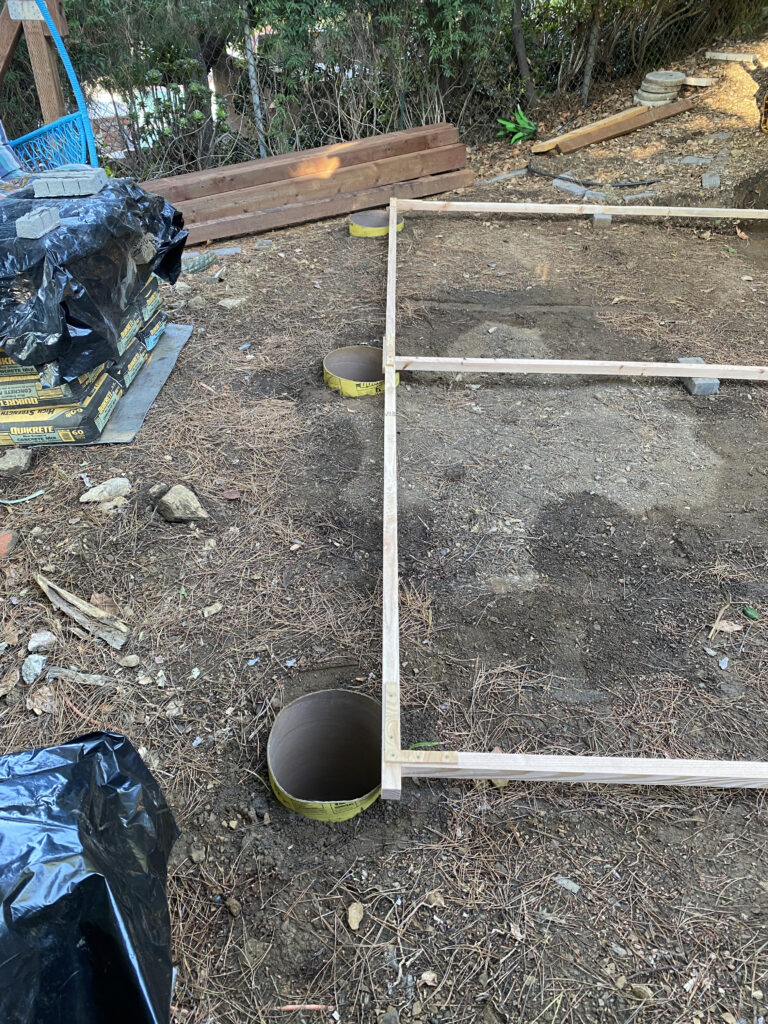
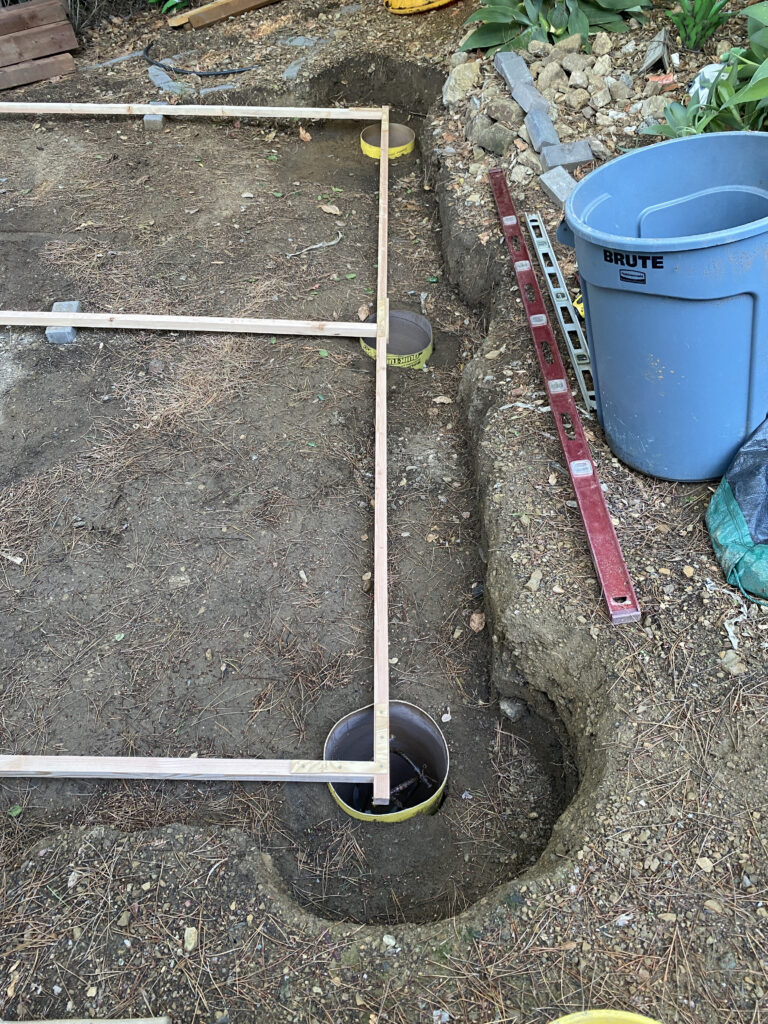
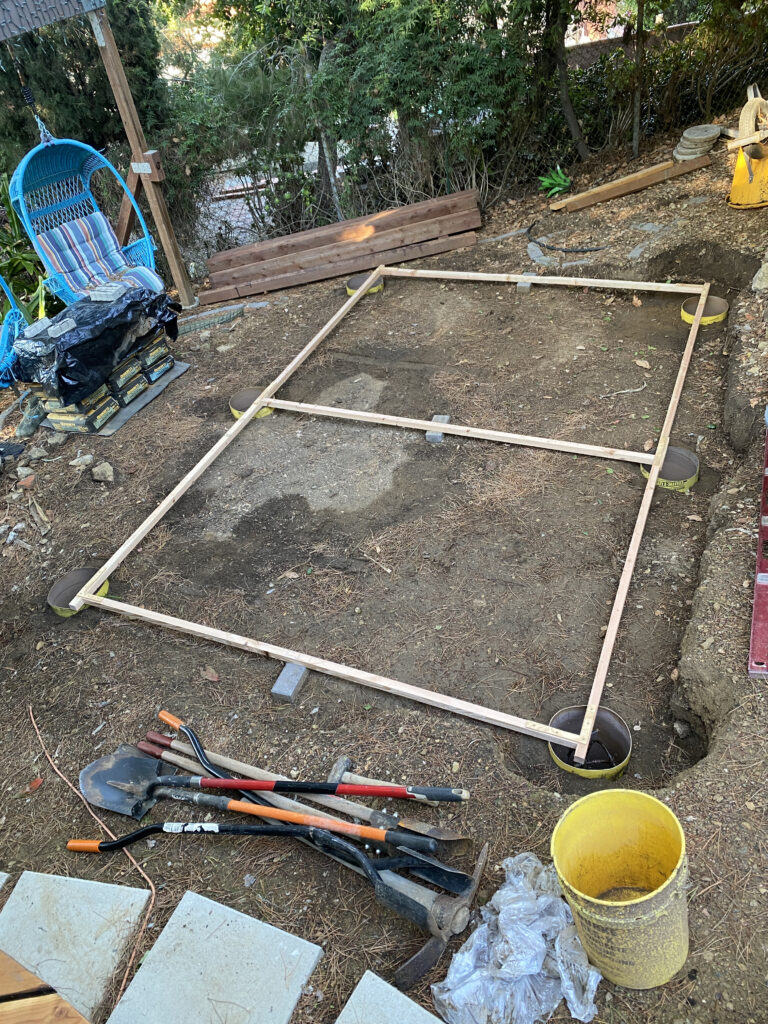
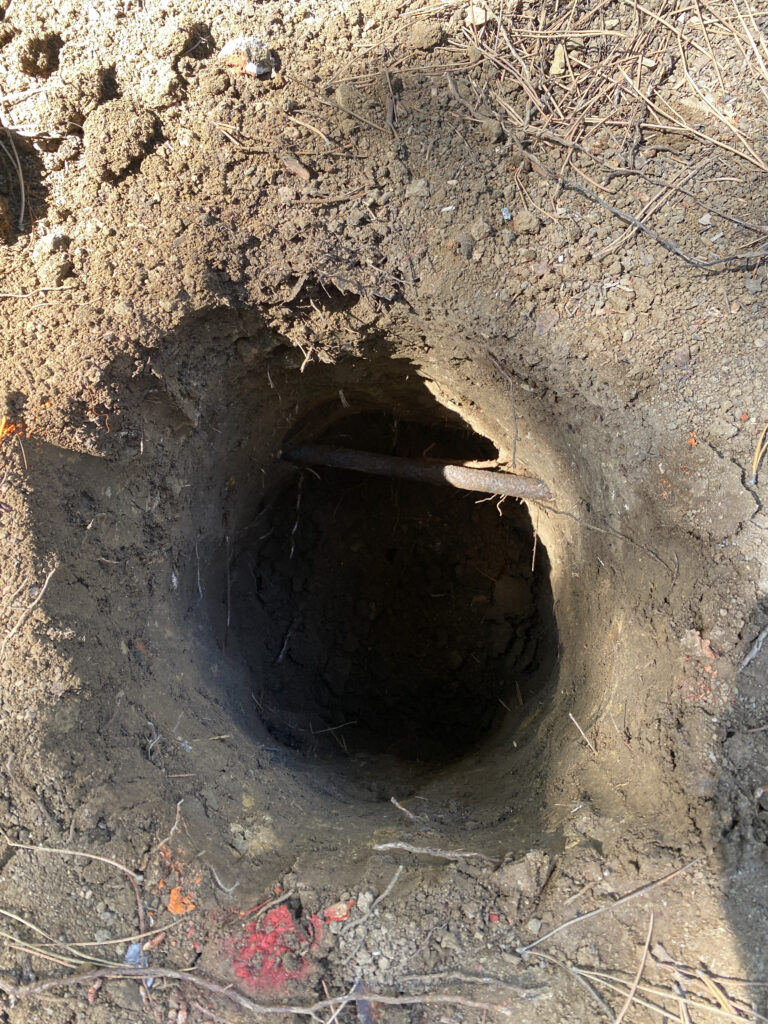
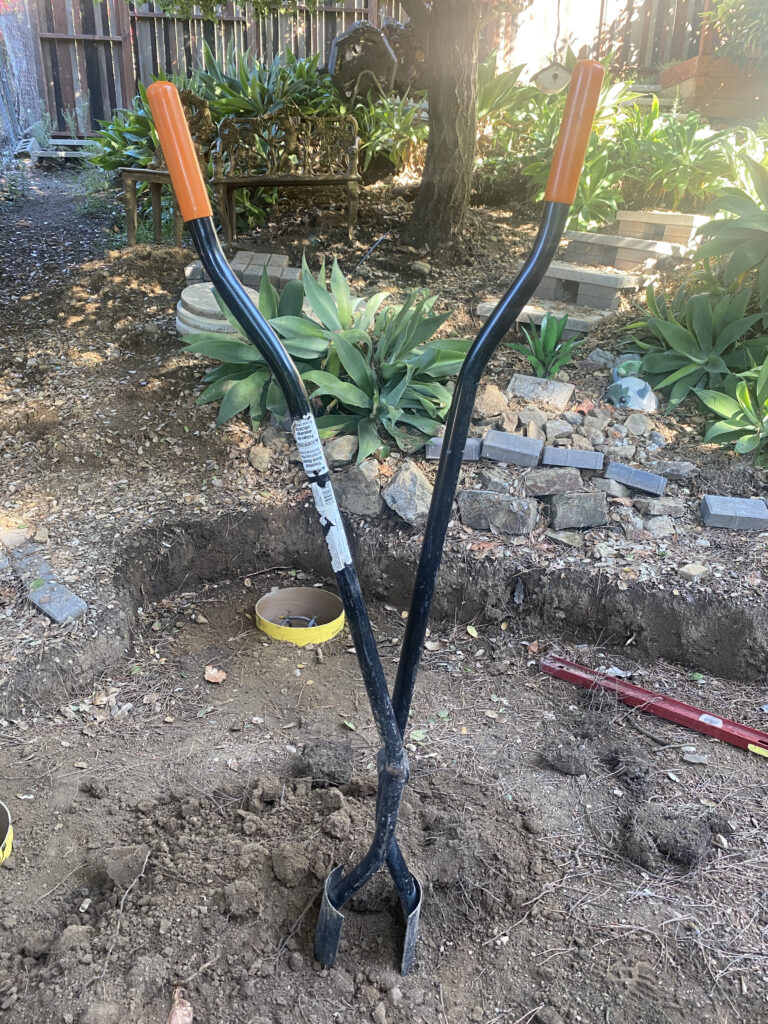
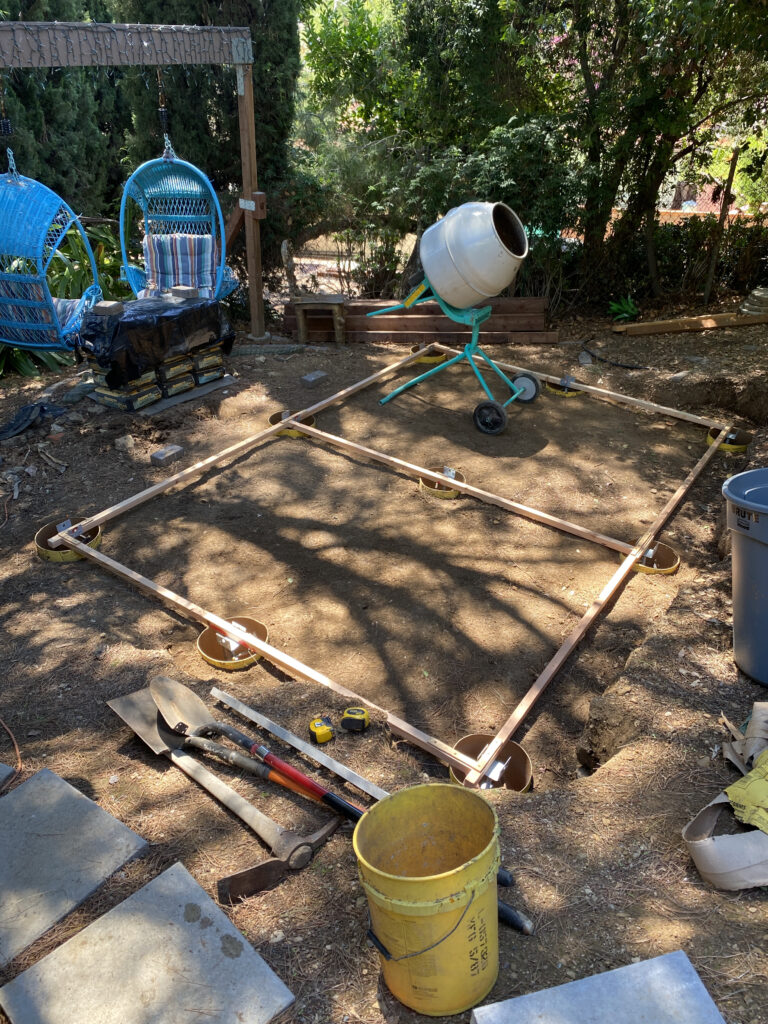
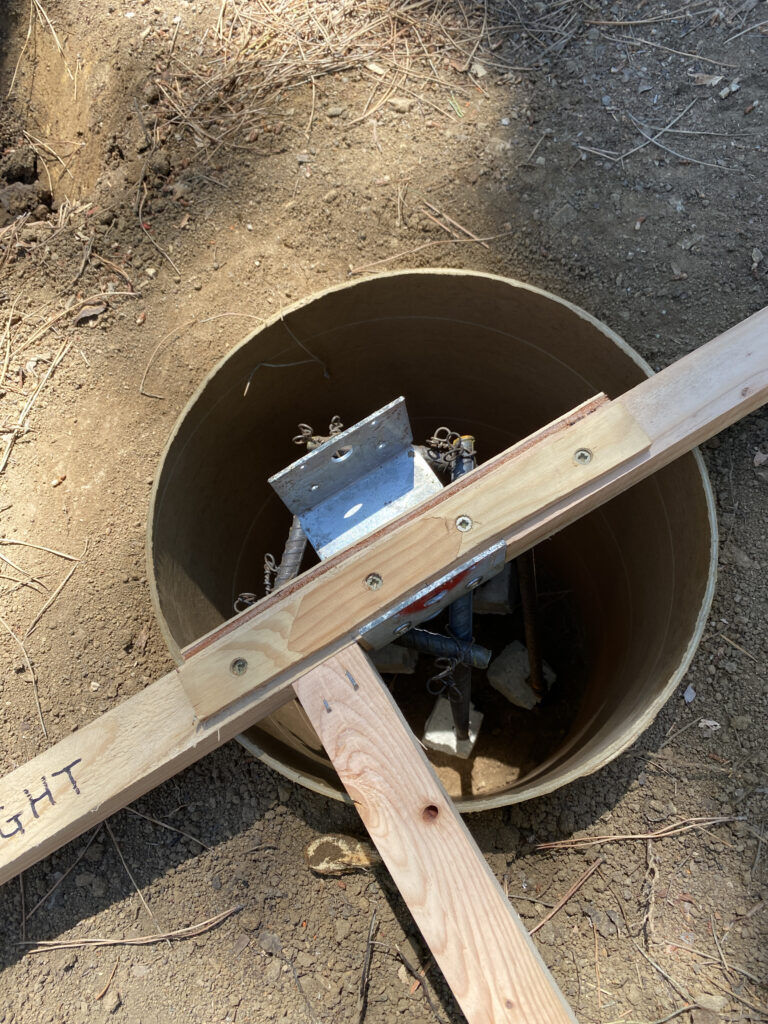
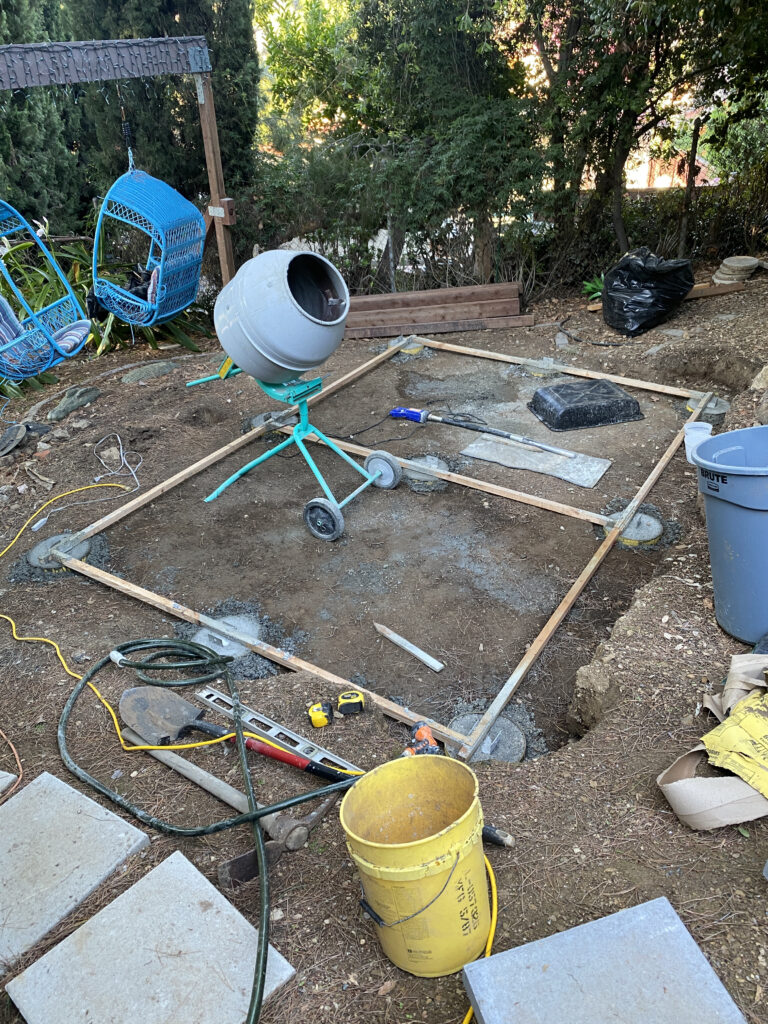
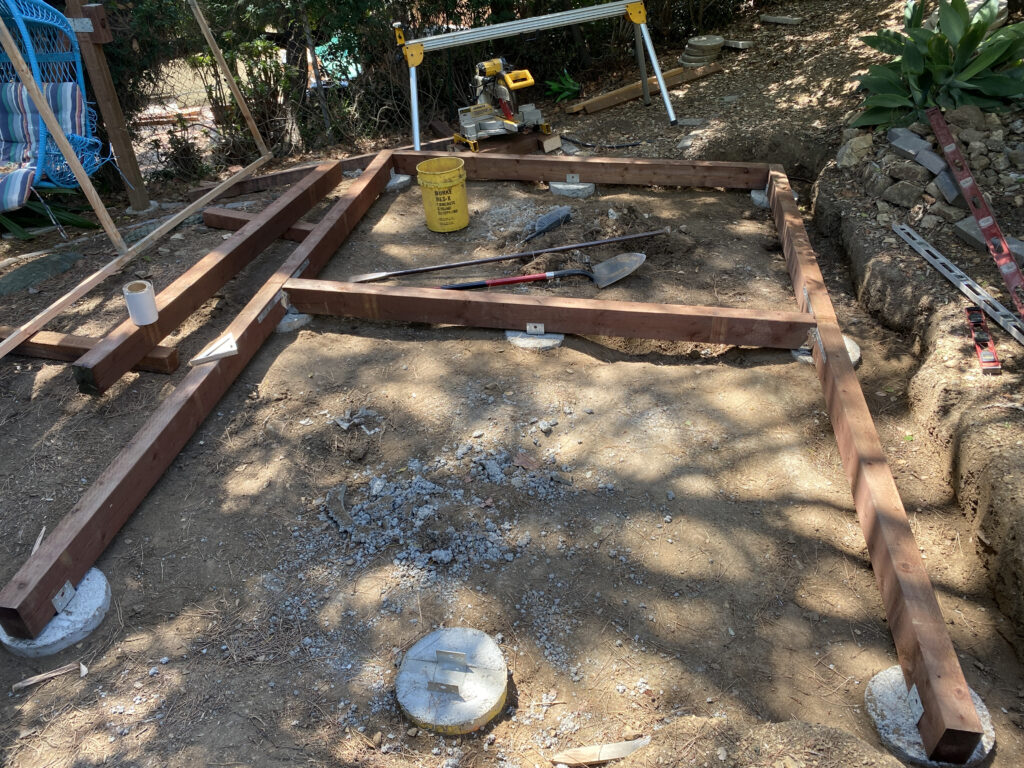
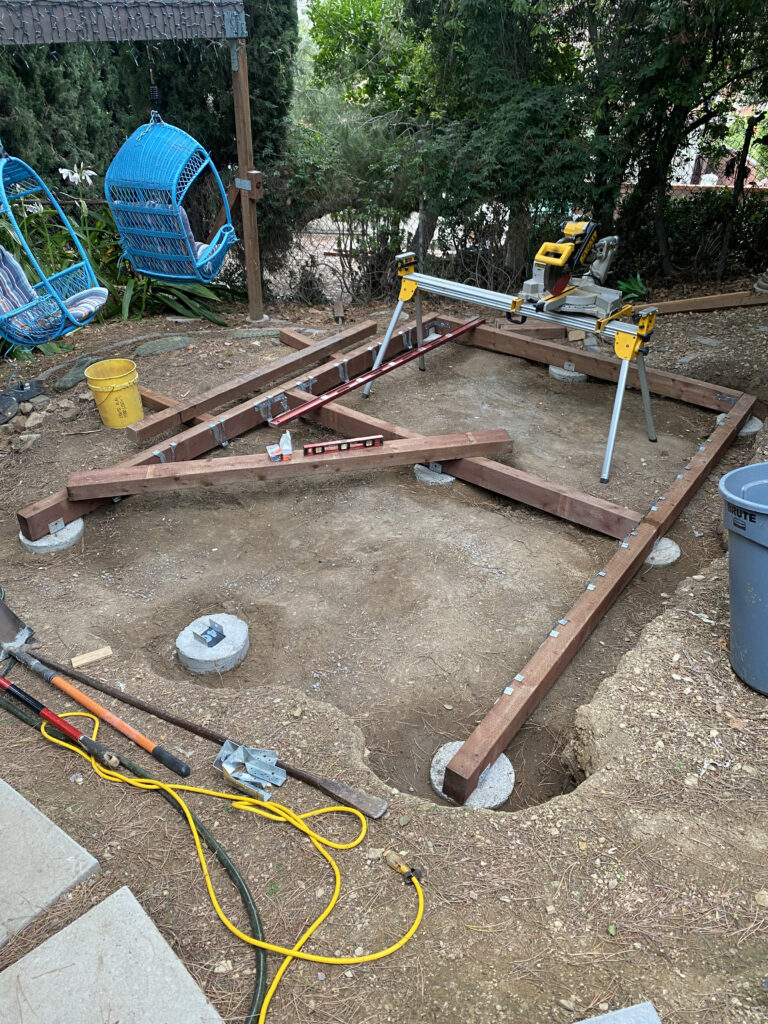
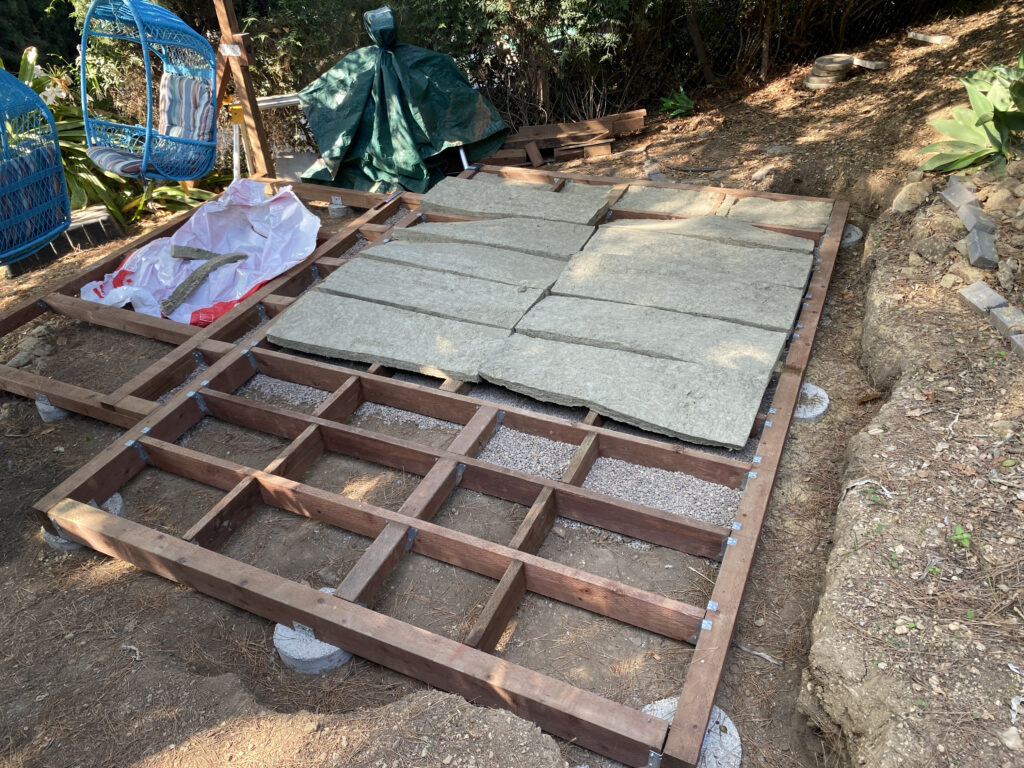
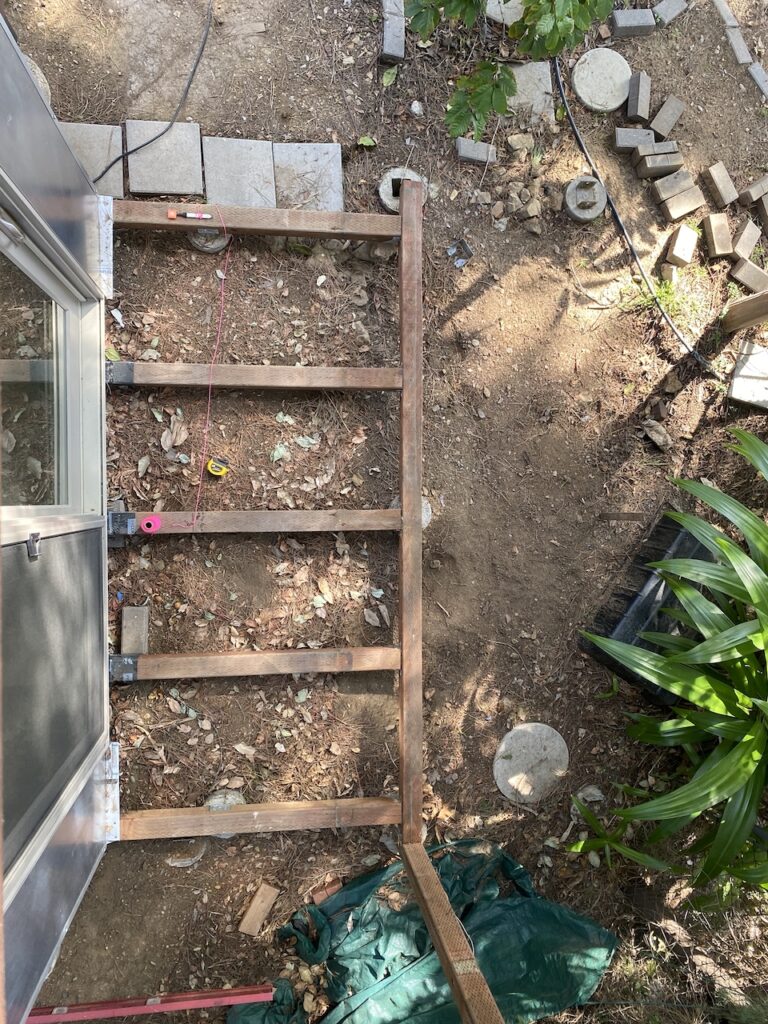
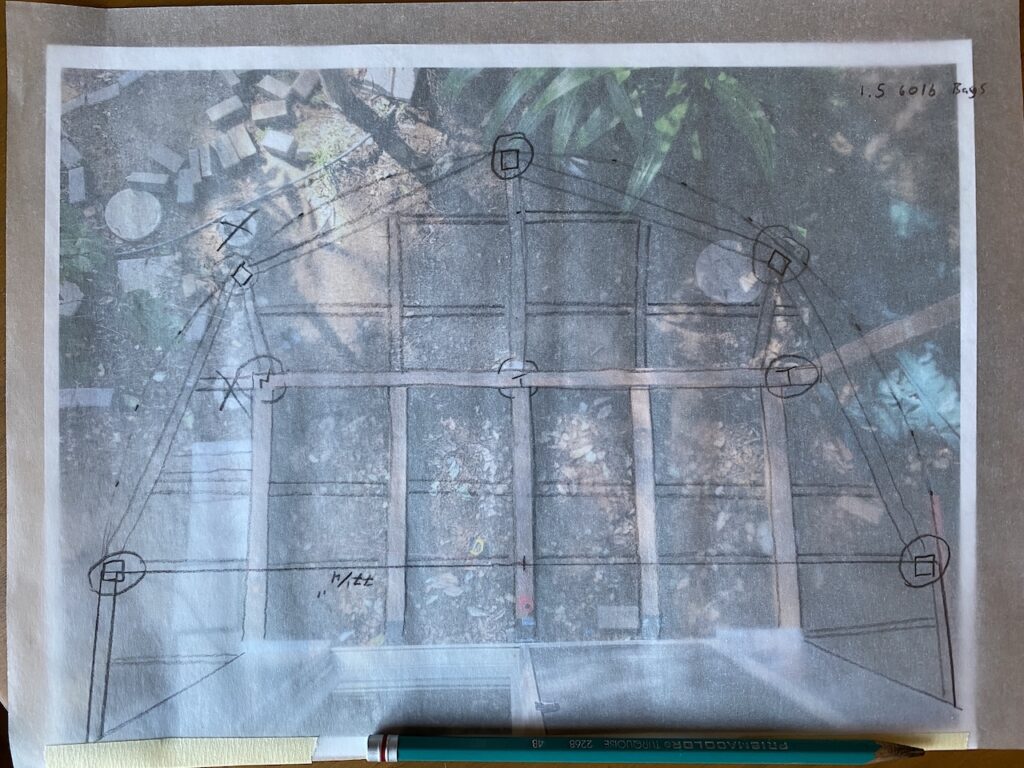
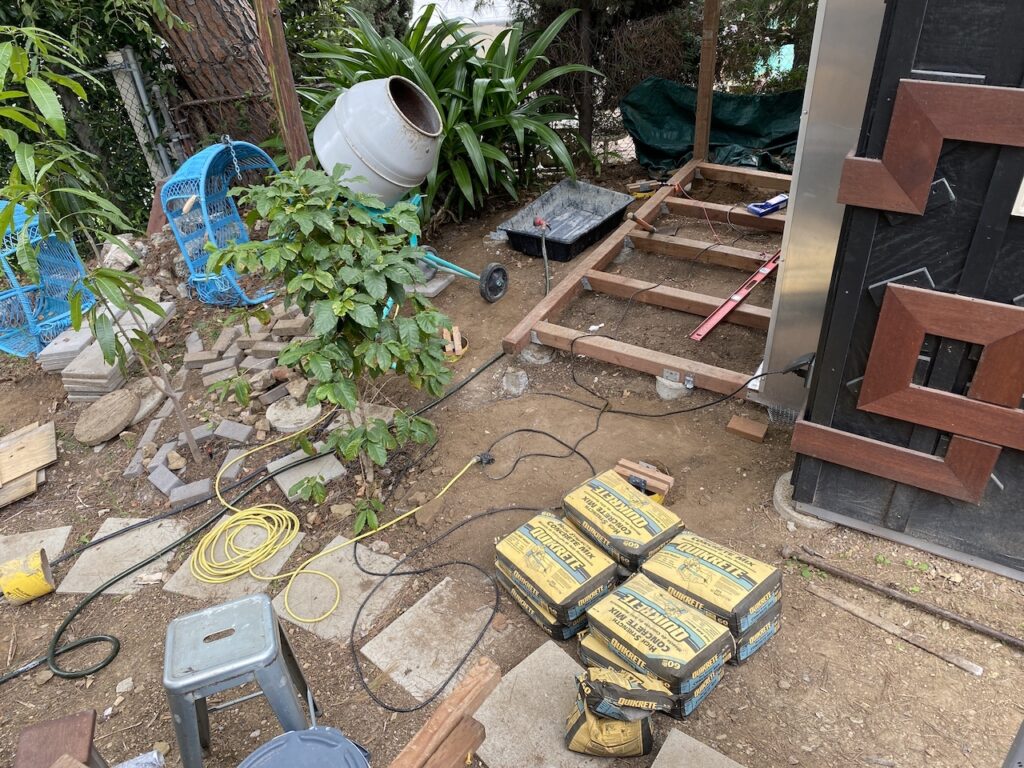
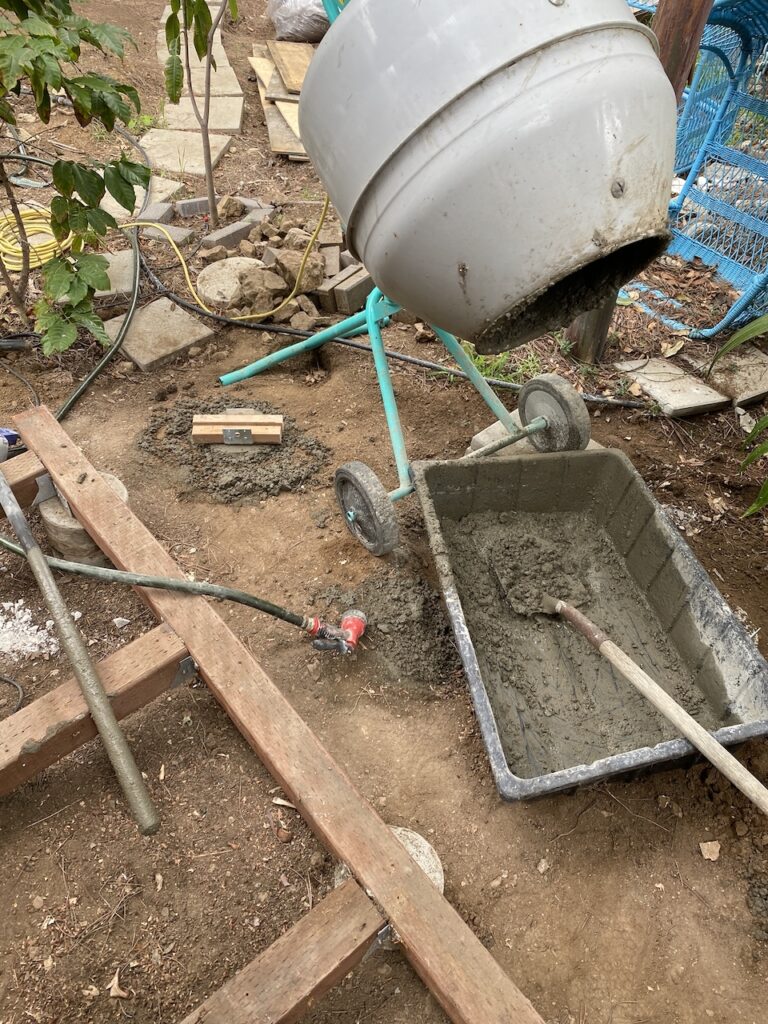
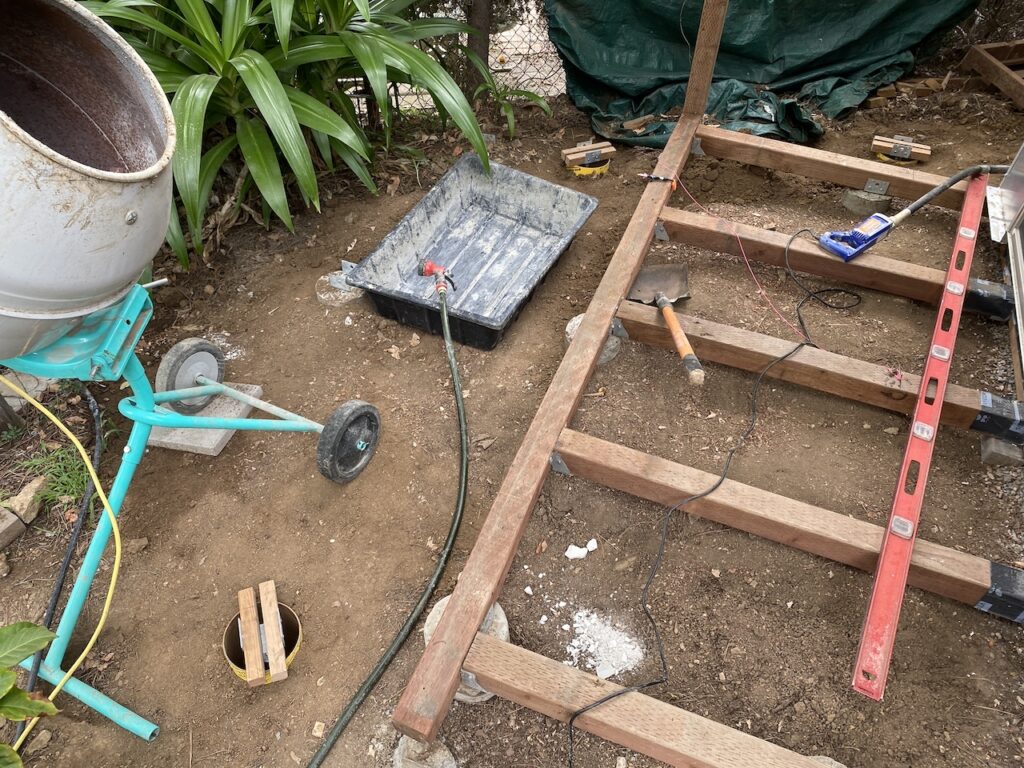
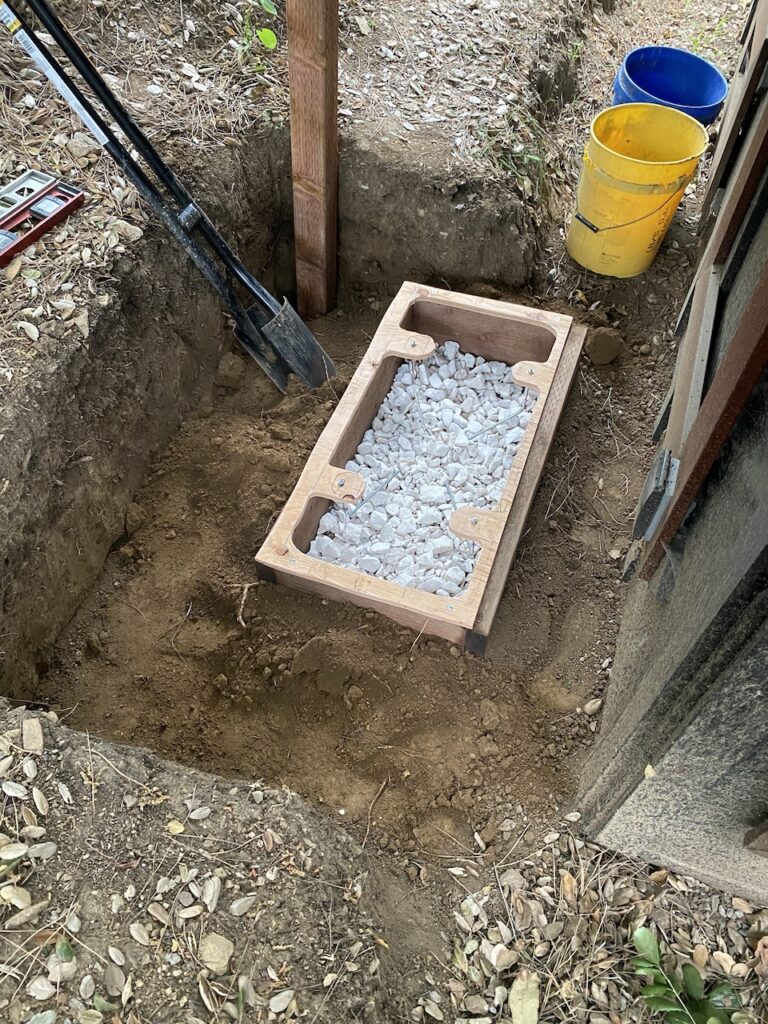
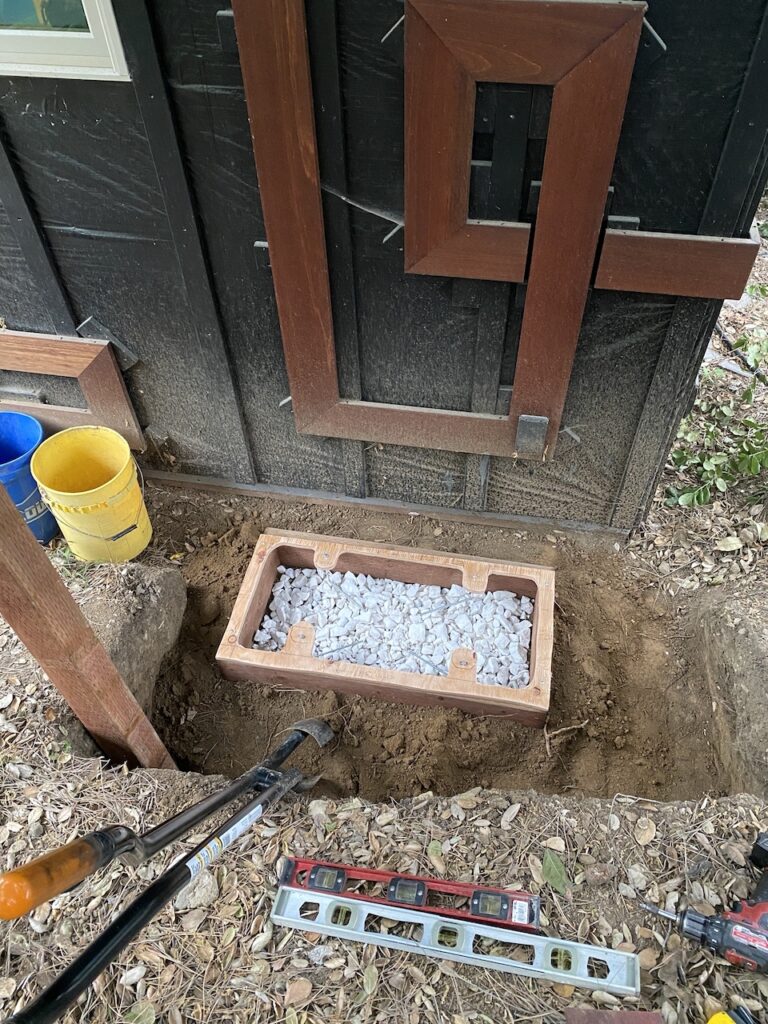
From there it was spending a lot of time at Home Depot, pricing out and acquiring the materials to pour footings that would serve as the foundation for the structure. Since I over-engineer all projects, I dug and poured NINE footings, each reinforced with 4 #4 1/2″ rebar “cages” and post anchors. I started digging holes for the footings, but then built a form using 2″x2″ boards to simulate the 4″x6″ lumber that would make up the actual platform (this would give me placement for the footings and anchors with a lightweight frame that could be used to ensure everything was level). I should have done the form first, as I discovered my measurements were off, resulting in having to re-fill and re-dig several holes (ended up bending my reliable Fiskar post-hole digger, its lifetime replacement warranty coming in handy. Thanks, Fiskars!). There was also a hurricane-turned-tropical-storm that passed through while in this process, requiring me to cover the site and move hundreds of pounds of cement bags around the yard a few times in the process.


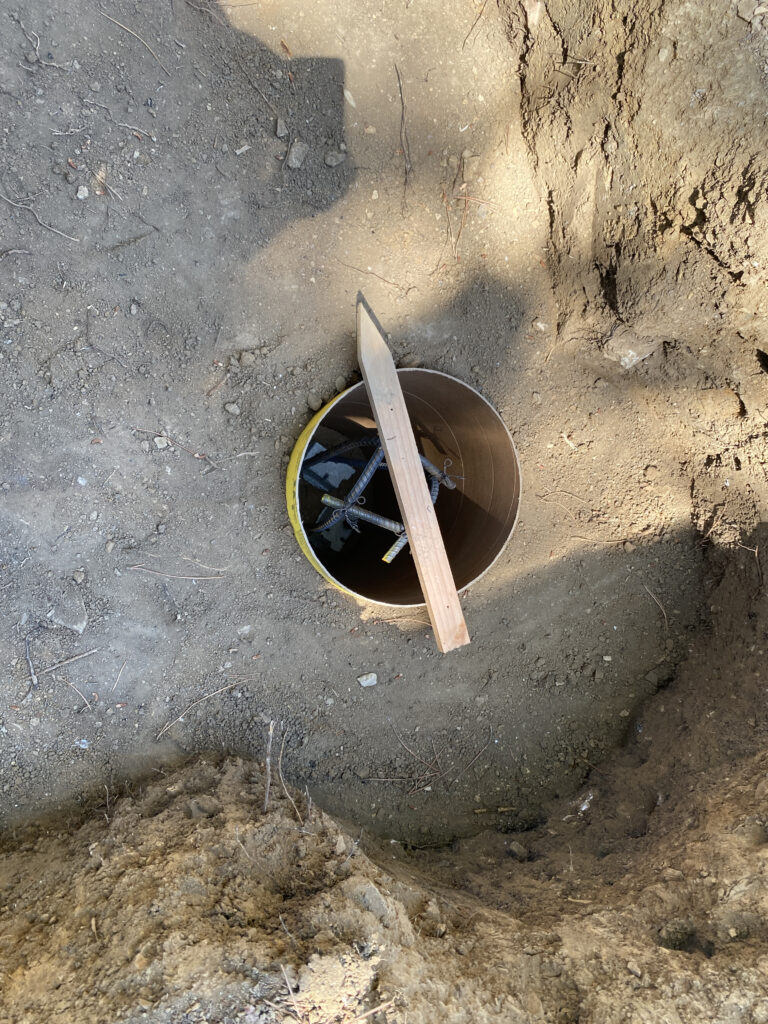

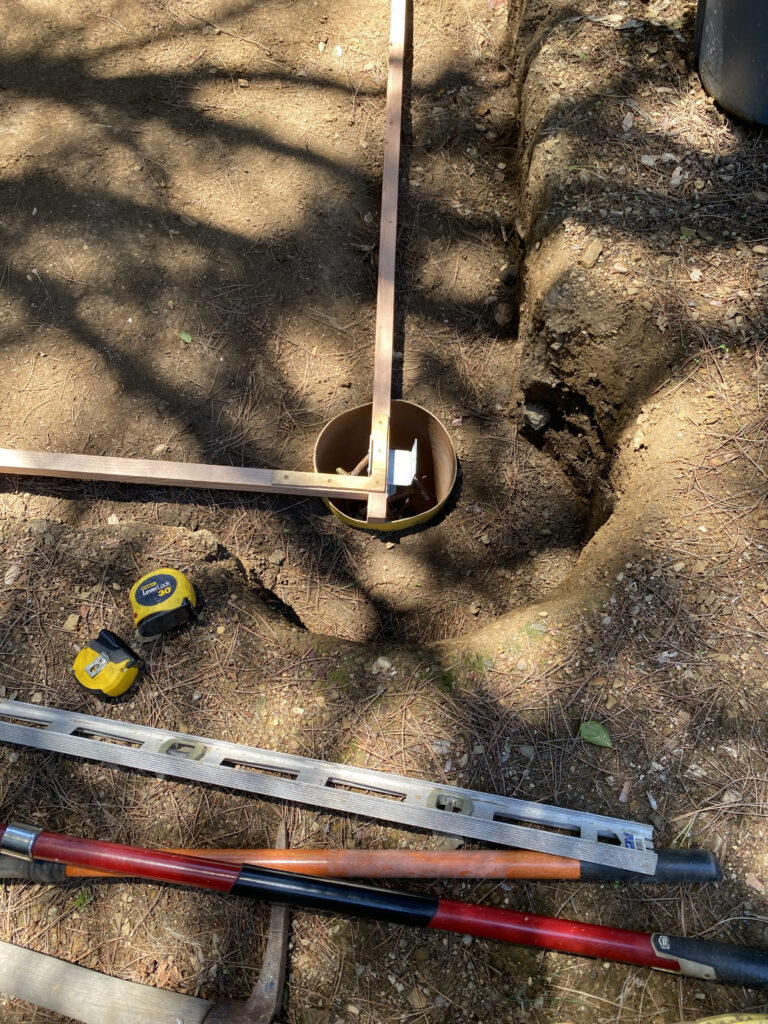

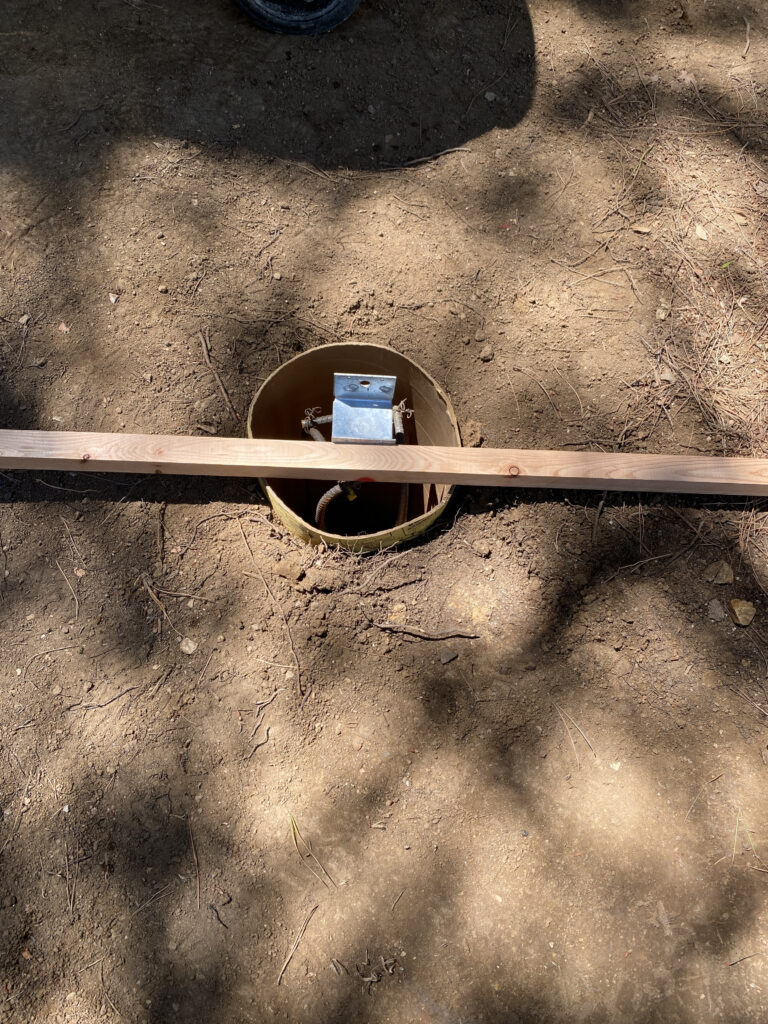
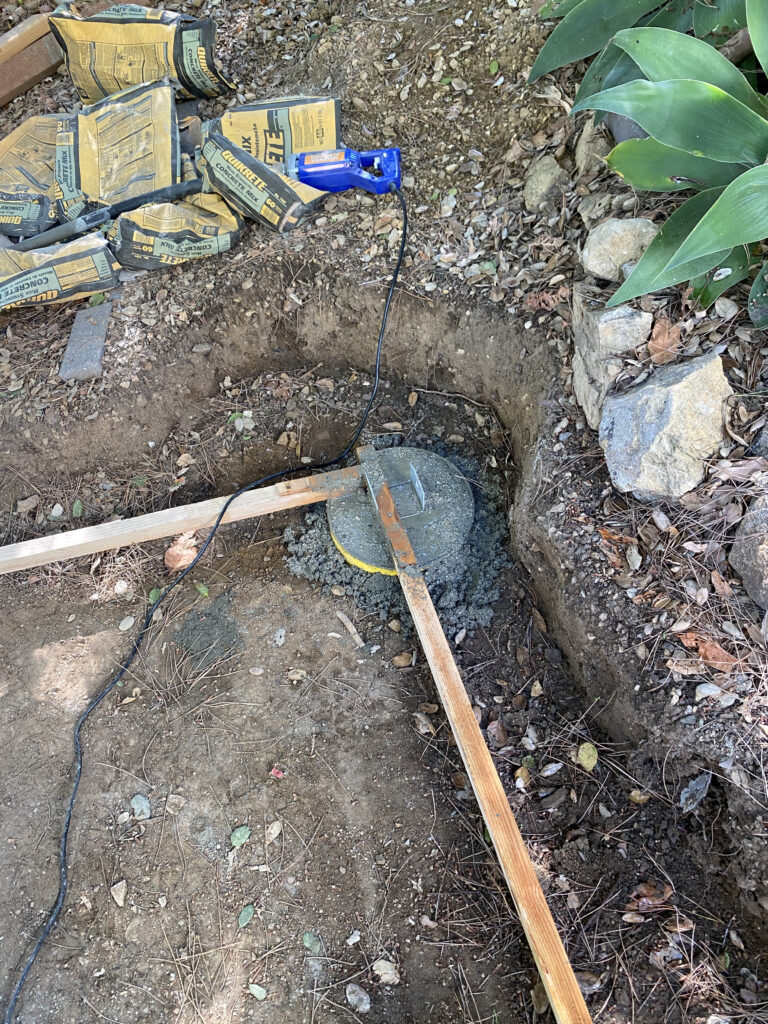
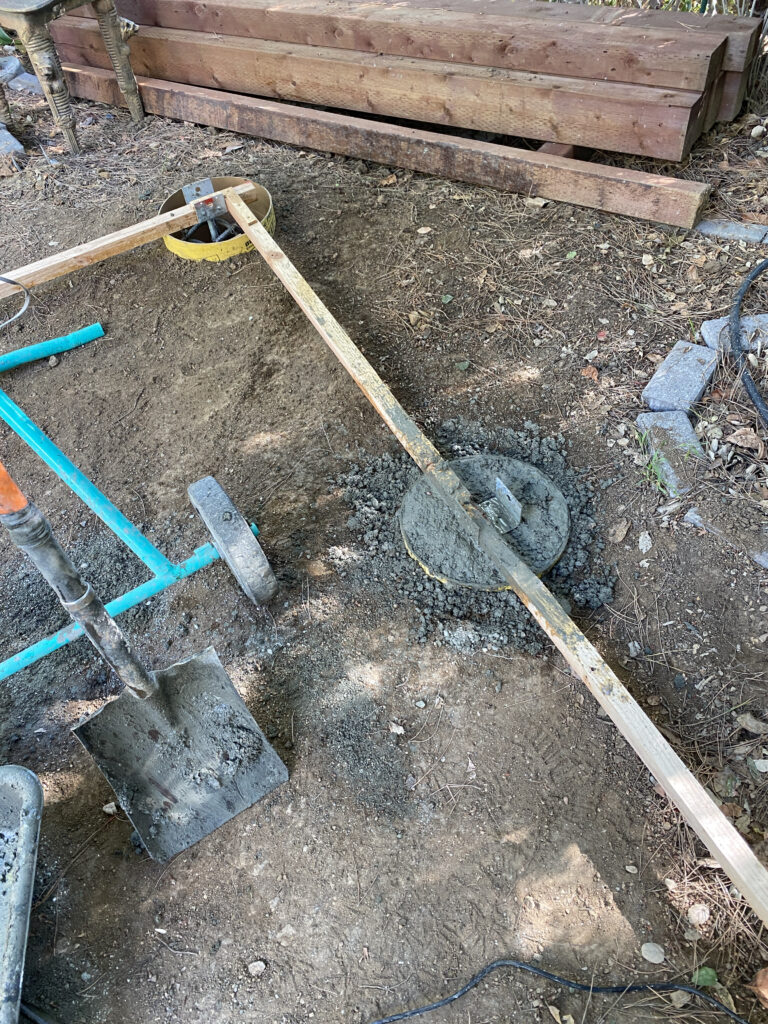
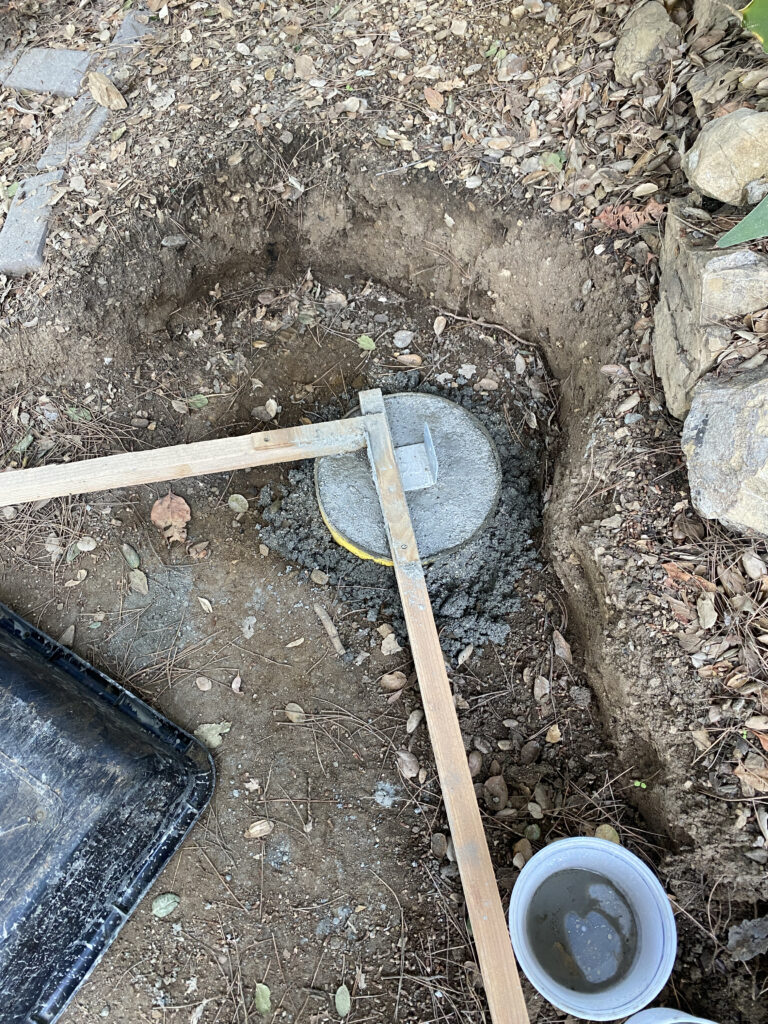
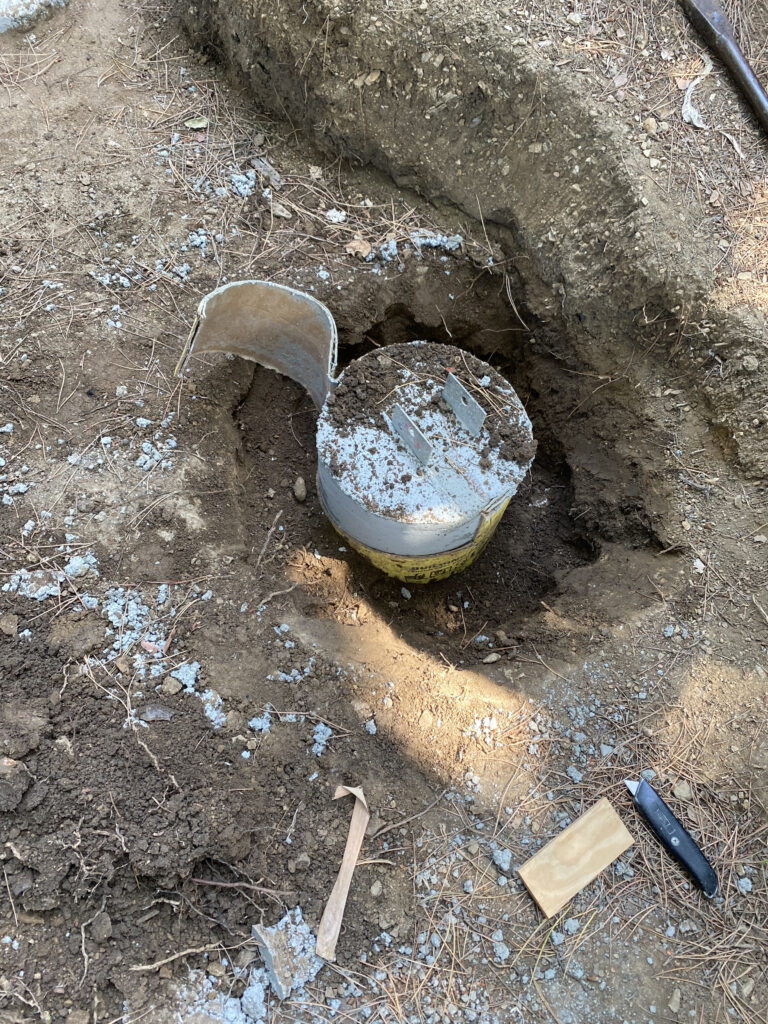
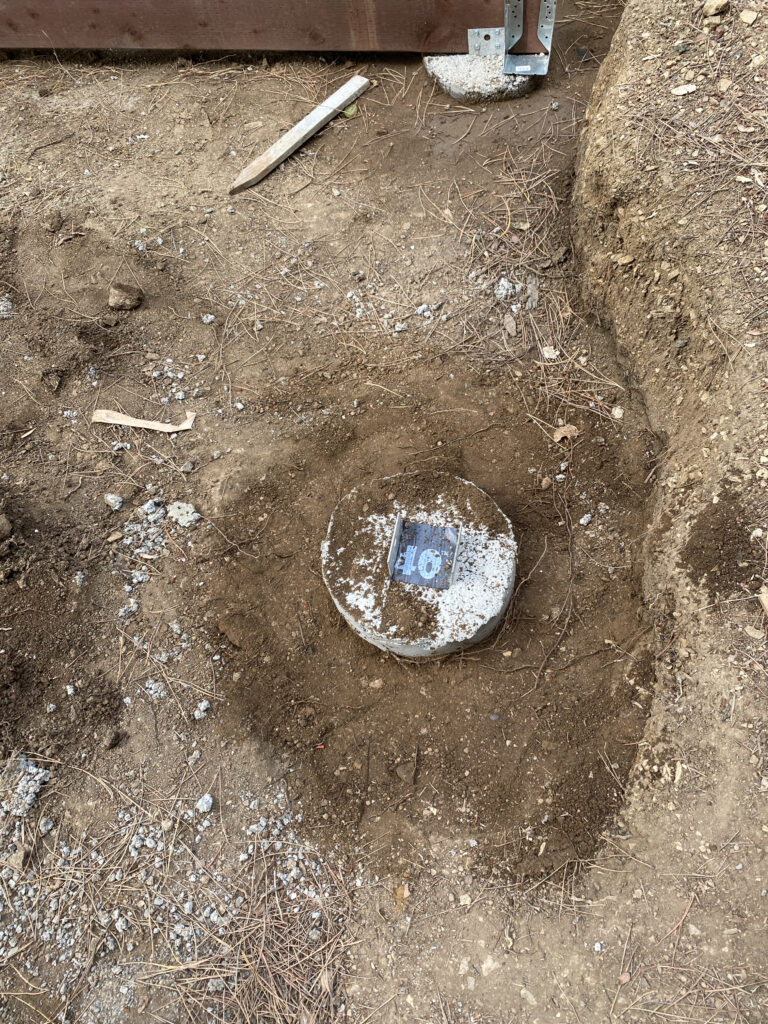
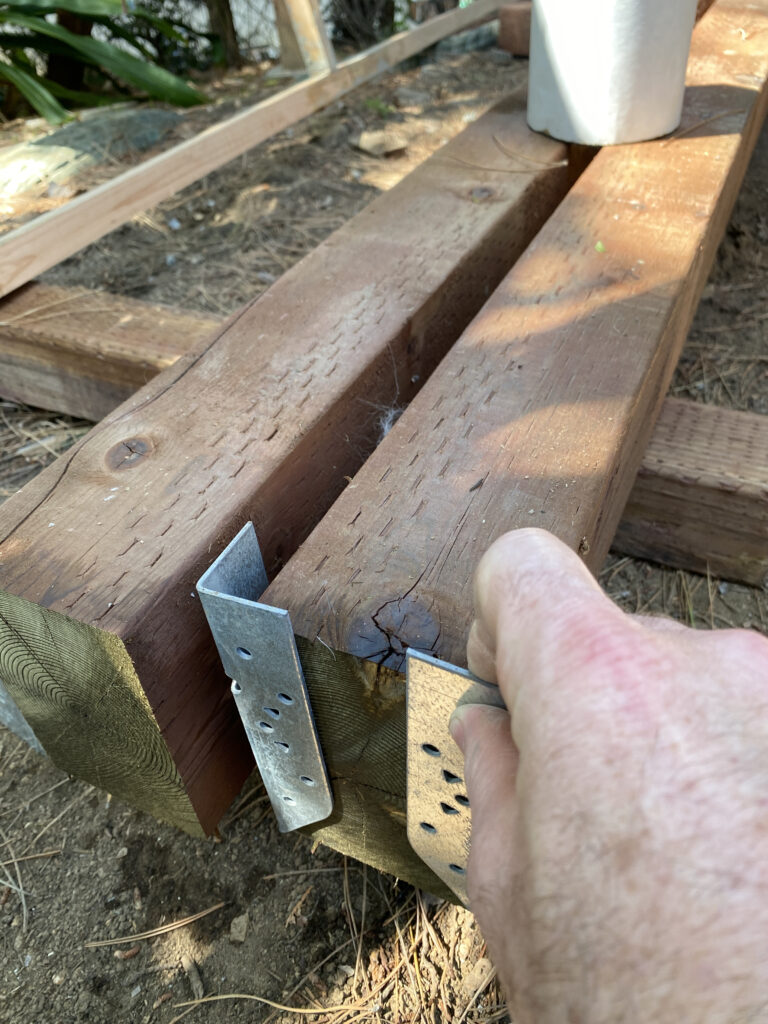
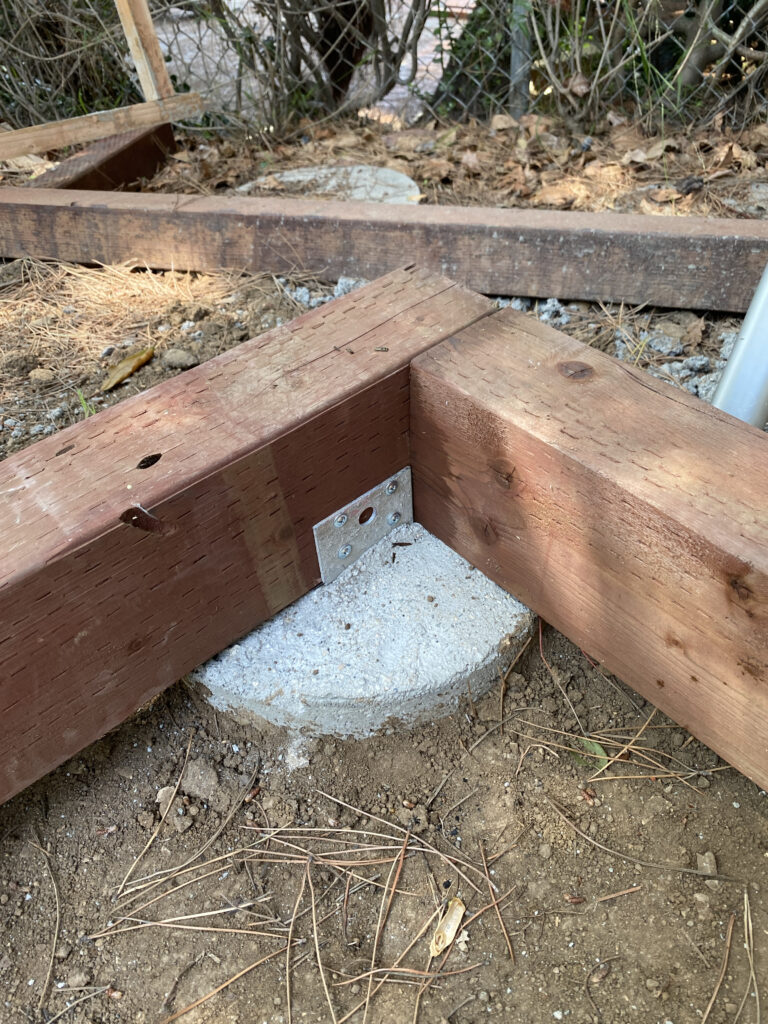
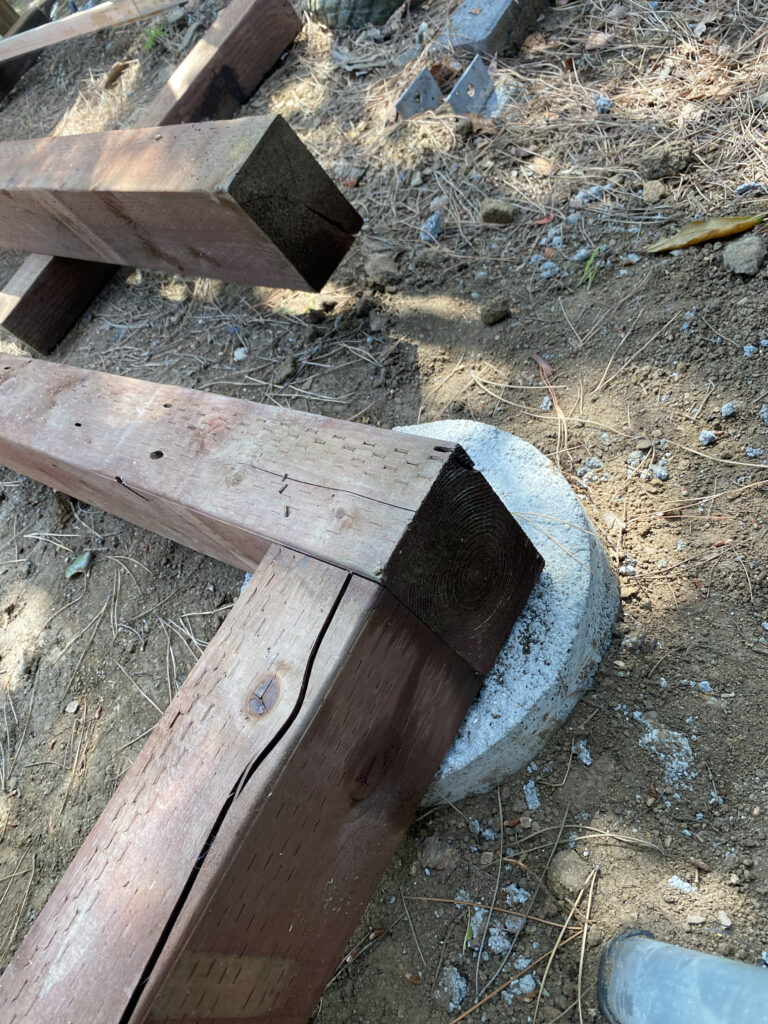
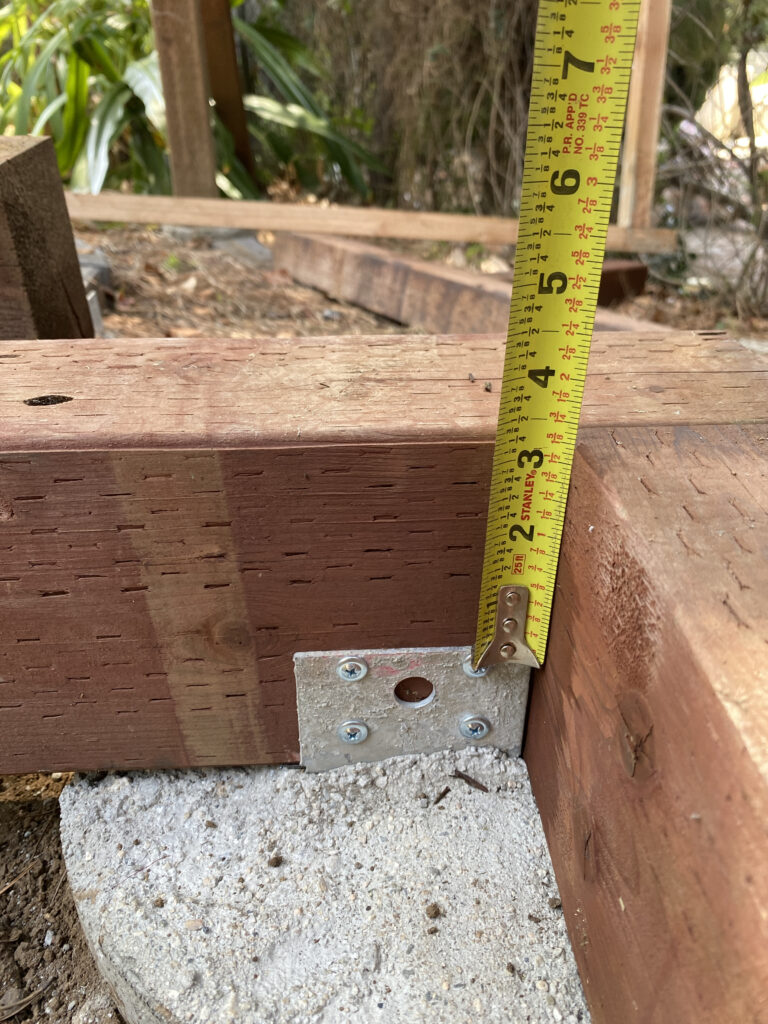
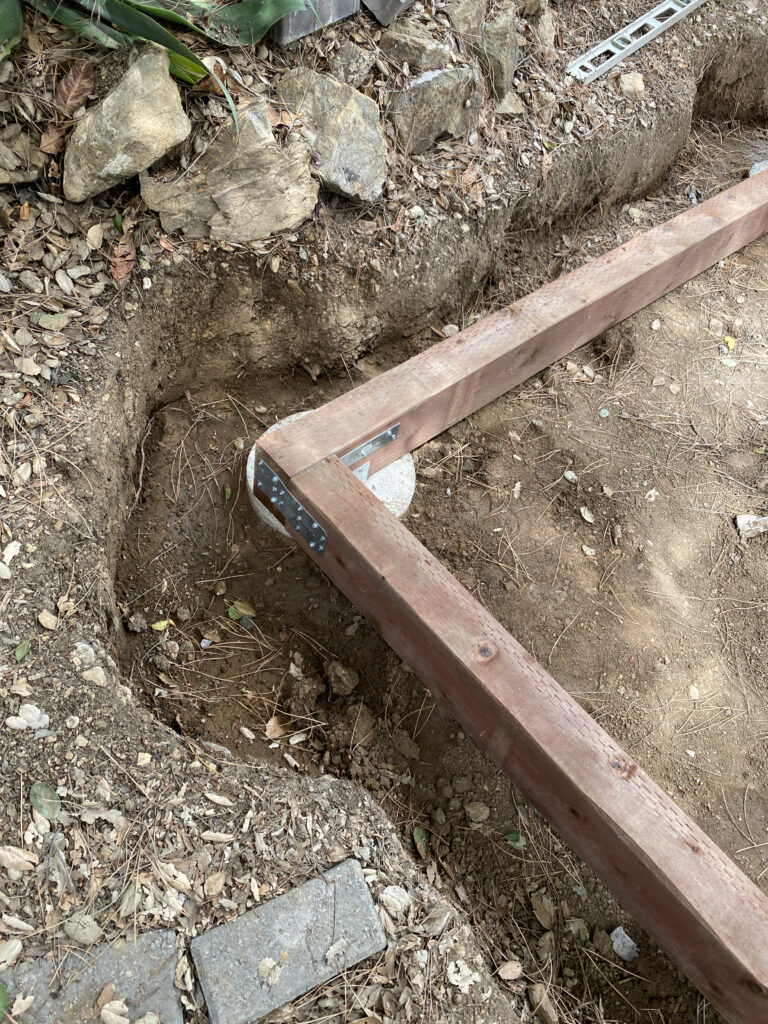
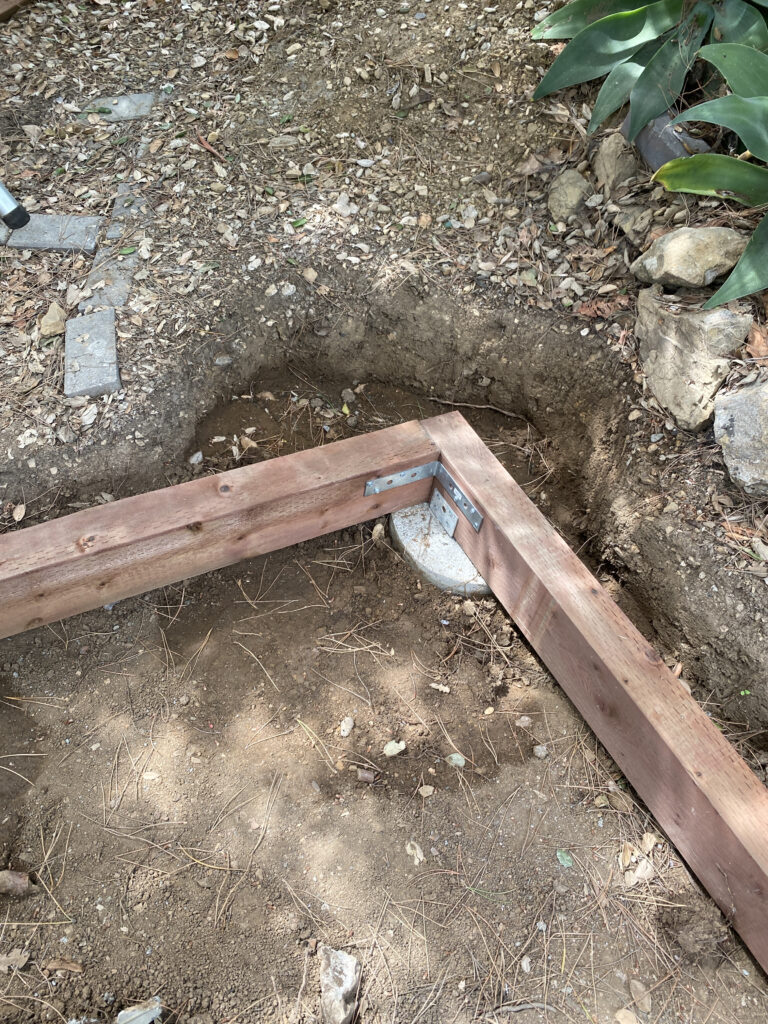
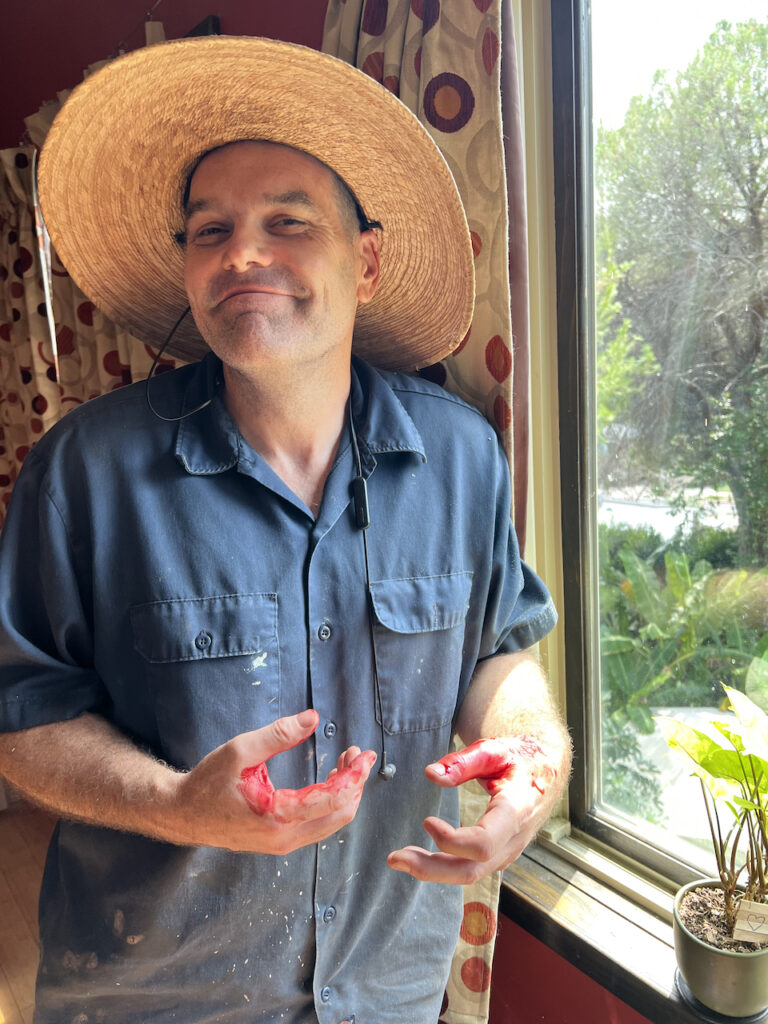
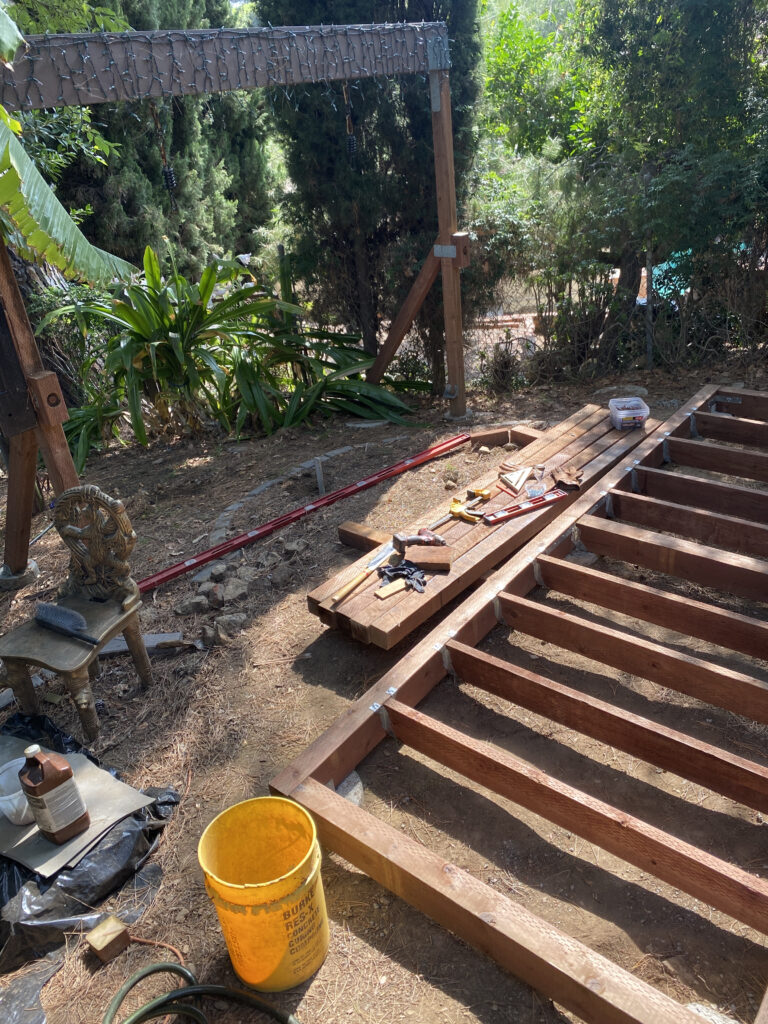
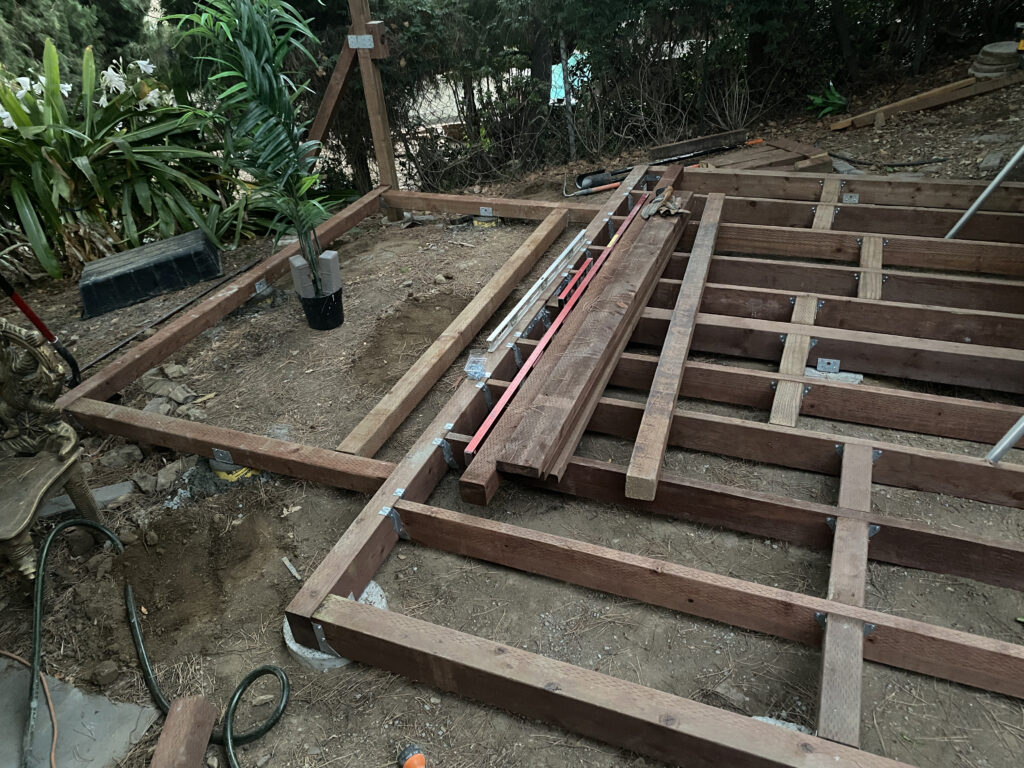
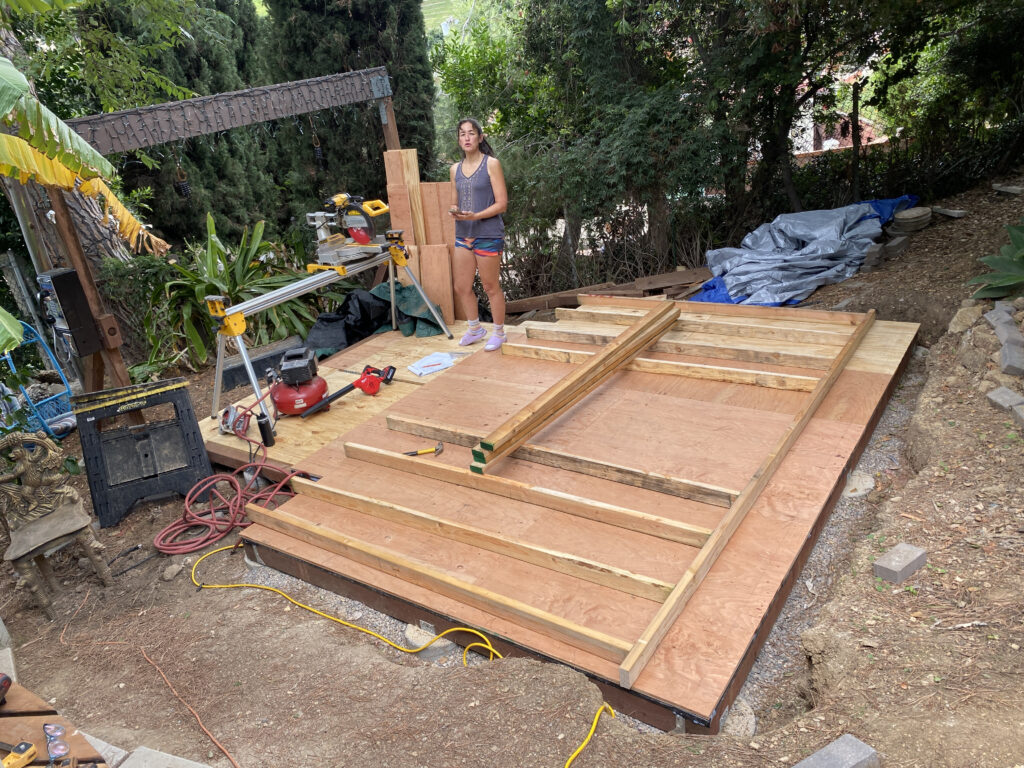
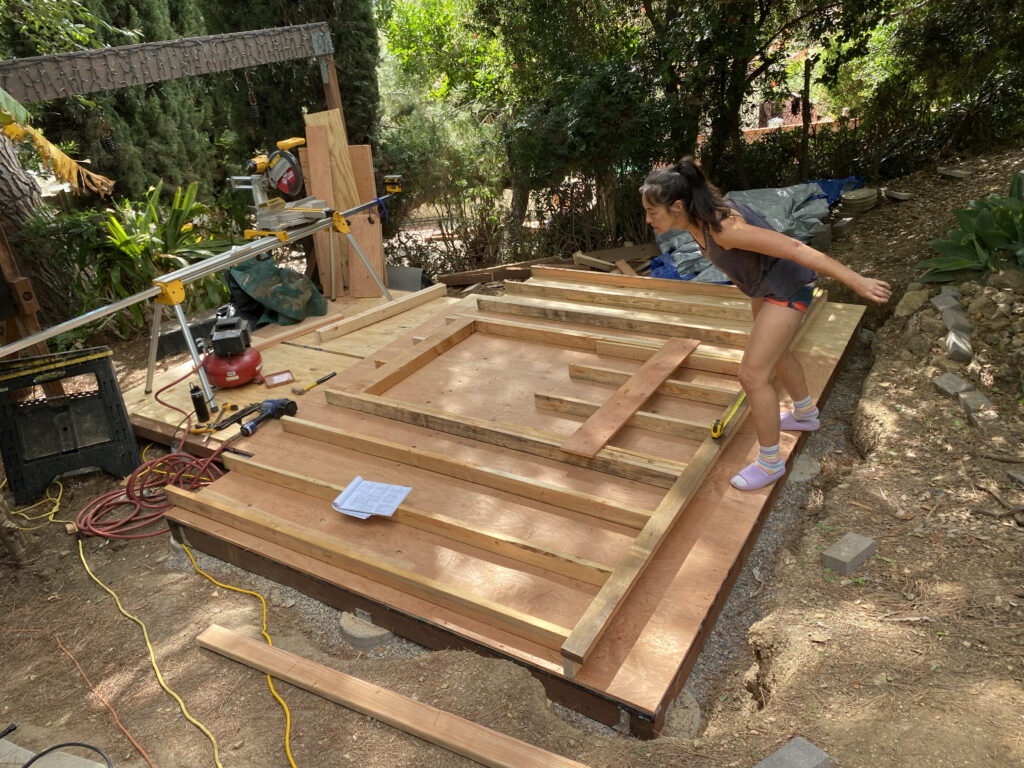
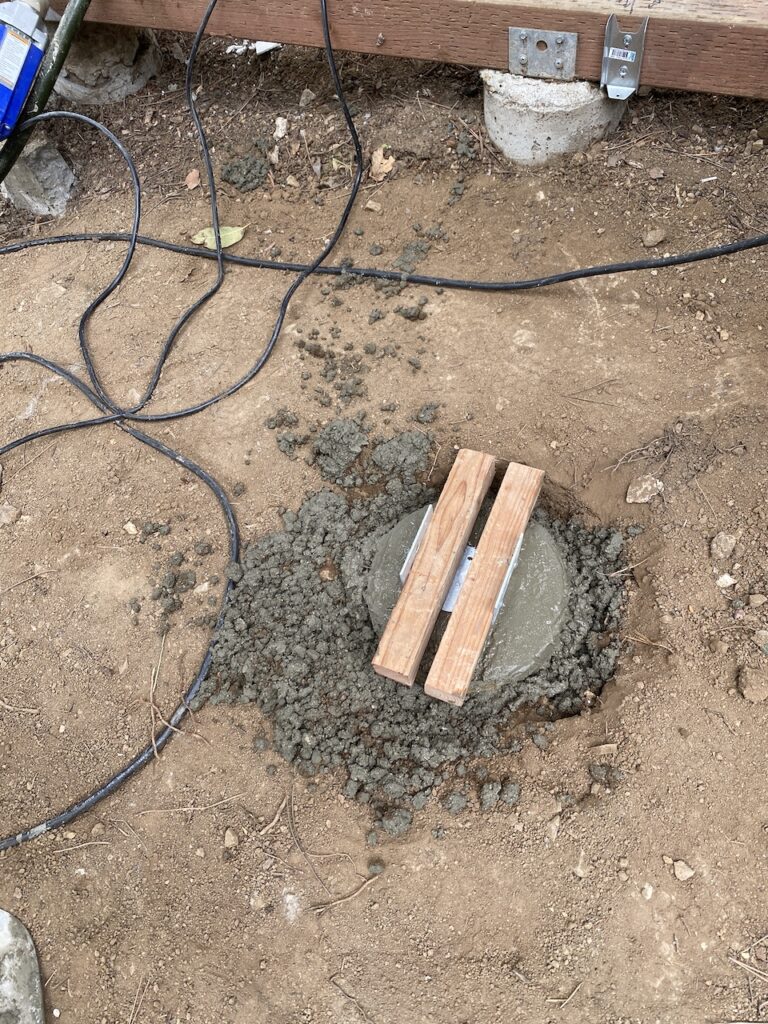
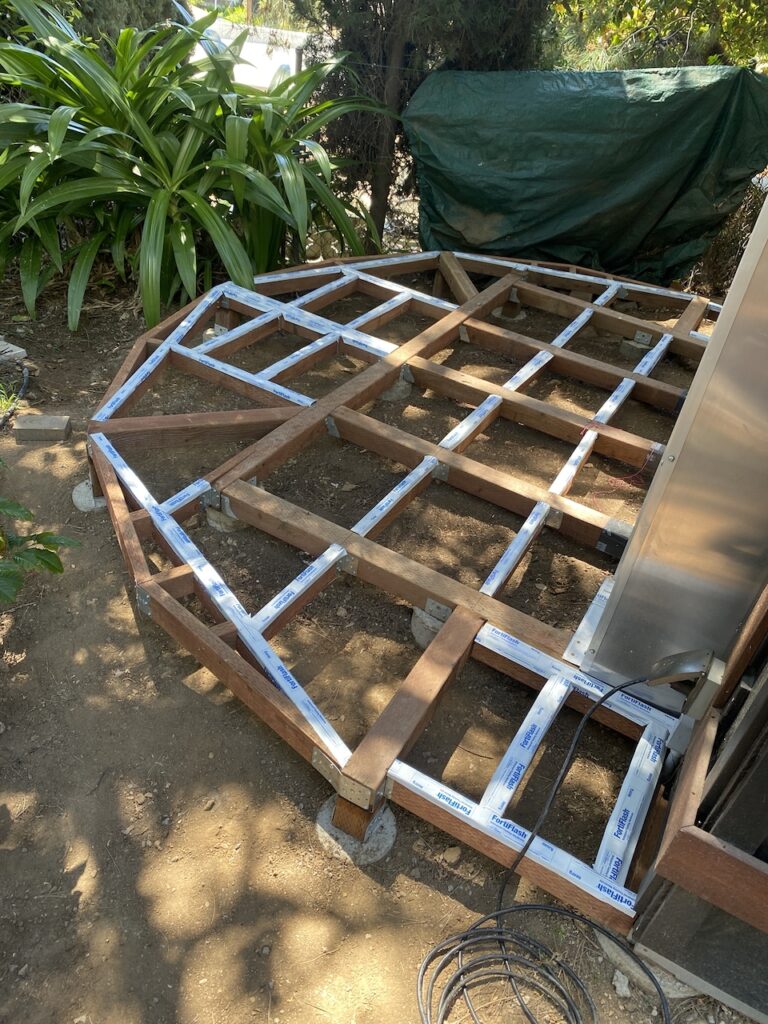
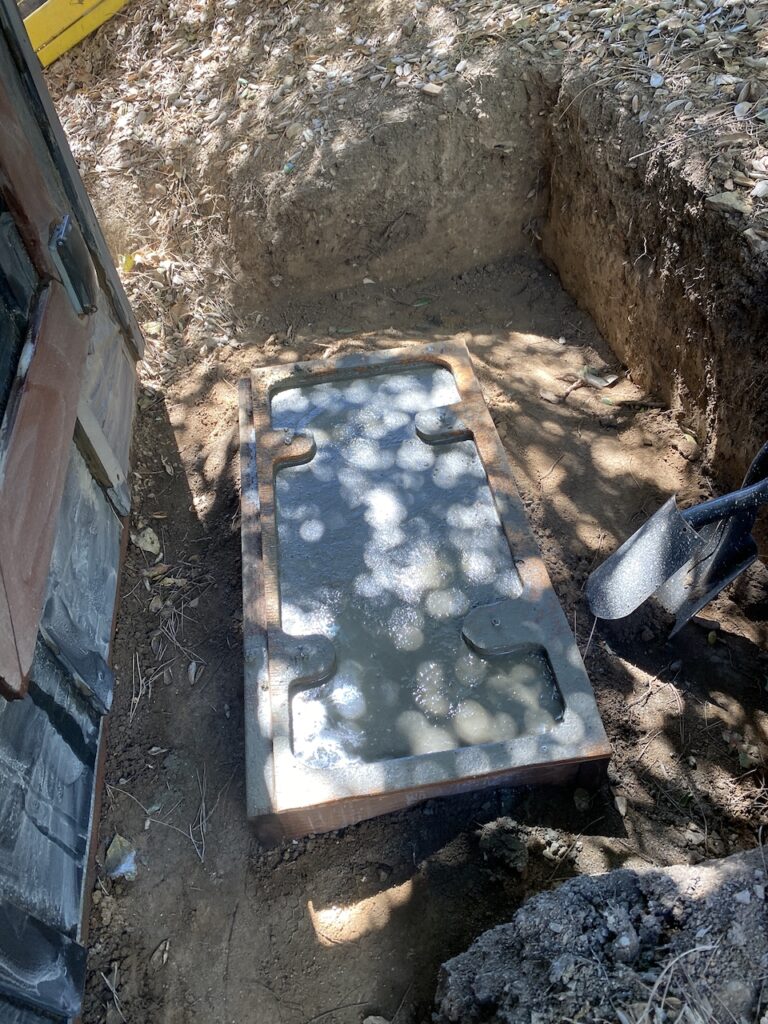
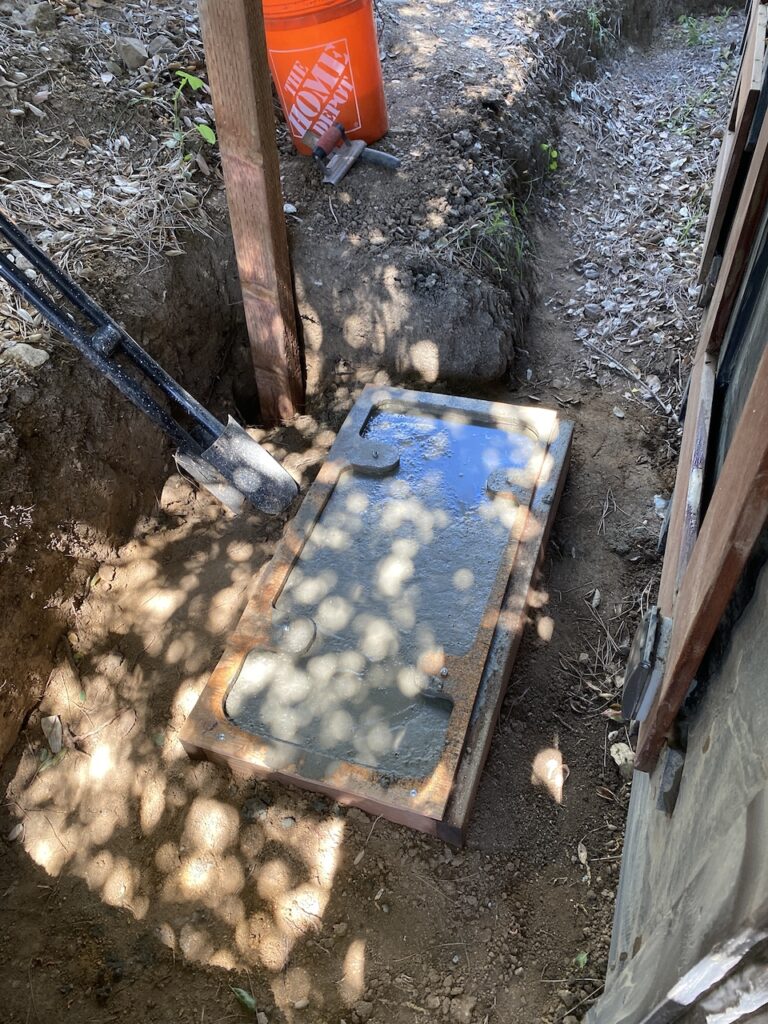
Once the footings cured, I Dug down to strip the cardboard footing form and tamp the surrounding soil to ensure no movement. It was then time to strip the 2×2 form and put in the 2×6 beams “for realz”, then start adding the joists, blocking, and prepare for sub-flooring. Along the way, I discovered I had bought the wrong sized joist hangers because of course I did. I also cannot finish any sized project without making a blood sacrifice, this time by way of pushing a hammer drill into my left thumb’s cuticle.

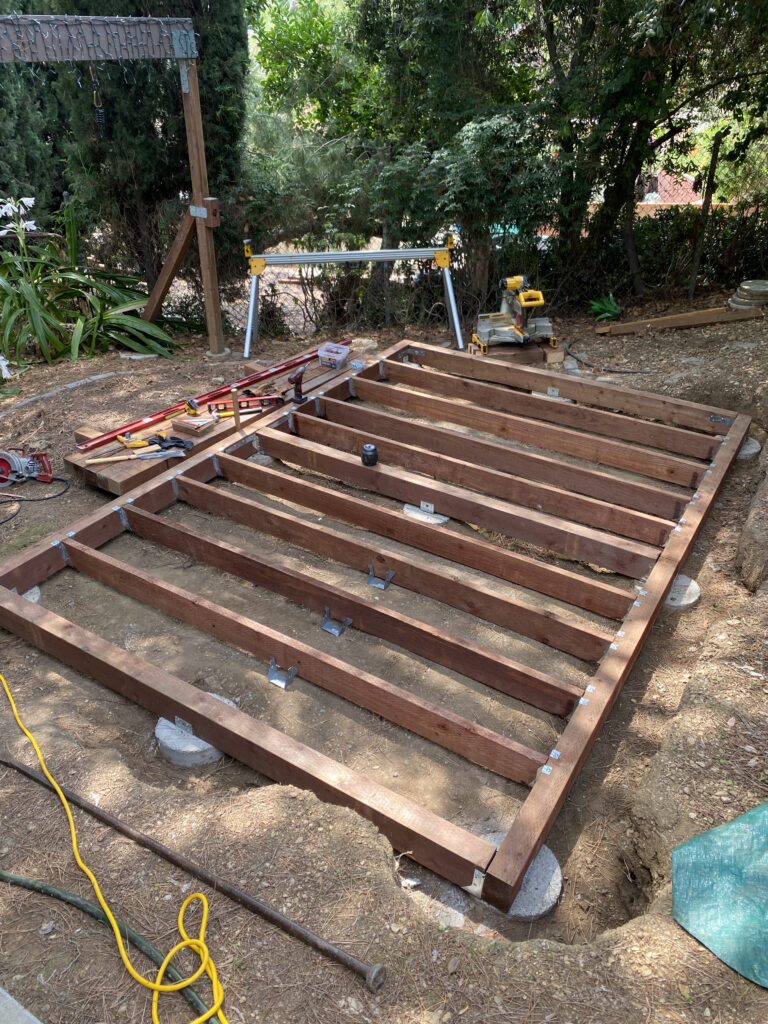
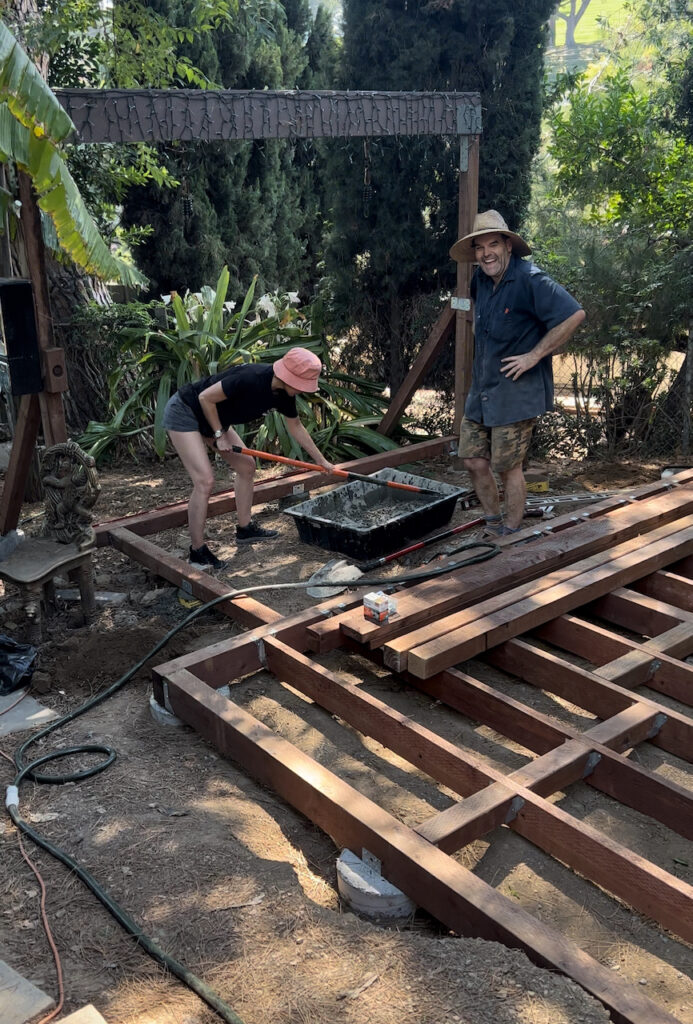
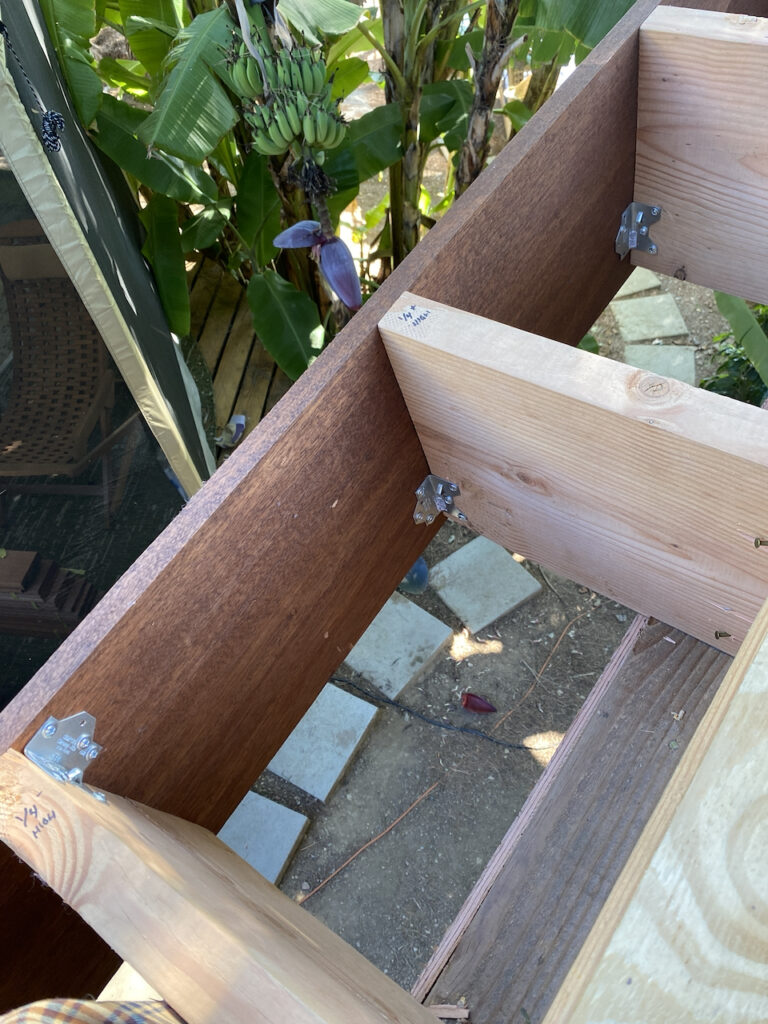
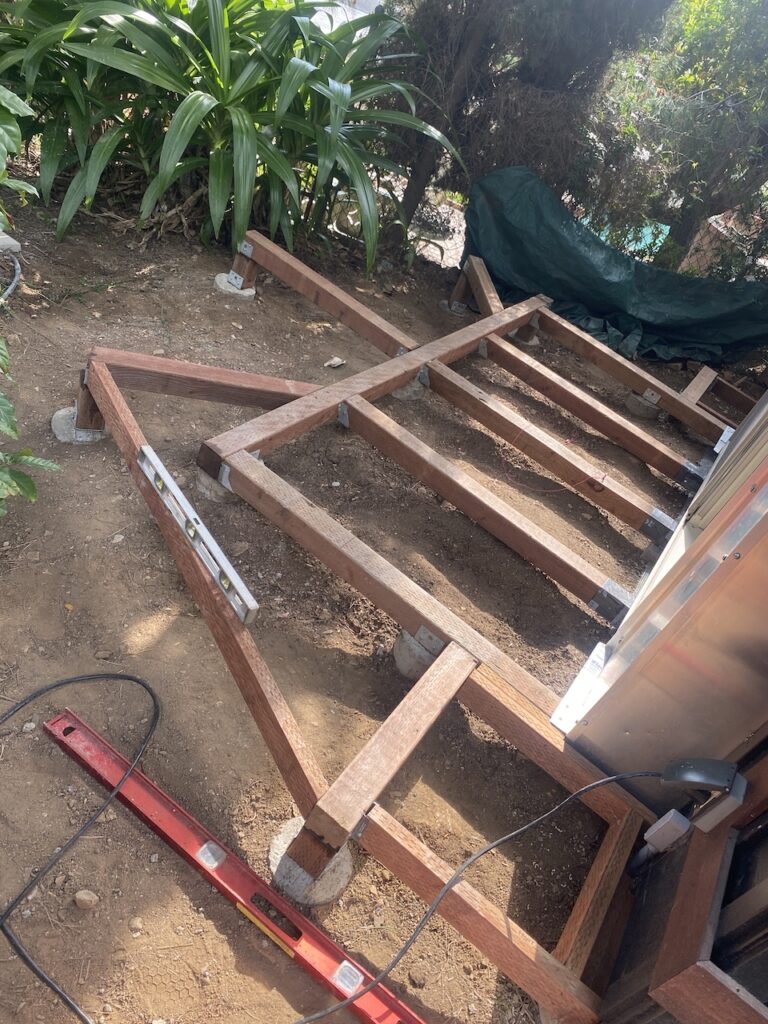
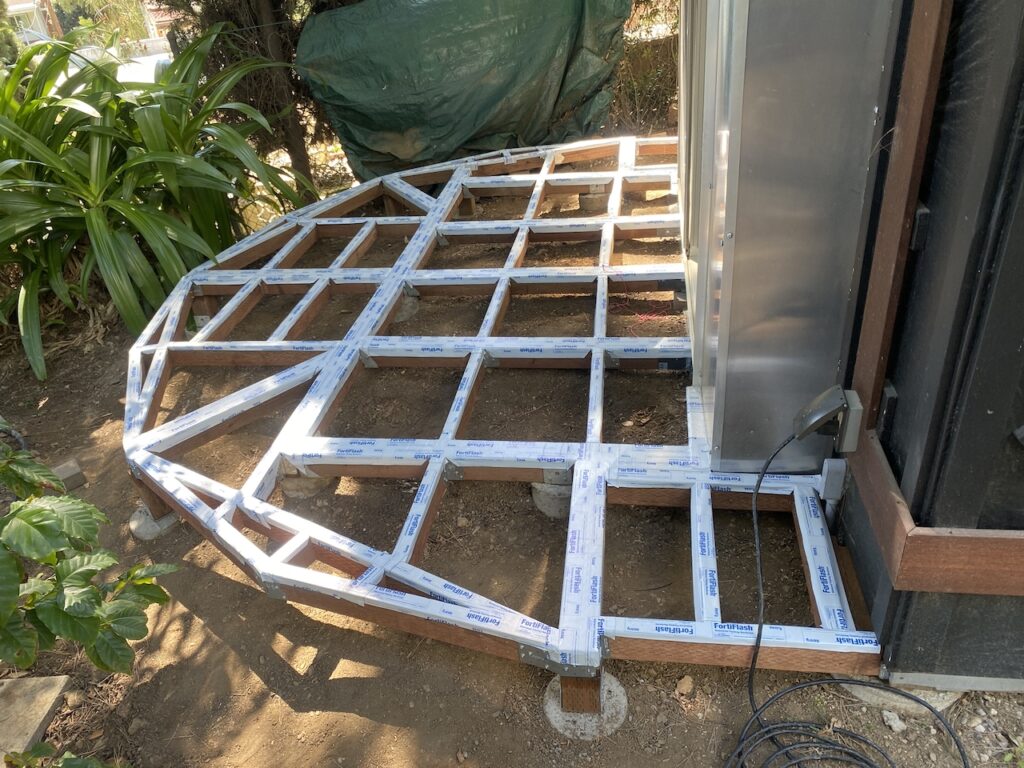
It was at this point when Sylvia had the idea to add a design element into the otherwise simple rectangle- a pop-out where the sliding glass door would sit that would add a one-foot extension to the entry wall. It could be added to the already proposed deck frame that would extend from the hanging chair frame (themselves having cement footings). Our friend, Becky, came over and helped pour the three additional footings we added to the deck frame portion.

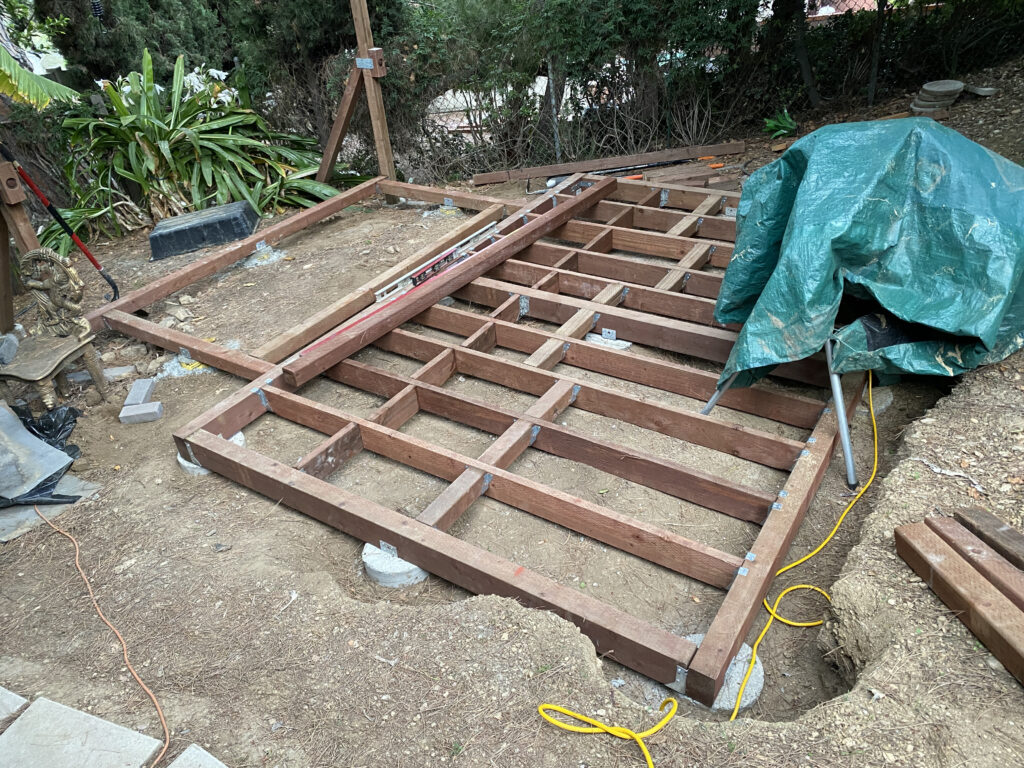
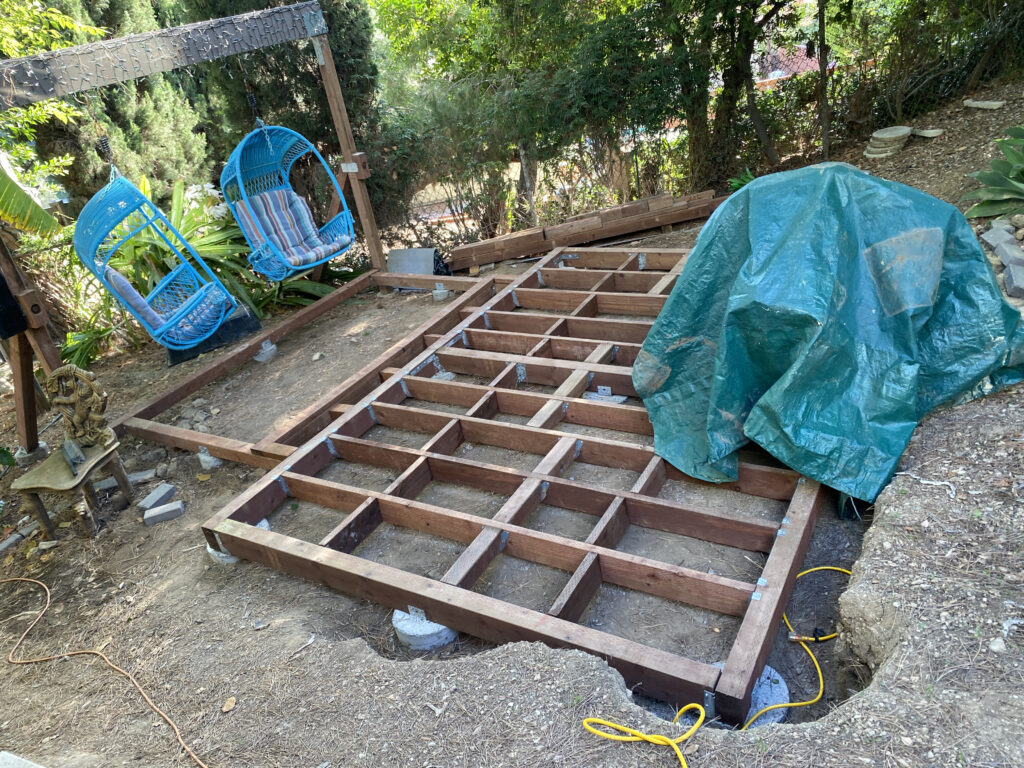

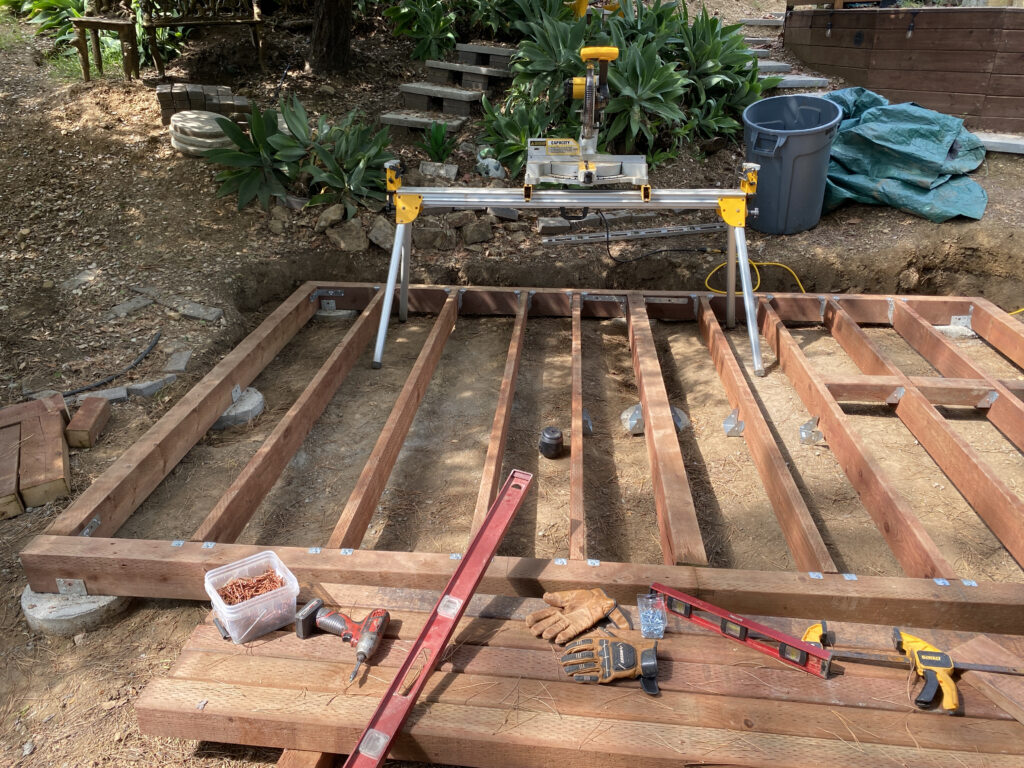
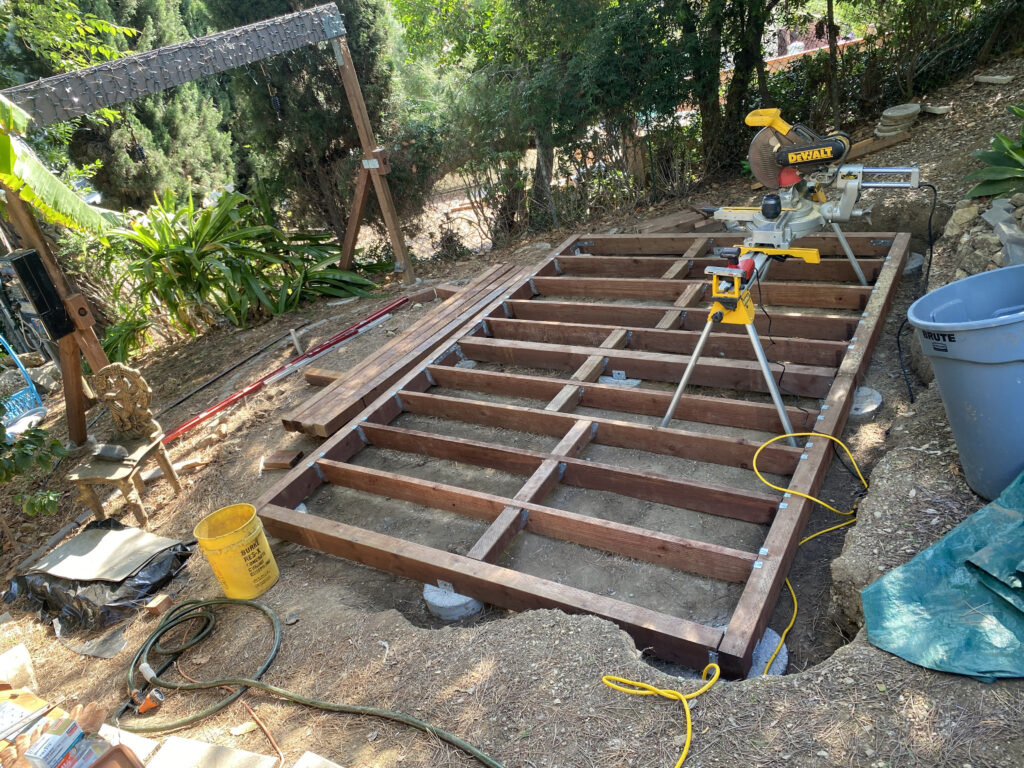
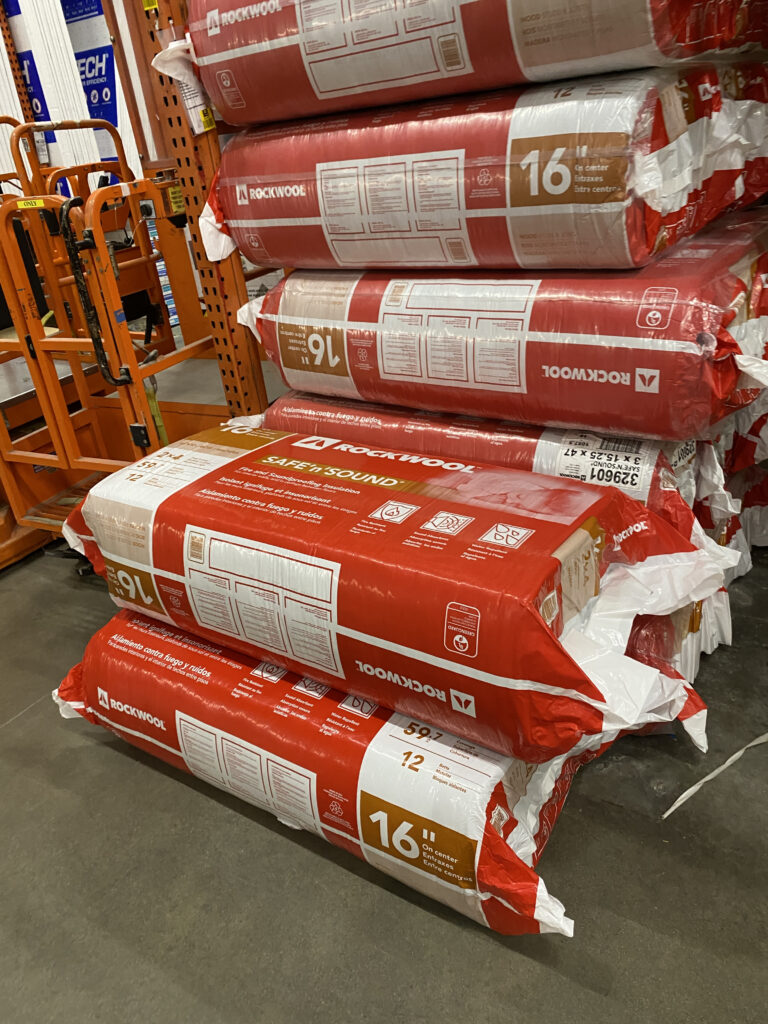
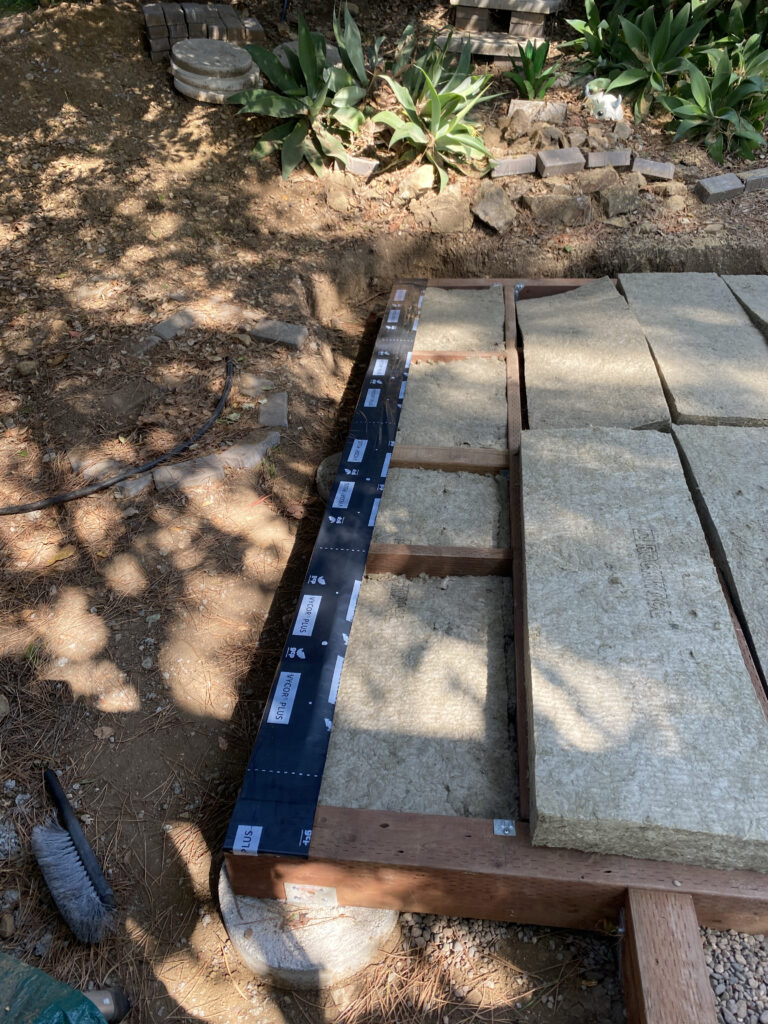
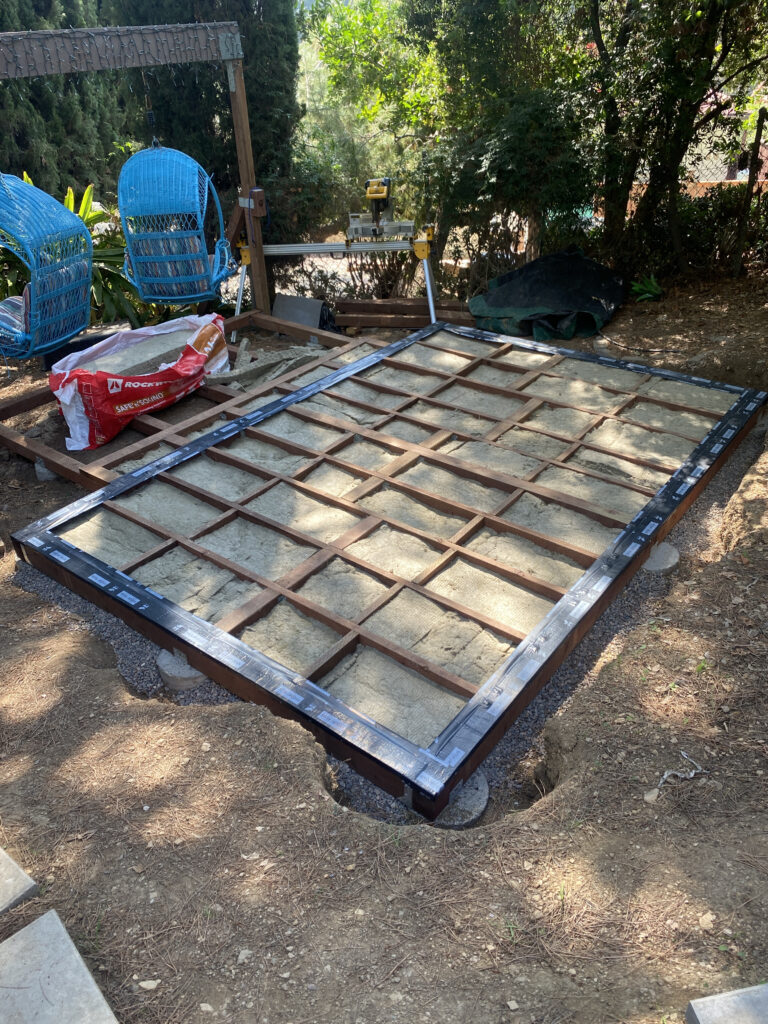
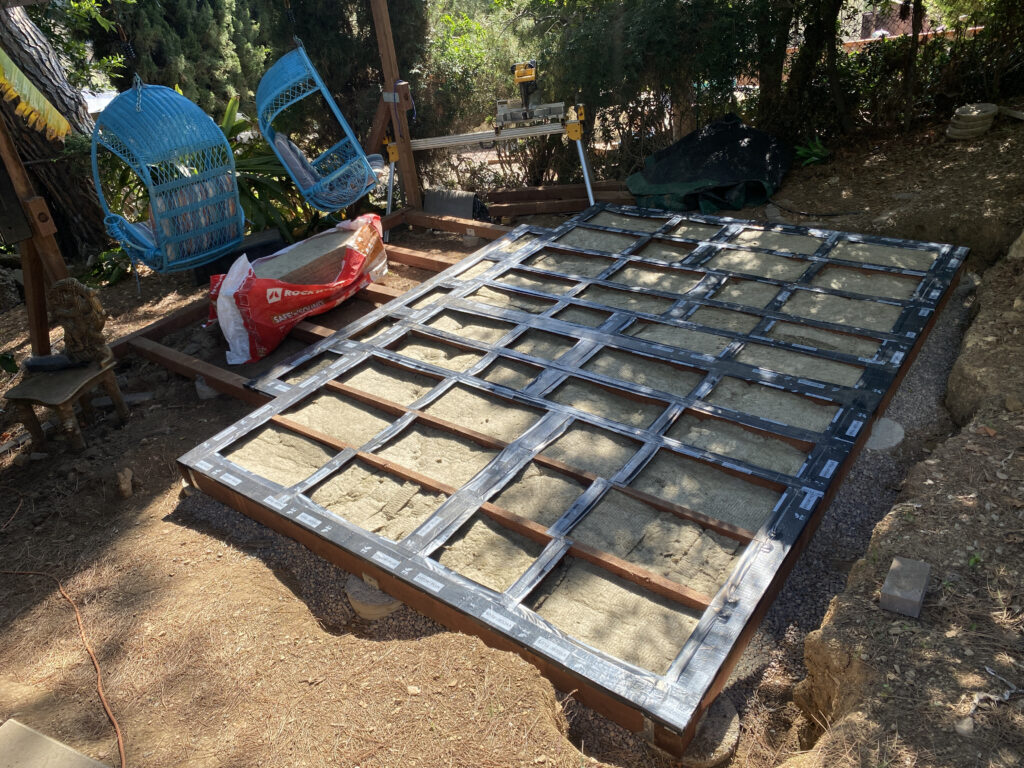
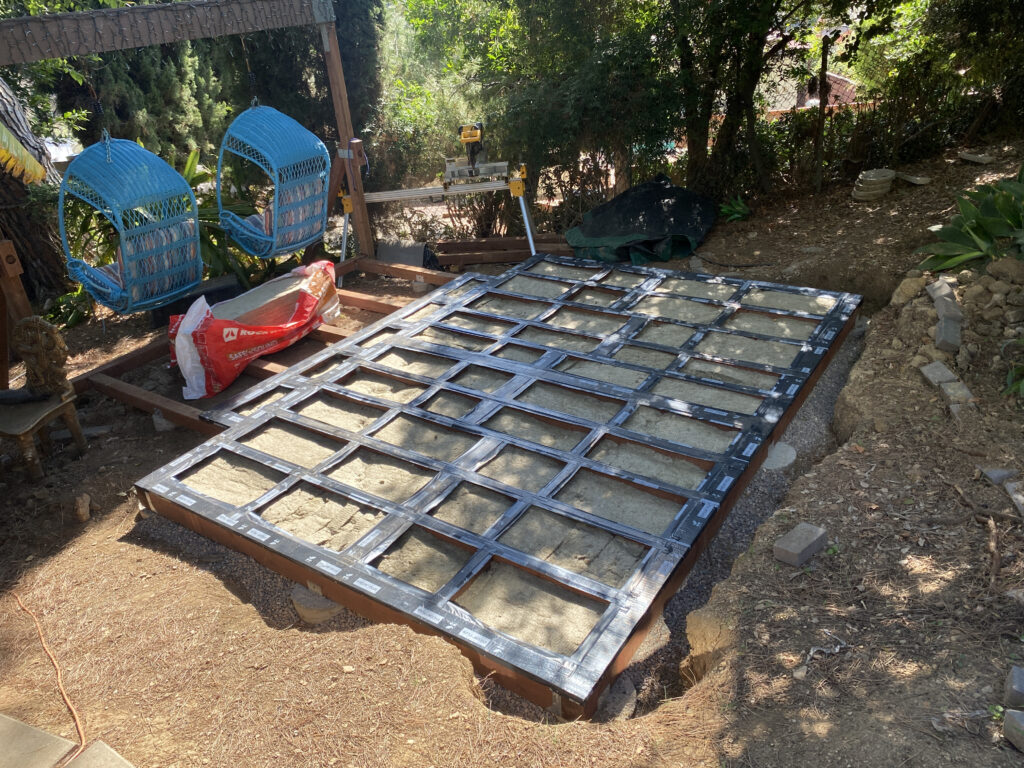
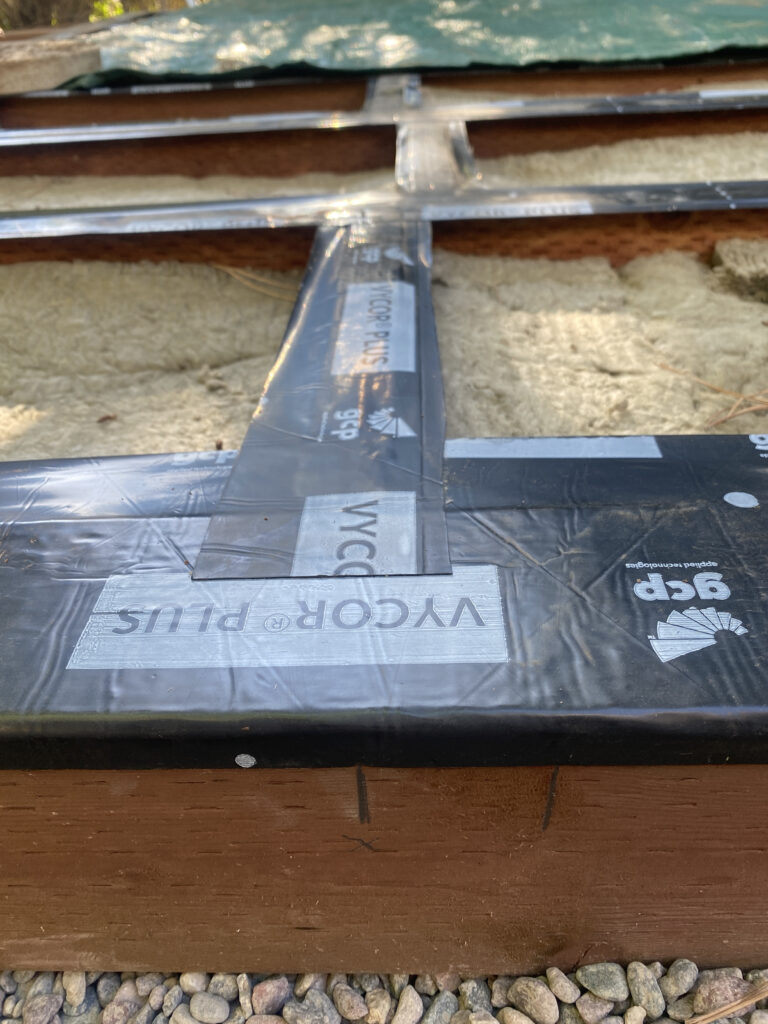
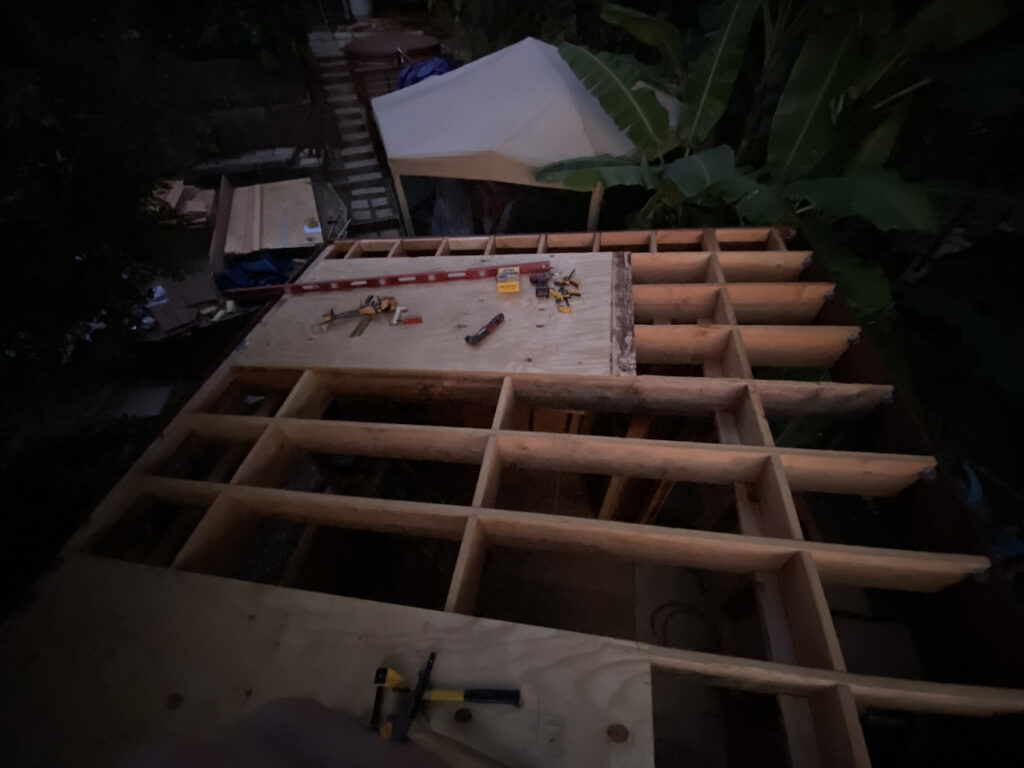
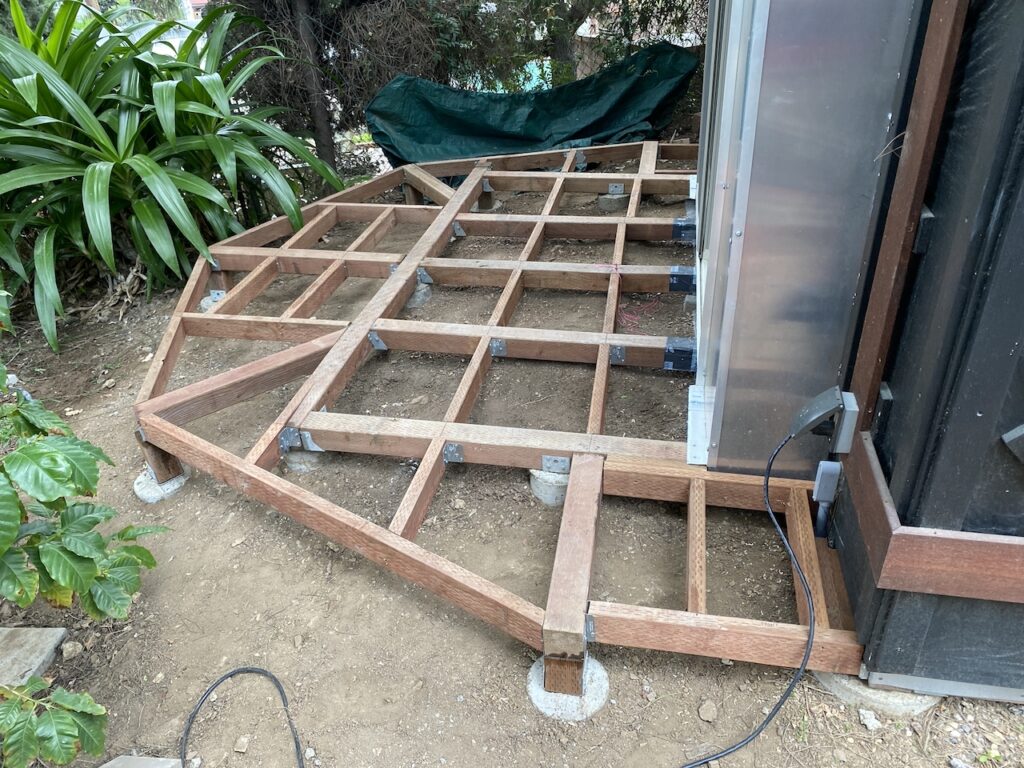
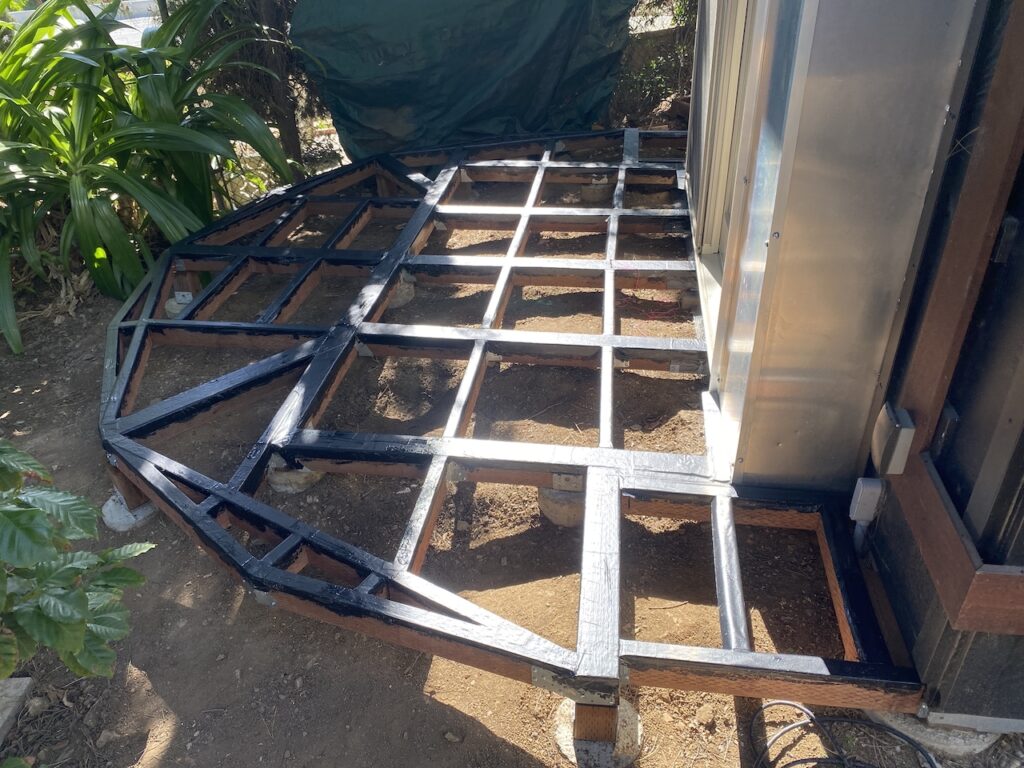
The foundation was finally done with framing, but I still needed to fill the cavities with gravel and add rockwool acoustic insulation below the subfloor. Finally, I added a bituthaine barrier atop all the pressure-treated lumber of the frame to add a bit of noise dampening below the subfloor.
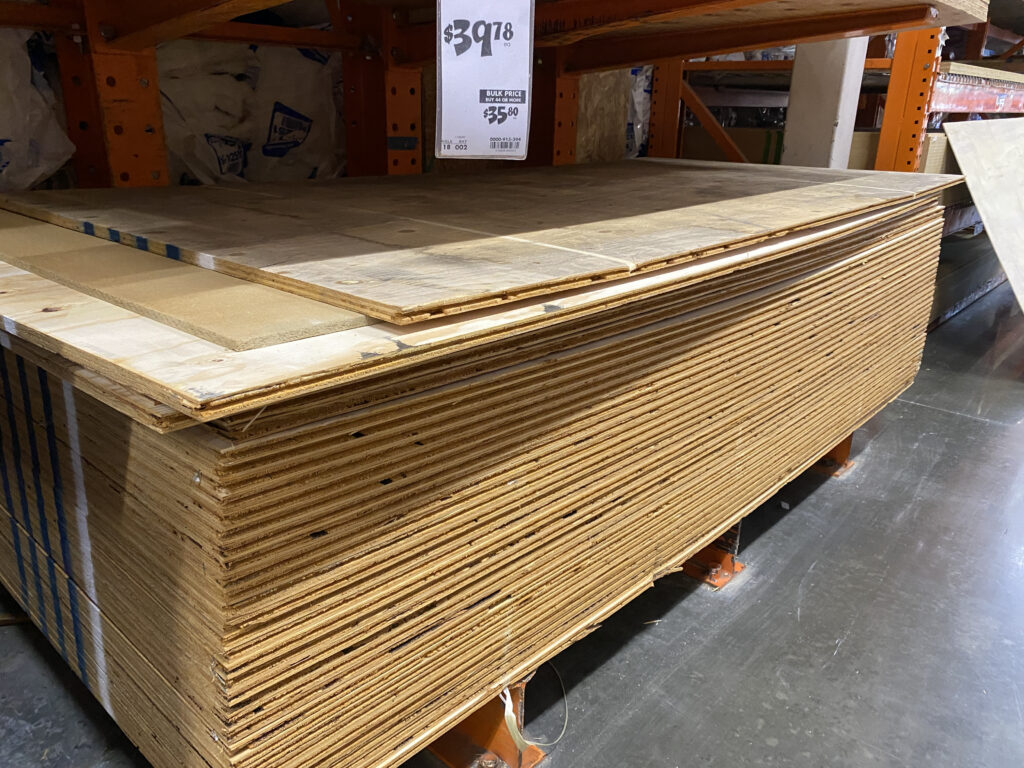
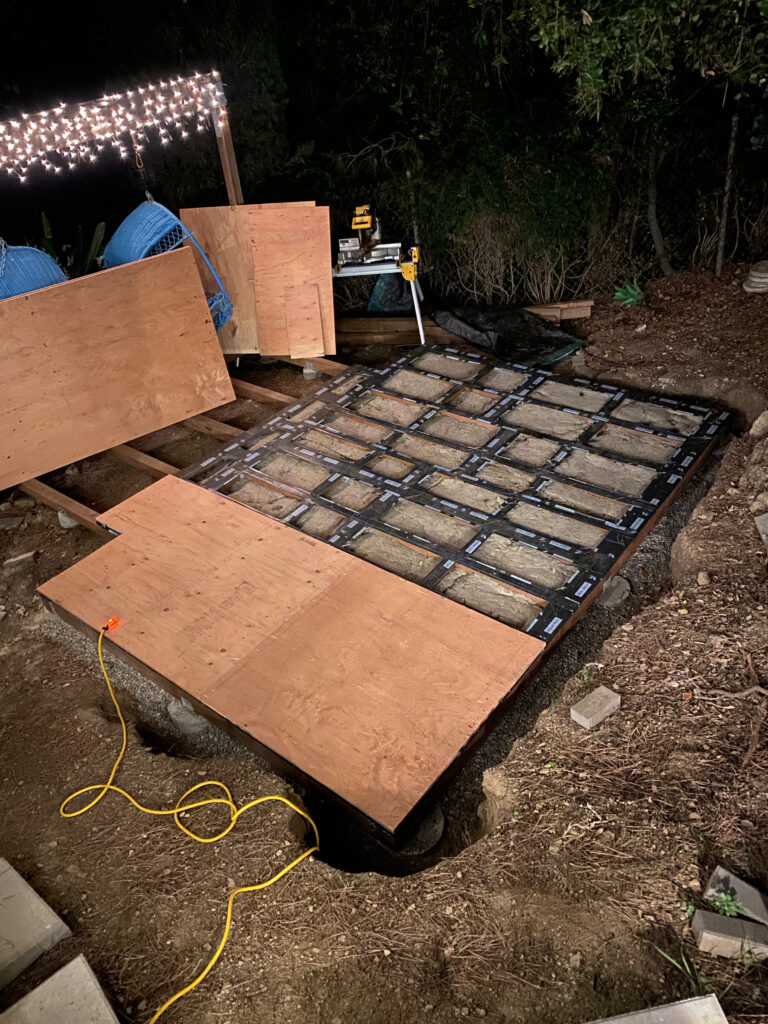
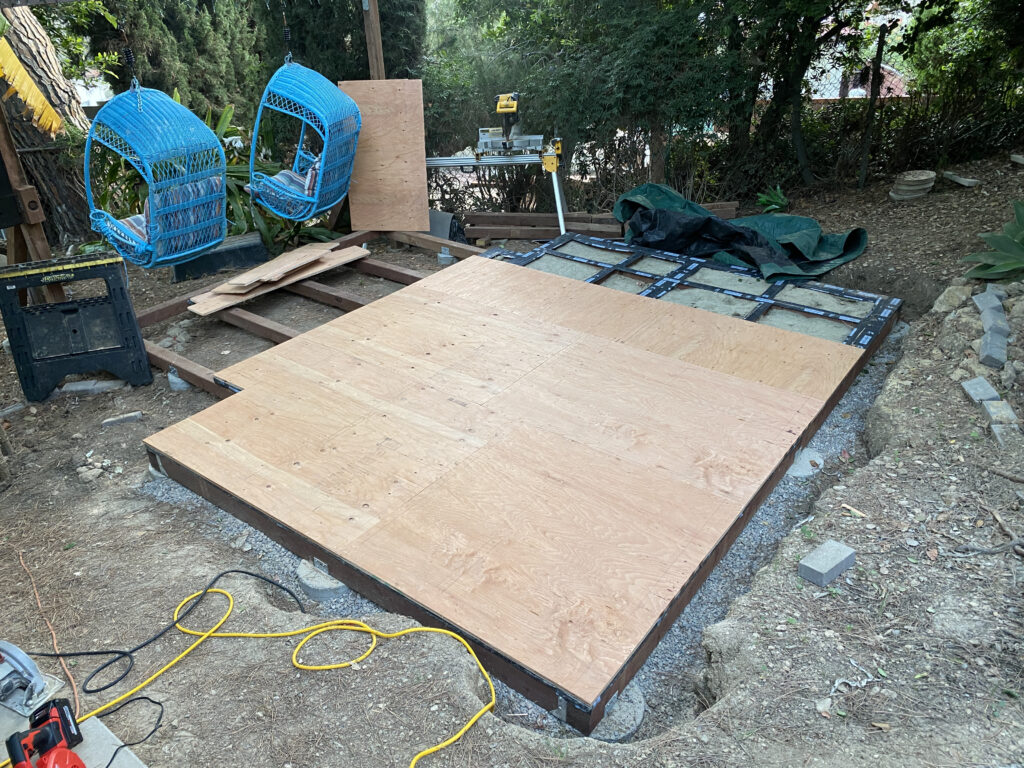
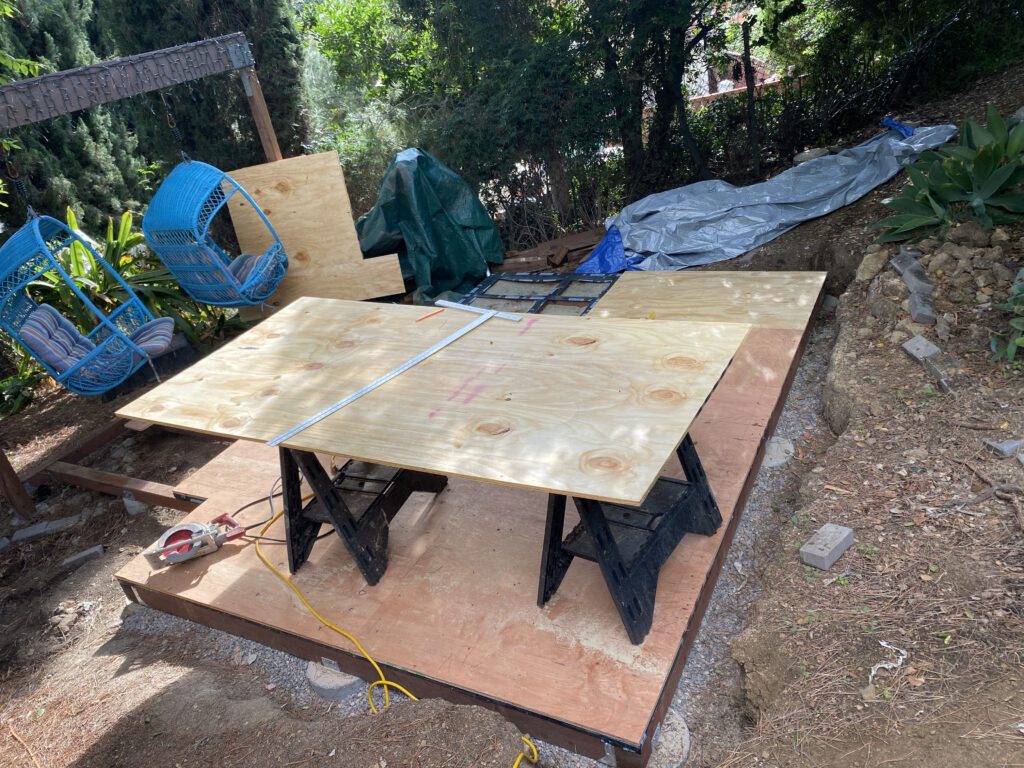
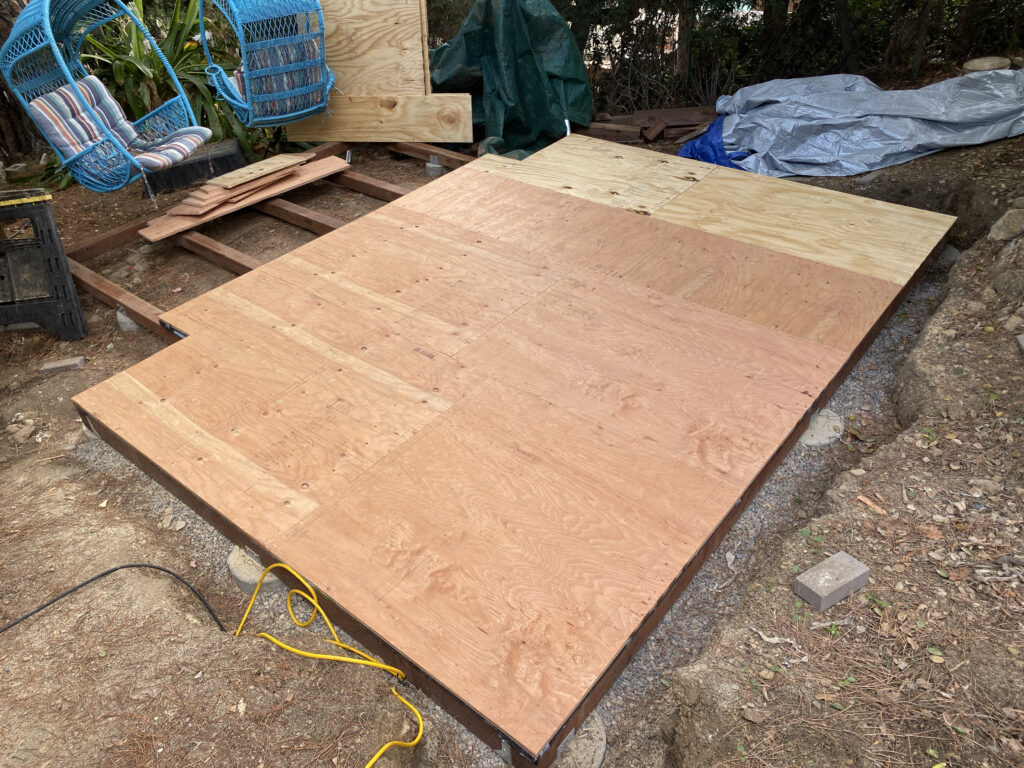
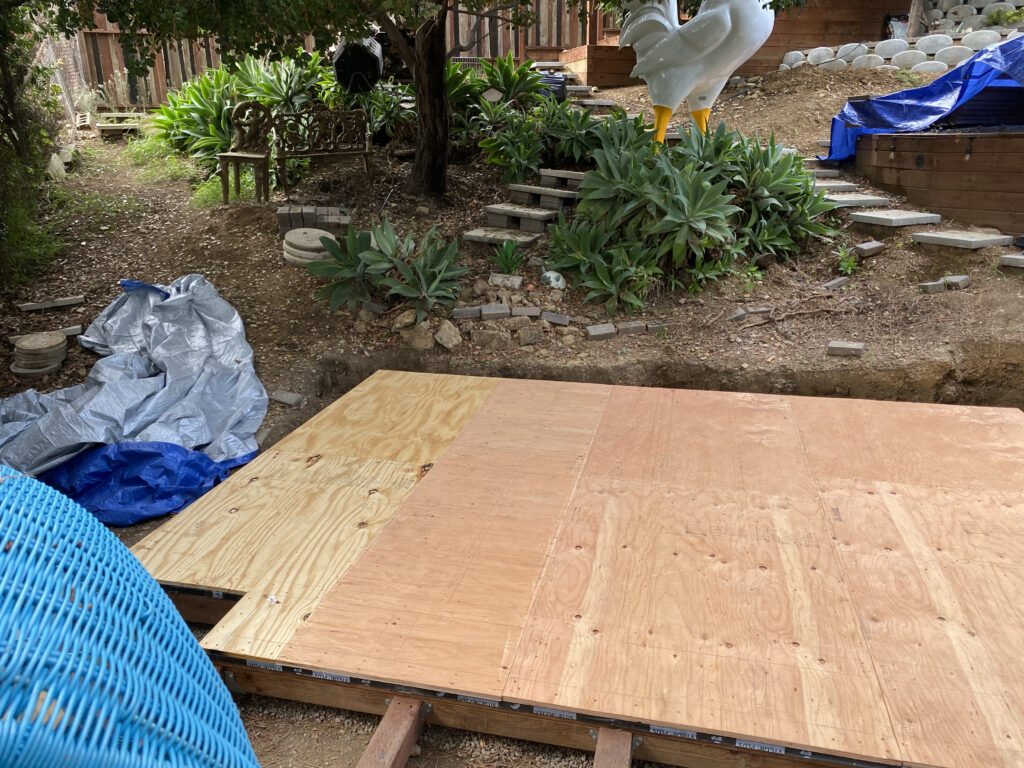
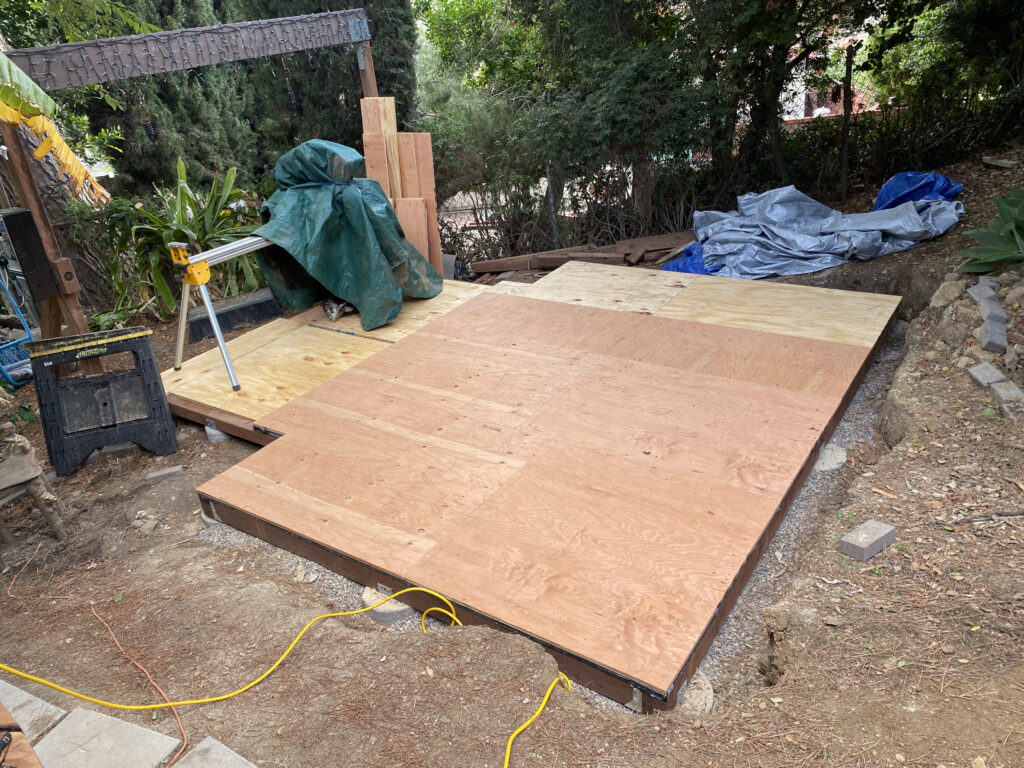
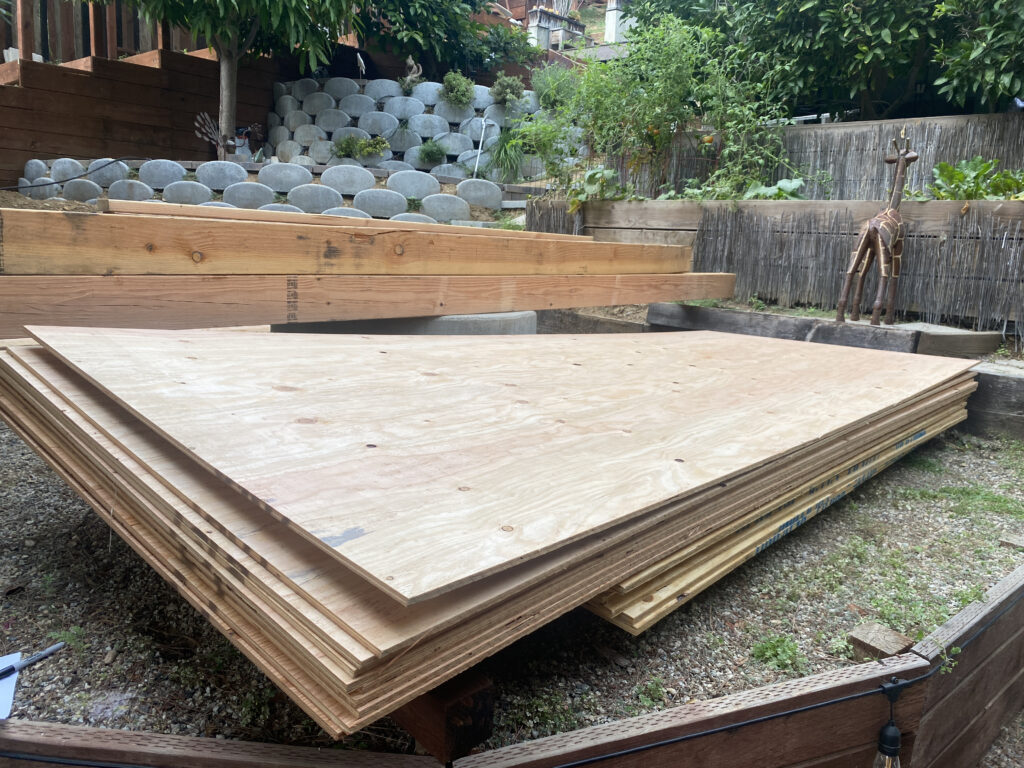
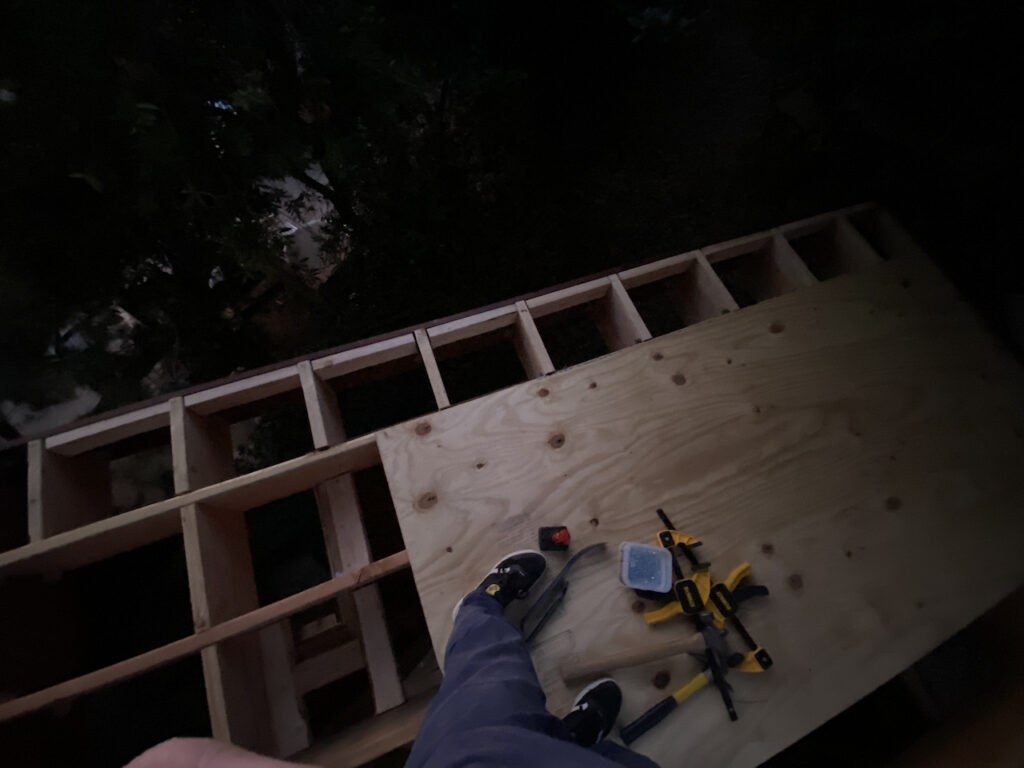
Getting to this point felt like it took forever (it was nearly 2 months since mocking up the scale with tape in the garage), but it was finally time to add the plywood flooring. 3/4″ ply was added, and the result was a little stage in our backyard.


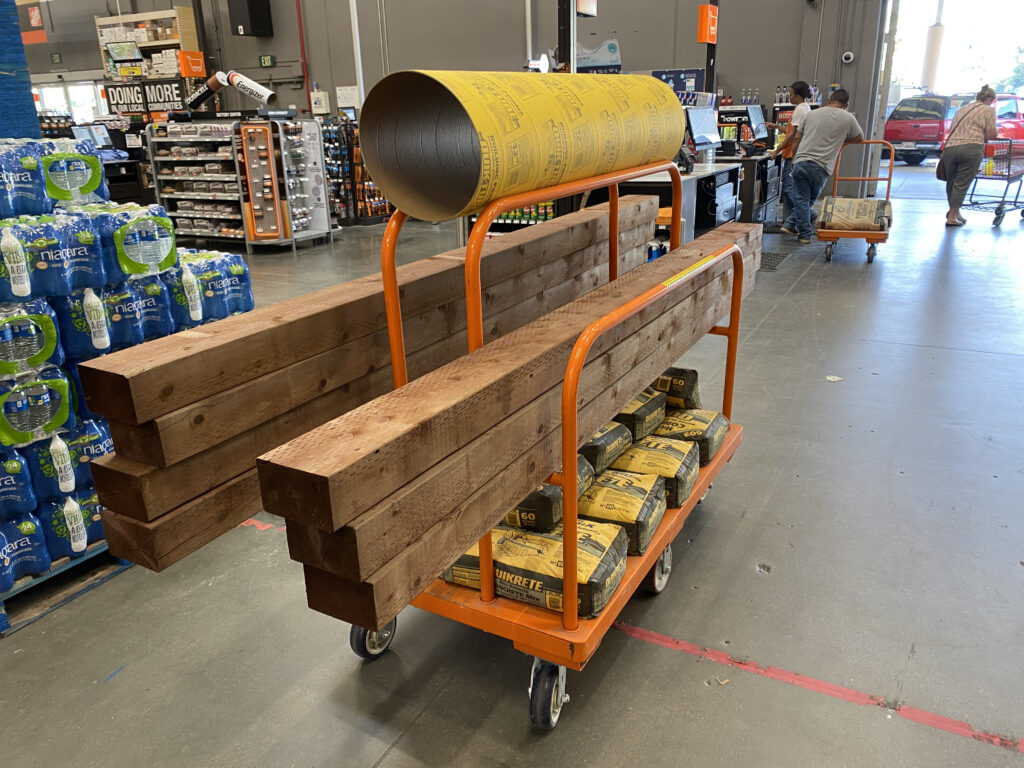
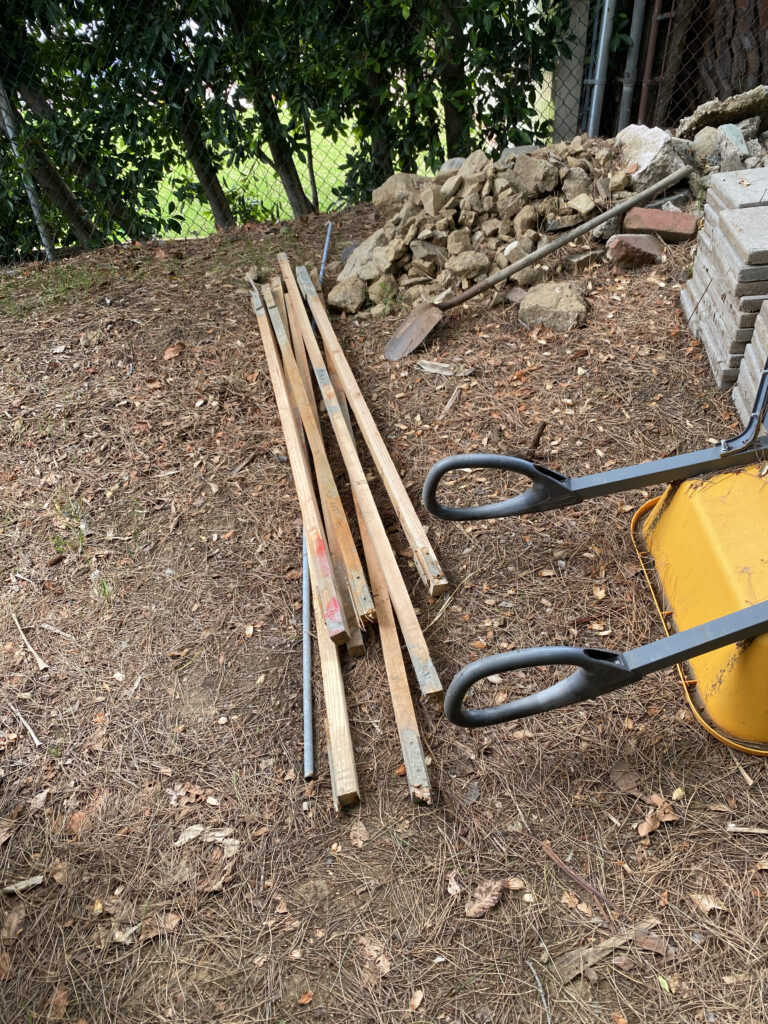
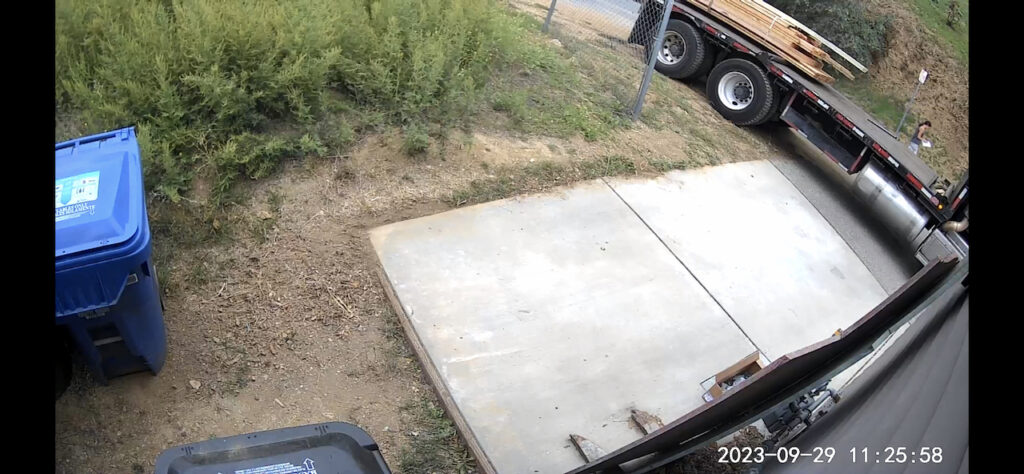
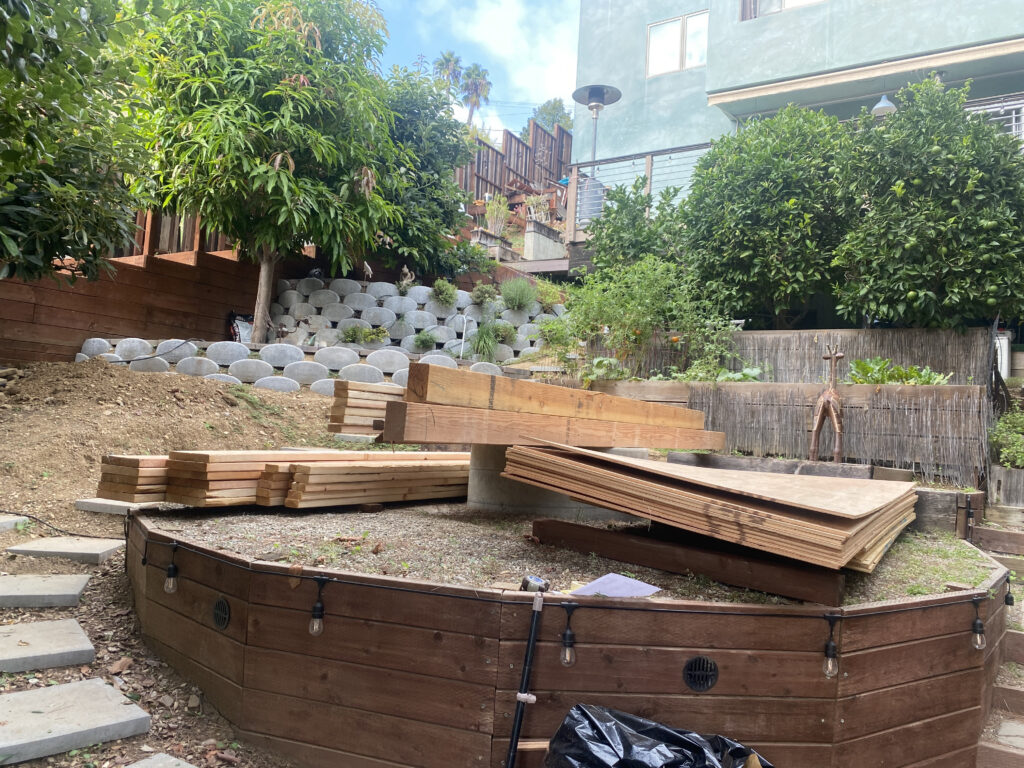
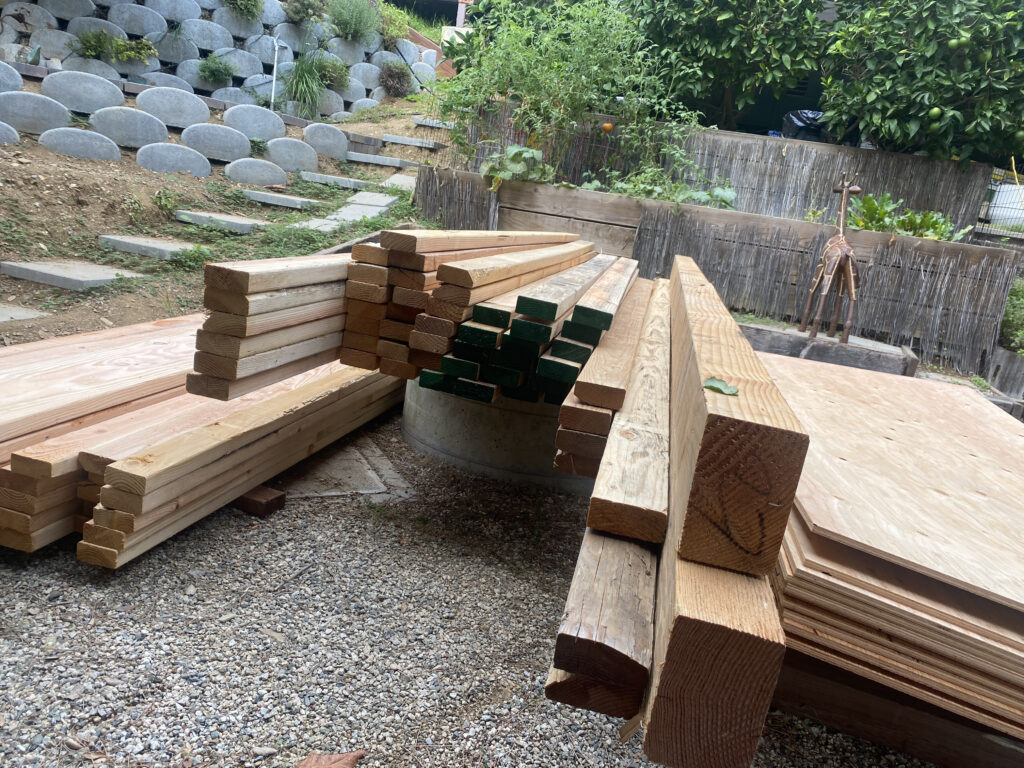
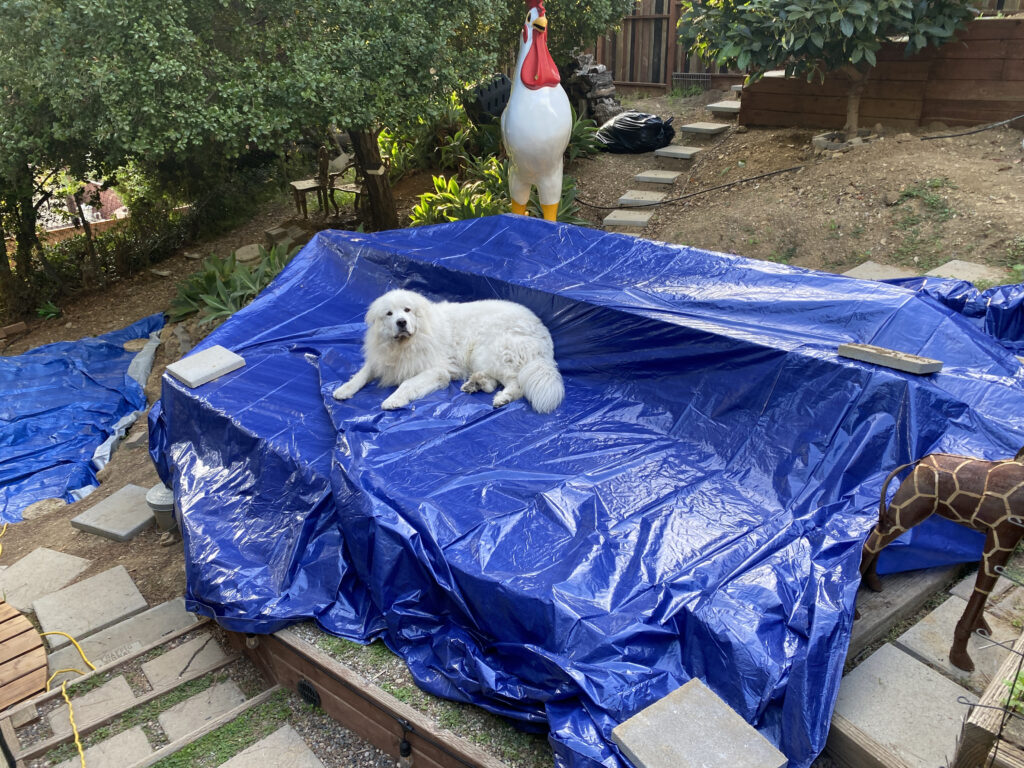
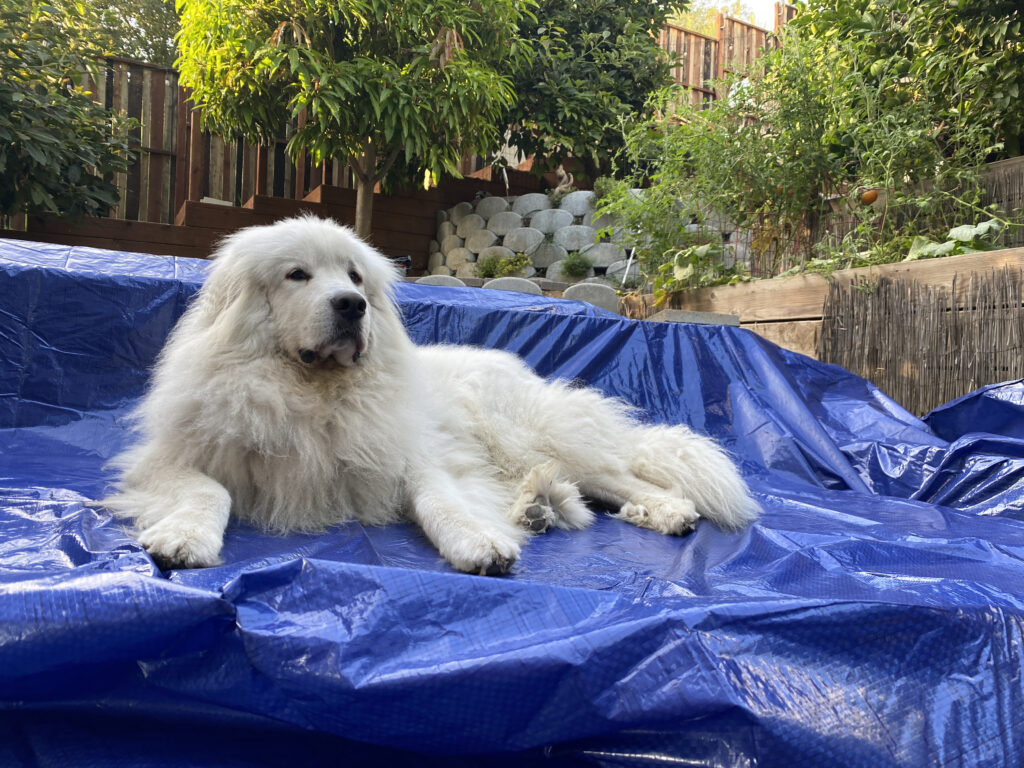
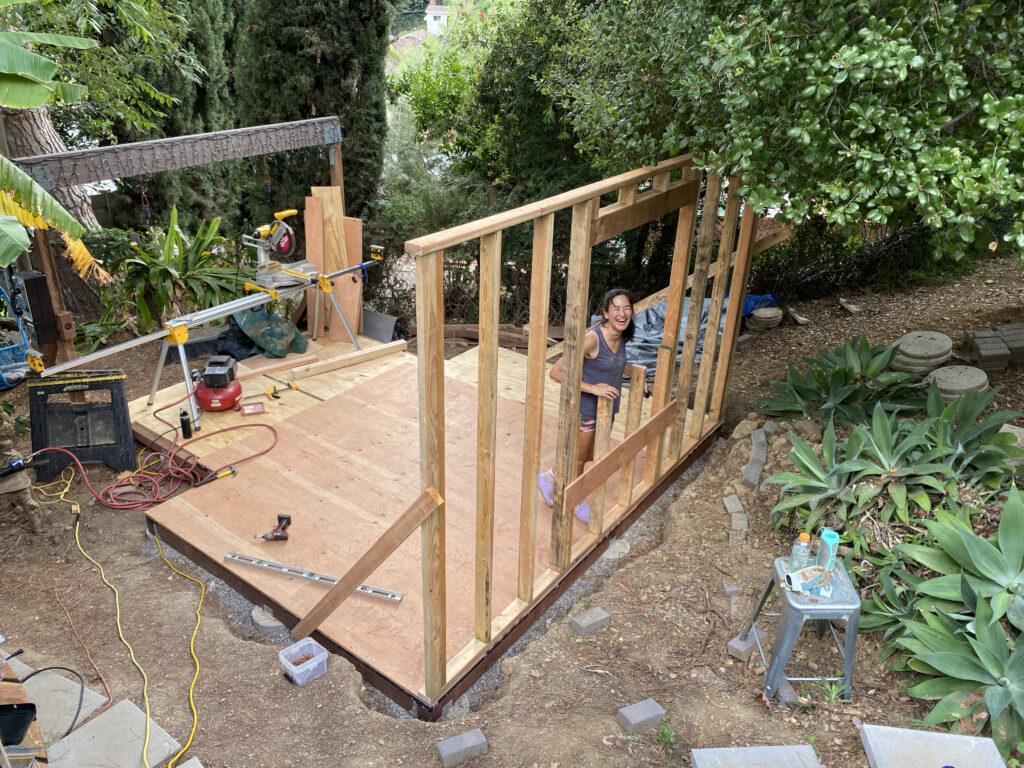
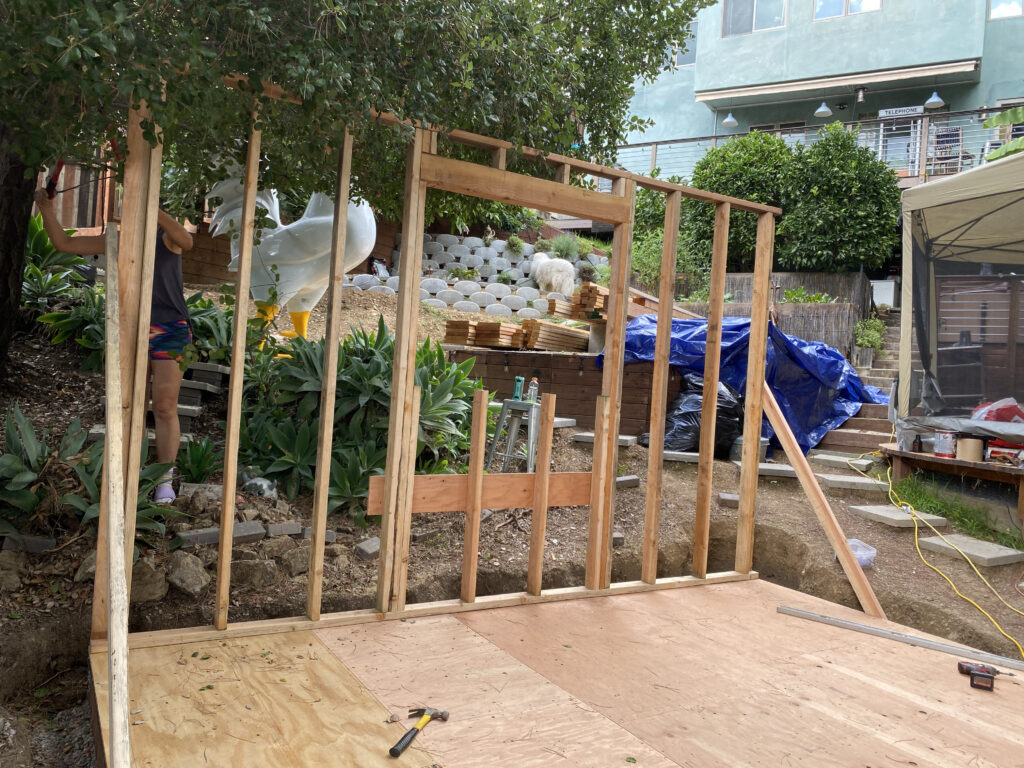
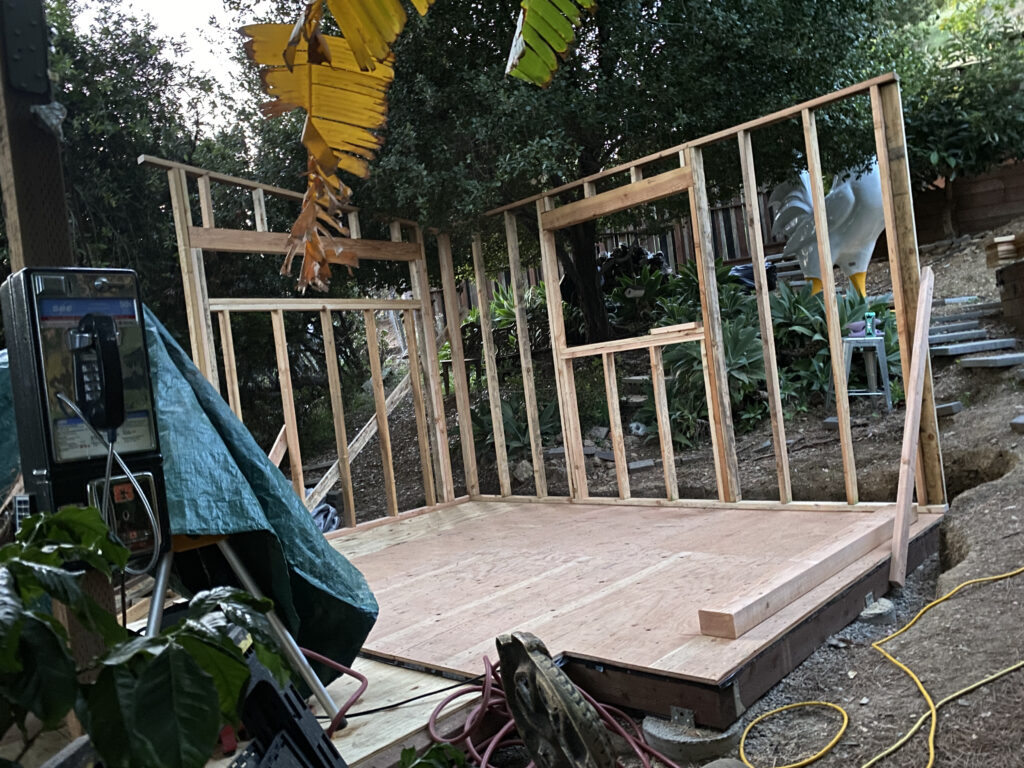
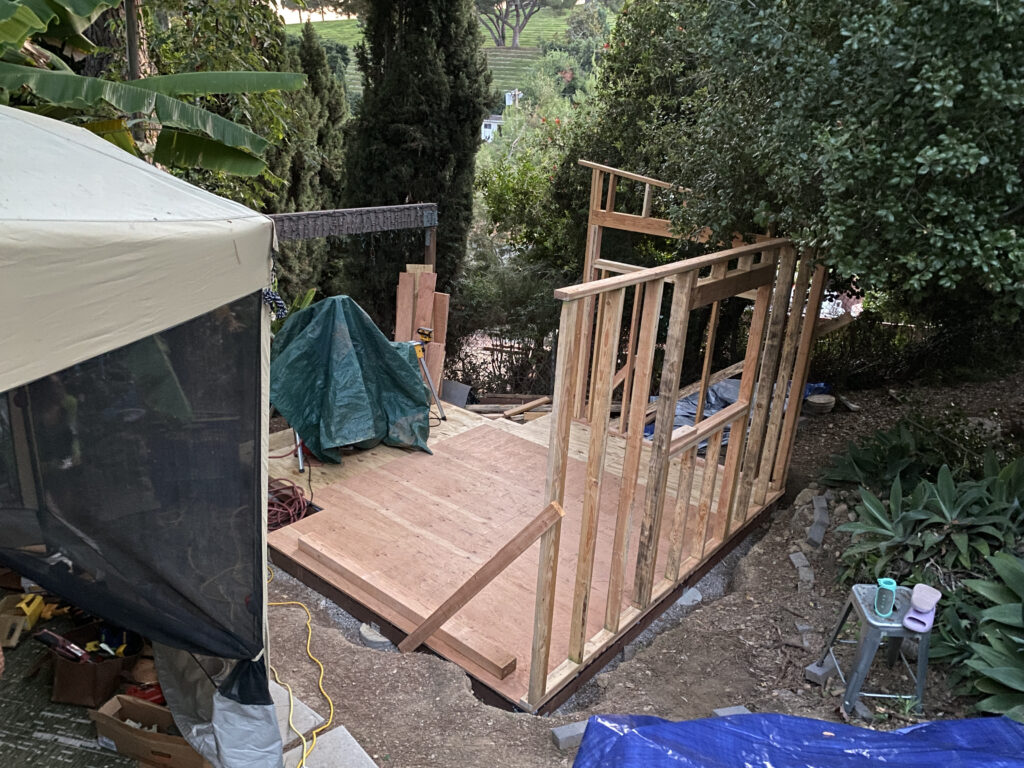
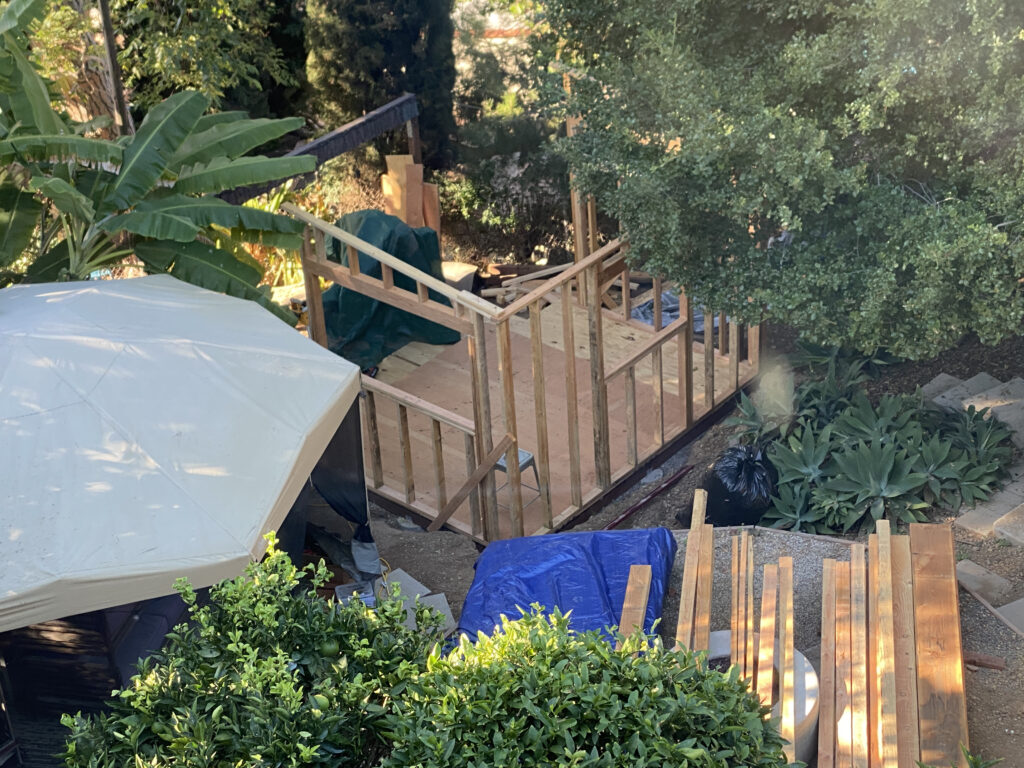
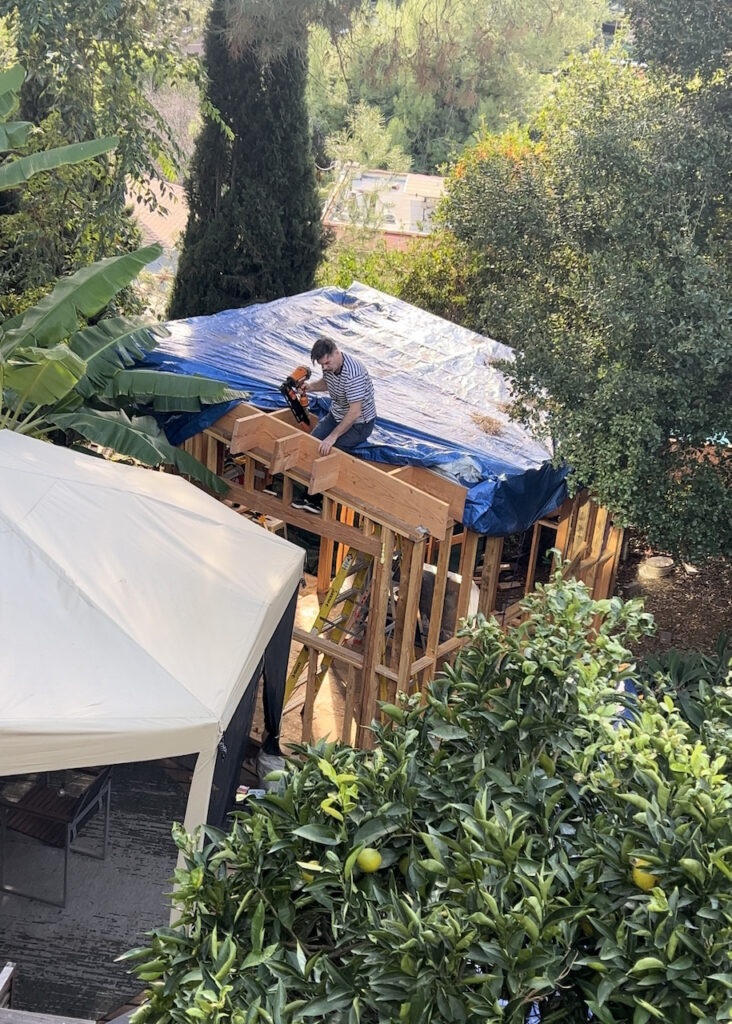
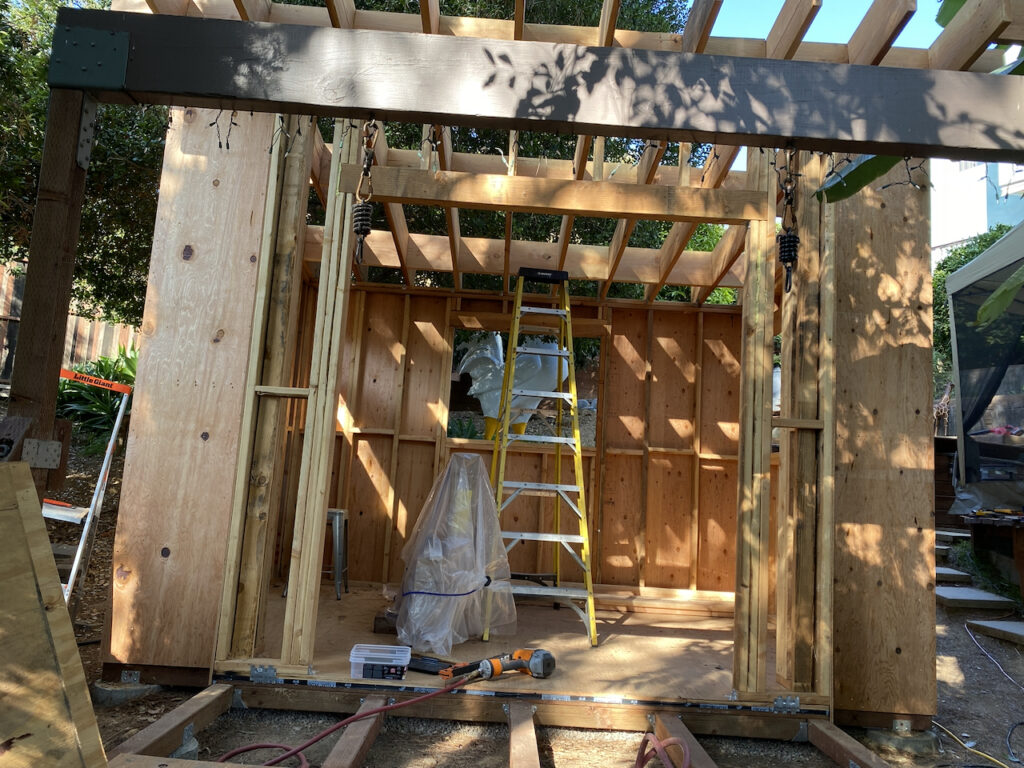
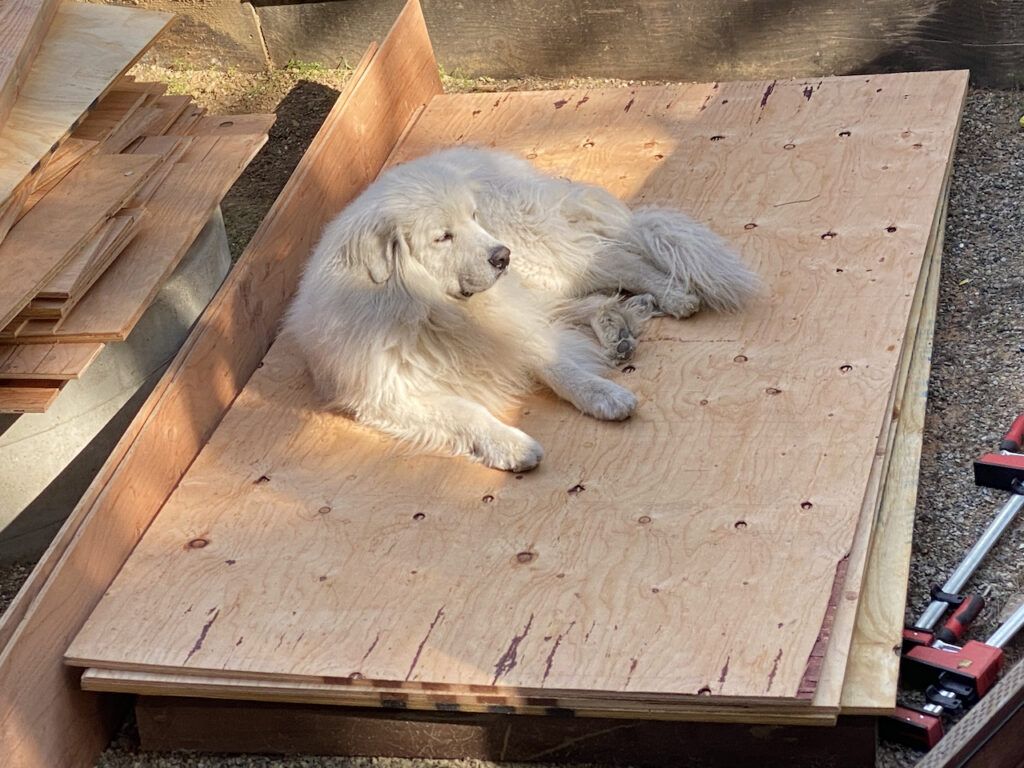
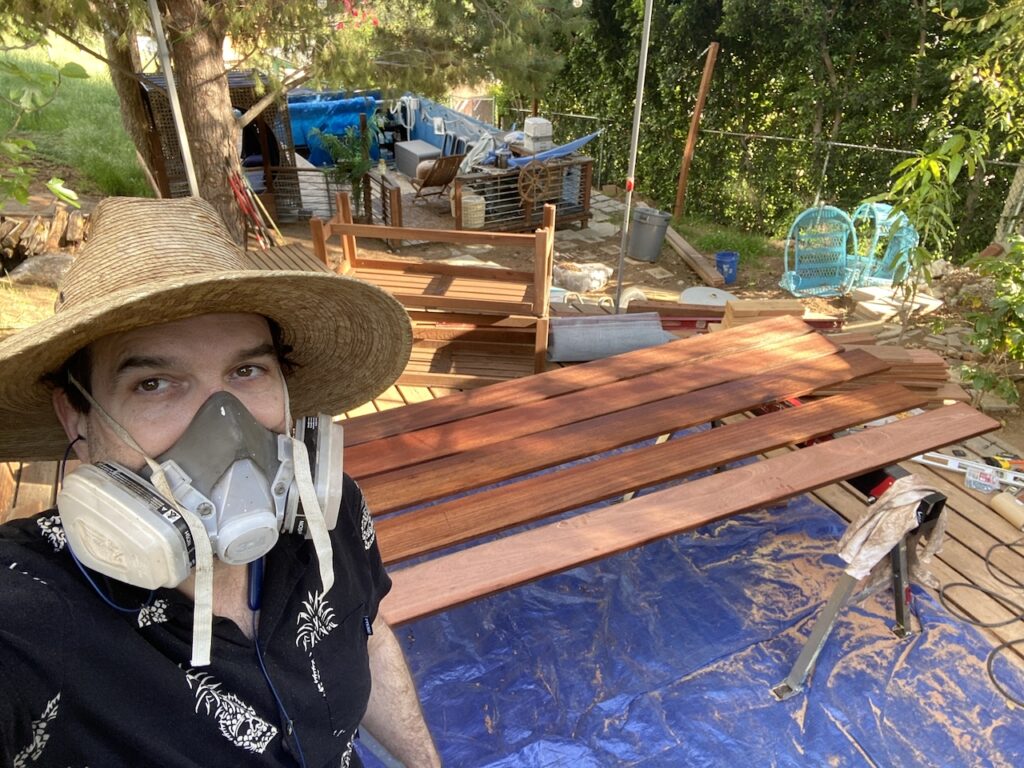
Framing is the part of construction that is most satisfying. While a massive amount of time and energy goes into foundational work, it’s mostly unseen. By contrast, framing takes little time, but creates the most demonstrable progress. In less than two hours, you can put up a wall (at least that was how long it took Sylvia and me during that phase of the project). We purchased all the lumber from the same company that we bought the lumber for our house (though it’s changed names/ownership twice in the intervening time). They showed up with a flatbed and dropped-off all the lumber in one plop. I then took half a day to carry it all down the hill to stage it near the construction site. It was going to rain the following day (and did!), so we immediately purchased some giant tarps for the lumber and the stage. Mr. Business loved the big blue tarp. His big blue tarp.

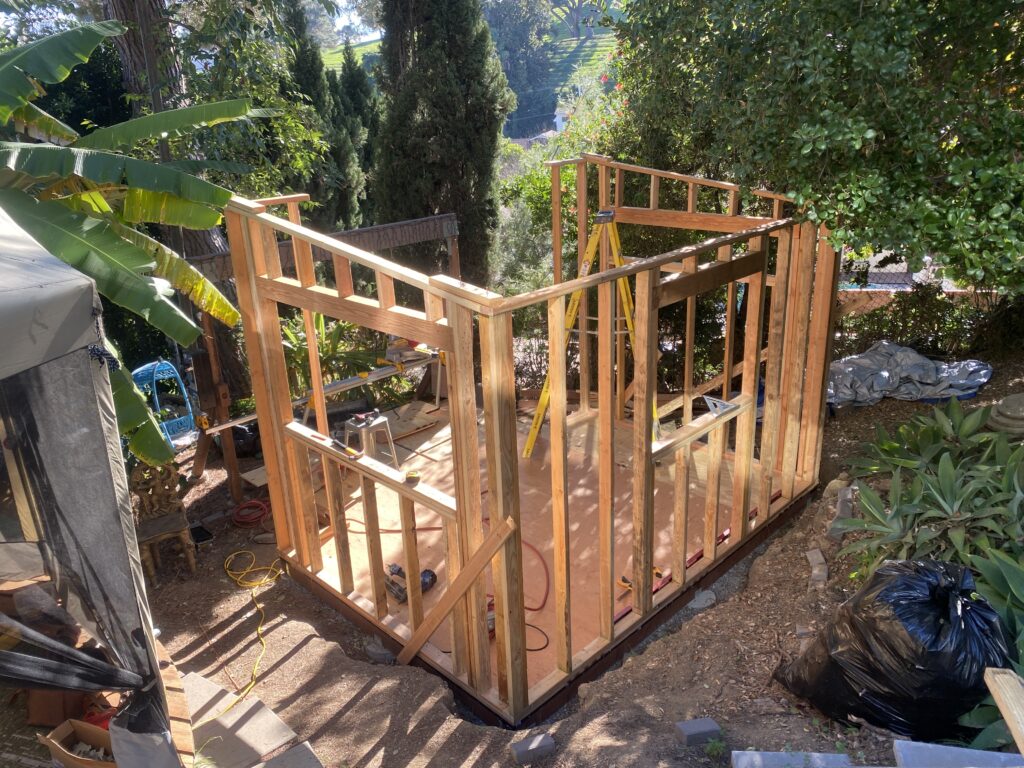
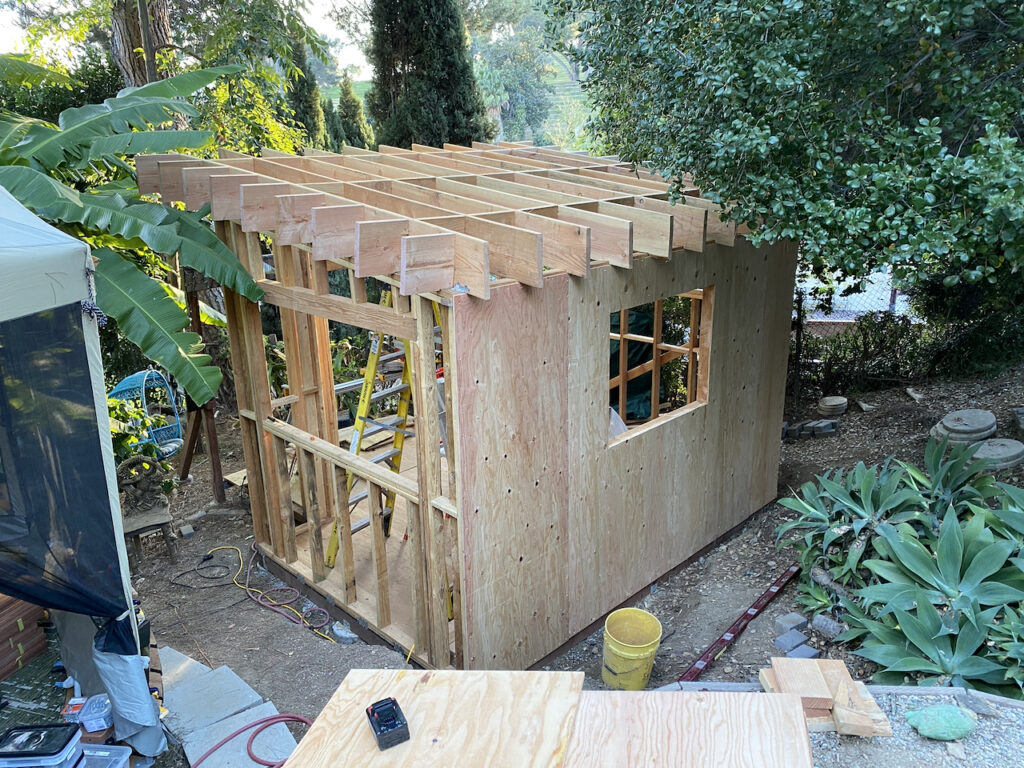
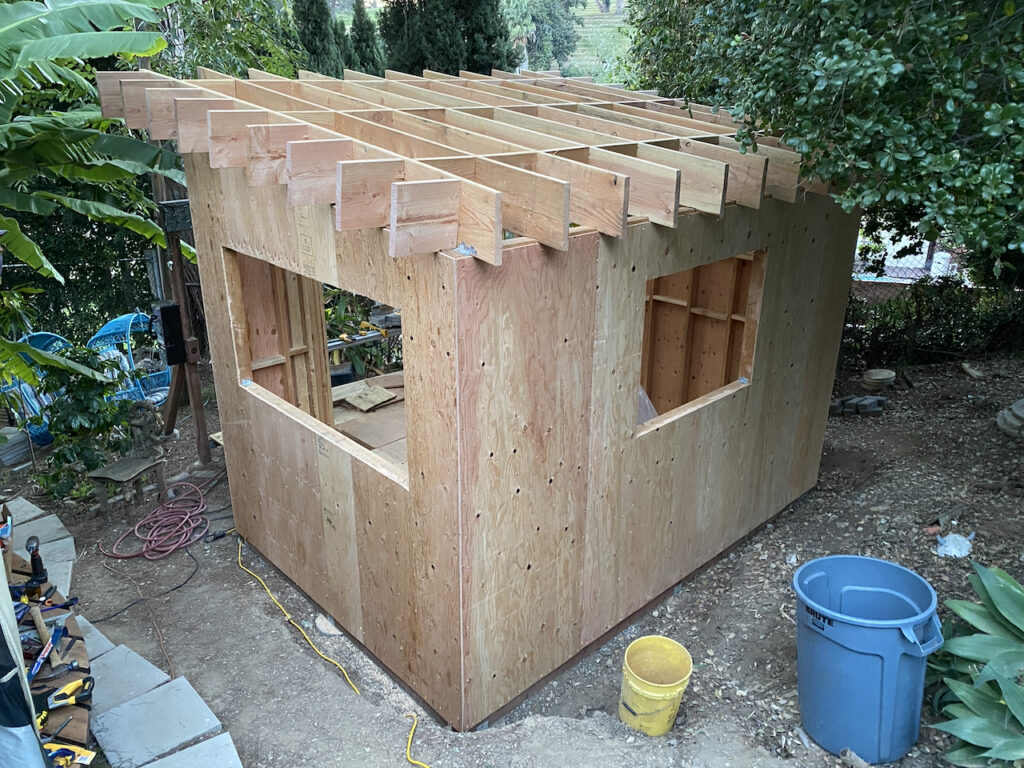
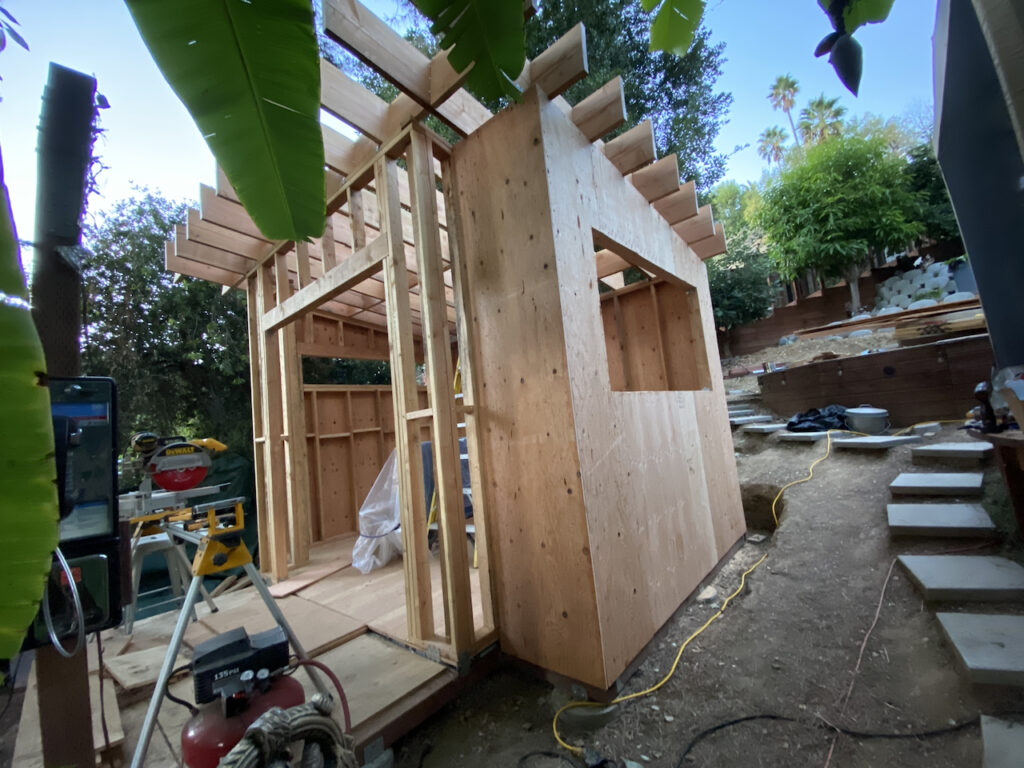
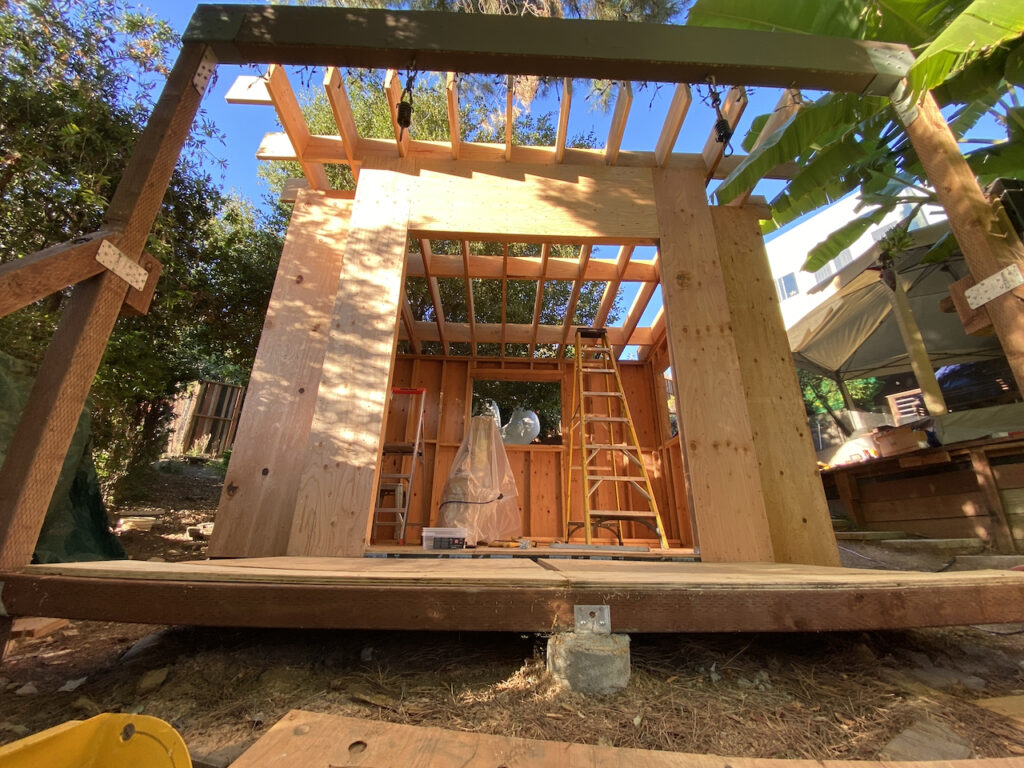
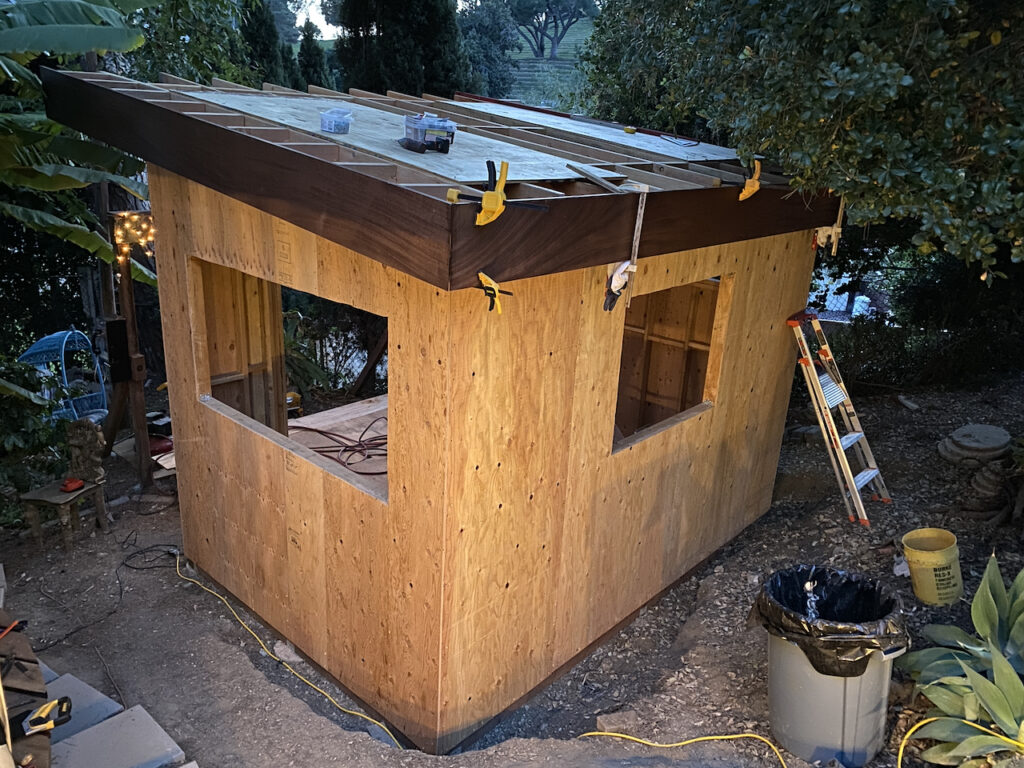
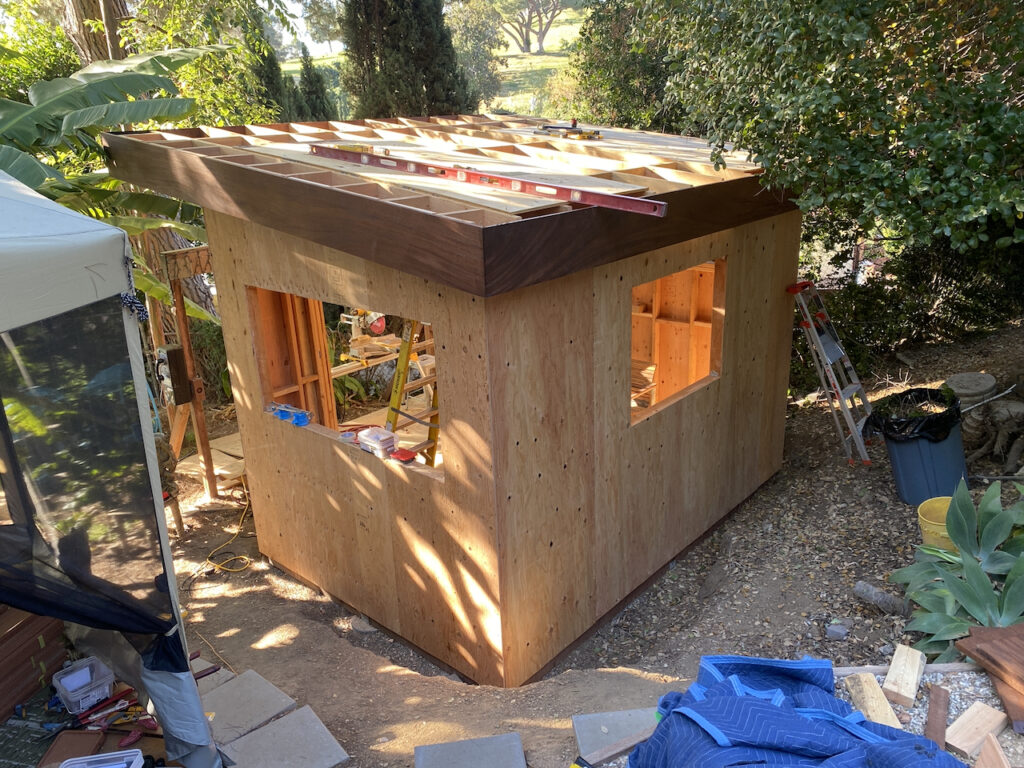
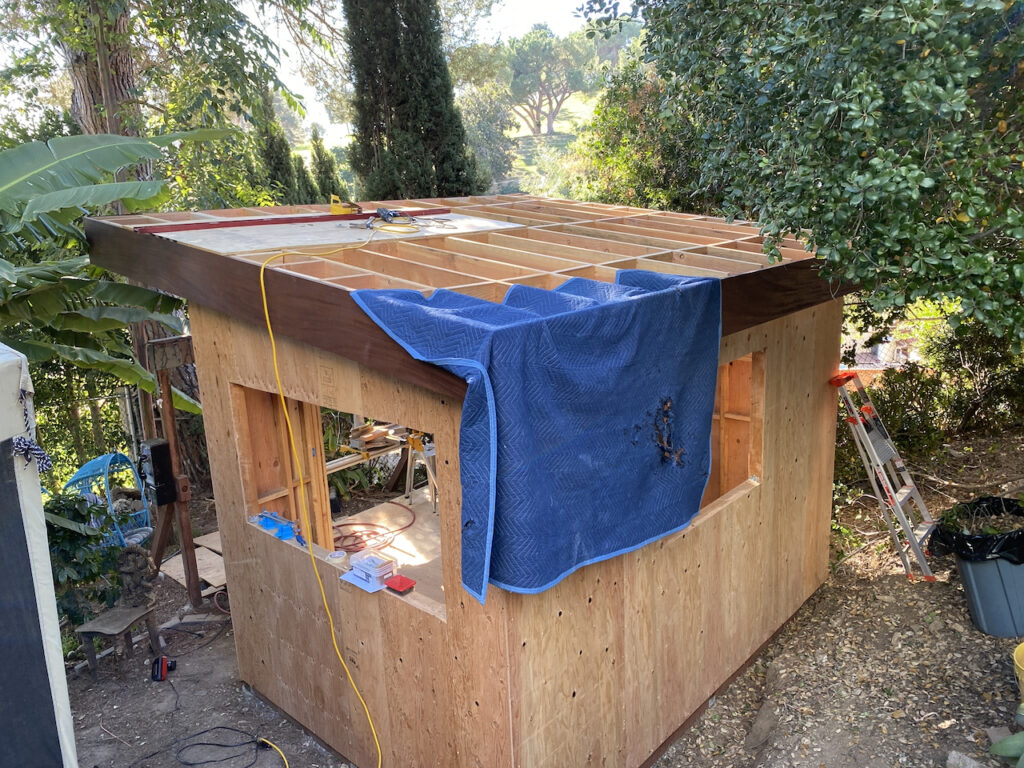
Once the framing was stood up, we added the roof joists and exterior plywood sheathing. Suddenly it was a little house! (Note: due to intermittent rain, a couple months went by between framing and putting up the roof)
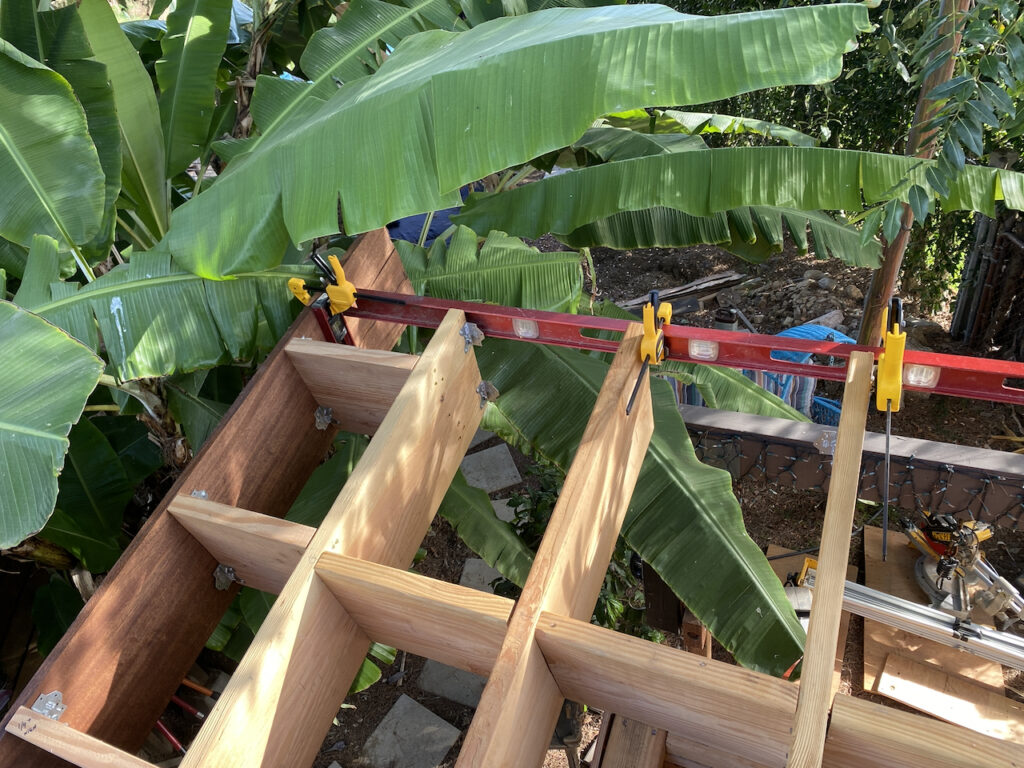
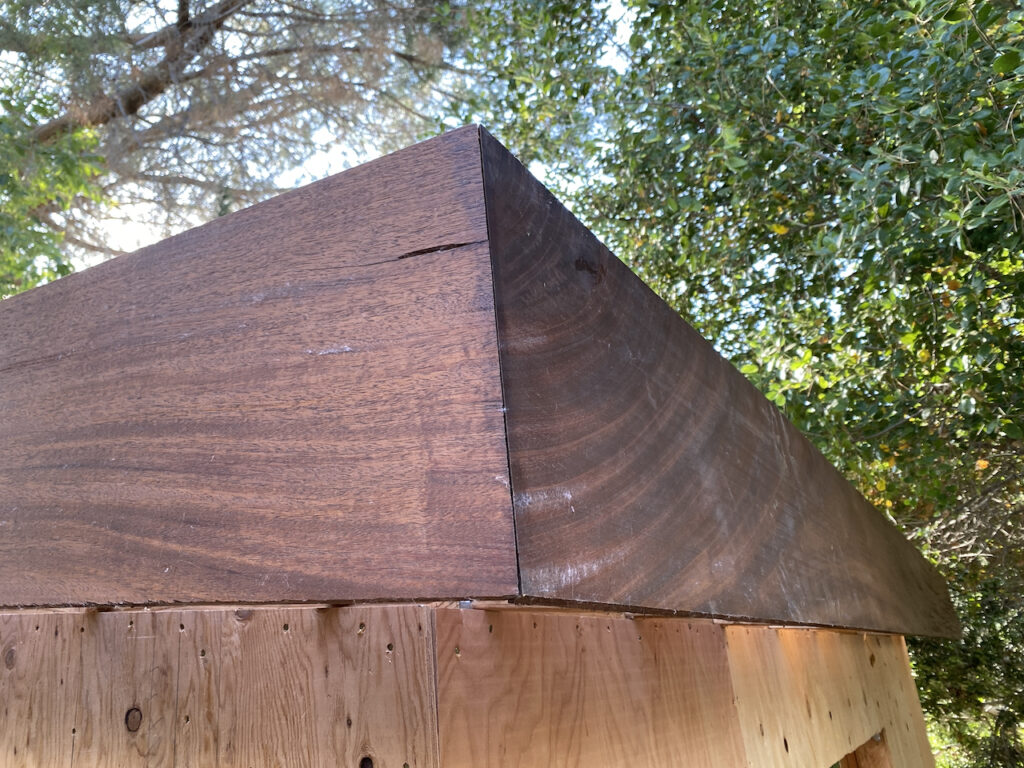
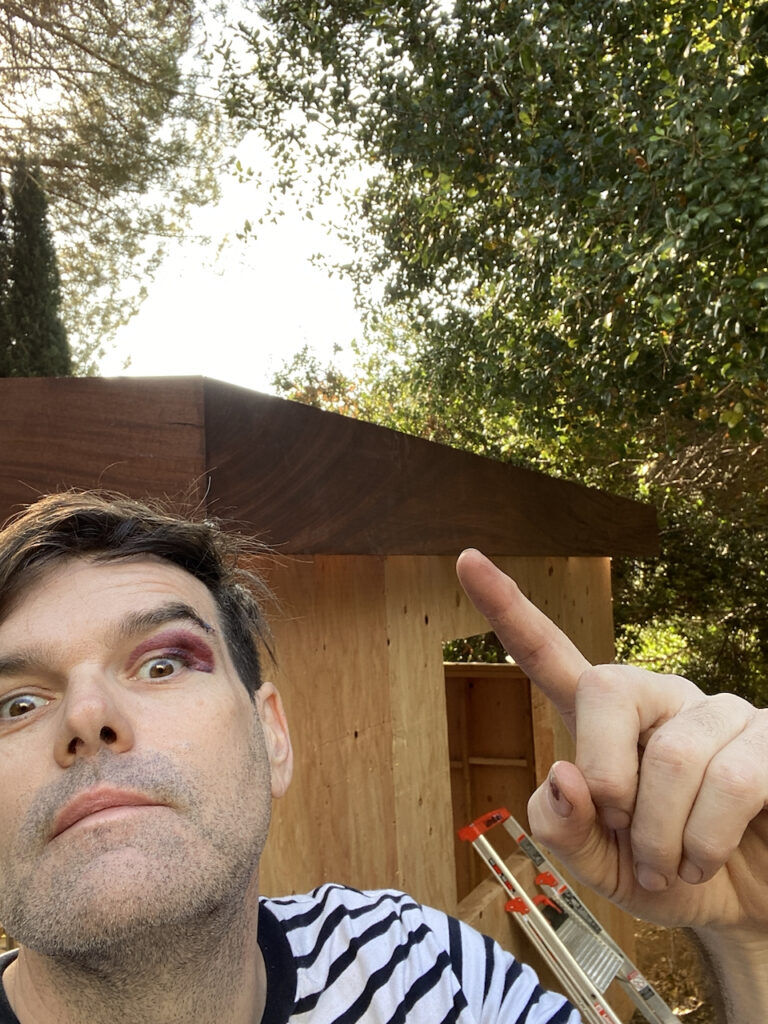
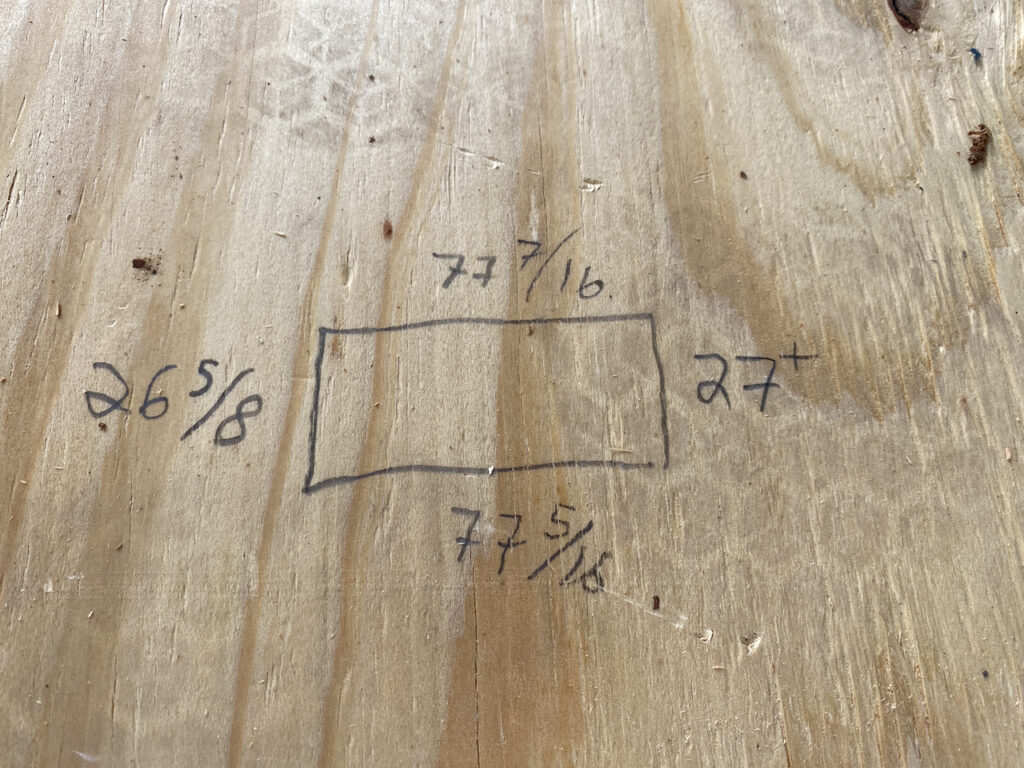
Because the rains had continued on and off throughout the Winter months, focus was put into finishing the roof. In order to do so, we needed to prep the beautiful Walnut fascias Sylvia had had milled. These would be the exposed edges of the roof line and would feature prominently in the design, so getting them cut and fitted properly gave me great anxiety. While the end results came out great, the process demanded a blood sacrifice as one of the long, heavy pieces fell while I was attempting to mount it and one end bounced into the side of my head. The resulting wound required four stitches from urgent care and left me with a stunning eye-makeup look.

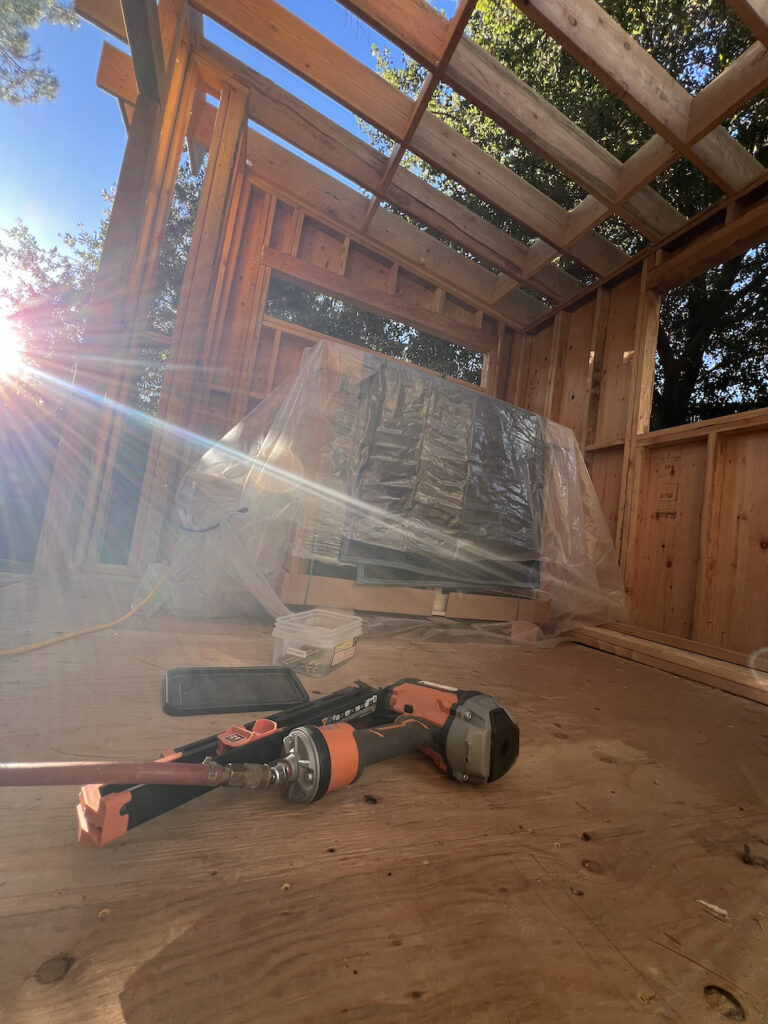
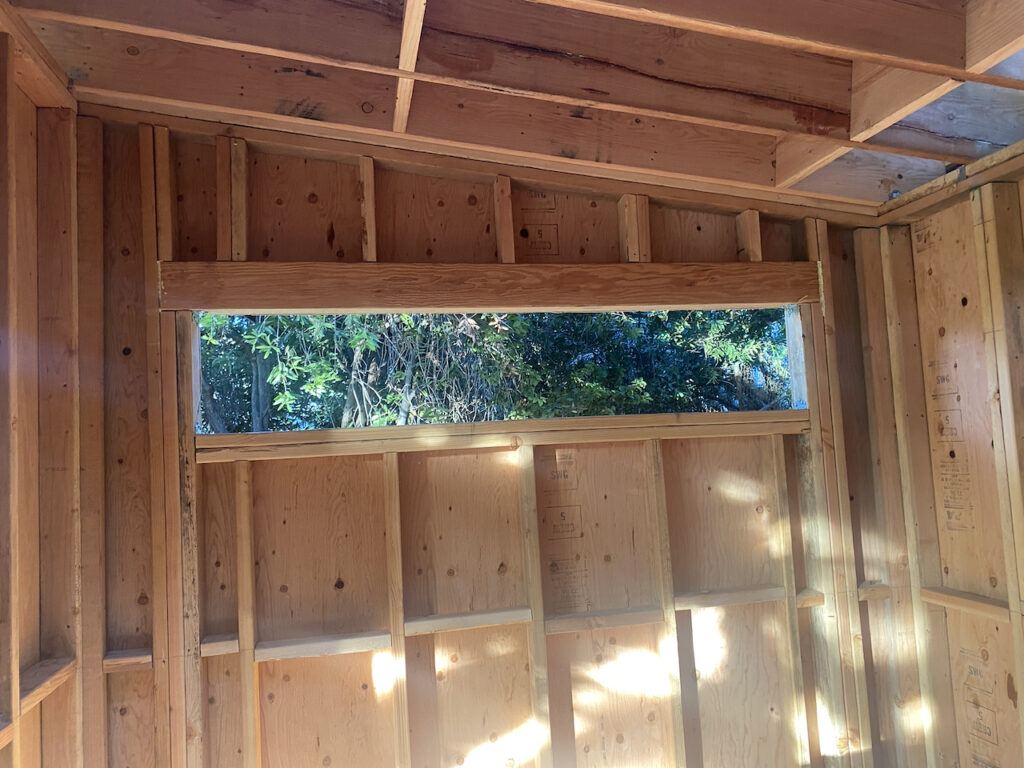
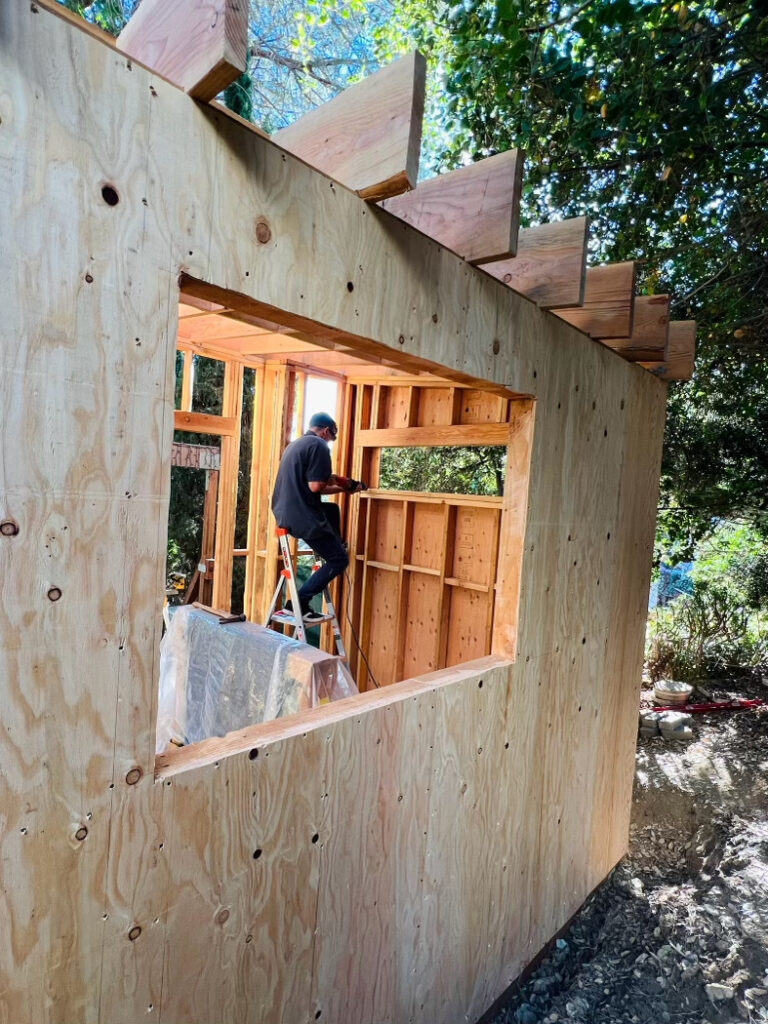
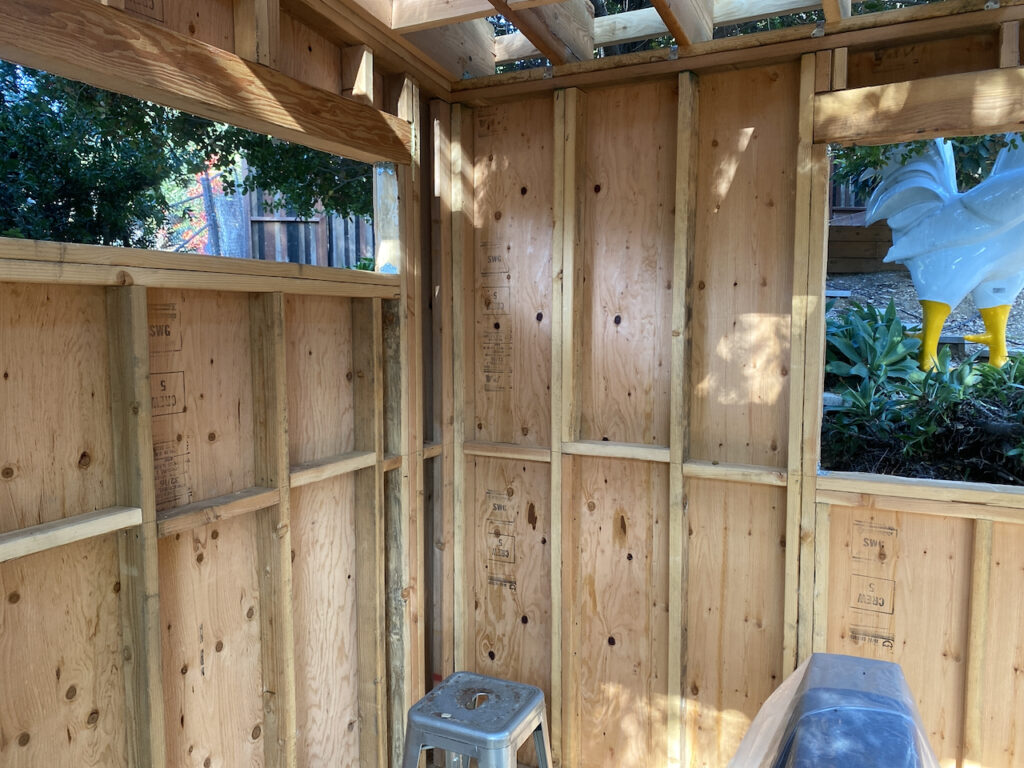
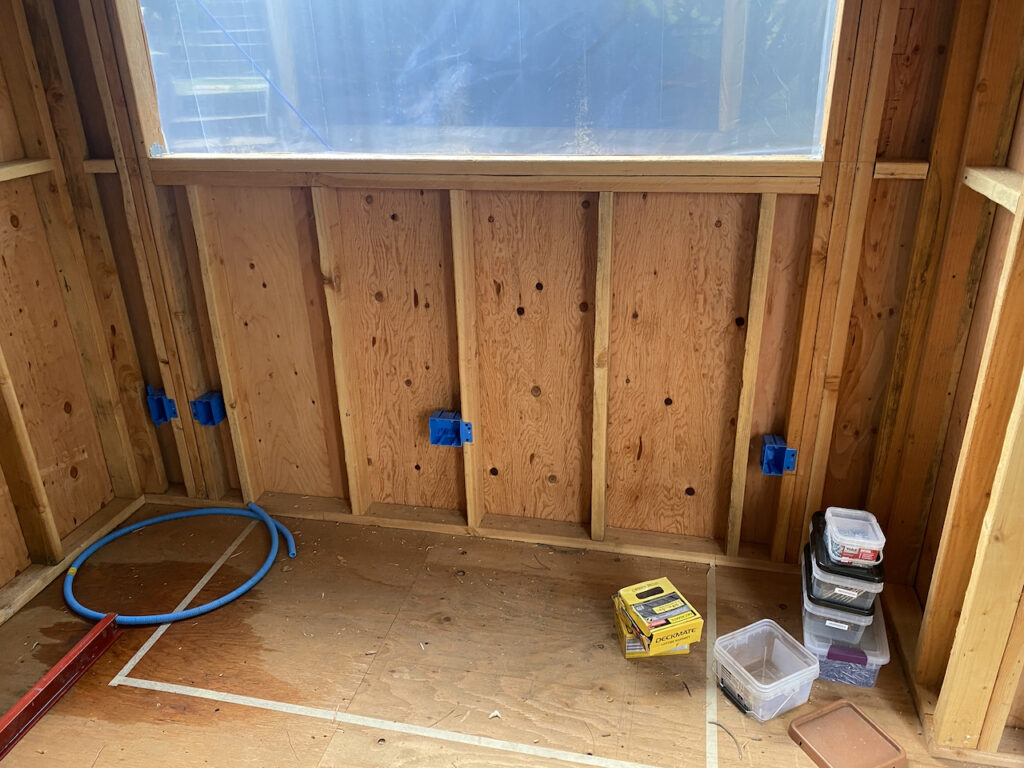
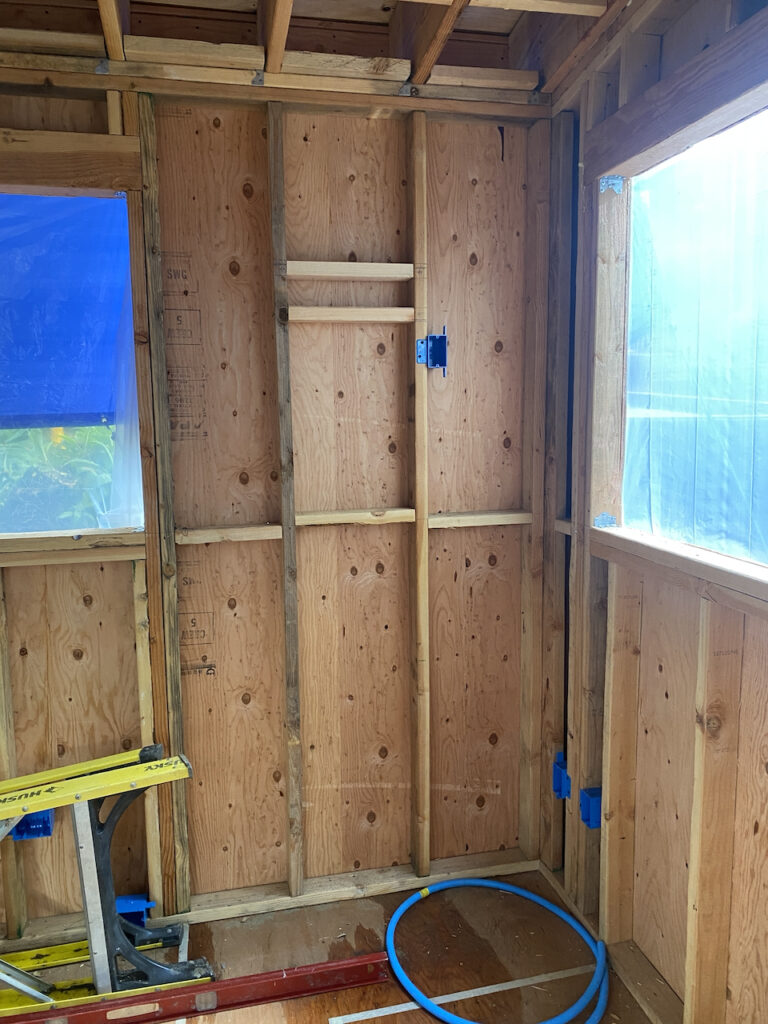
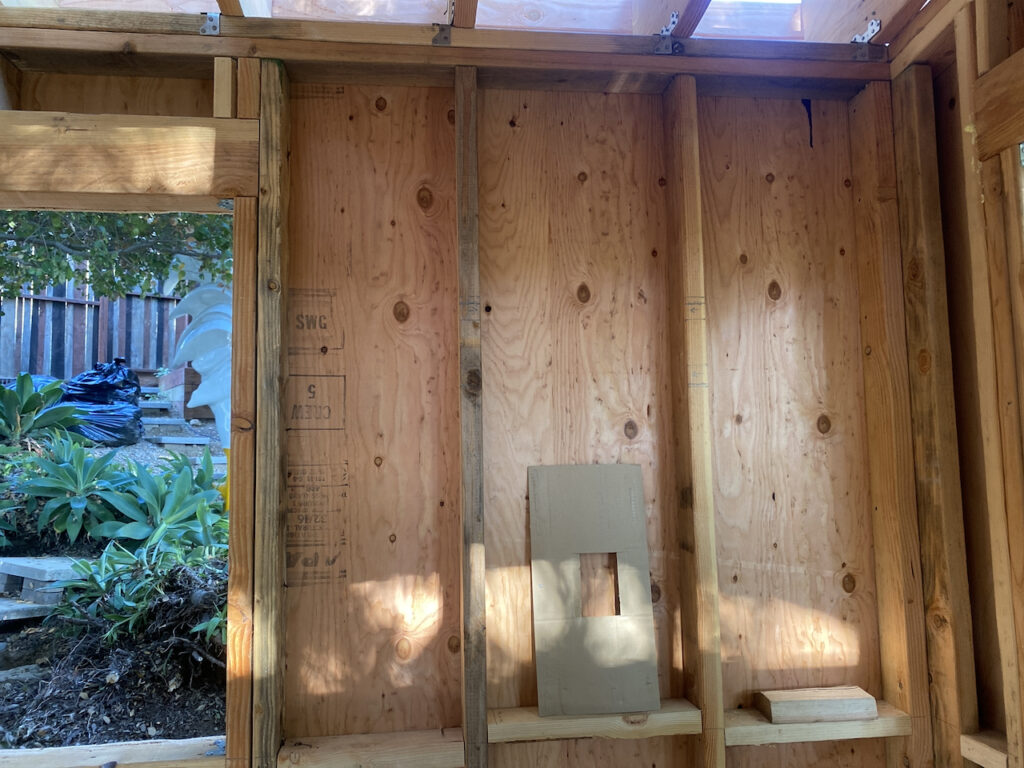
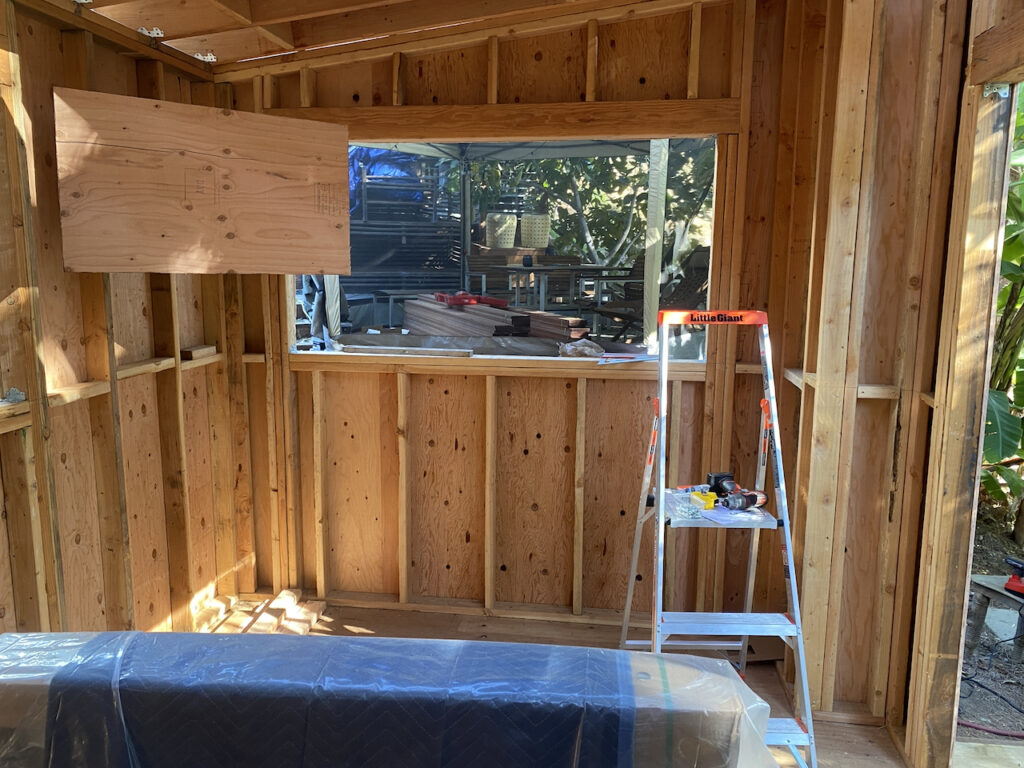
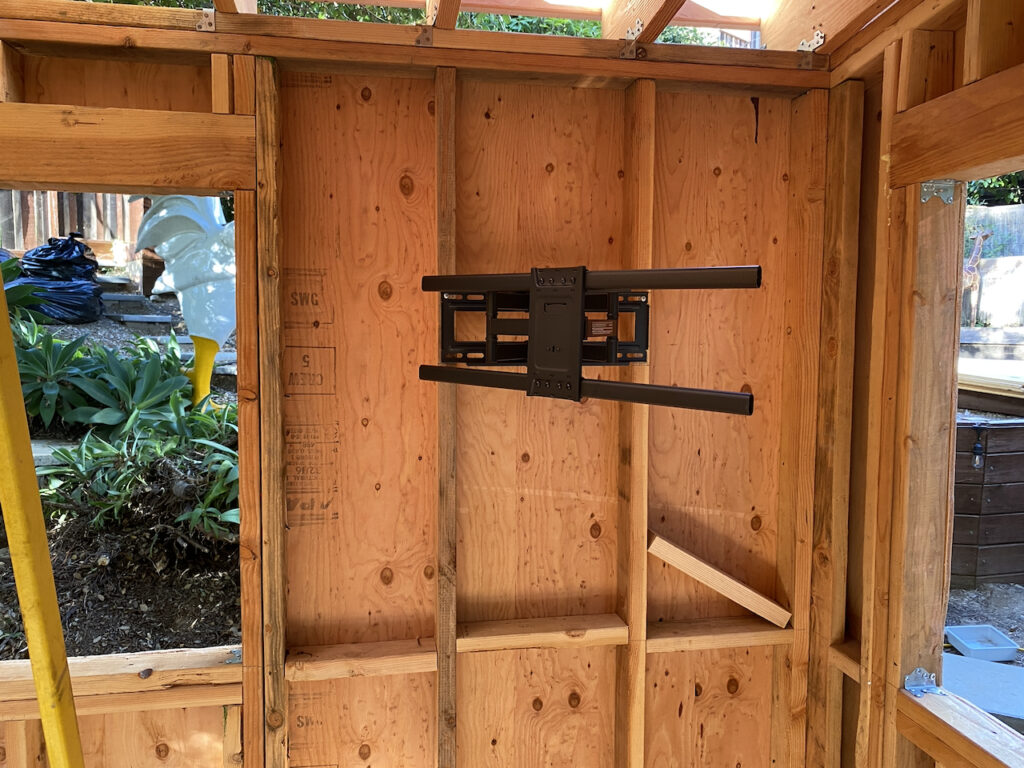
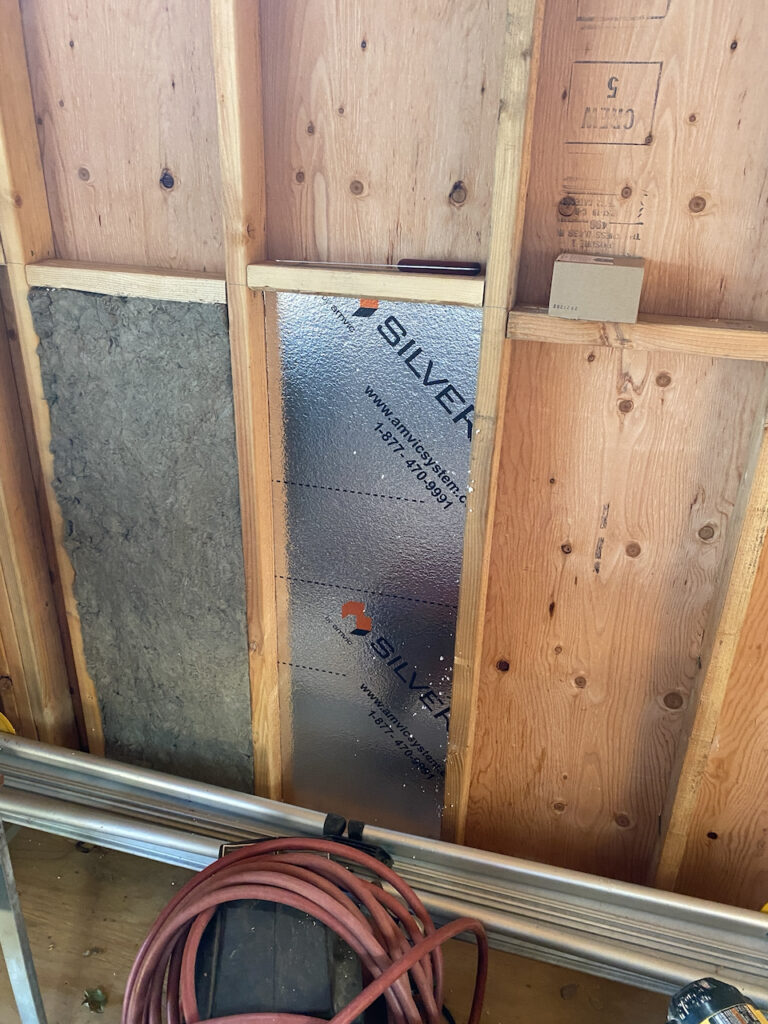
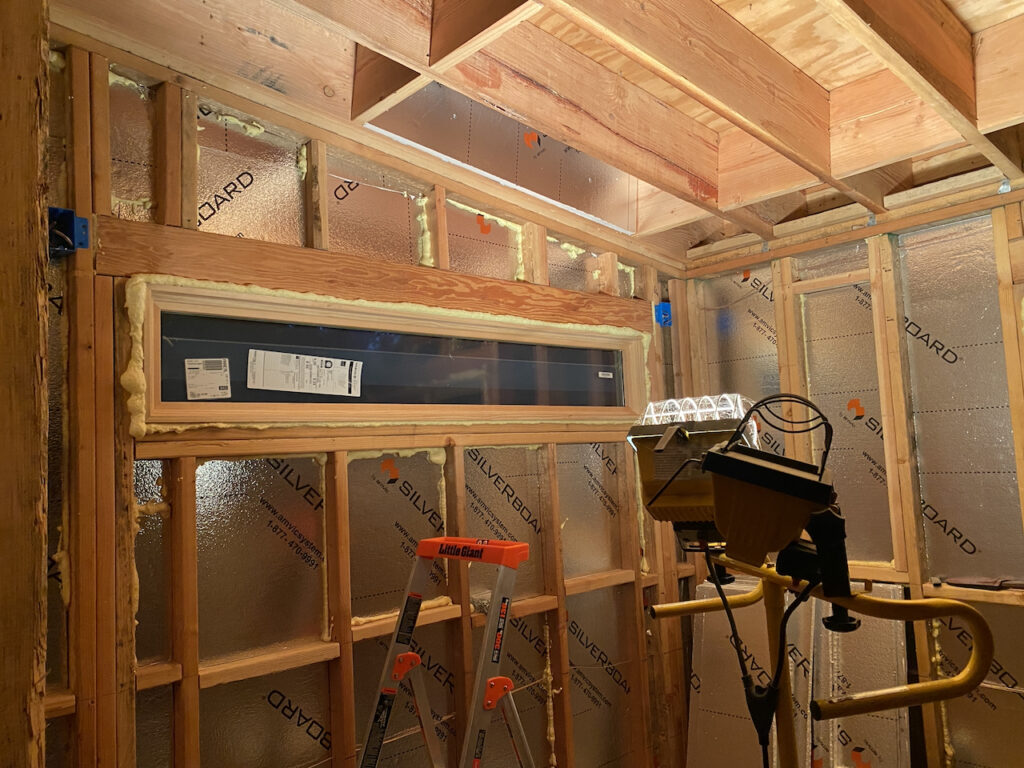
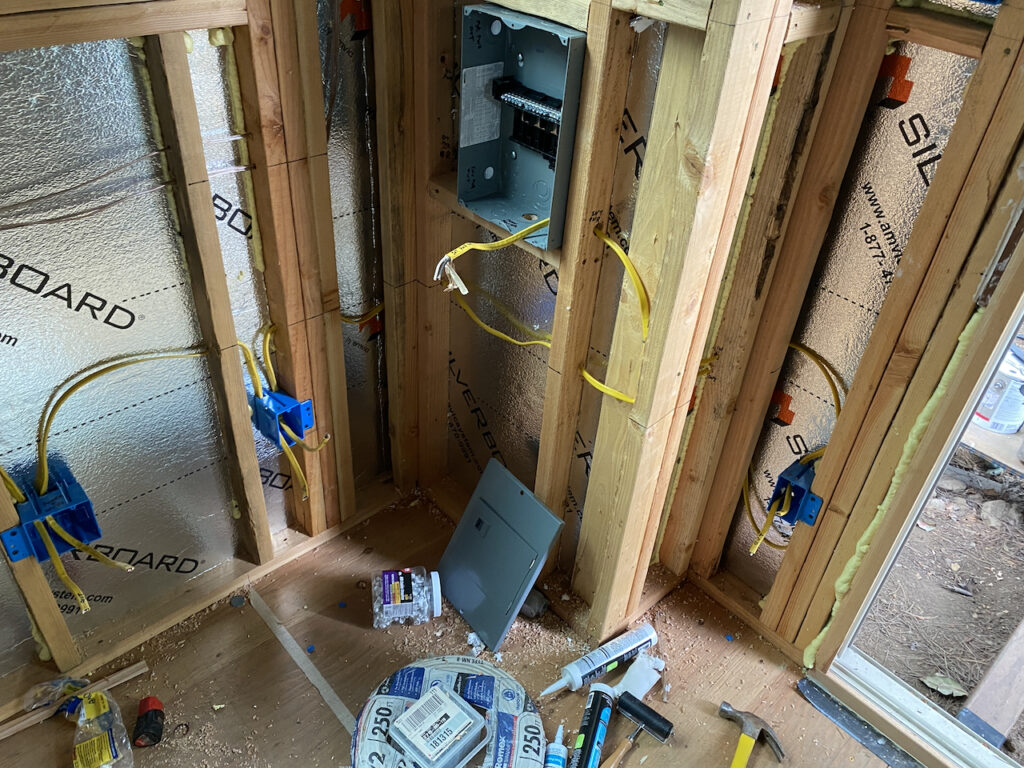
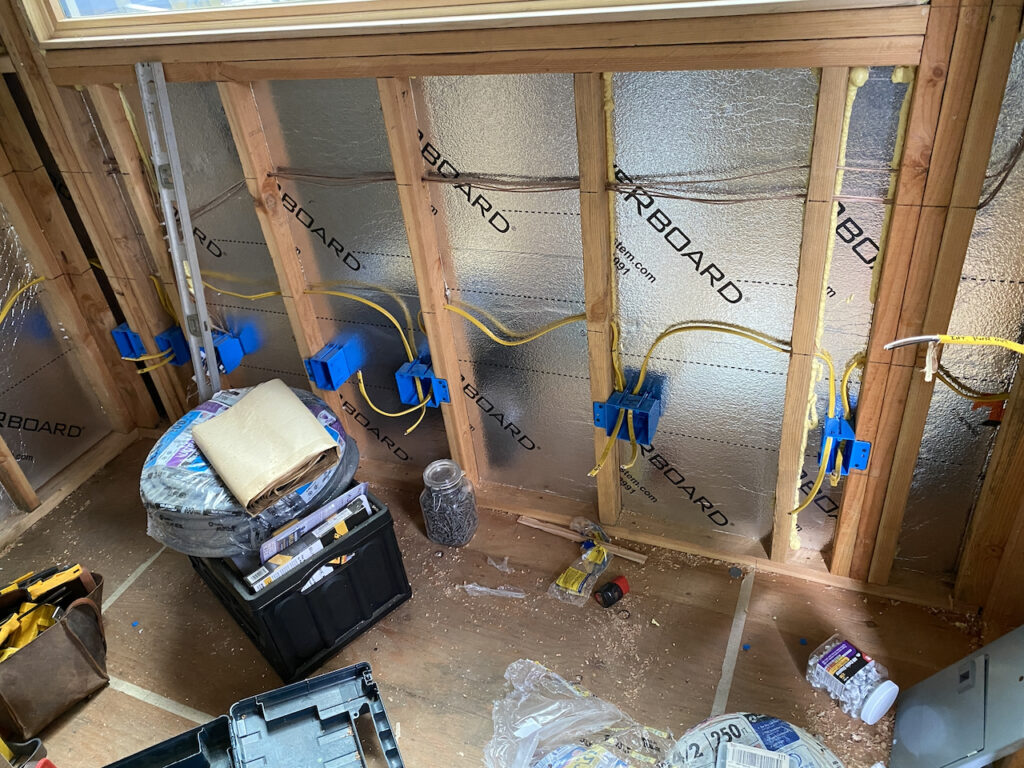
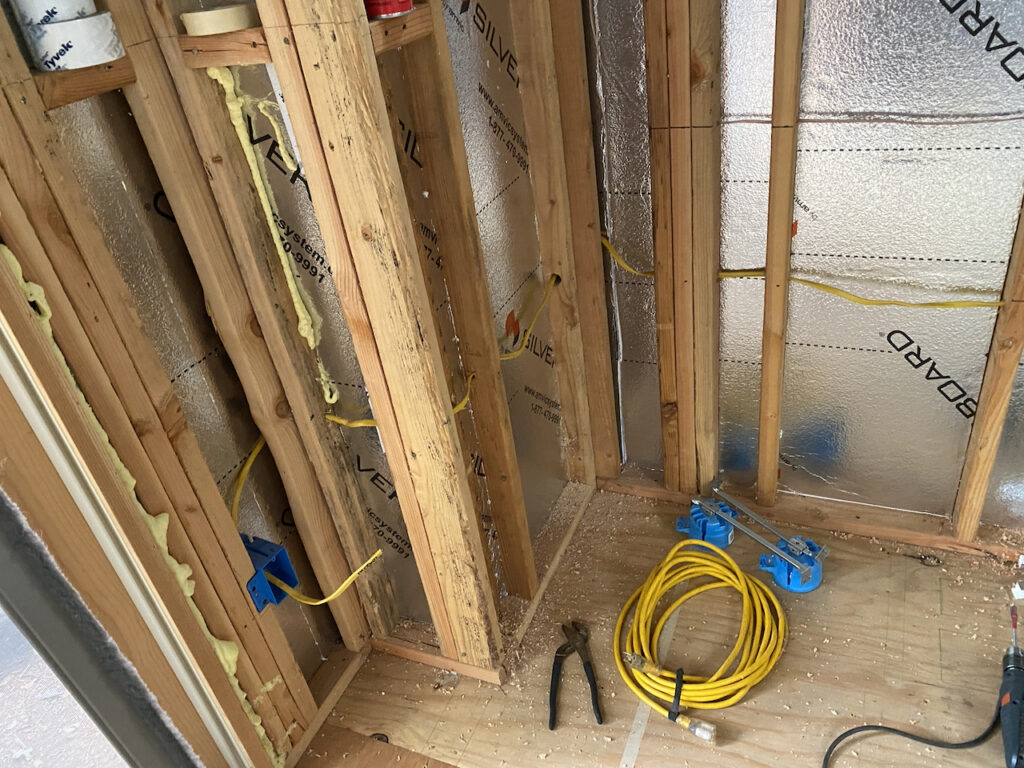
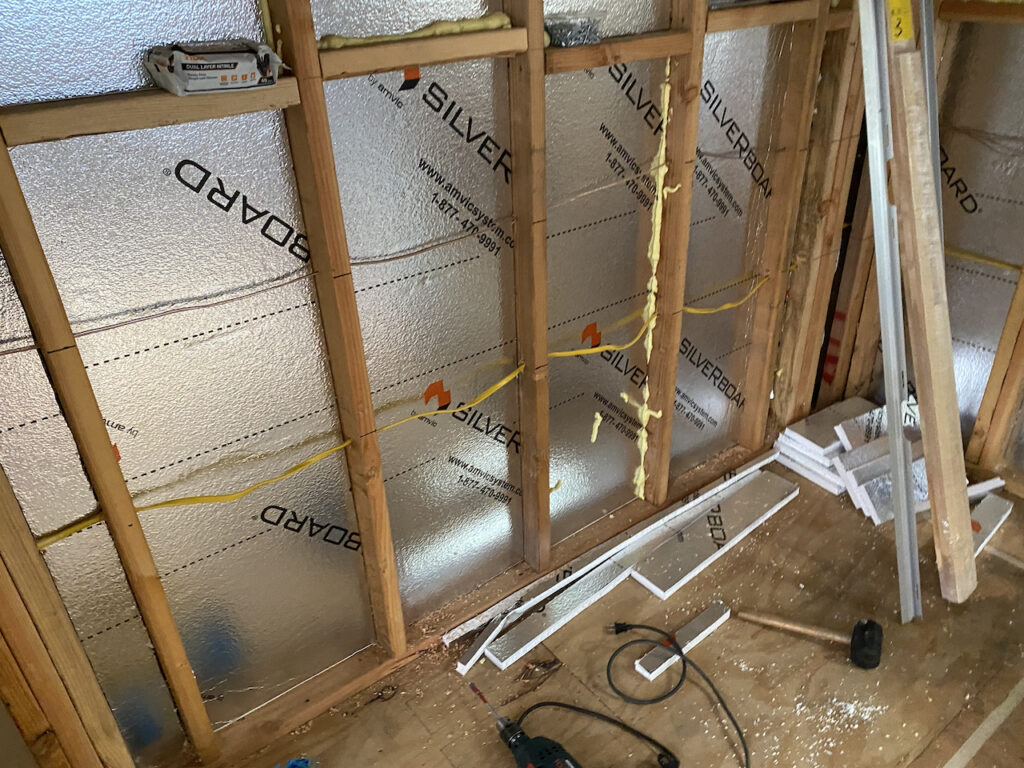
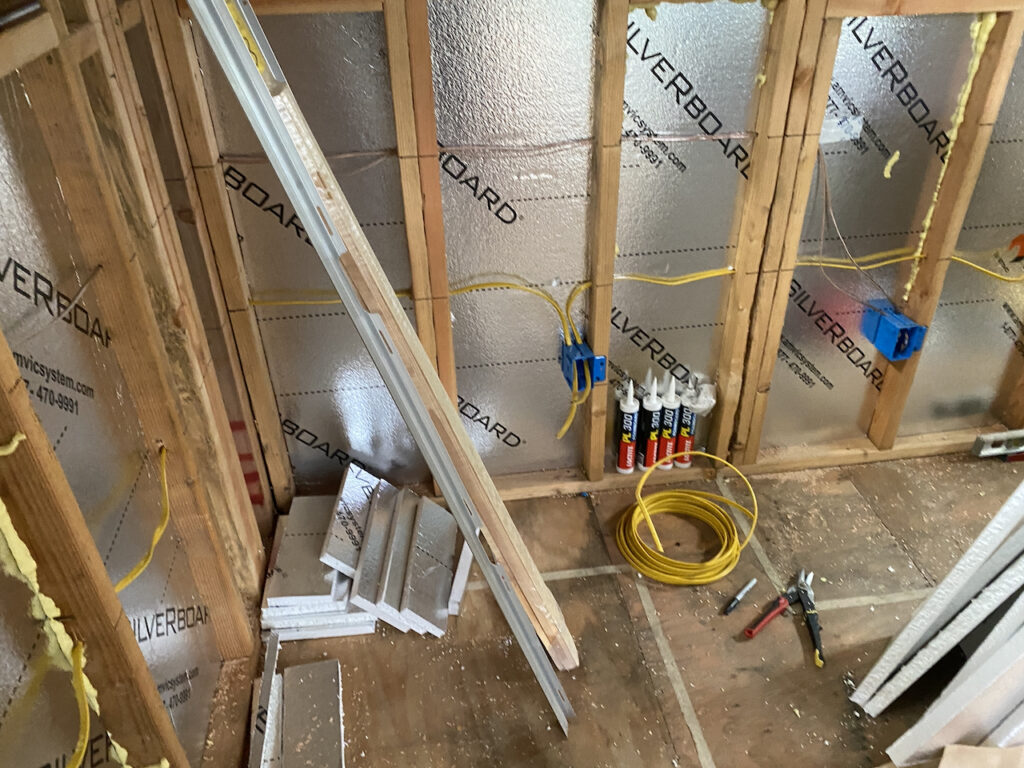
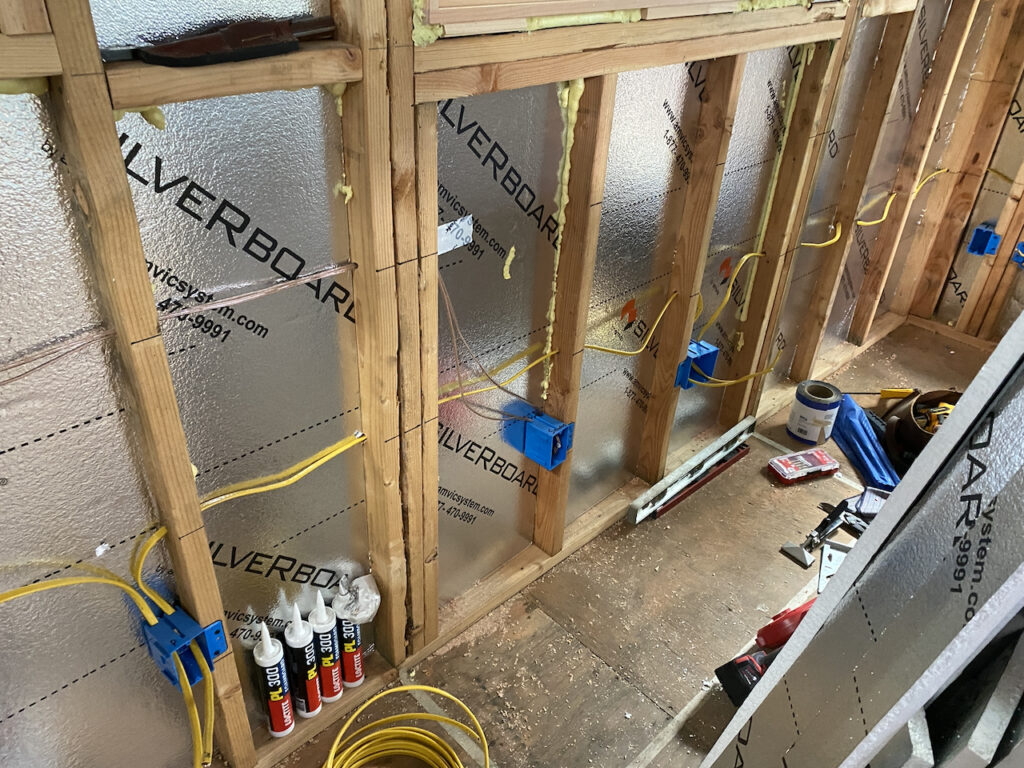
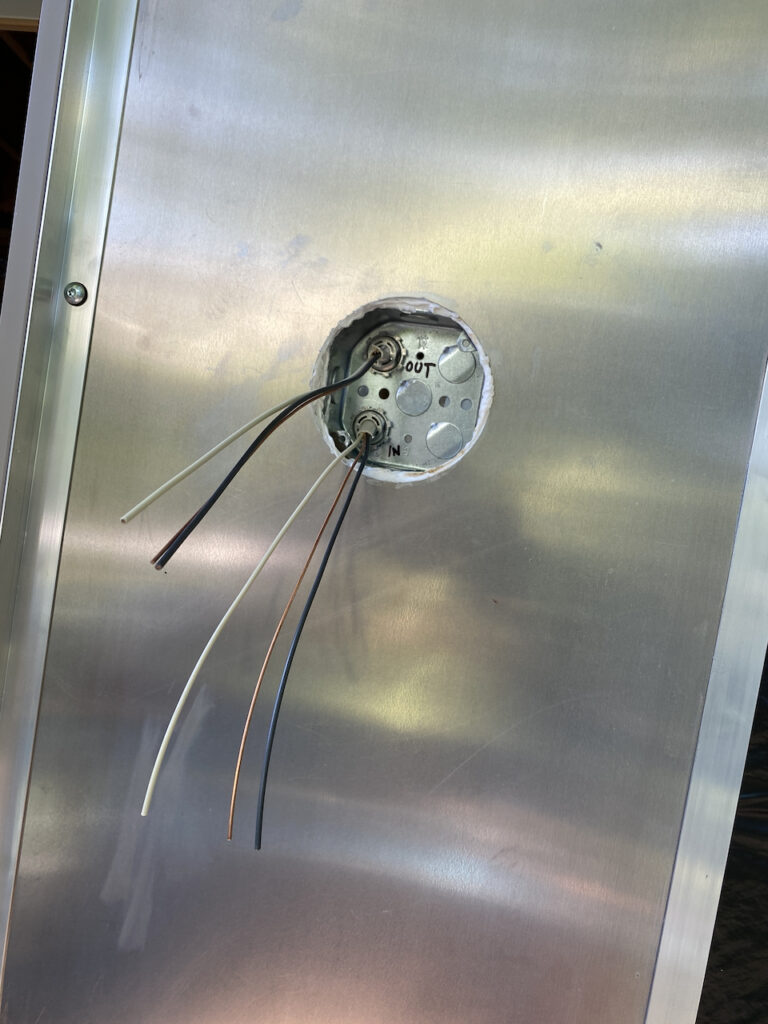
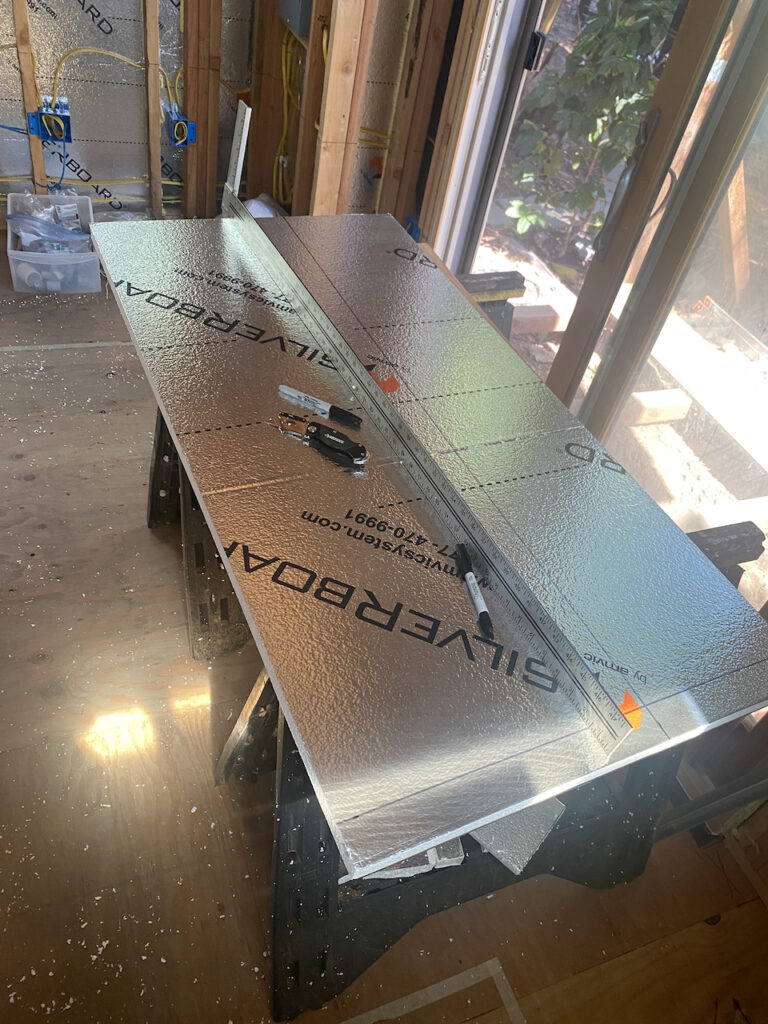
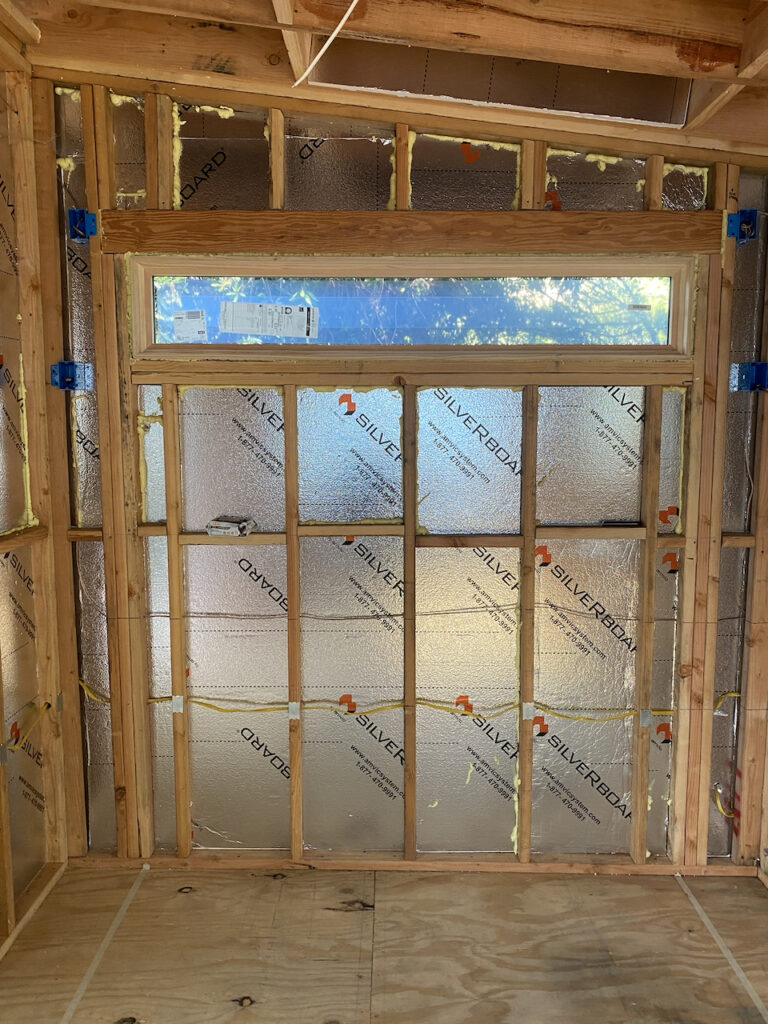
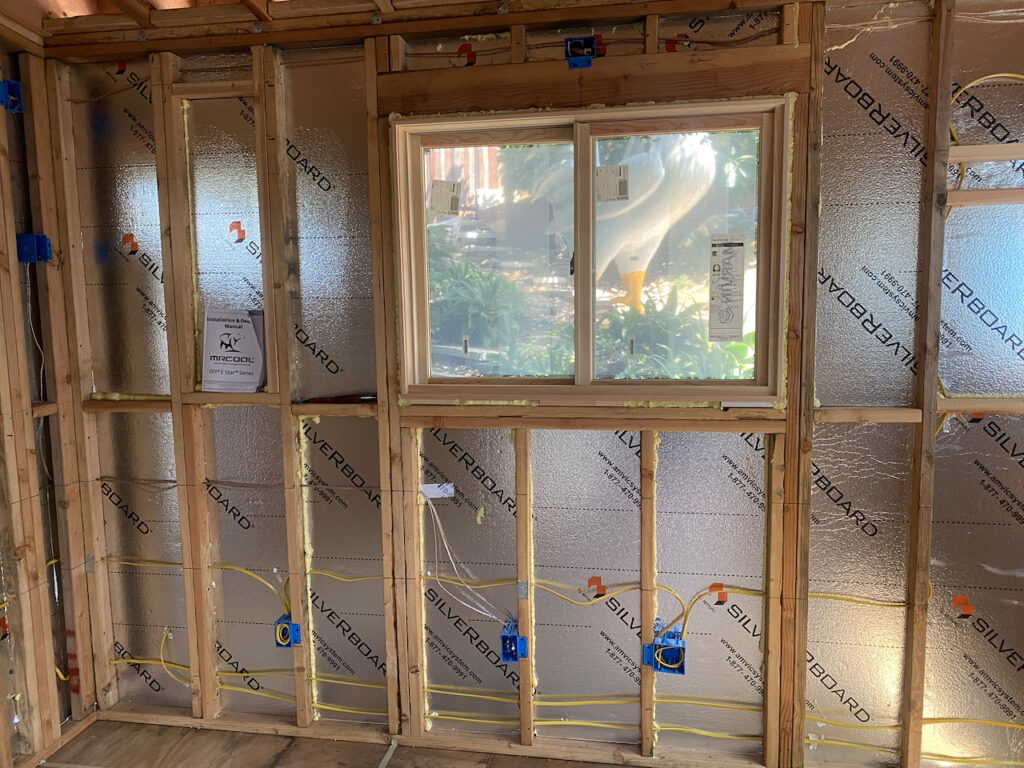
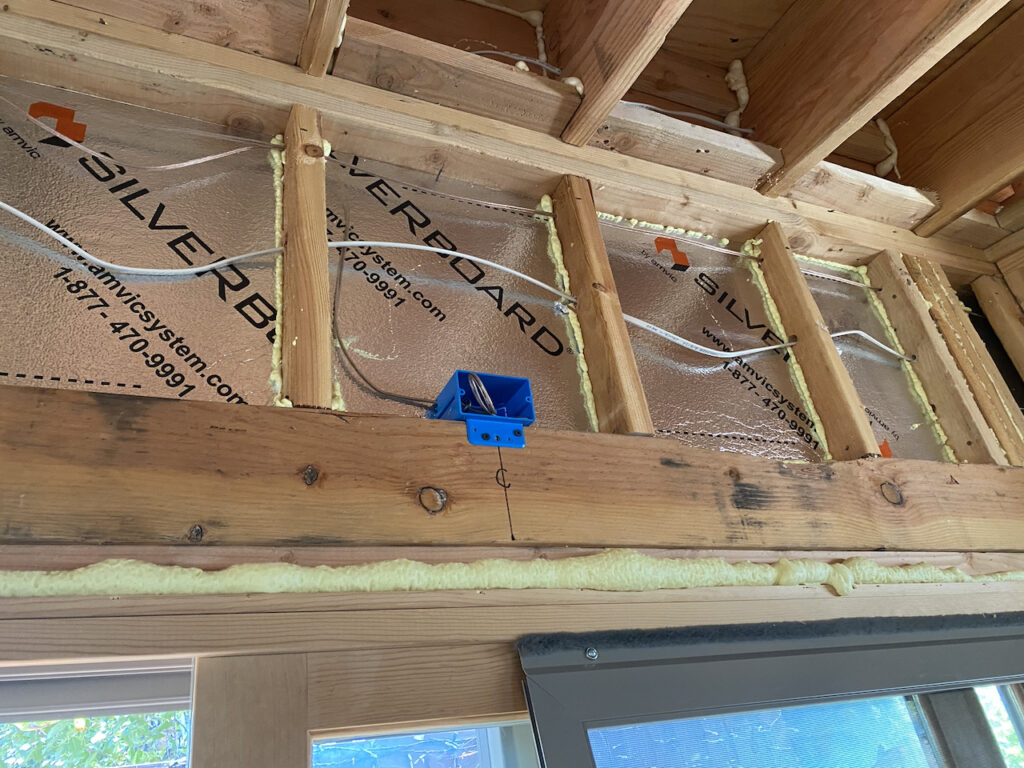
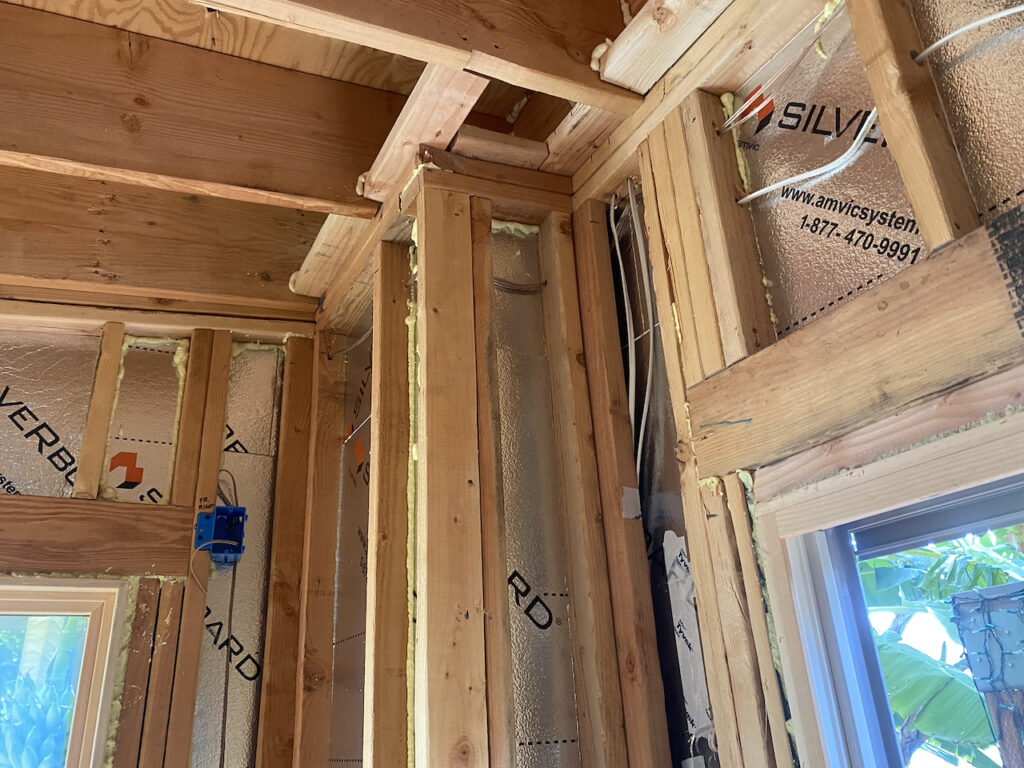
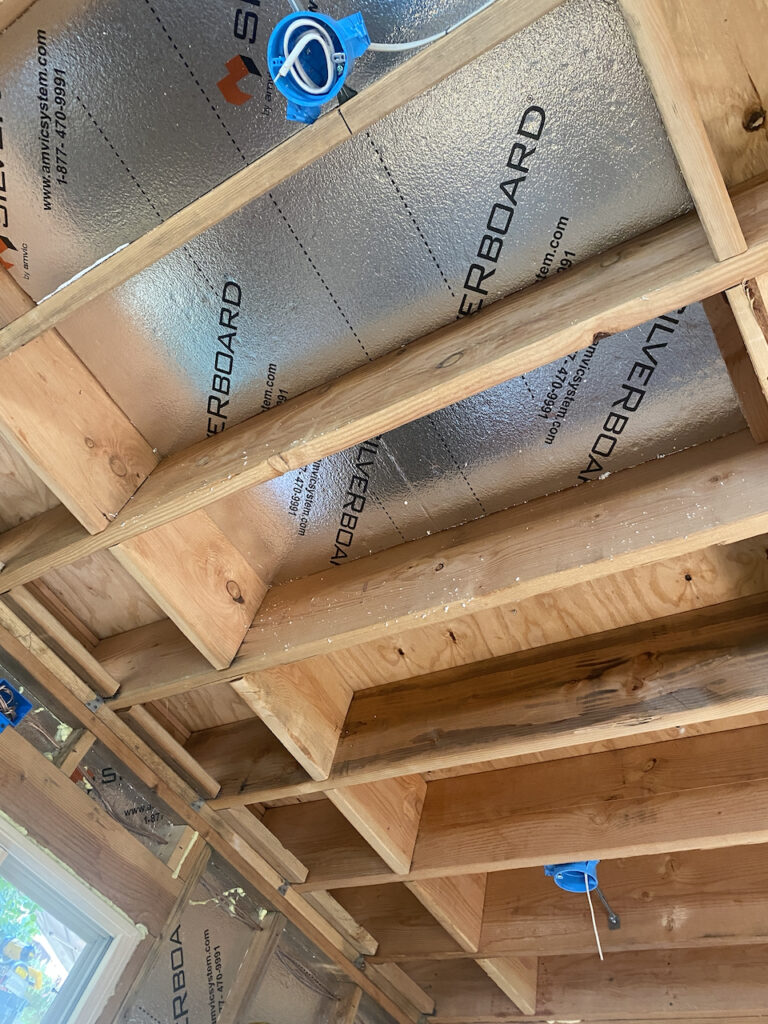
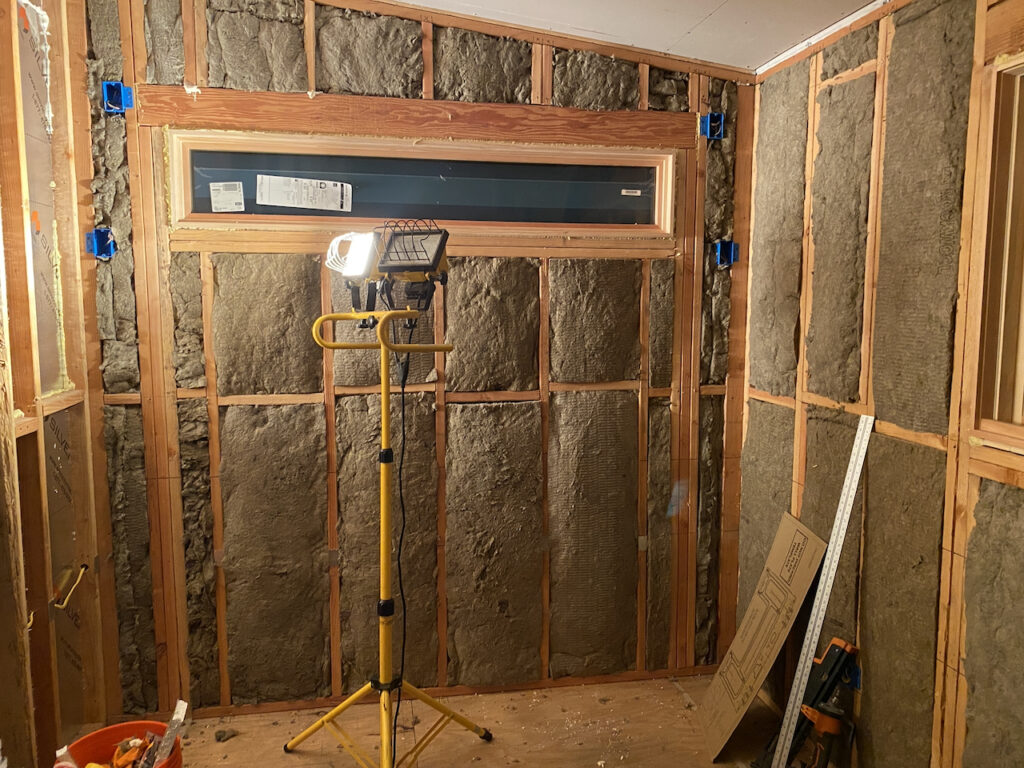
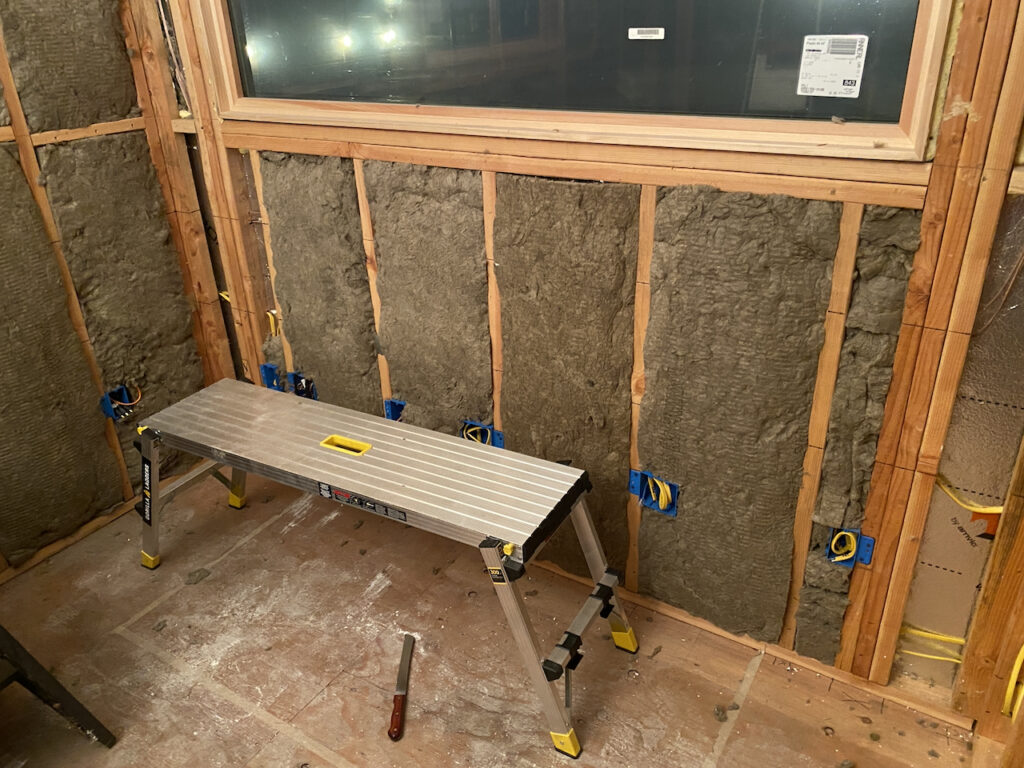
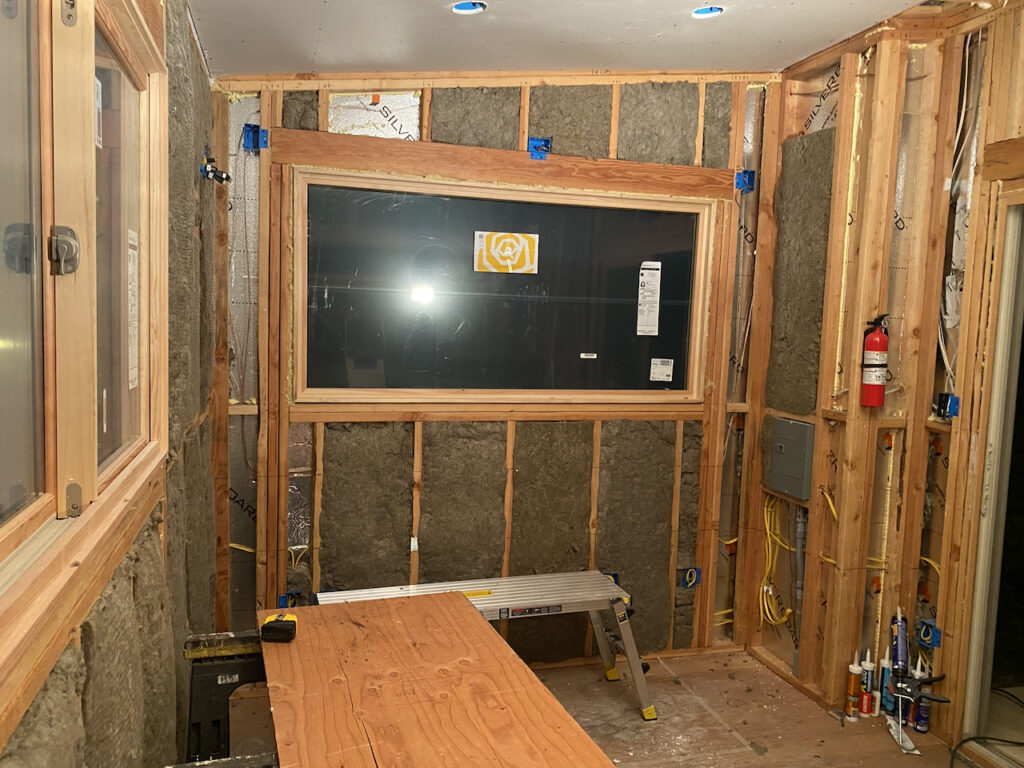
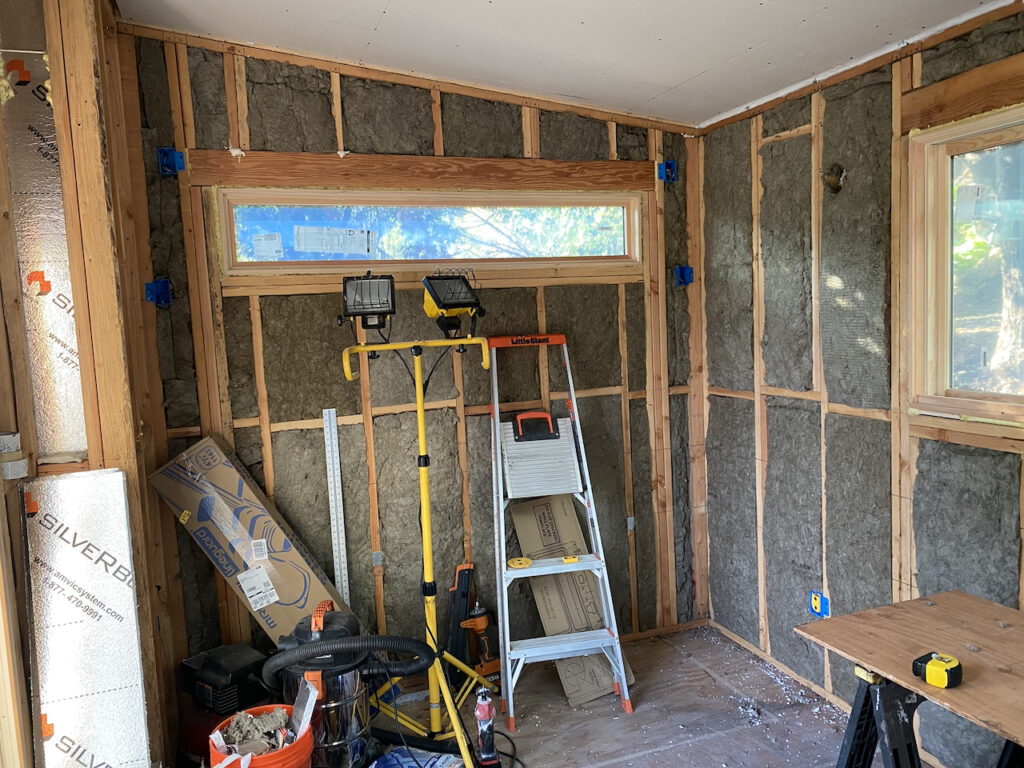
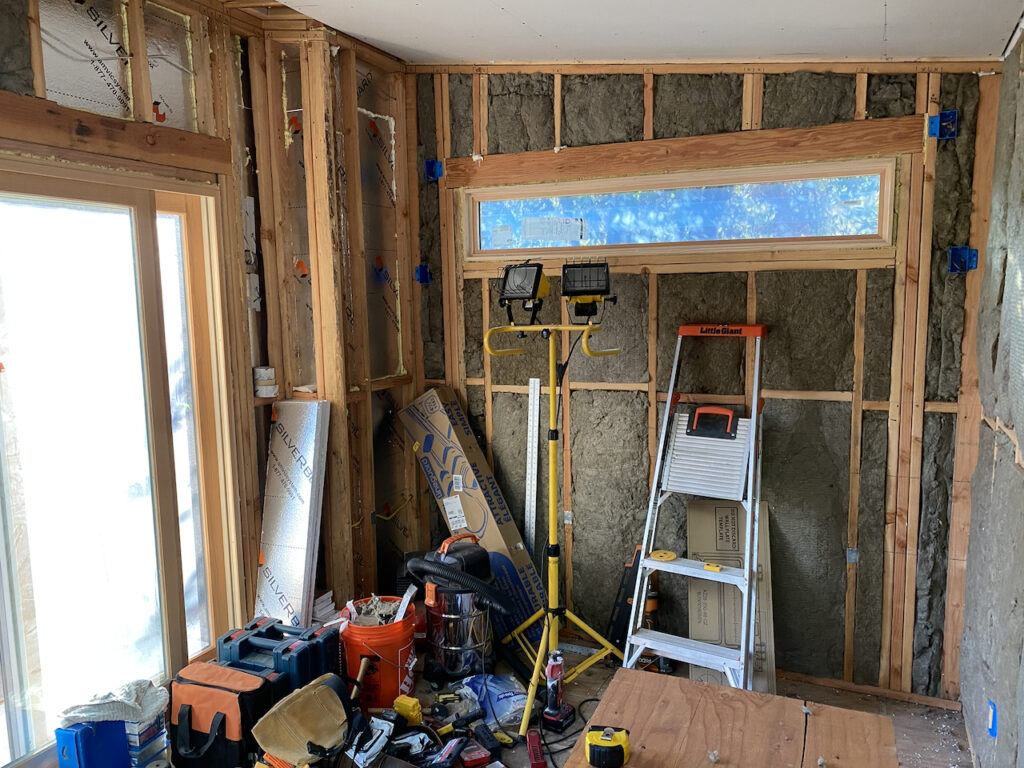
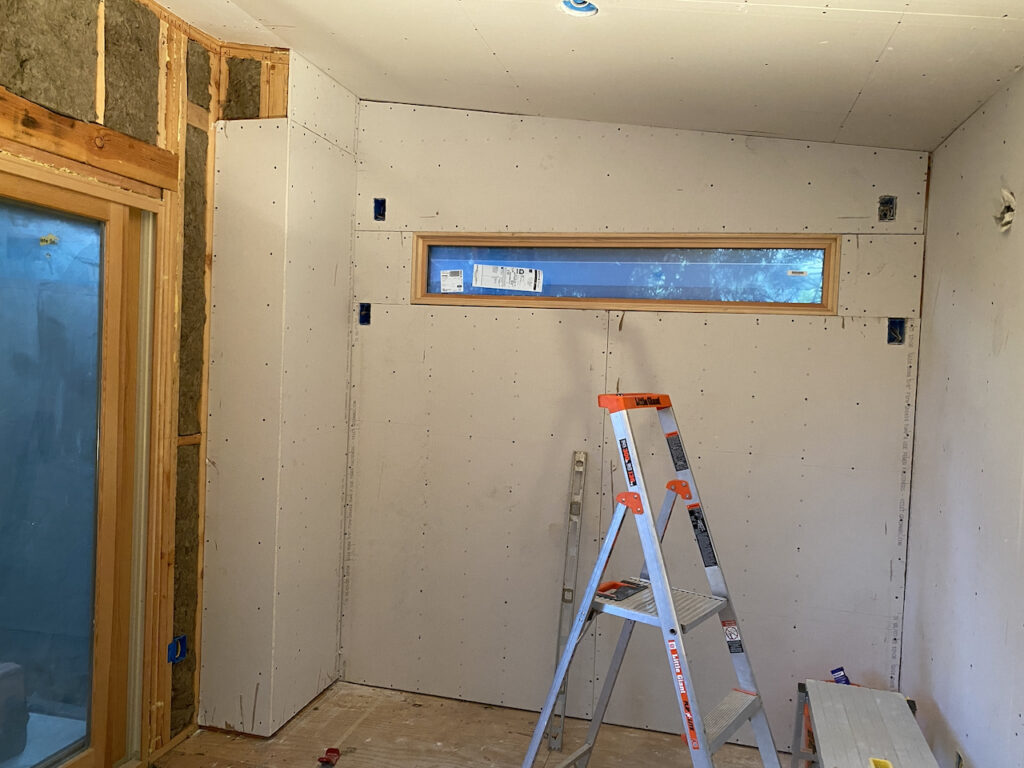
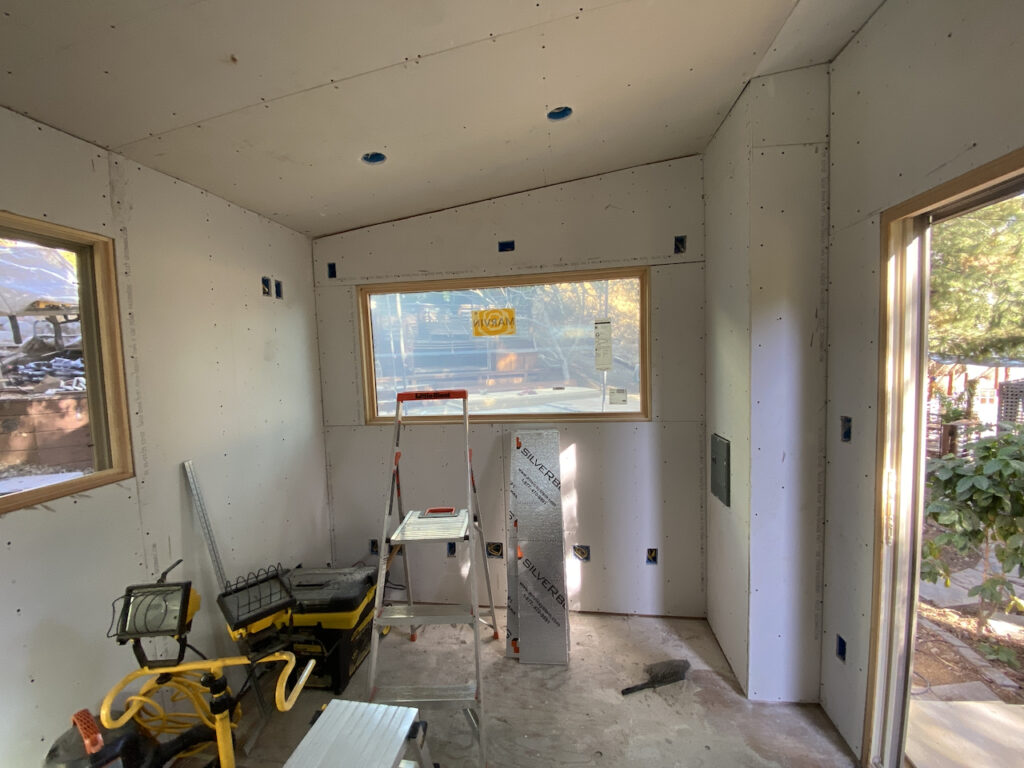
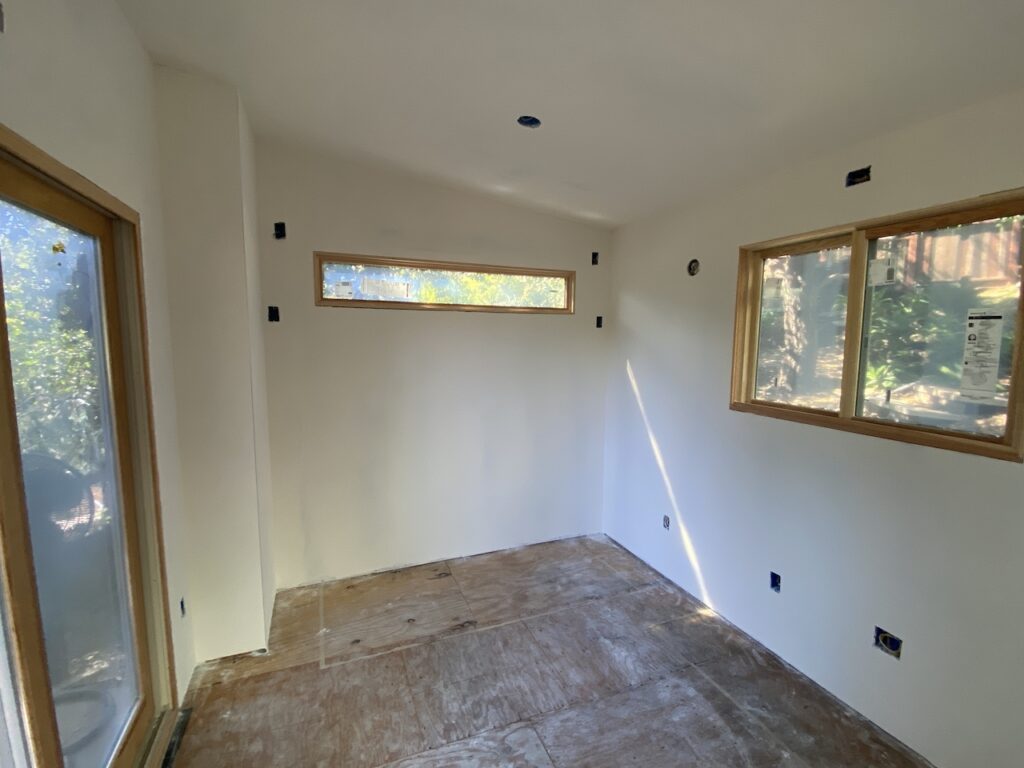
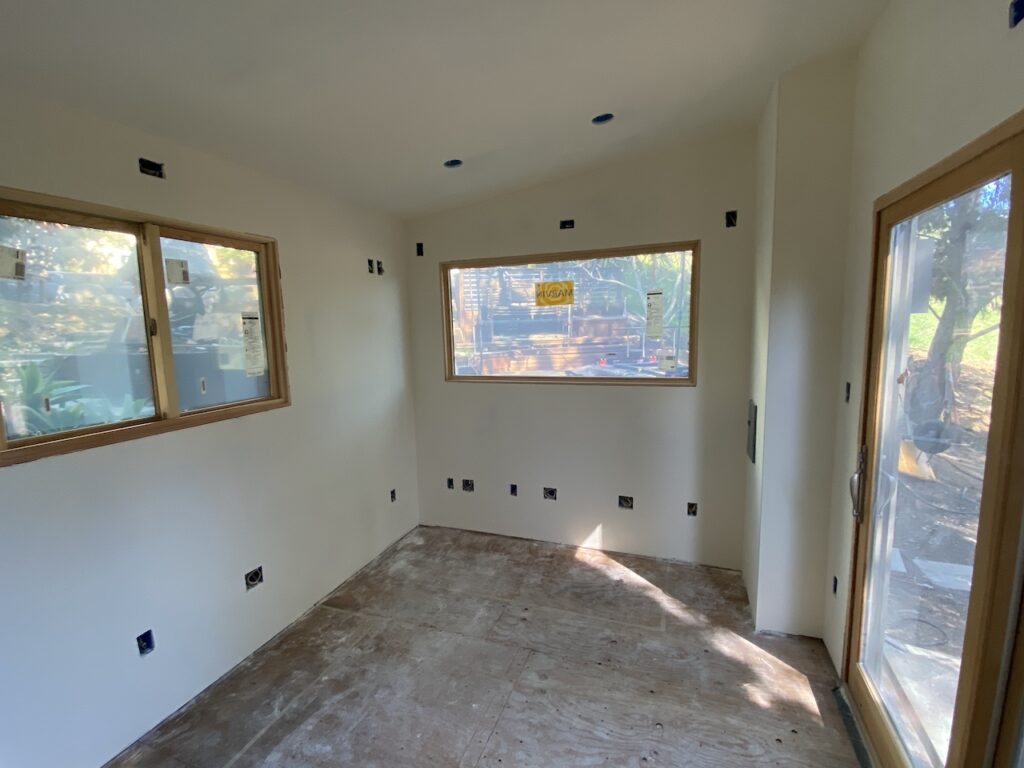
With the shape finally come together, I spent some time on the interior, placing junction boxes for power, ethernet cables, multimedia cables, and speakers. I added framing supports for things like the television mount I already acquired and the A/C unit that will eventually be added. I also cut and installed silverboard soundproofing panels inside the walls and ceiling bays.

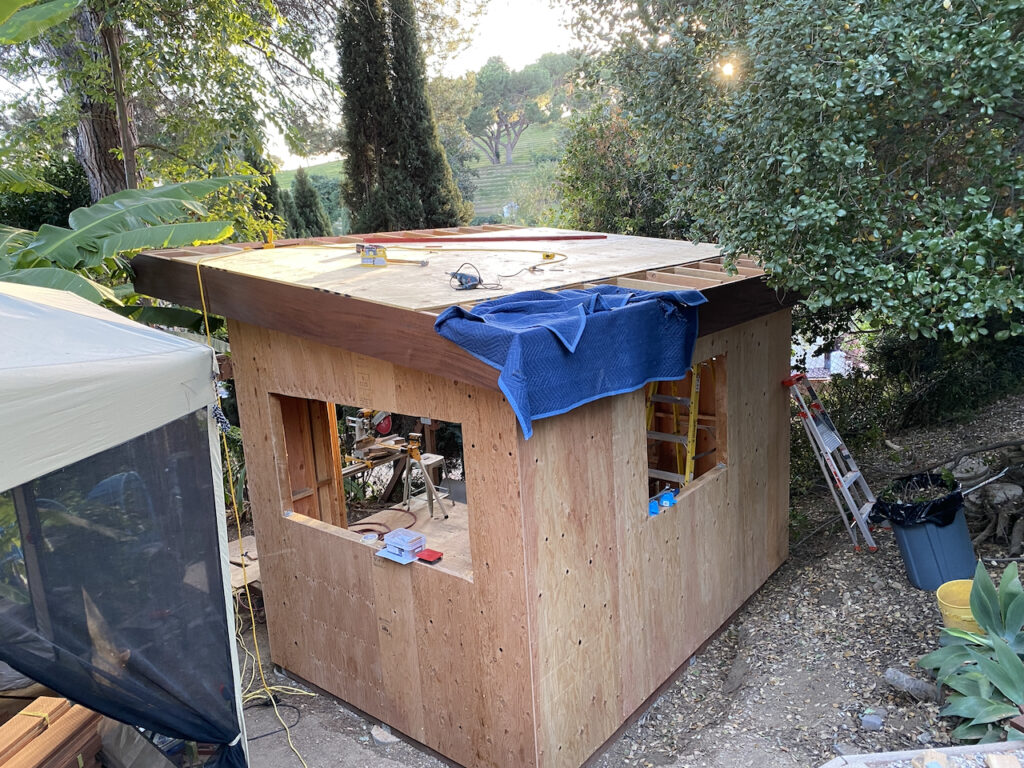
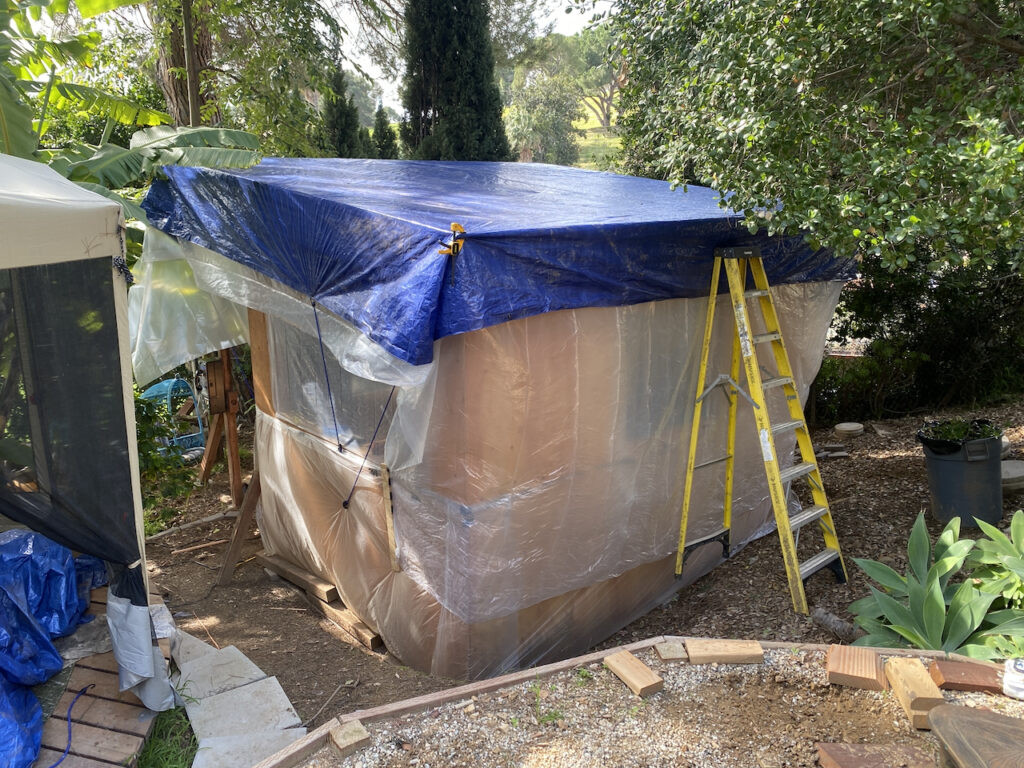
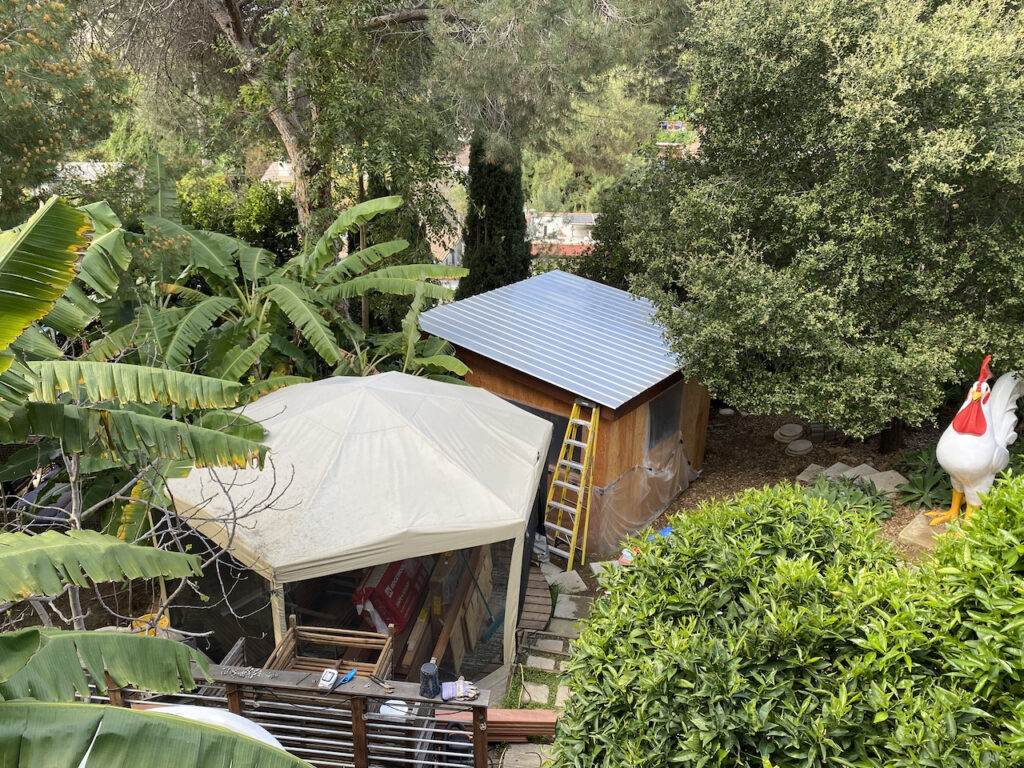
Unfortunately, the rains continued on and off between December and March, never giving enough of a break to unwrap the structure from its protective plastic cocoon to make any progress. So it sat there for months looking like this:
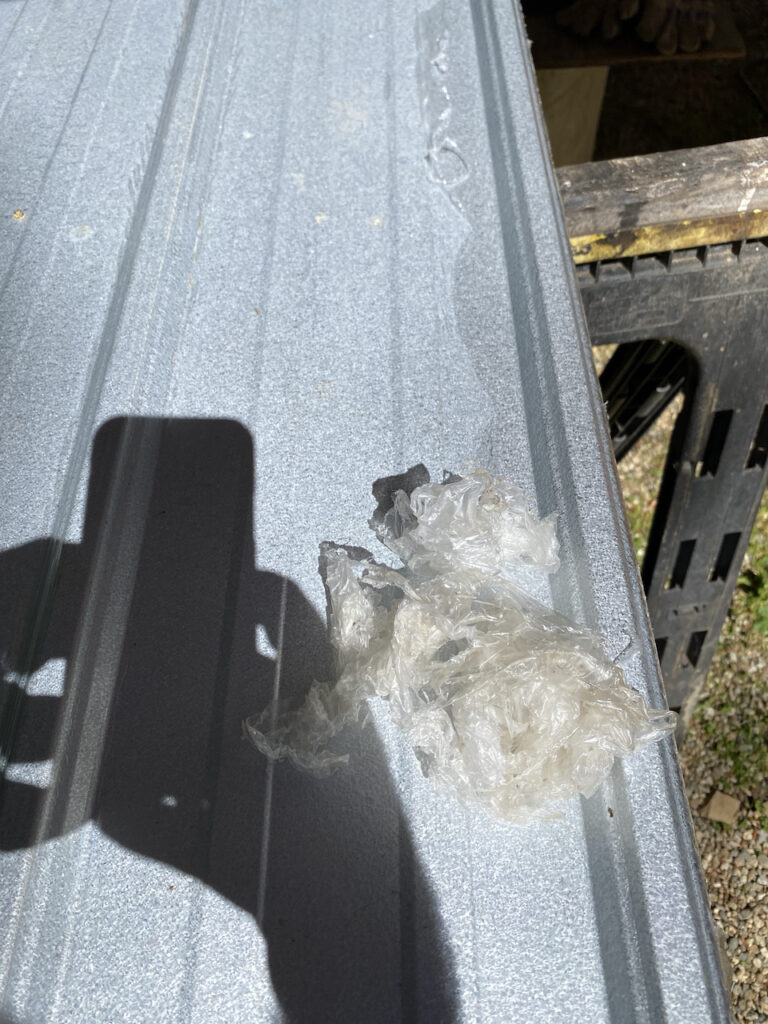
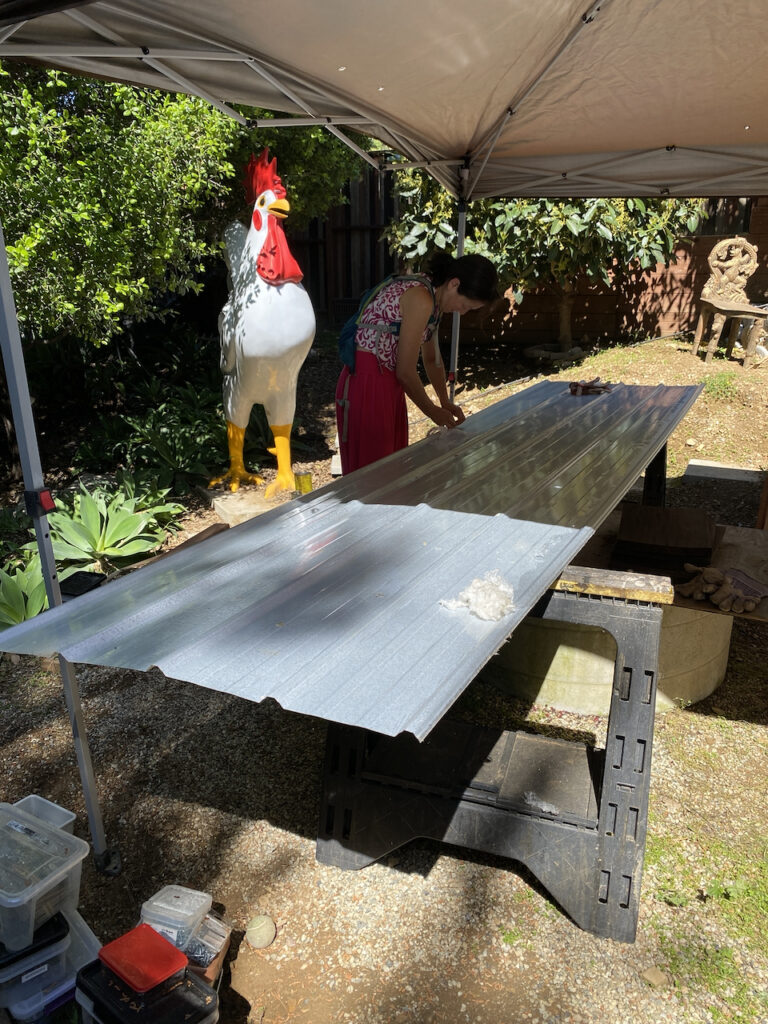
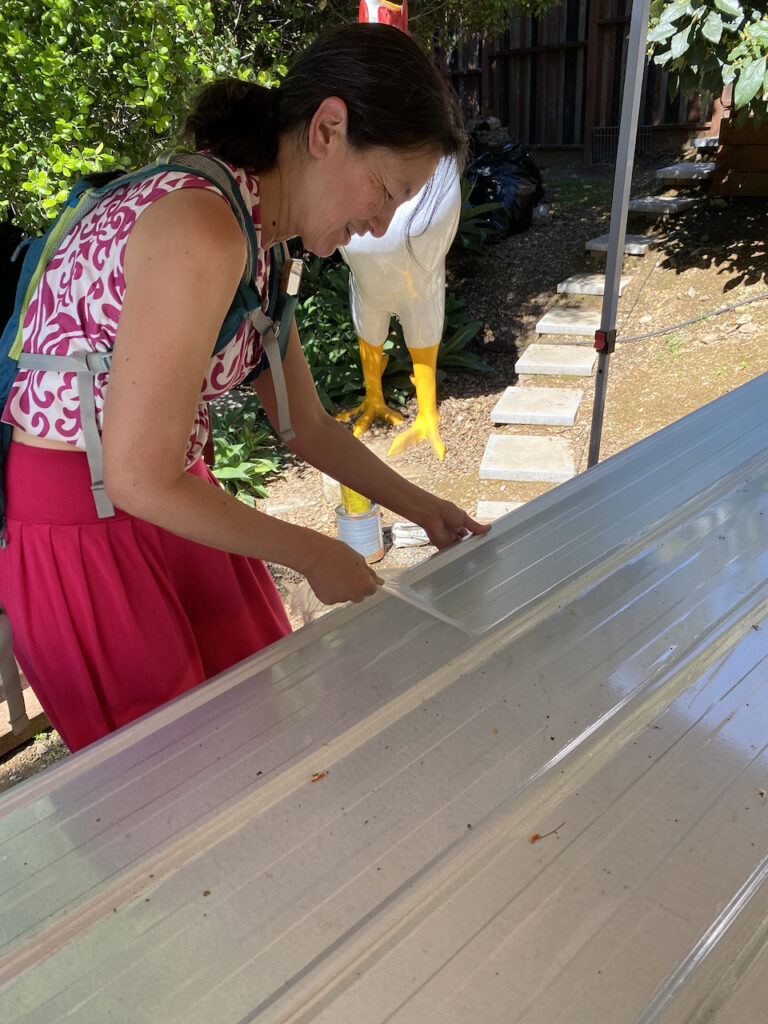
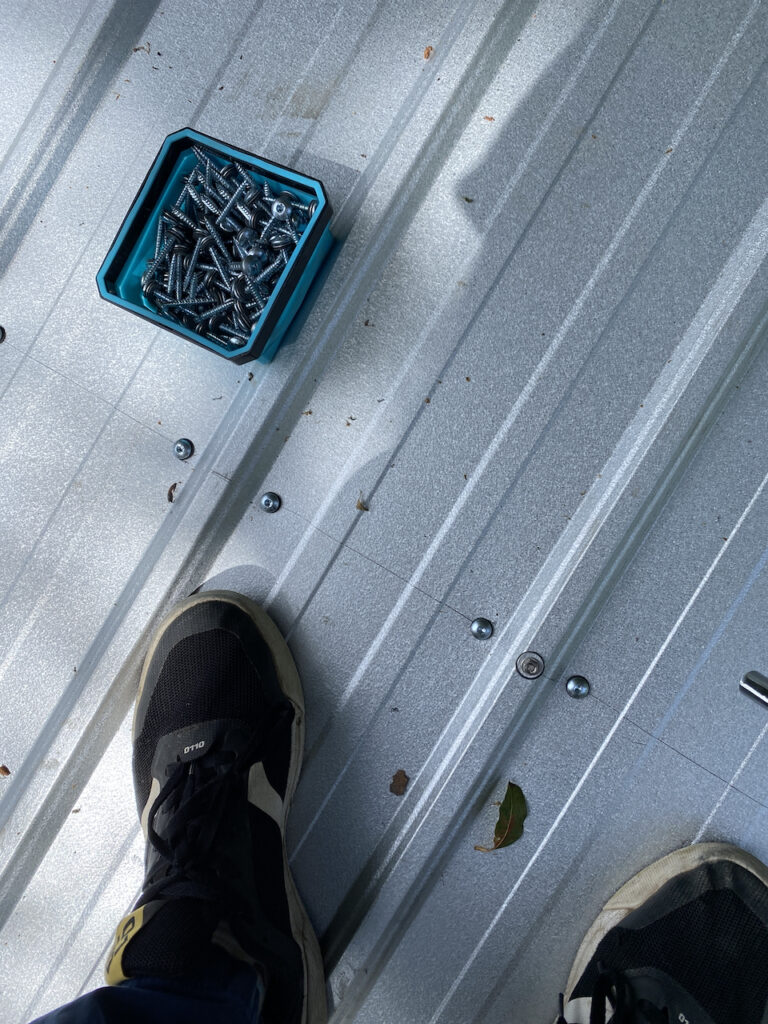
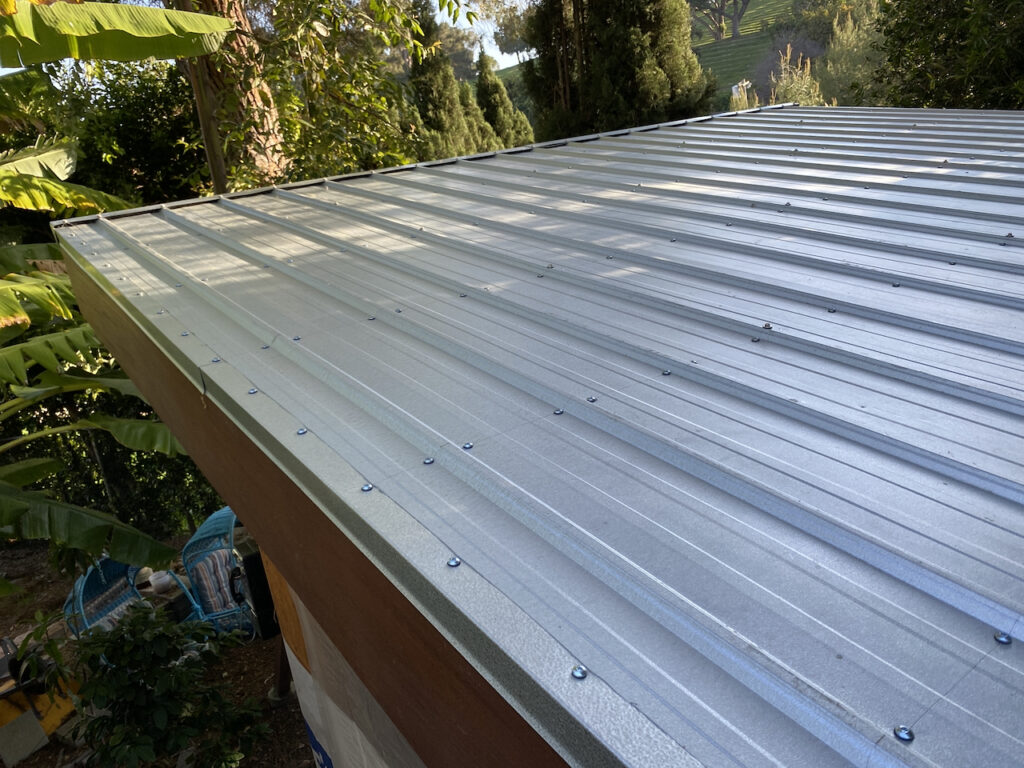
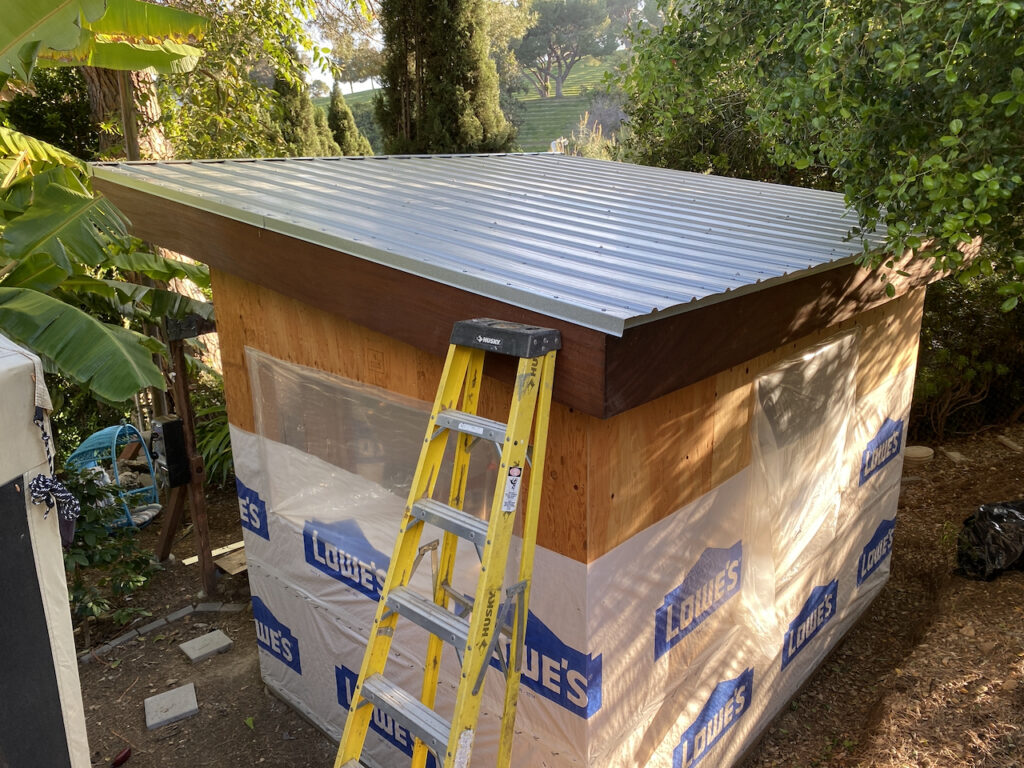
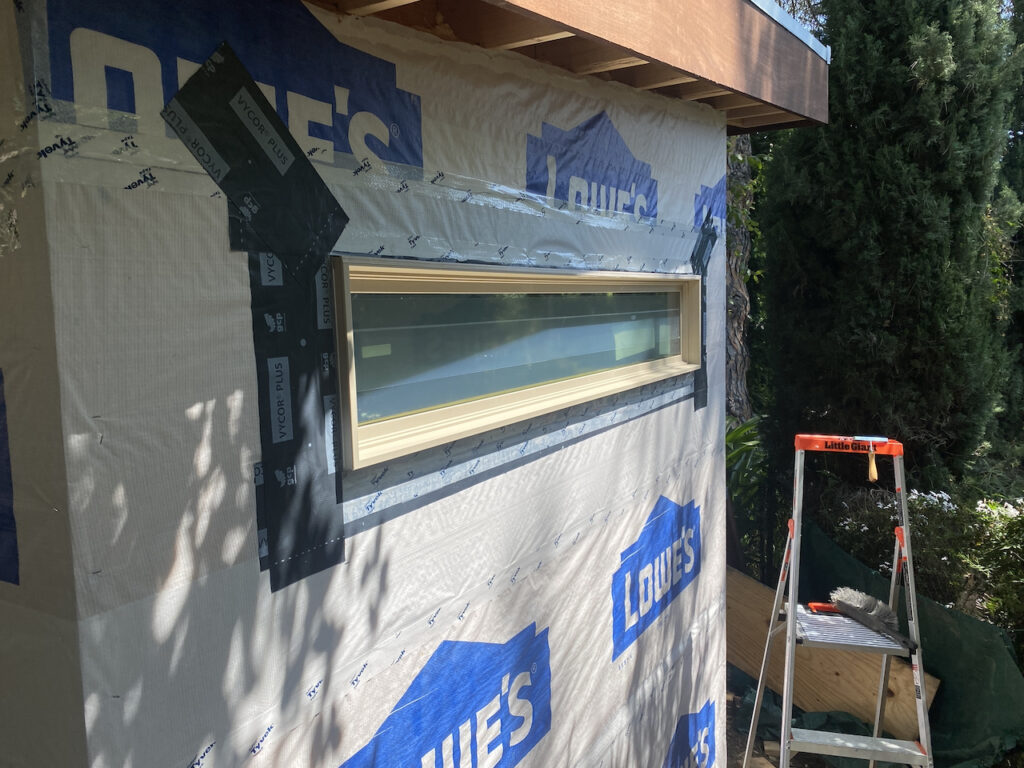
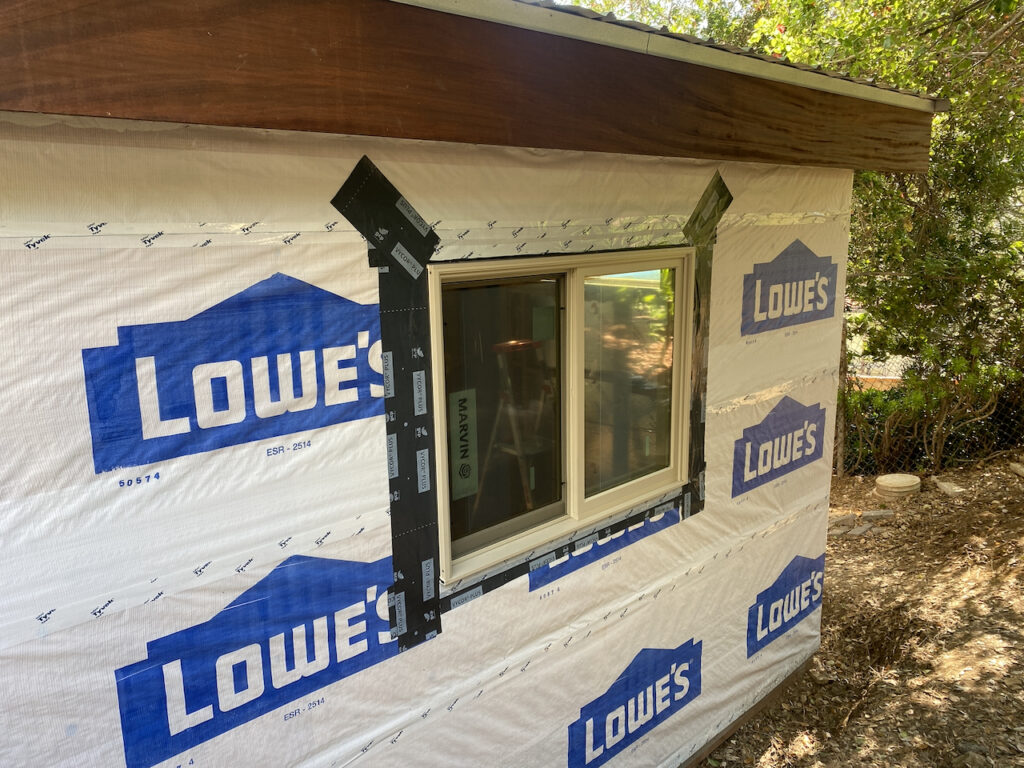
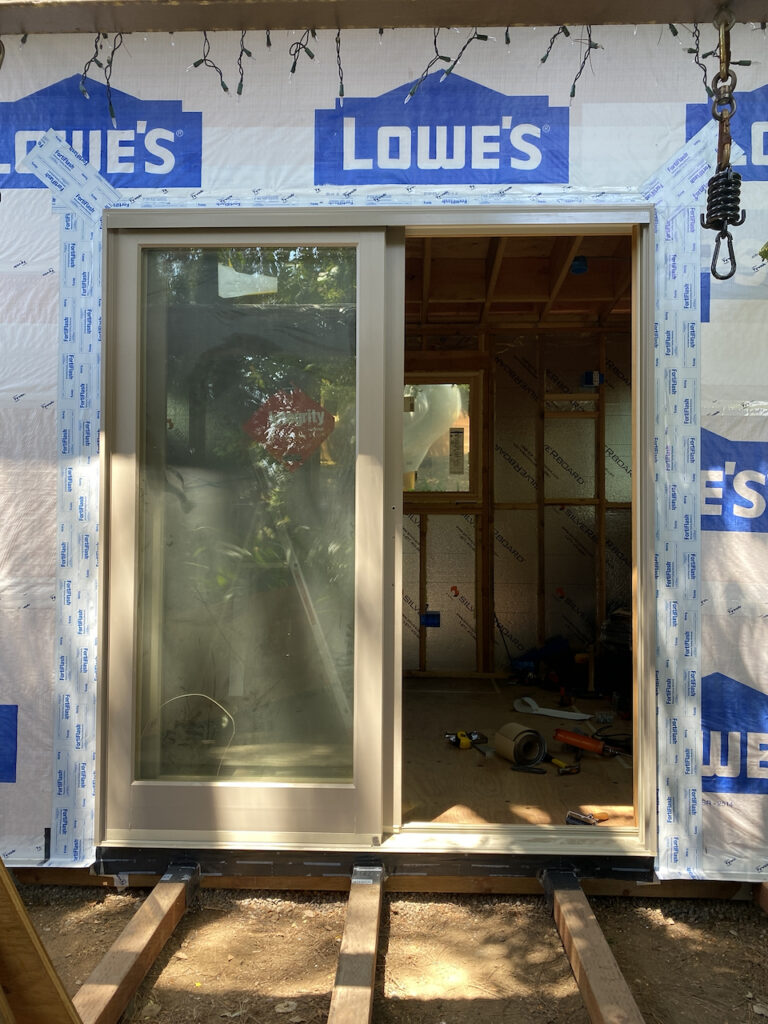
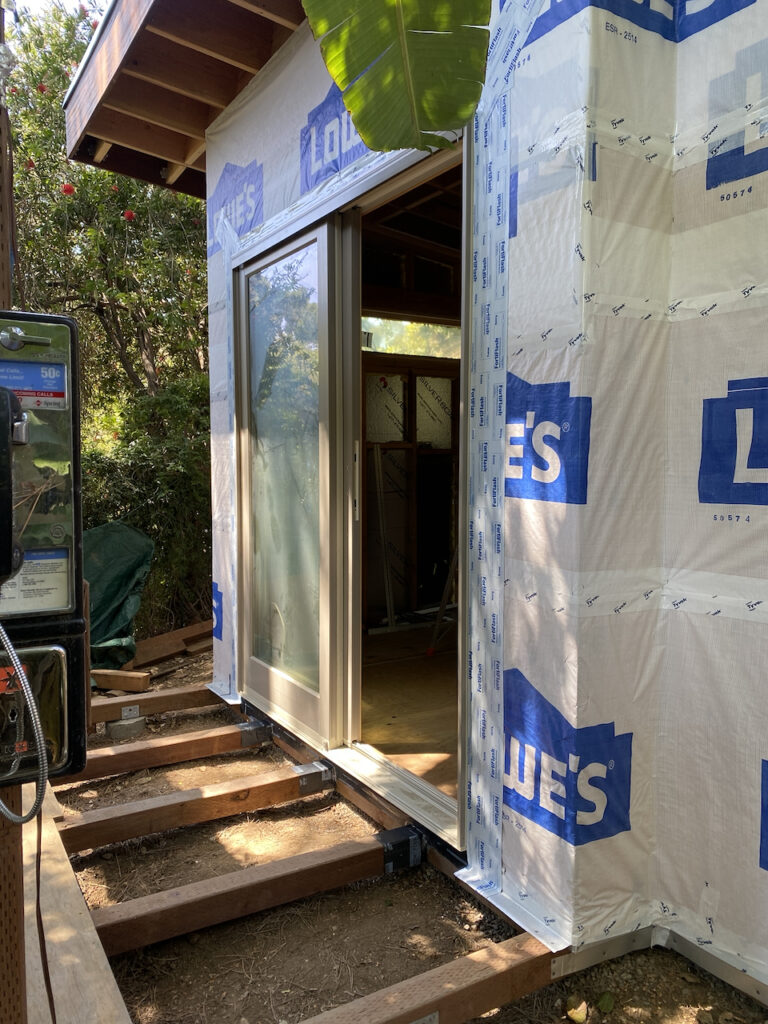
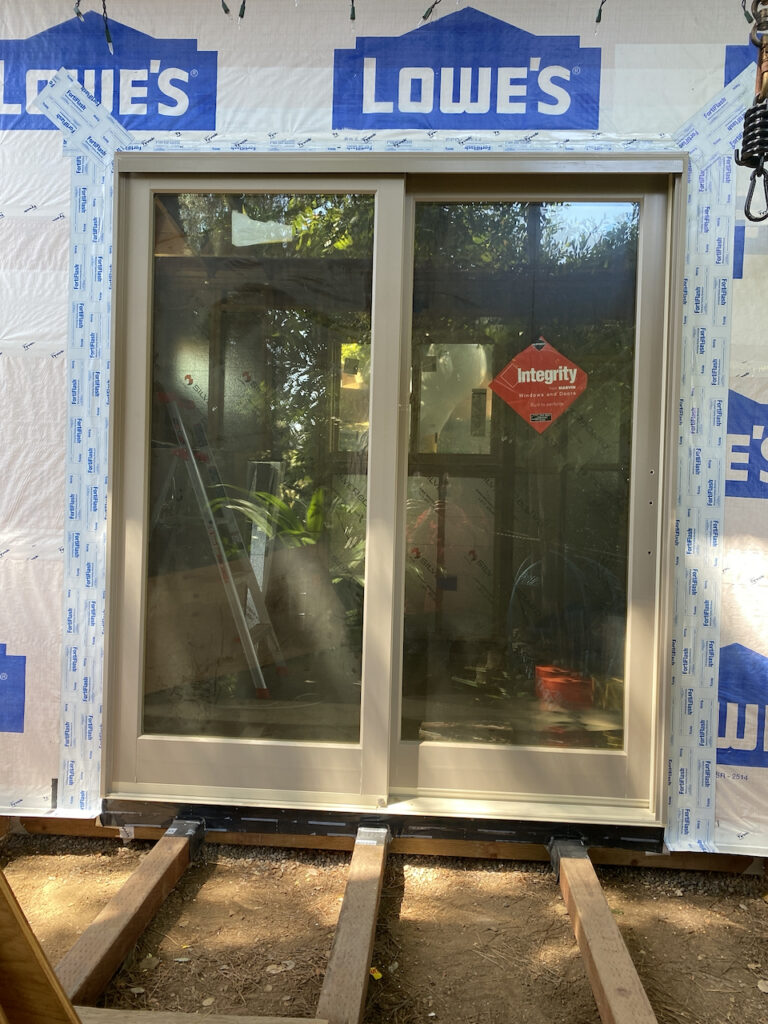
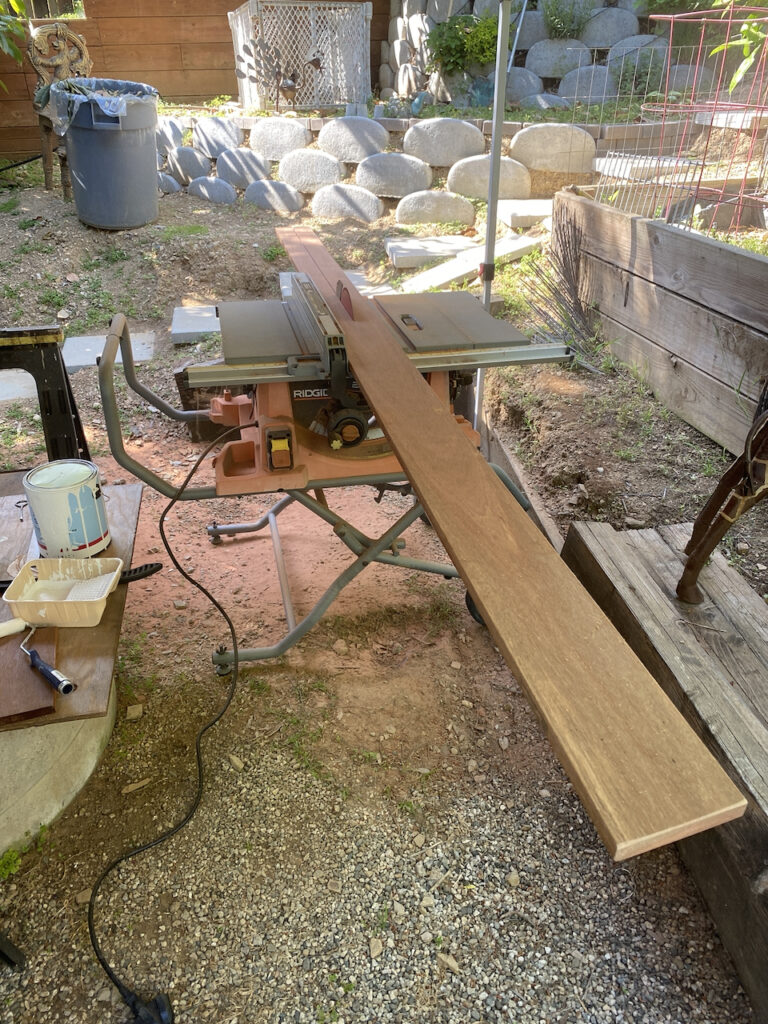
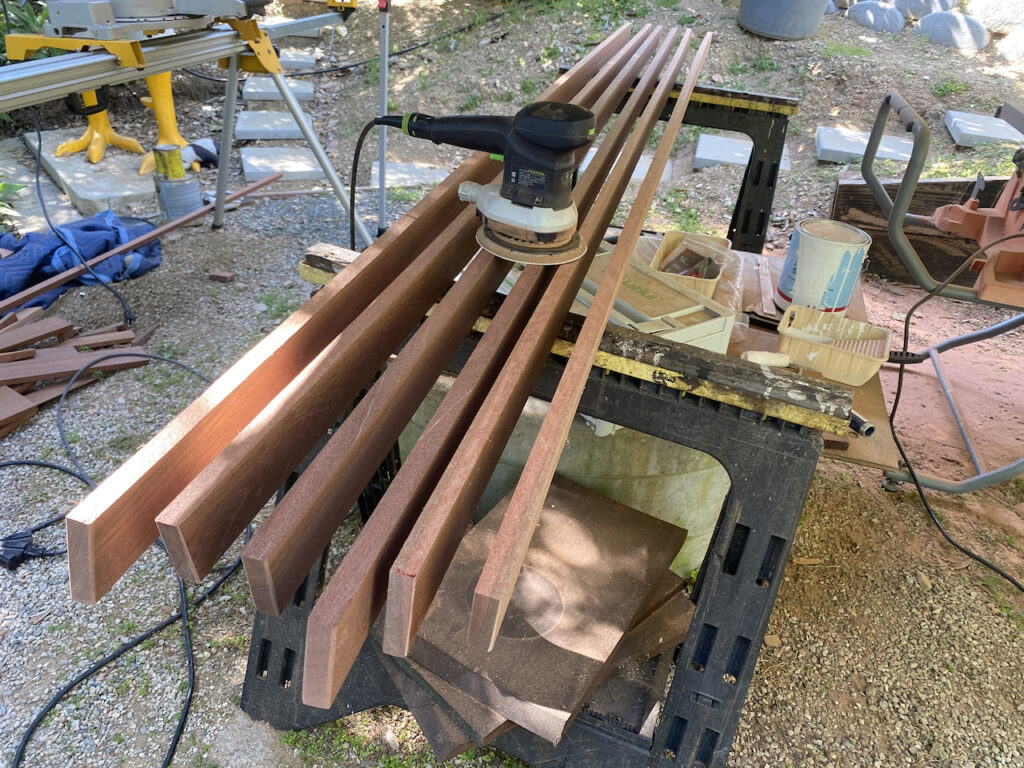
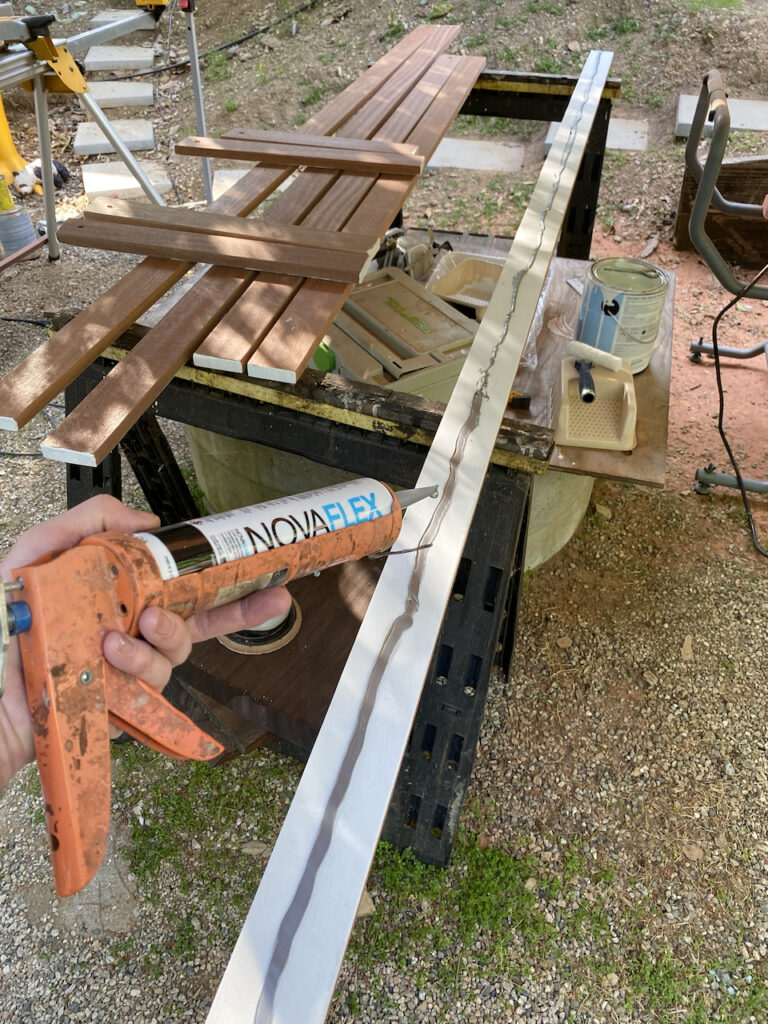
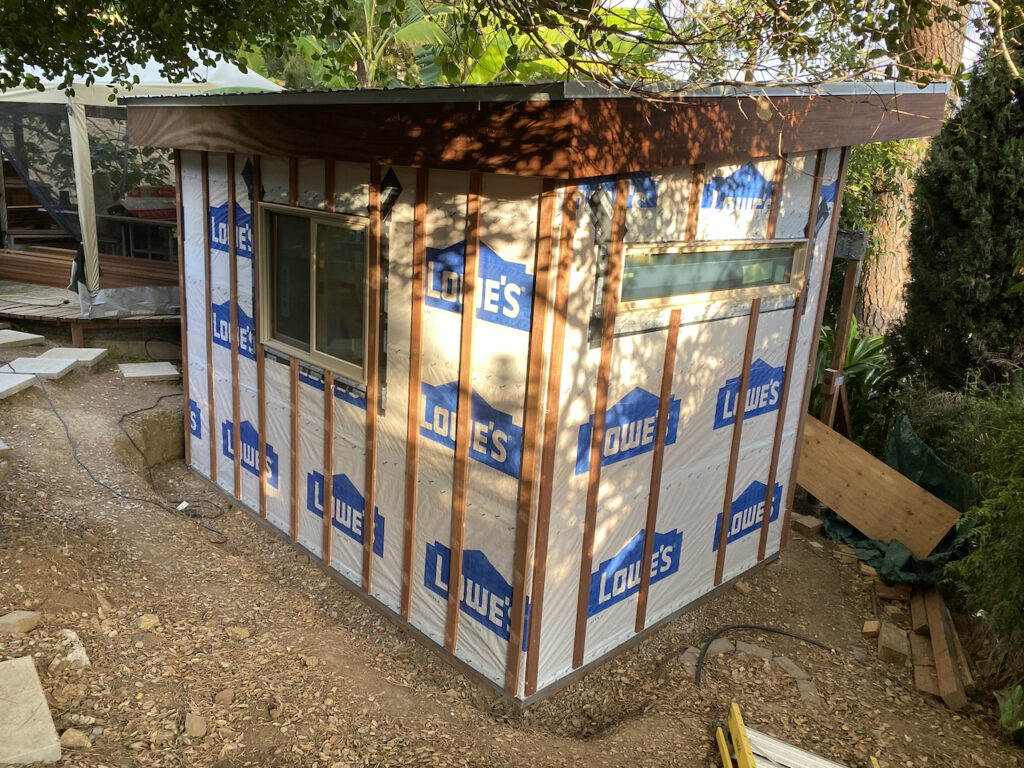
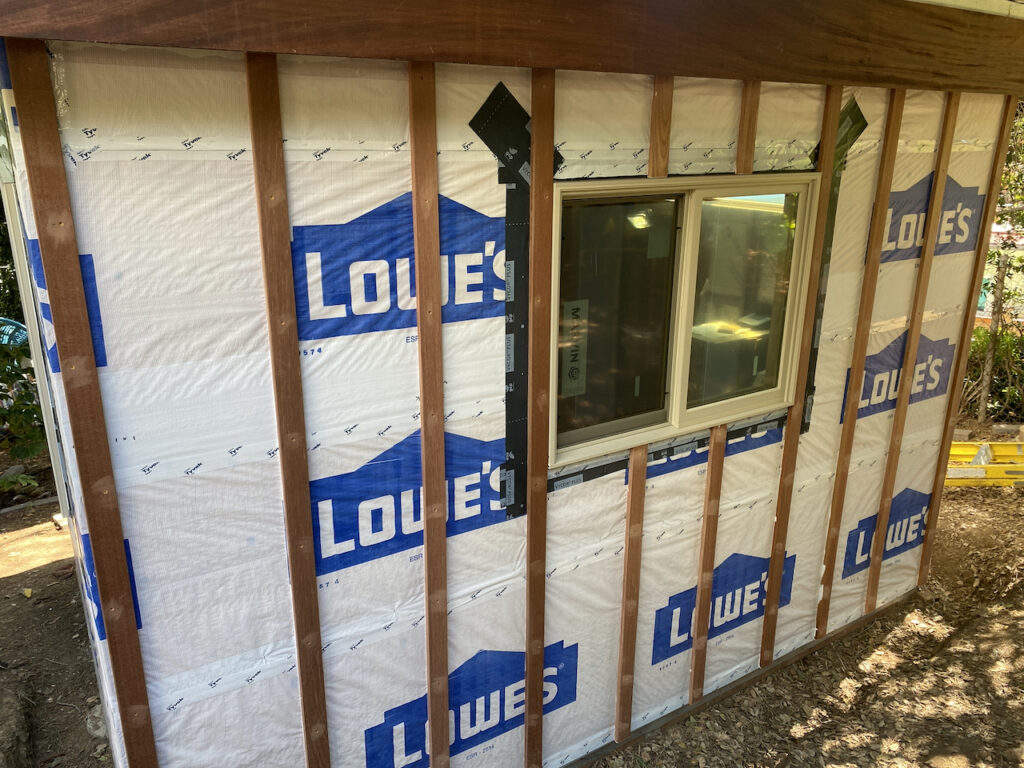
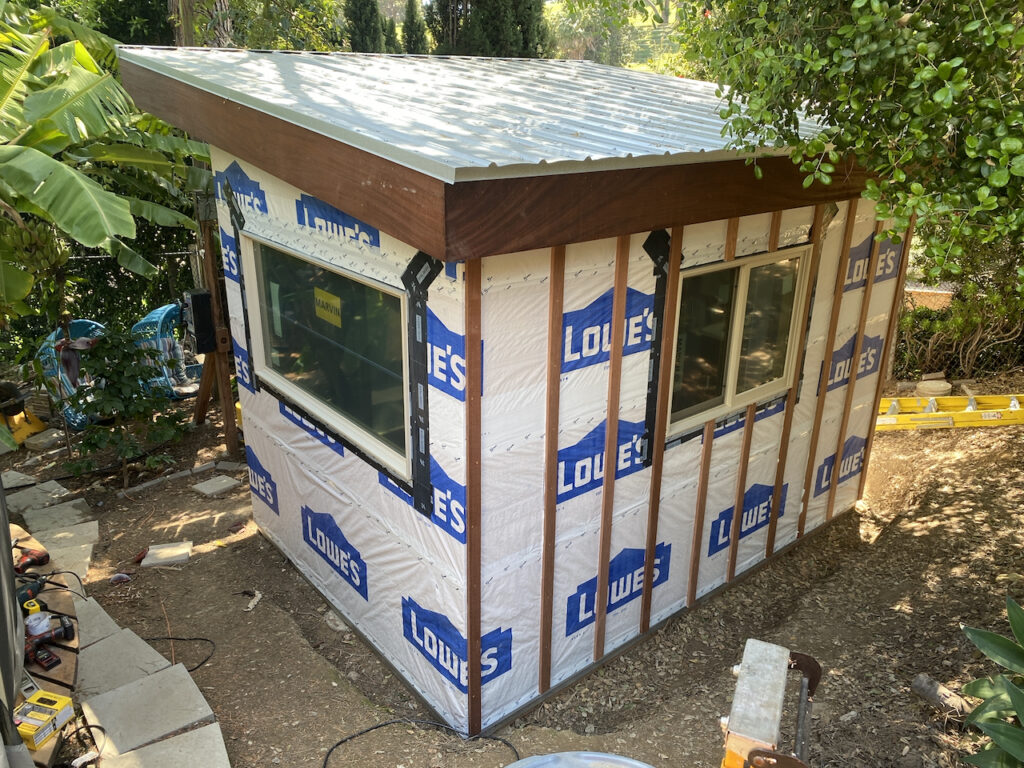
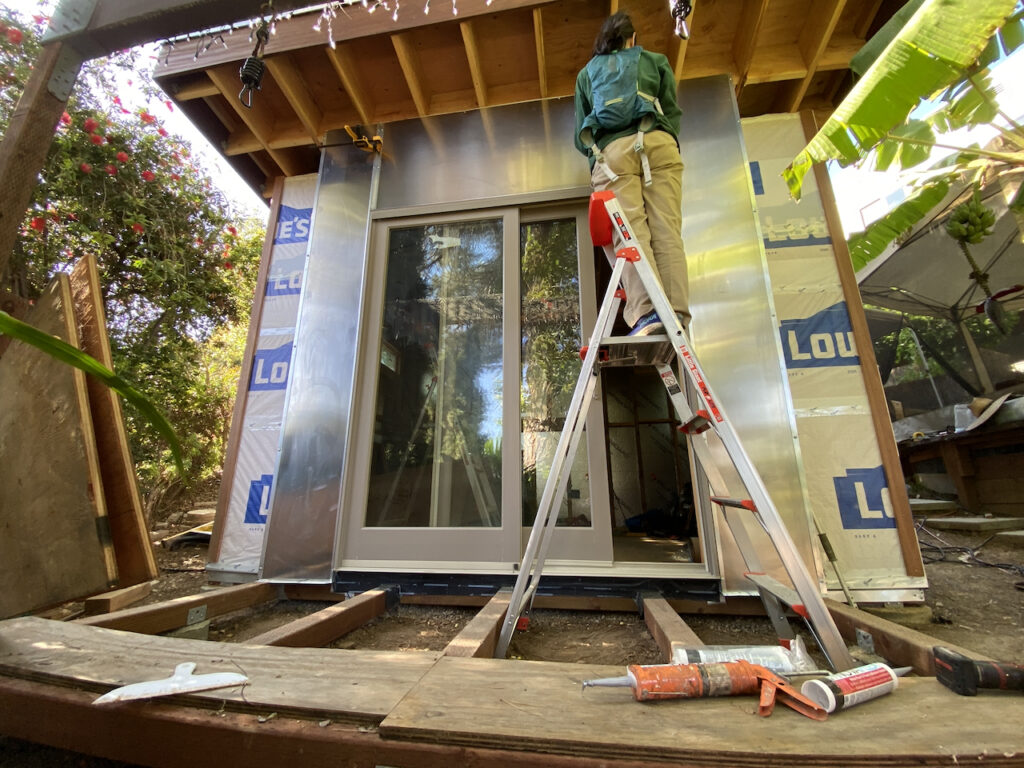
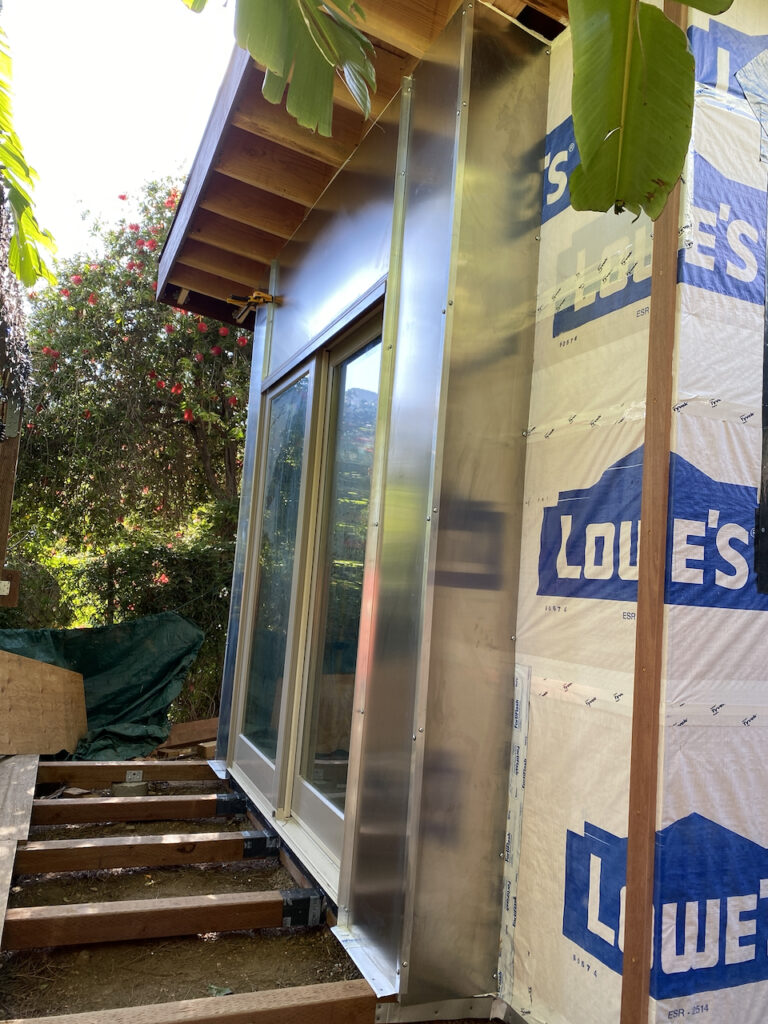
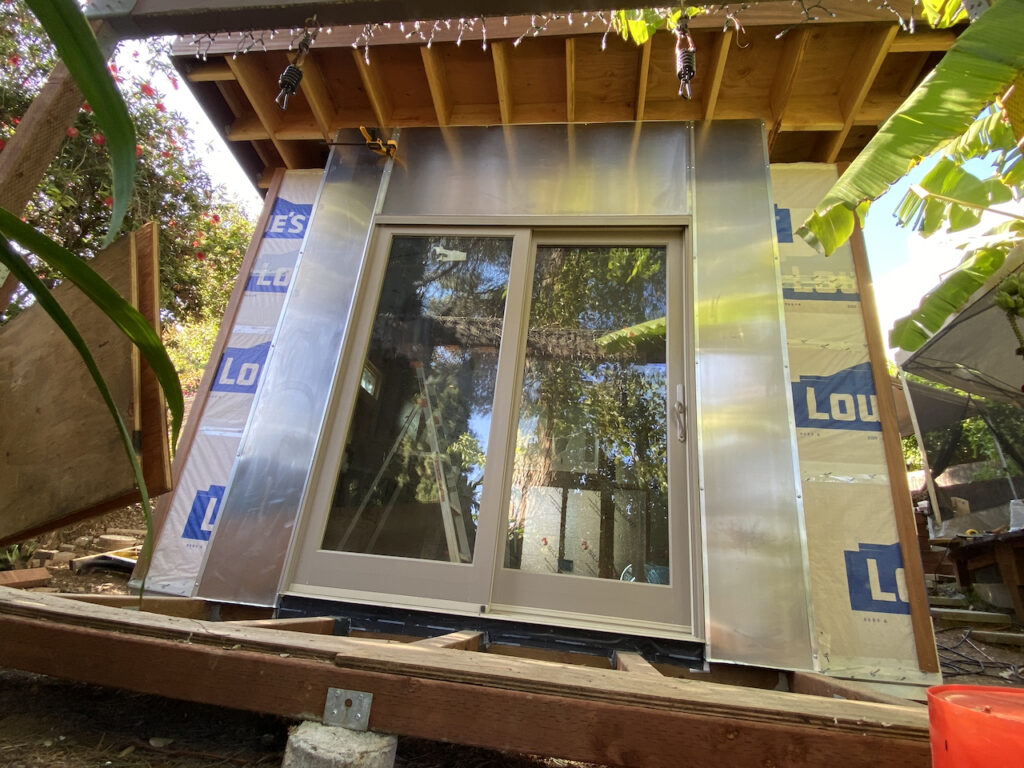
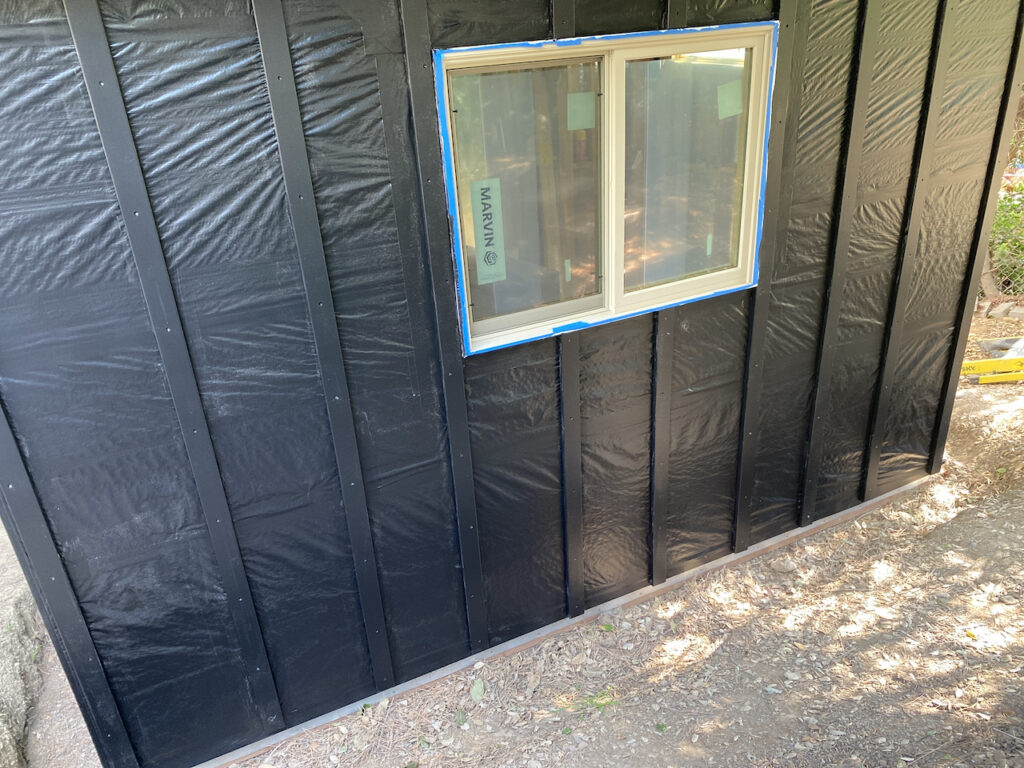
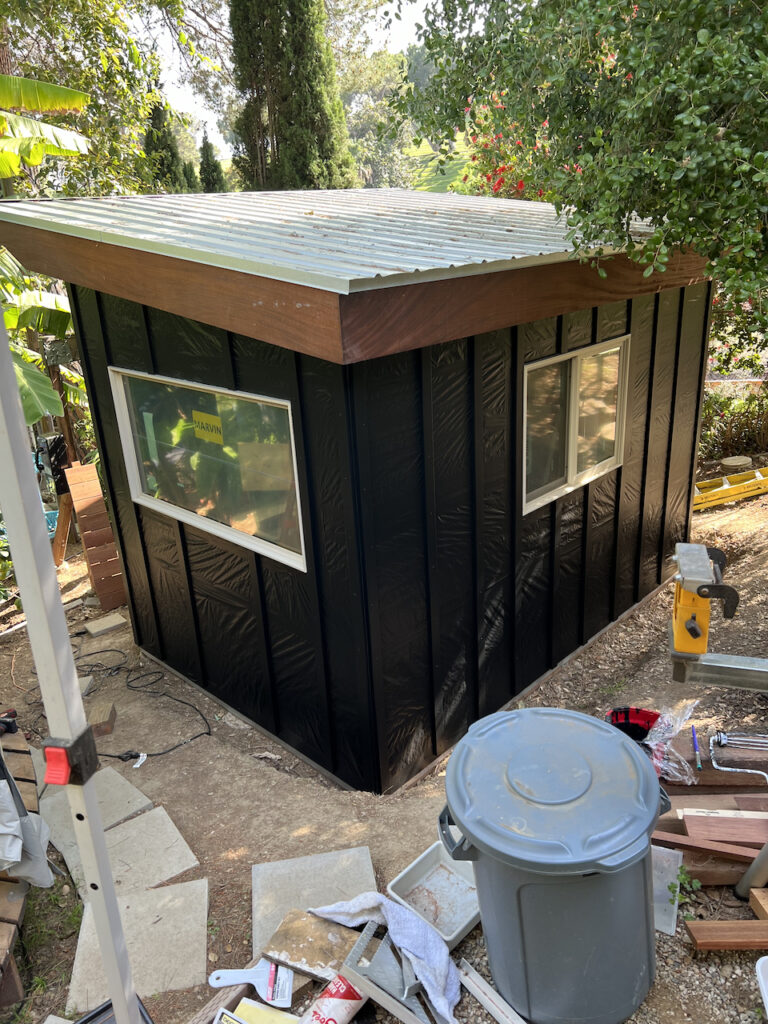
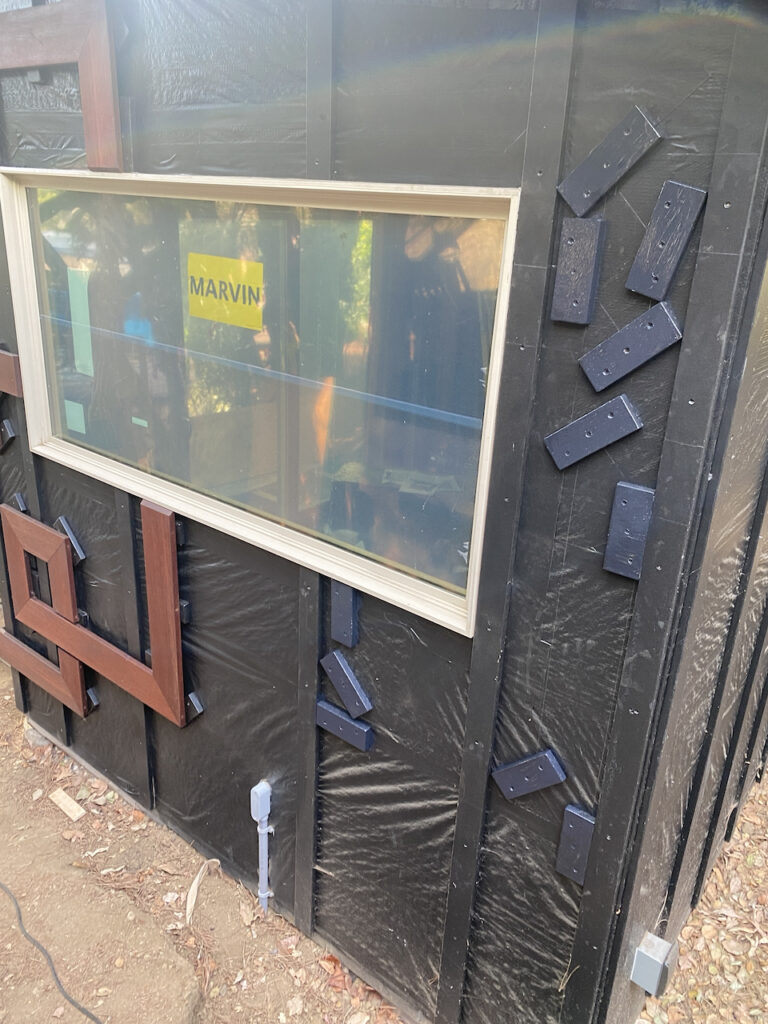
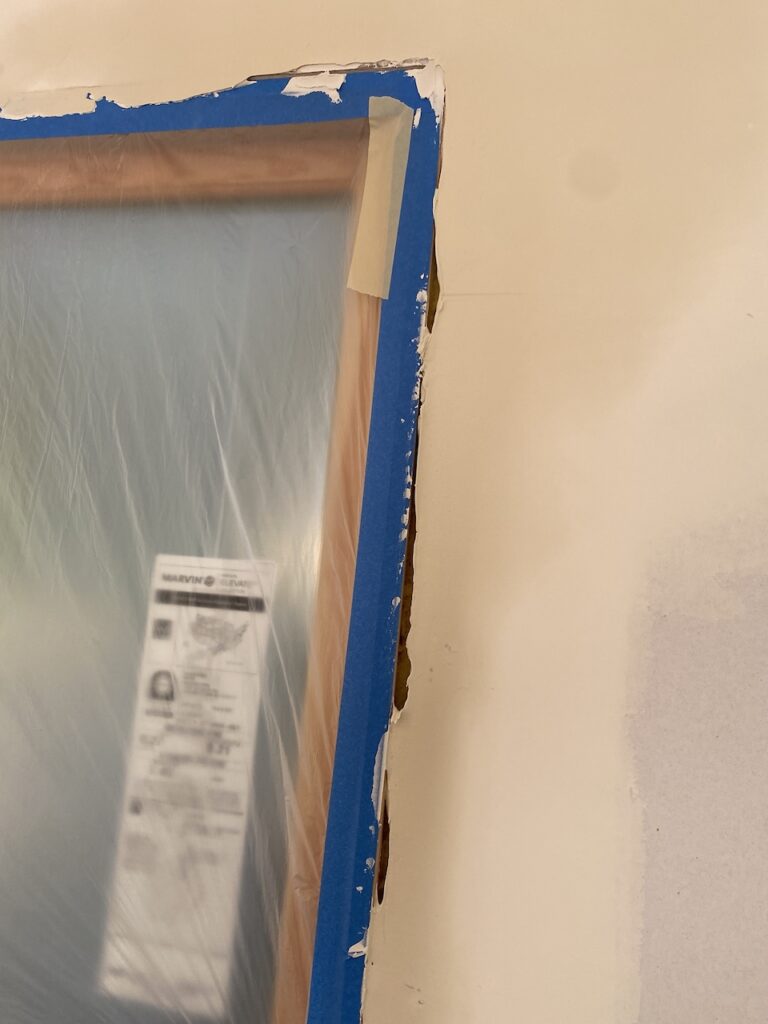
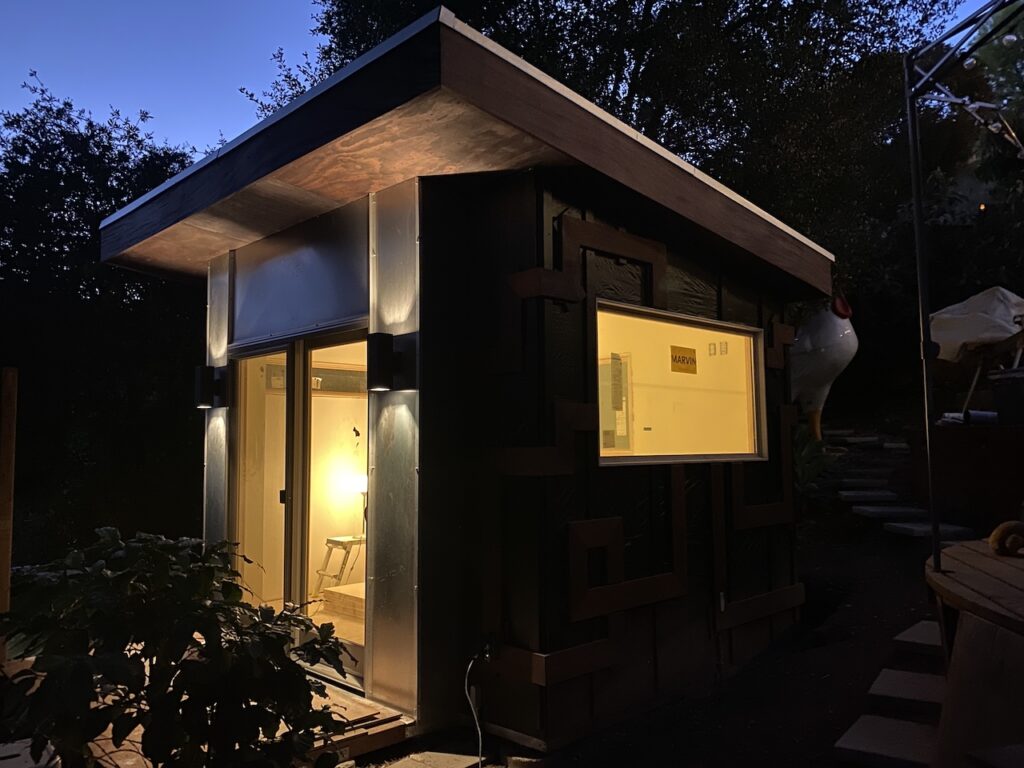
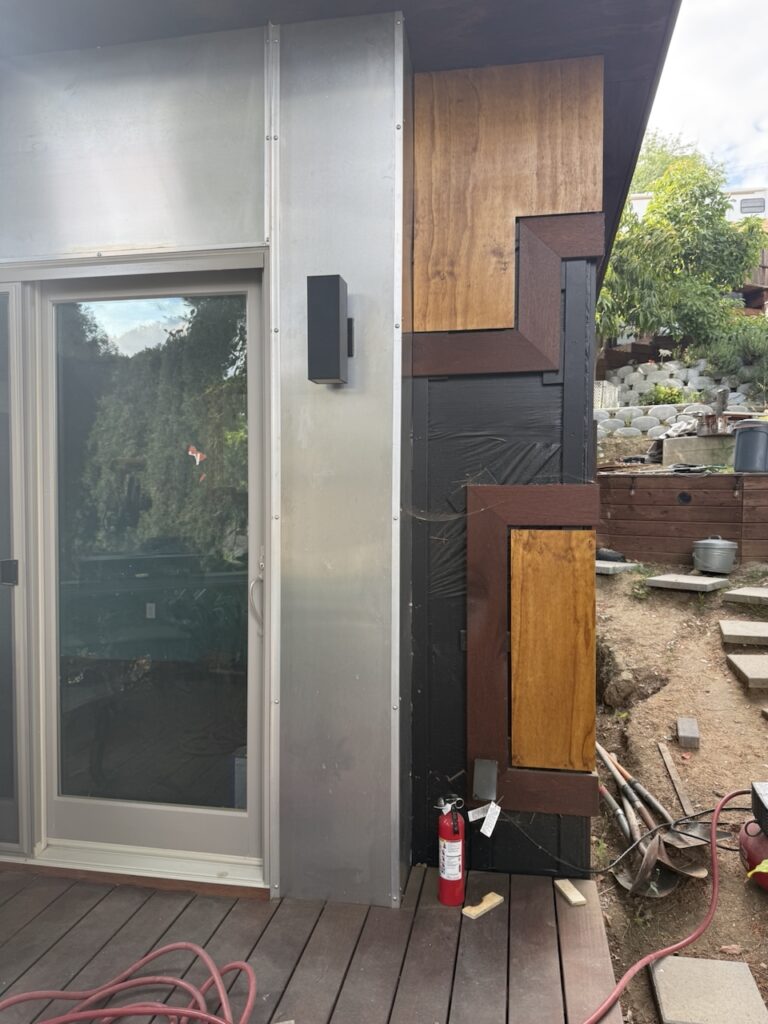
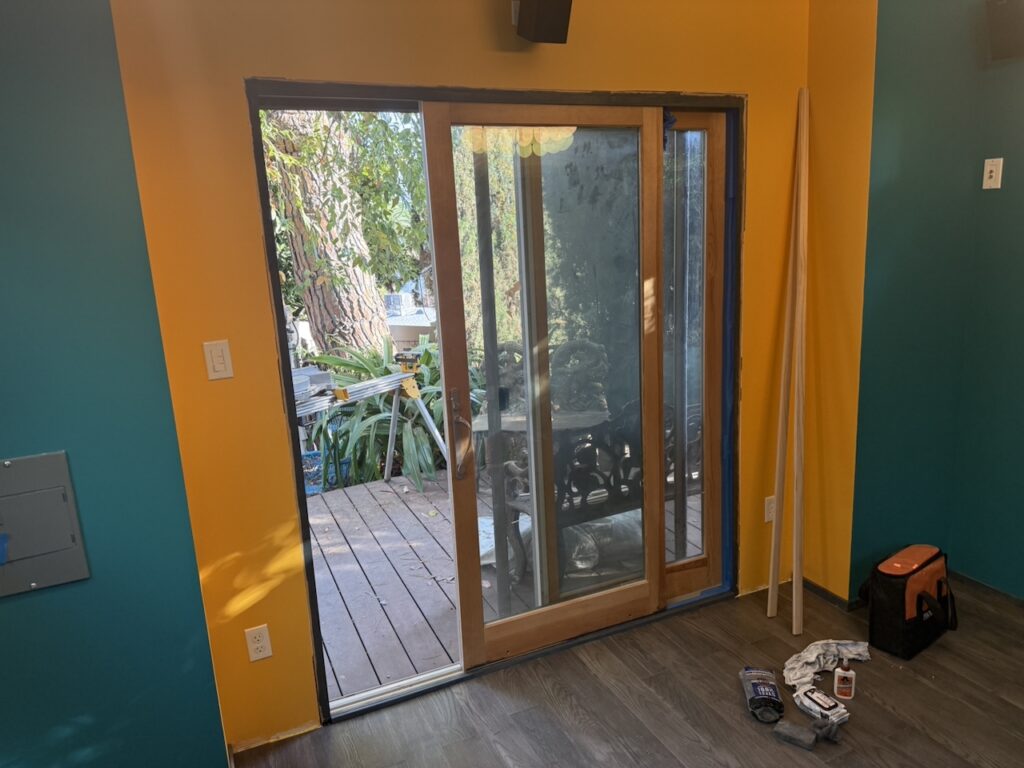
By April, the skies started to remain dry for long enough that real progress could once again be made. It all started to flow. The first step was to install the metal roofing (including the arduous process of peeling off the thin protective plastic from each metal sheet), after that, we added a vapor barrier wrap and I installed the windows. I begged a couple neighbors to help us get the giant slider door down out of the garage and I was able to set it in place. After adding all the weatherproofing flashing, I started cutting vertical slats of the red mangaris wood that we’d be using for the siding, which would be what the siding will be fastened to. The prep for these vertical slats was laborious as each piece needed to be ripped to reduce the width (I was getting two verticals per board) and then cut to length (plus the angled top for the ones on the side), then each piece needed to be sanded to prevent the sharp edges from splitting over time. Then the back sides were primed to protect from vapor, and finally a bead of siliconized caulking was applied to the back before being fastened to the studs. The finished look with the dark vertical slats made the office look like a weird take on an english tutor style.


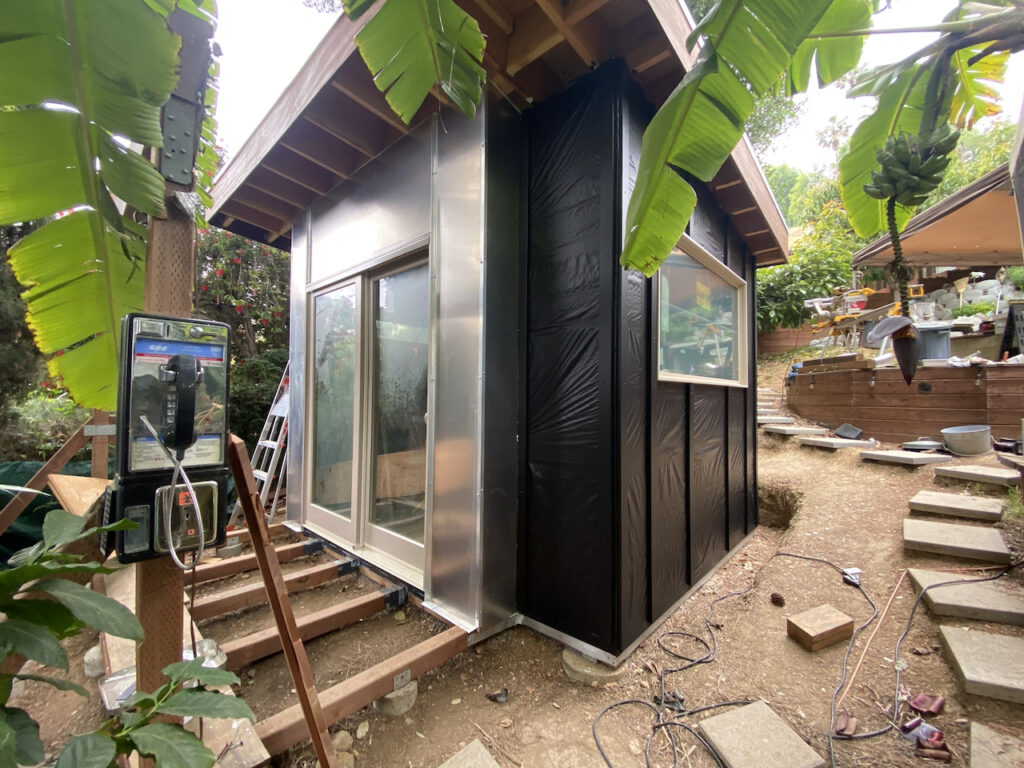
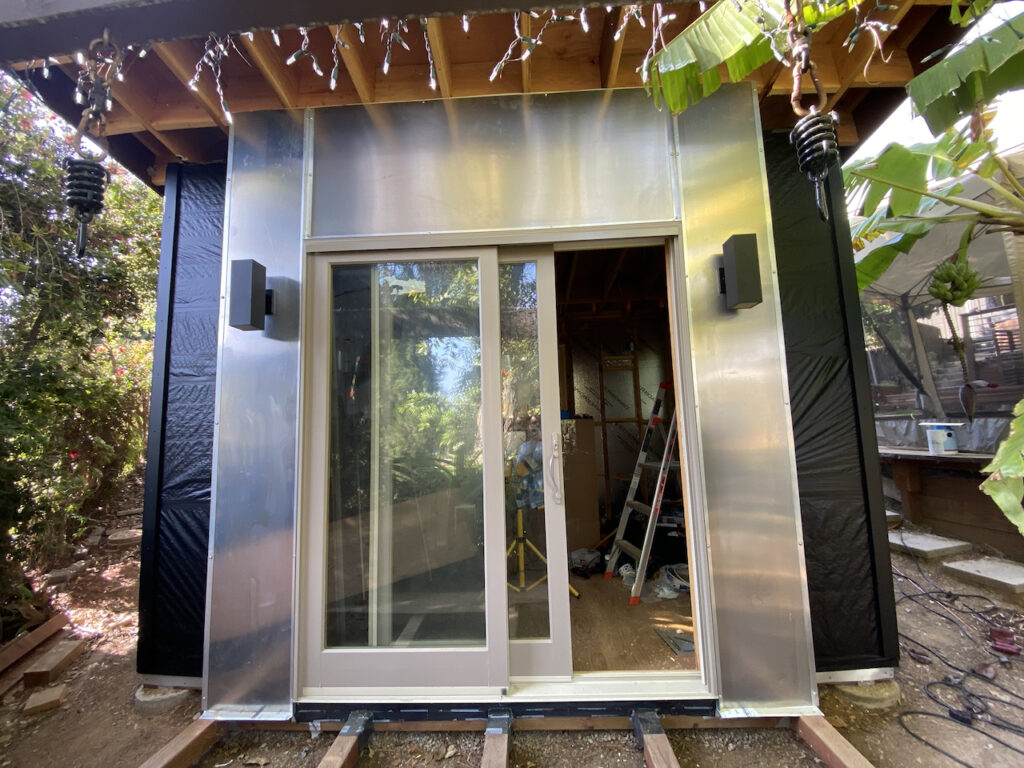
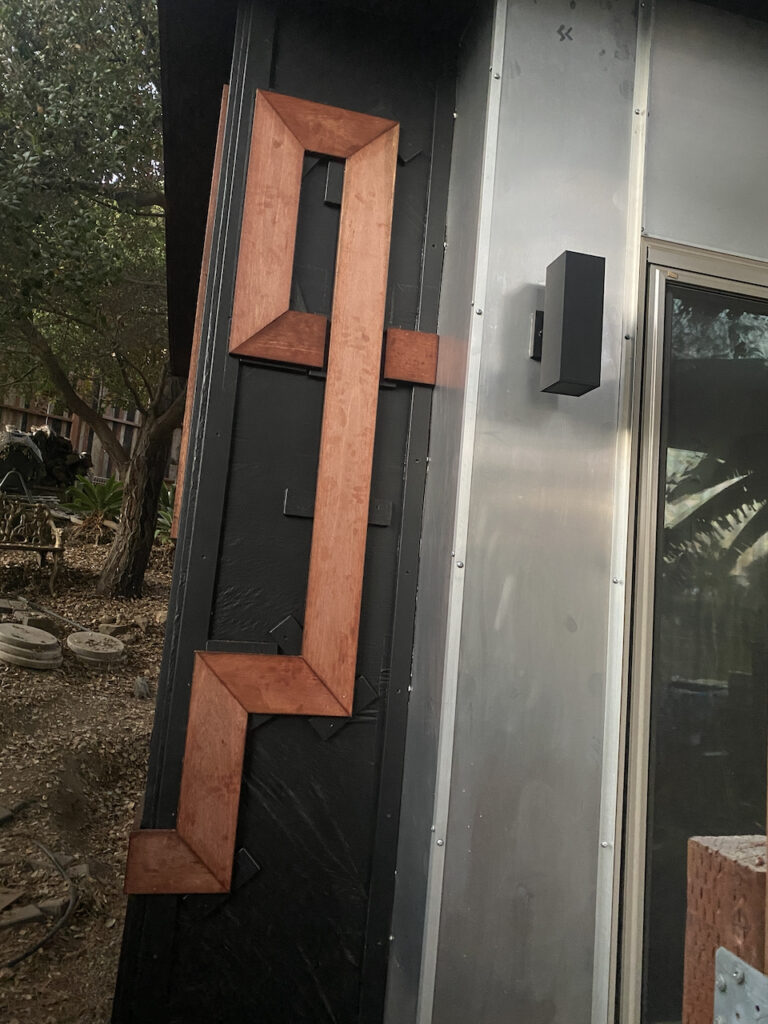
One of the most decorative elements of the design Sylvia created is metal sheeting that surrounds the front slider door. After the vapor barrier was complete, we glued and fastened all the metal, using L-metal edging to tie it all together.
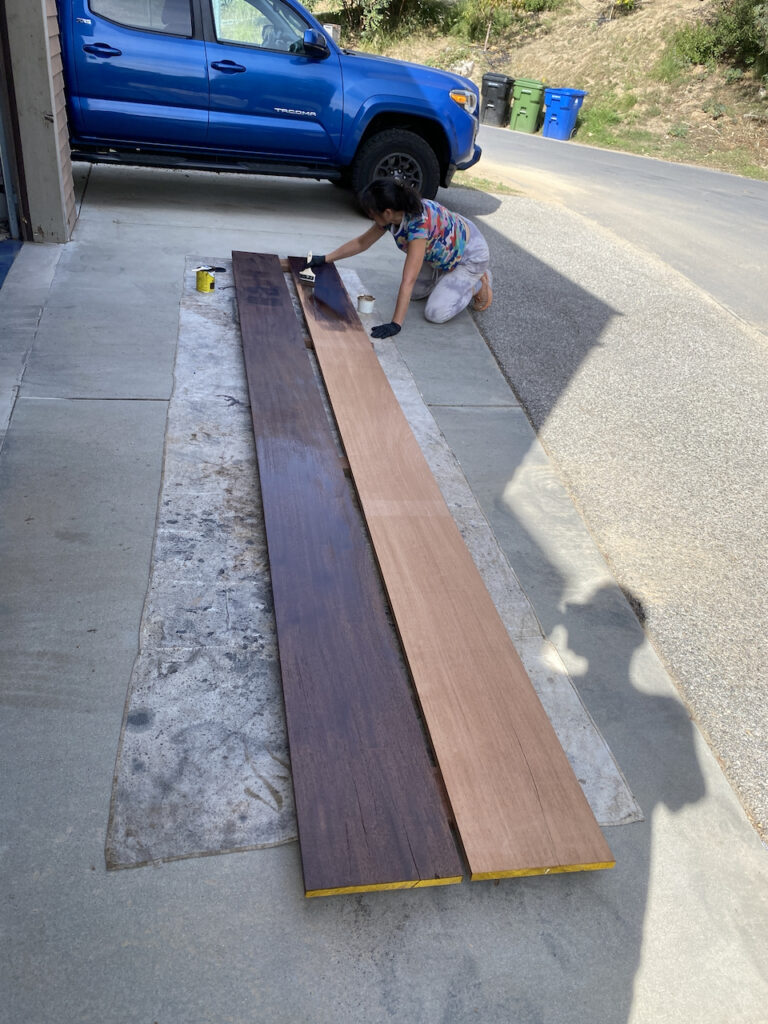
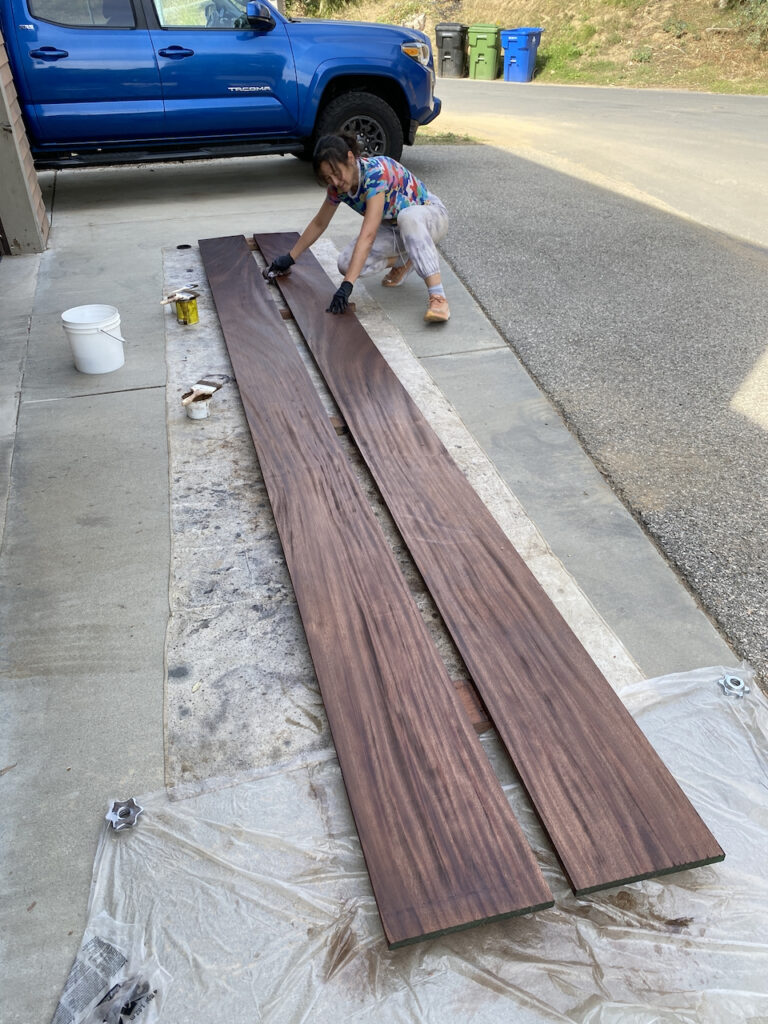
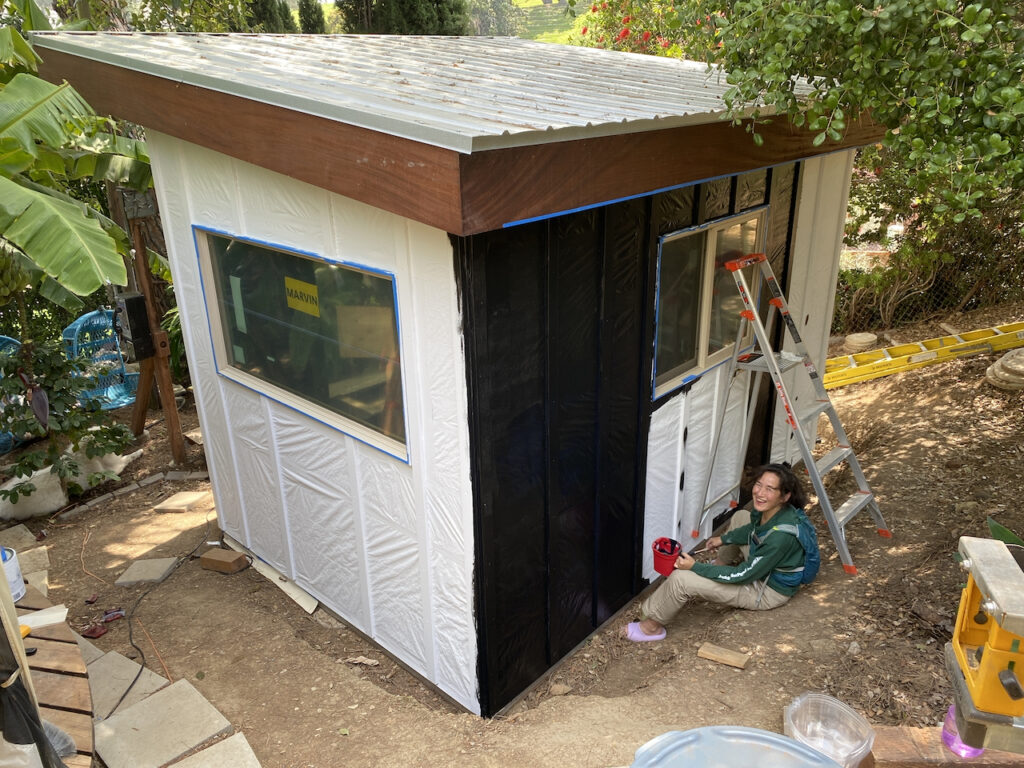
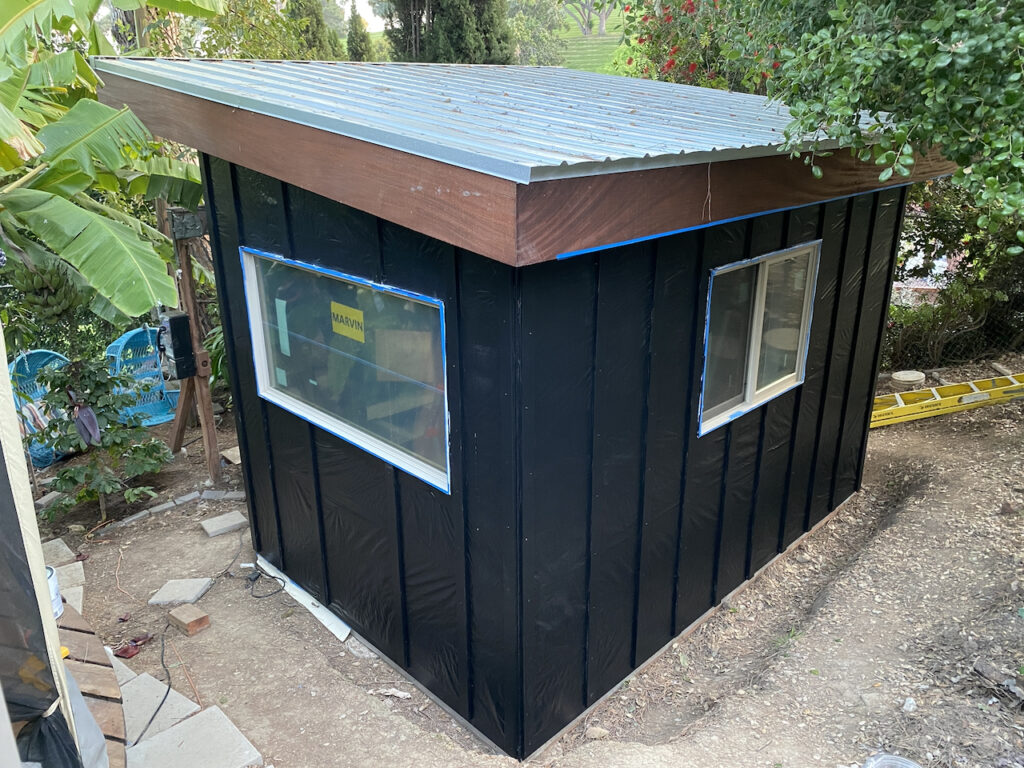
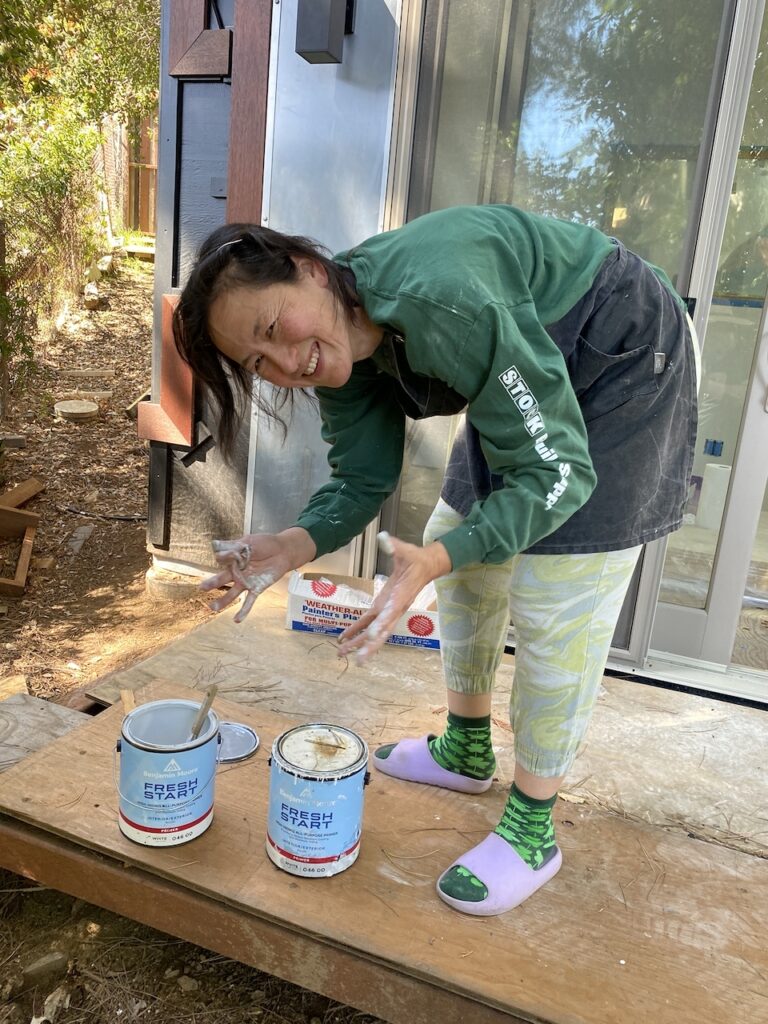
Sylvia took on the painting tasks: a couple coats of white primer followed by a couple coats of black.
As we prepared to clad the side with decking, I started to get worried about the weight. While I overdid the foundation, it is not meant to support something completely covered with 3,000 psi density wood. I worried that the entire project could sink without any way to correct it later.
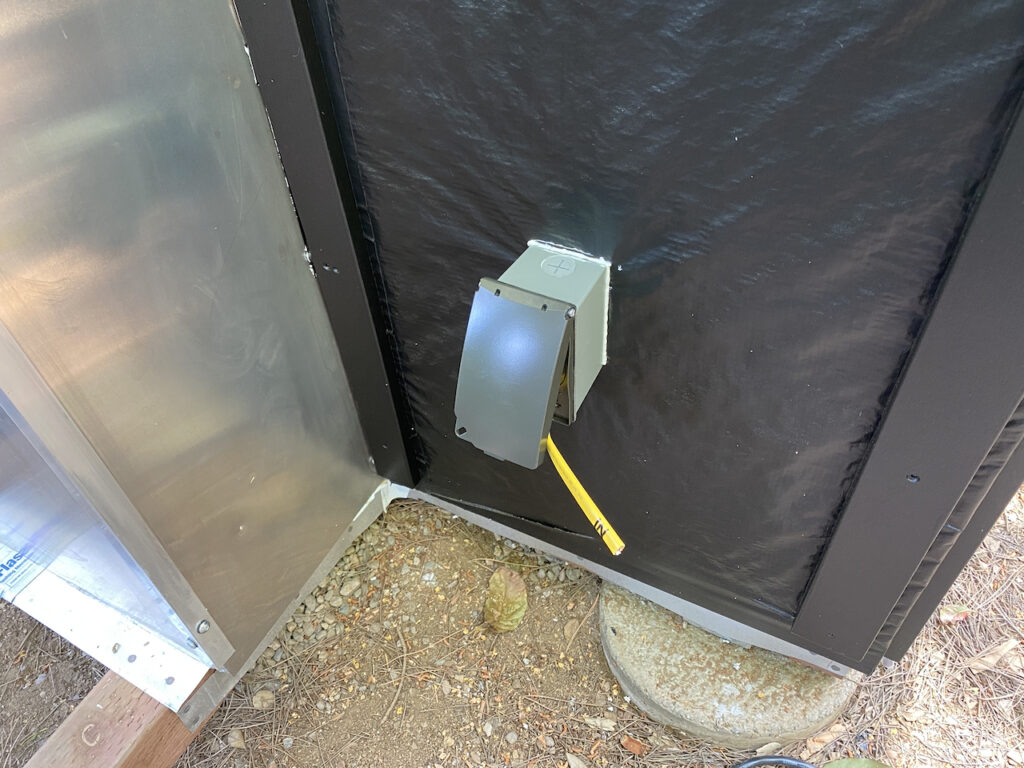
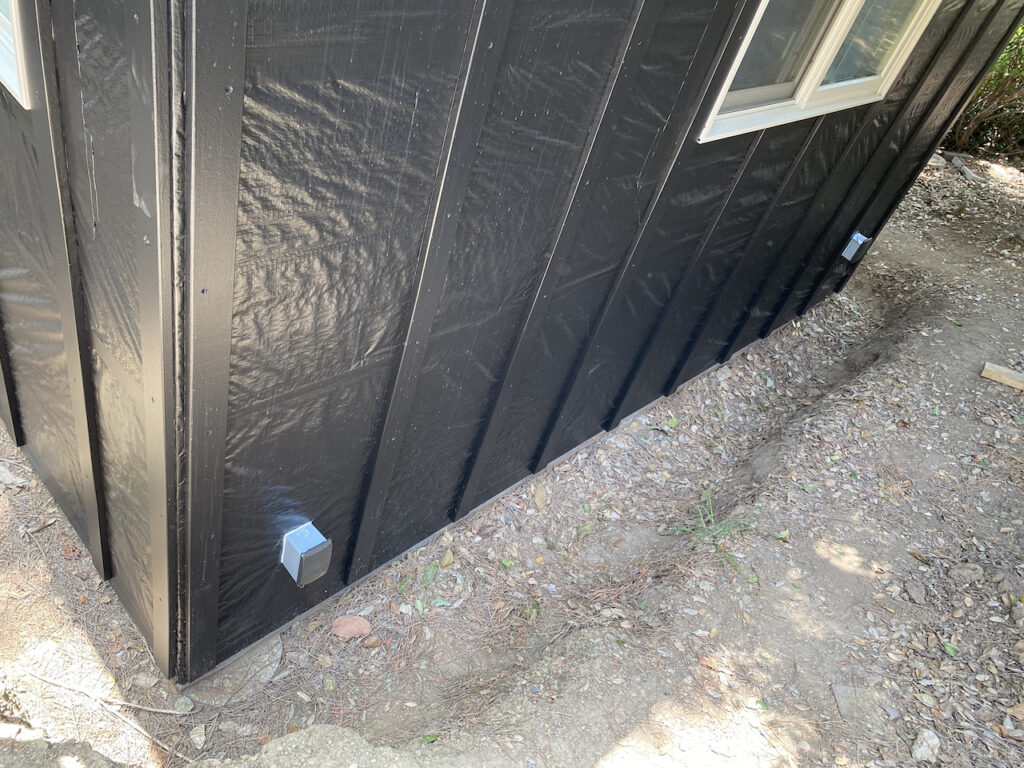
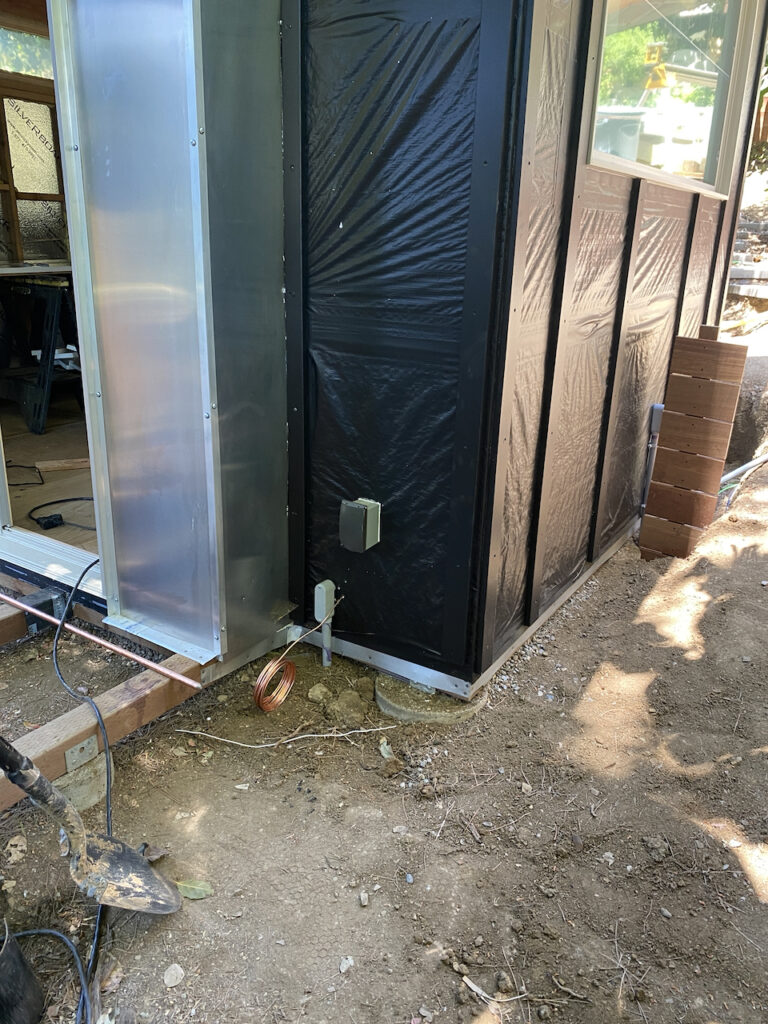
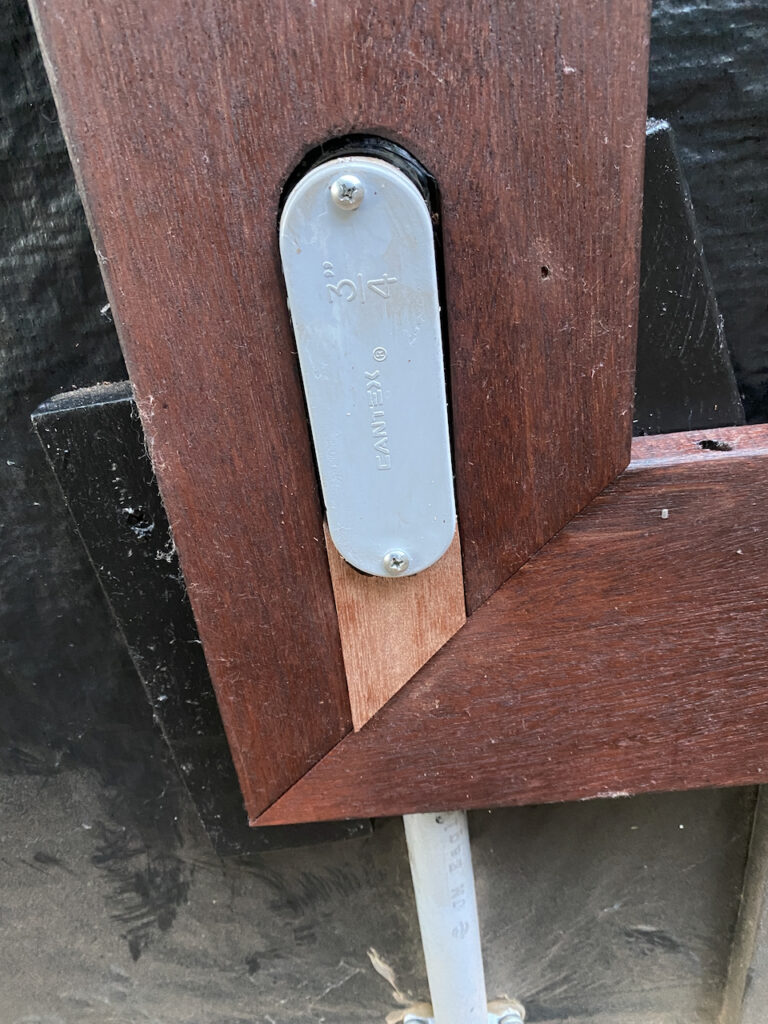
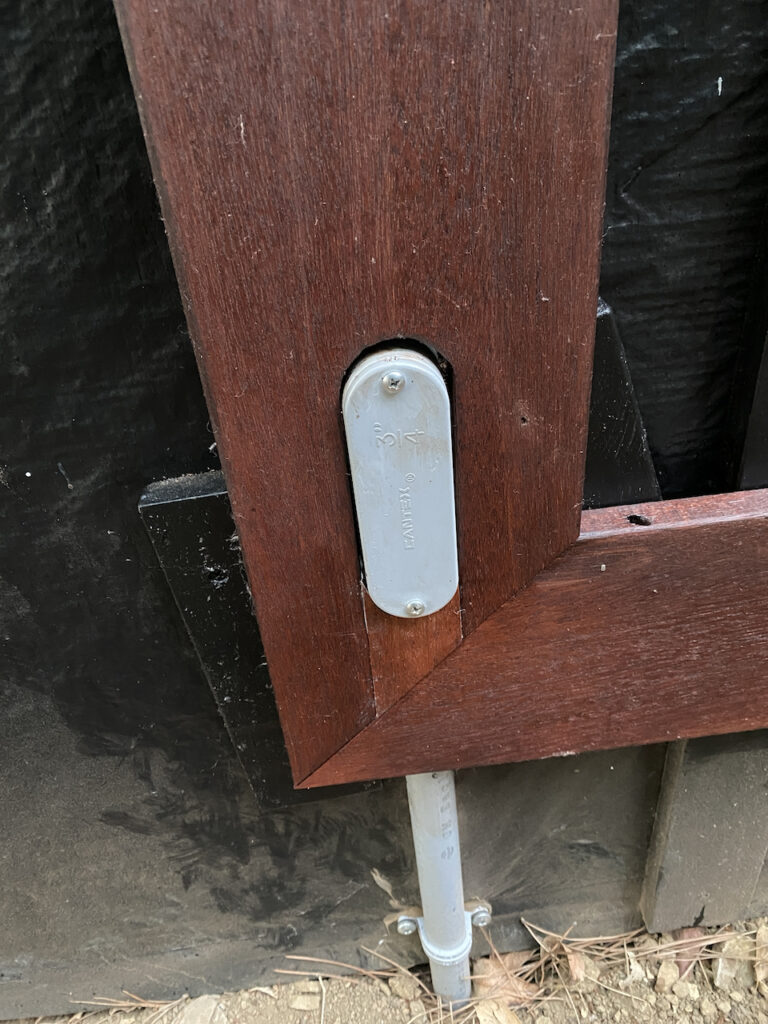
So, while we went back to the drawing board and have decided to start doing more interesting designs with the wood and flat sheets of ply to come up with something unique AND without the weight issues. While that was going on, I started in on wiring the interior and adding exterior outlets in preparation for the job that I am dreading the most- trenching to bring down power and ethernet.

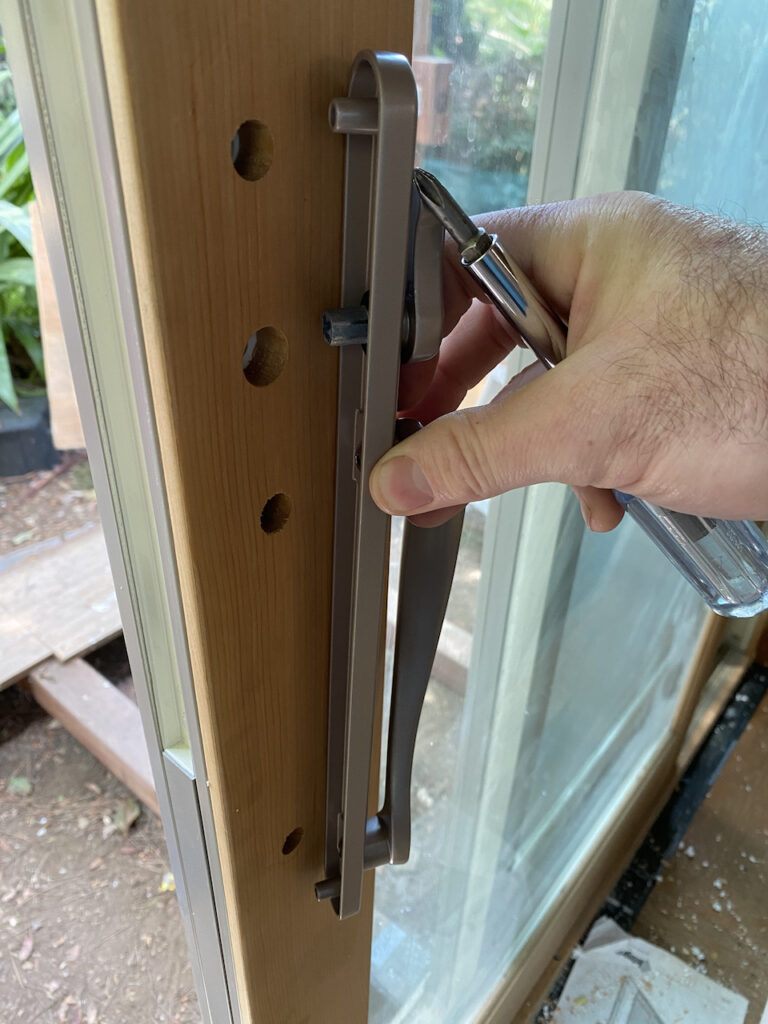
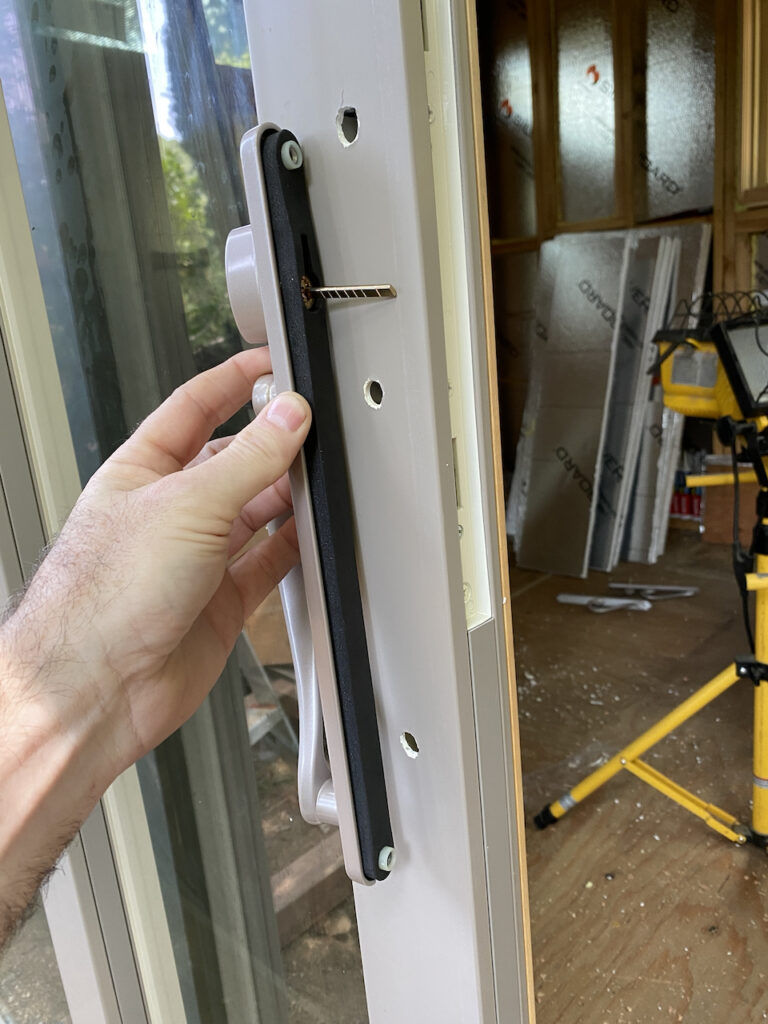
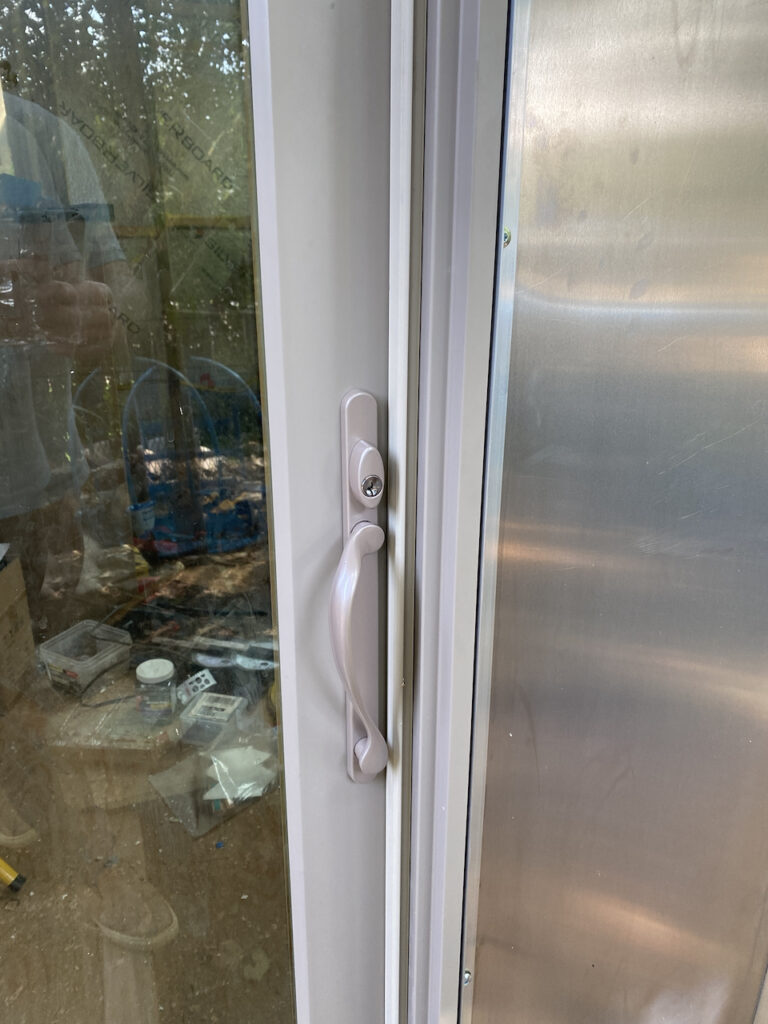
At some point the new door handle and lock set that we had to special order because the slider was 15 years old came in. Unfortunately, it did not fit the existing mount holes, so I had to get to work with the drill. The upside is that I could finally lock the office.. er, shed!
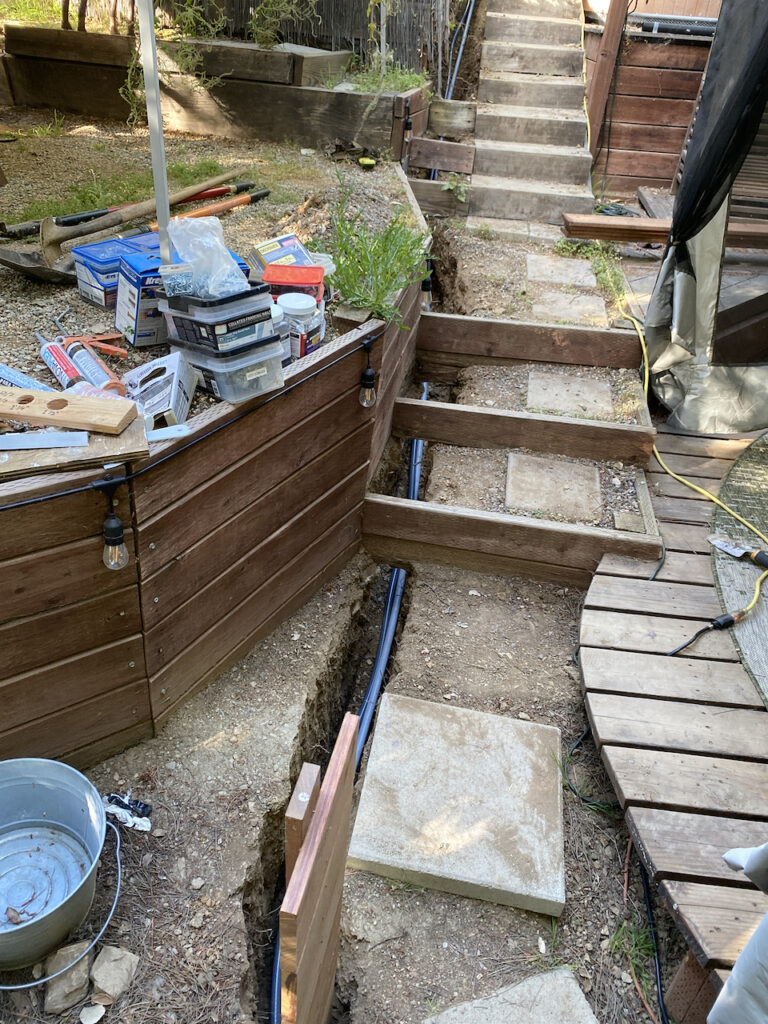
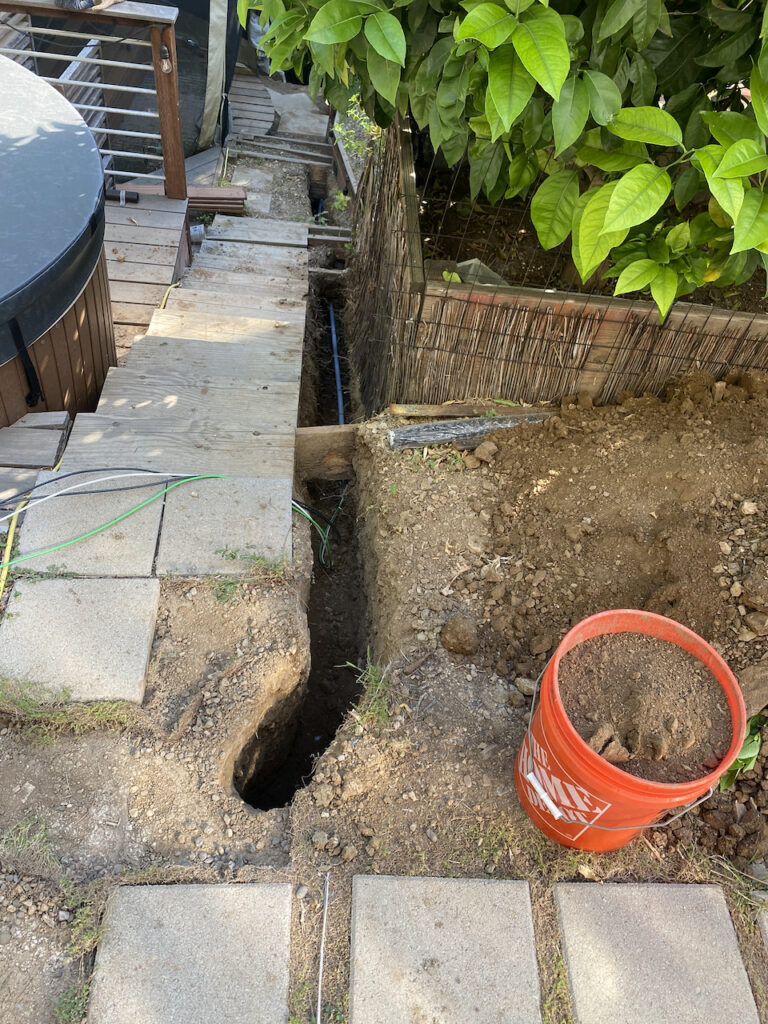
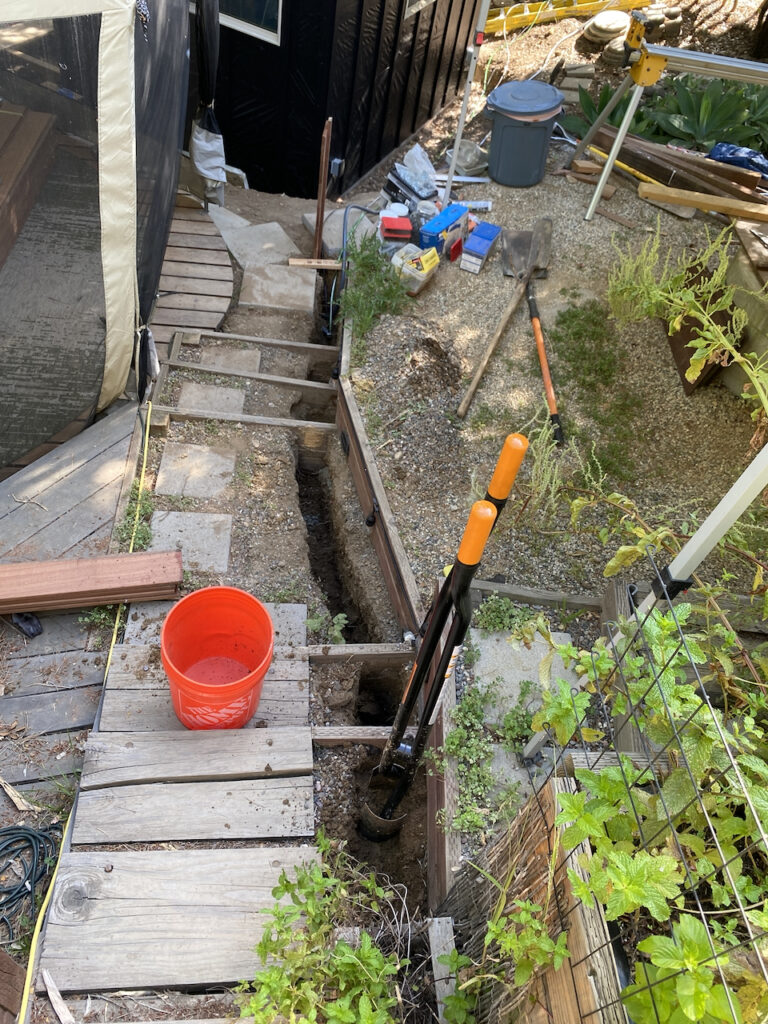
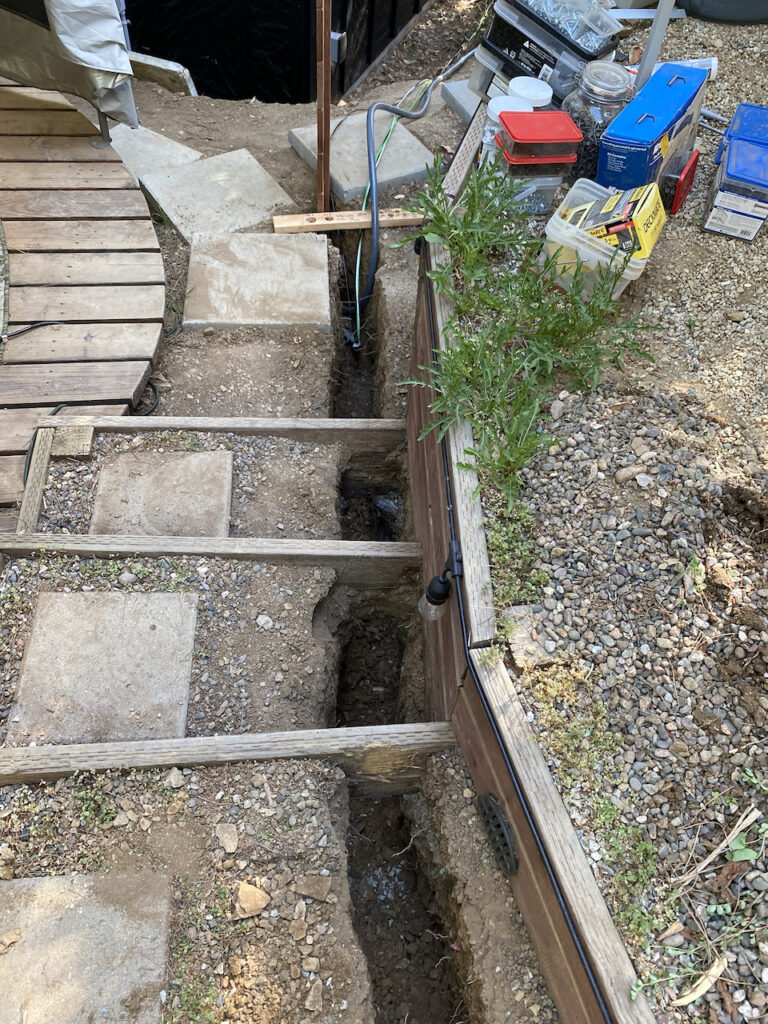
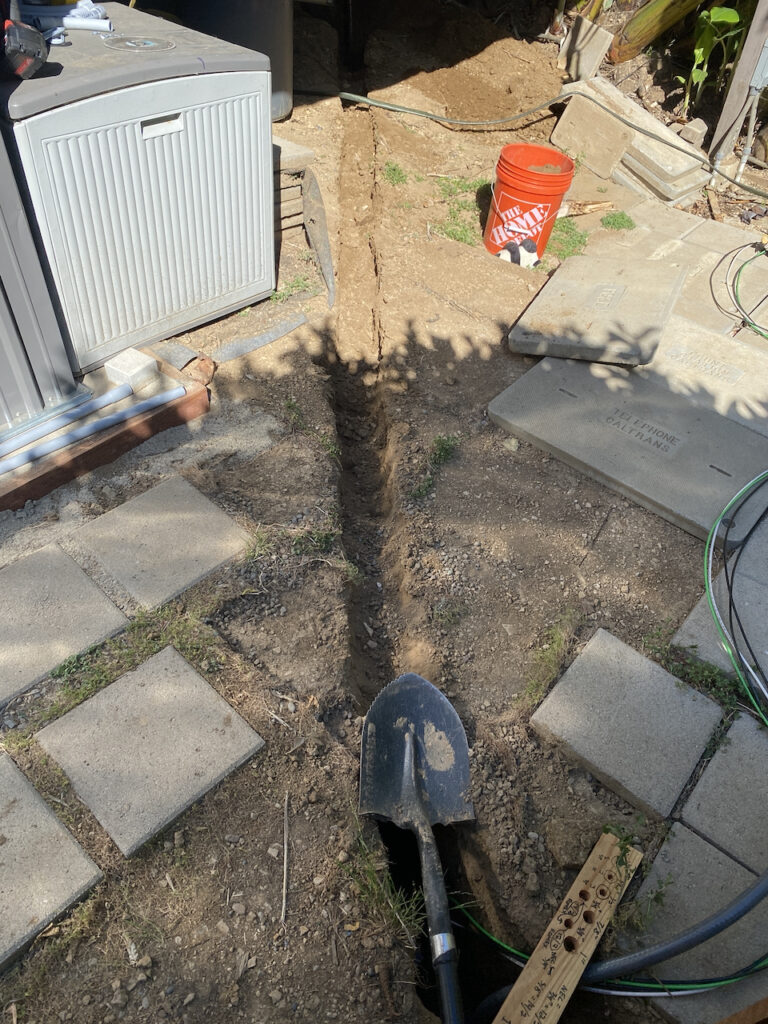
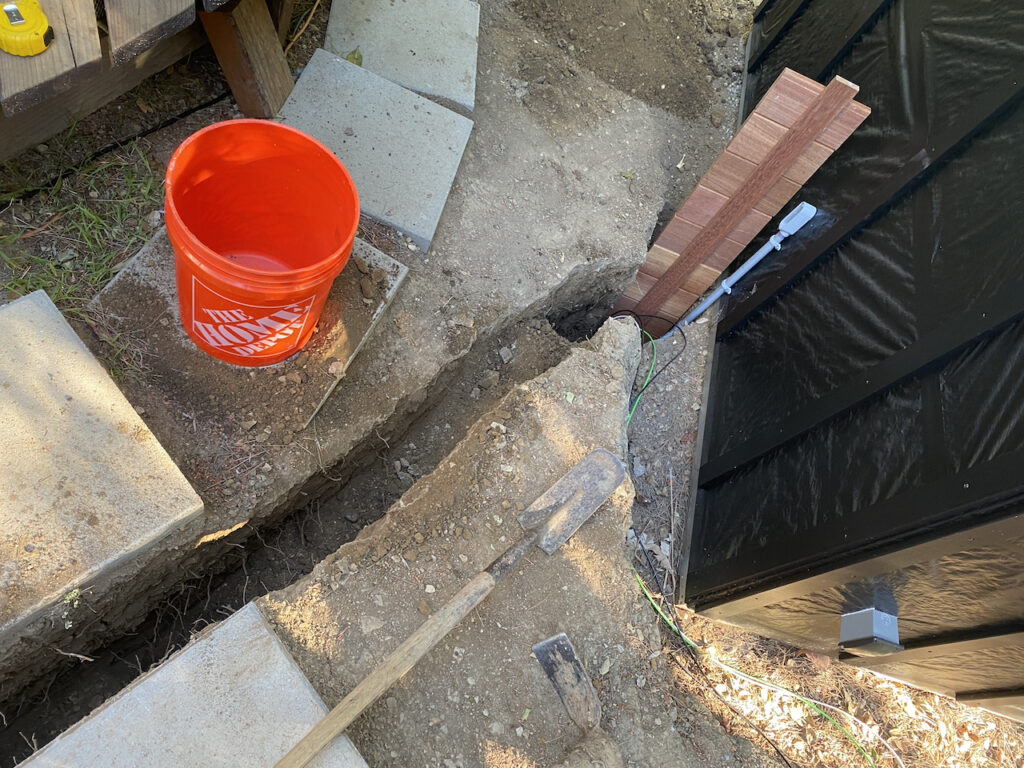
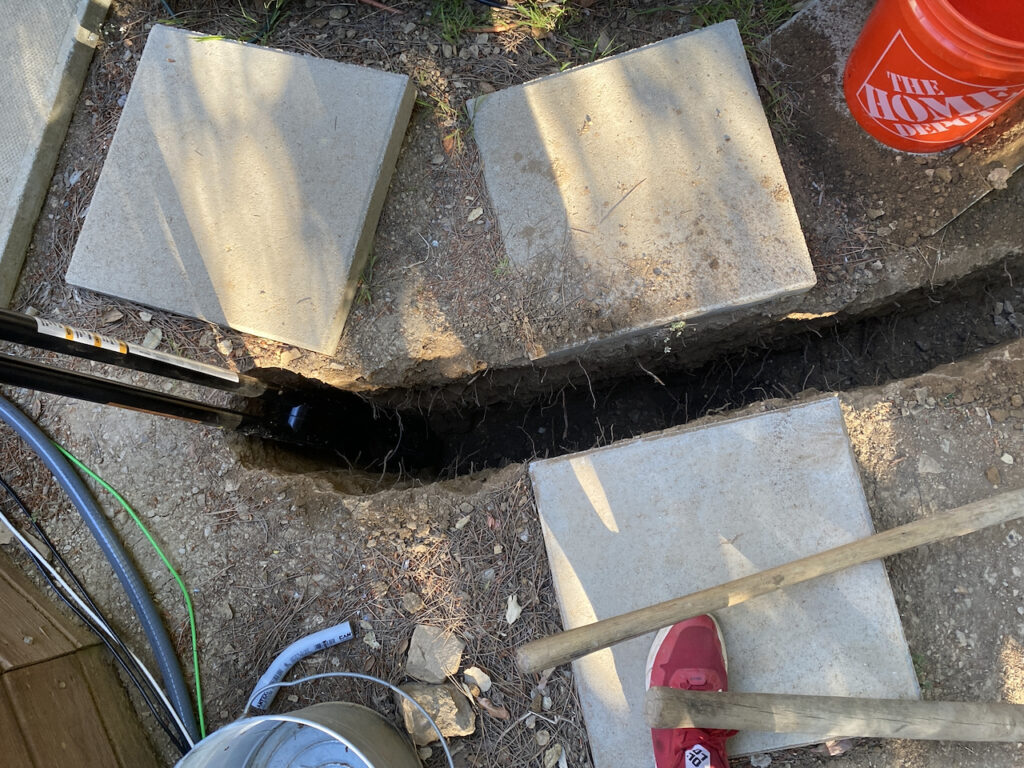
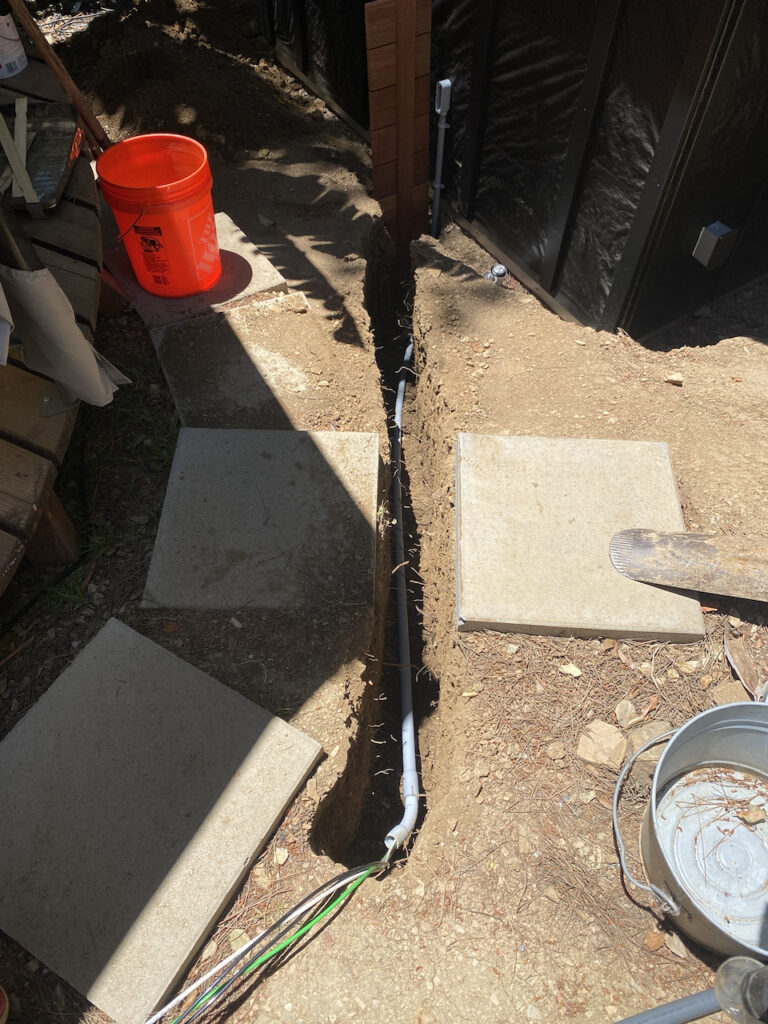
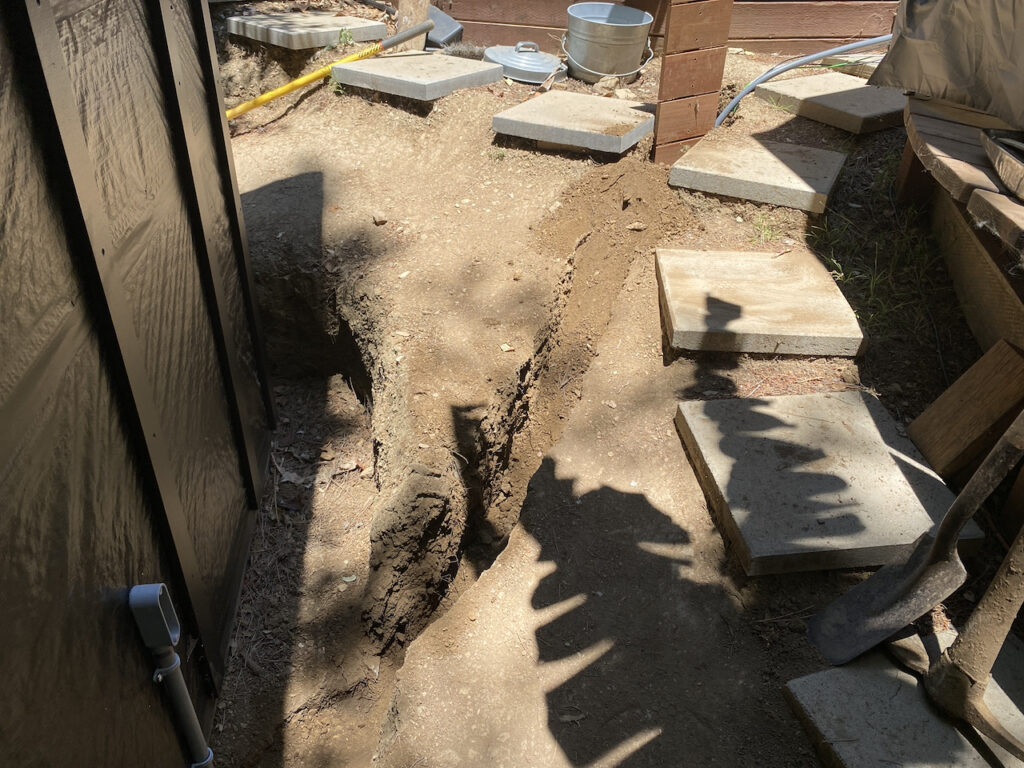
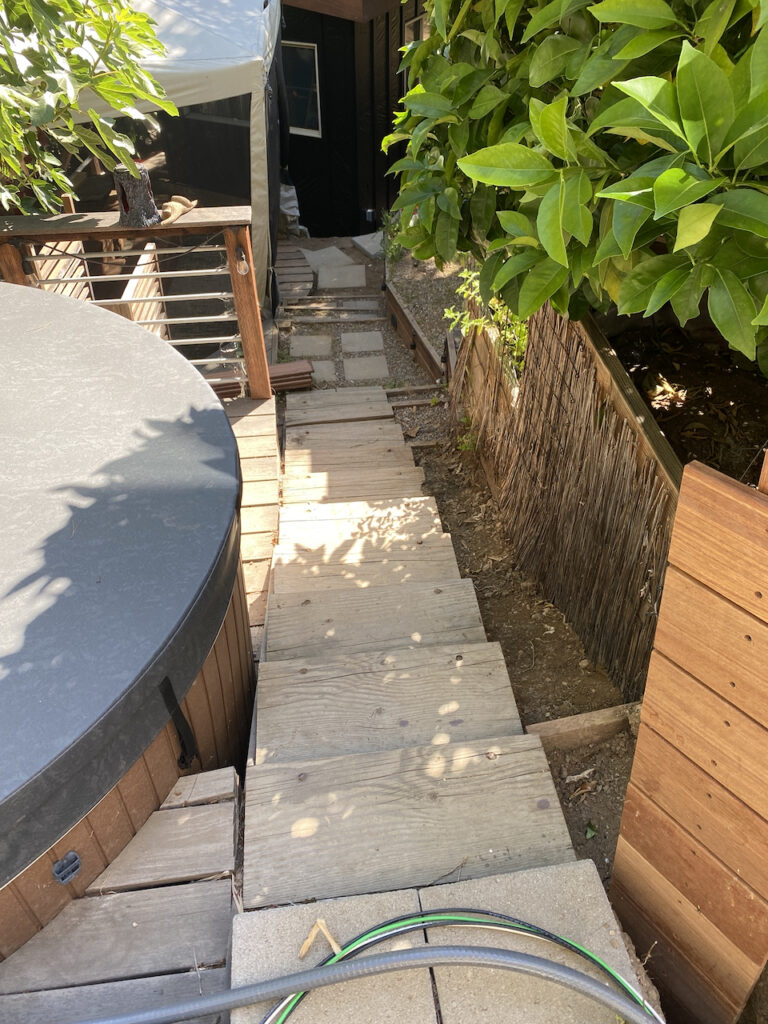
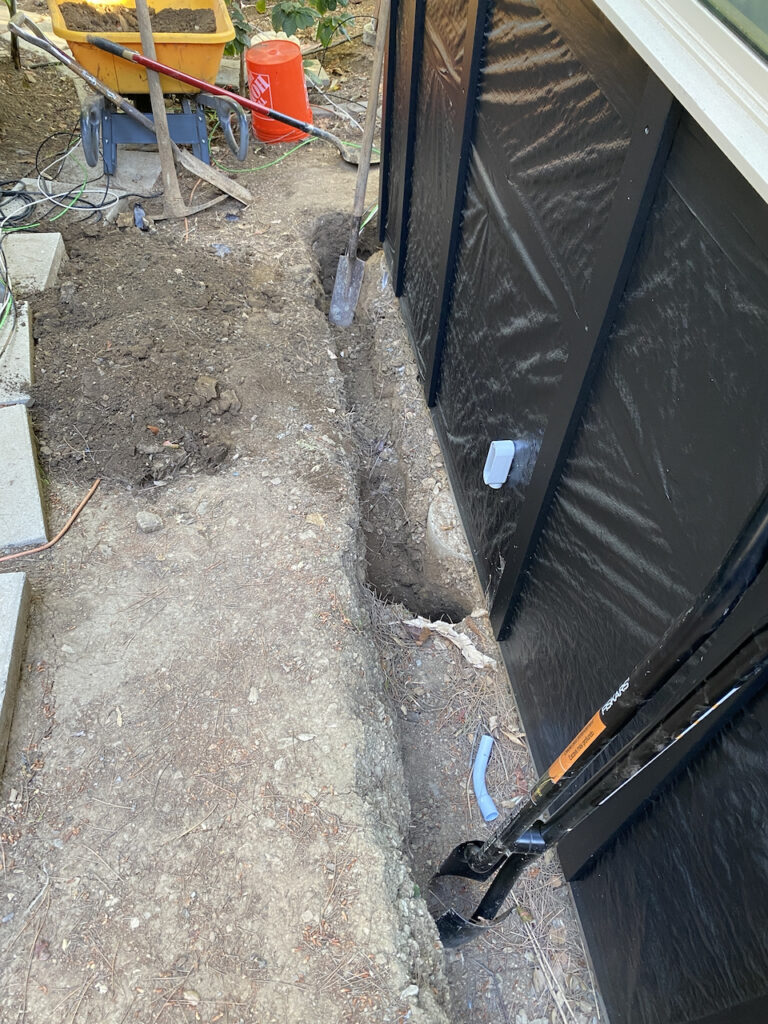
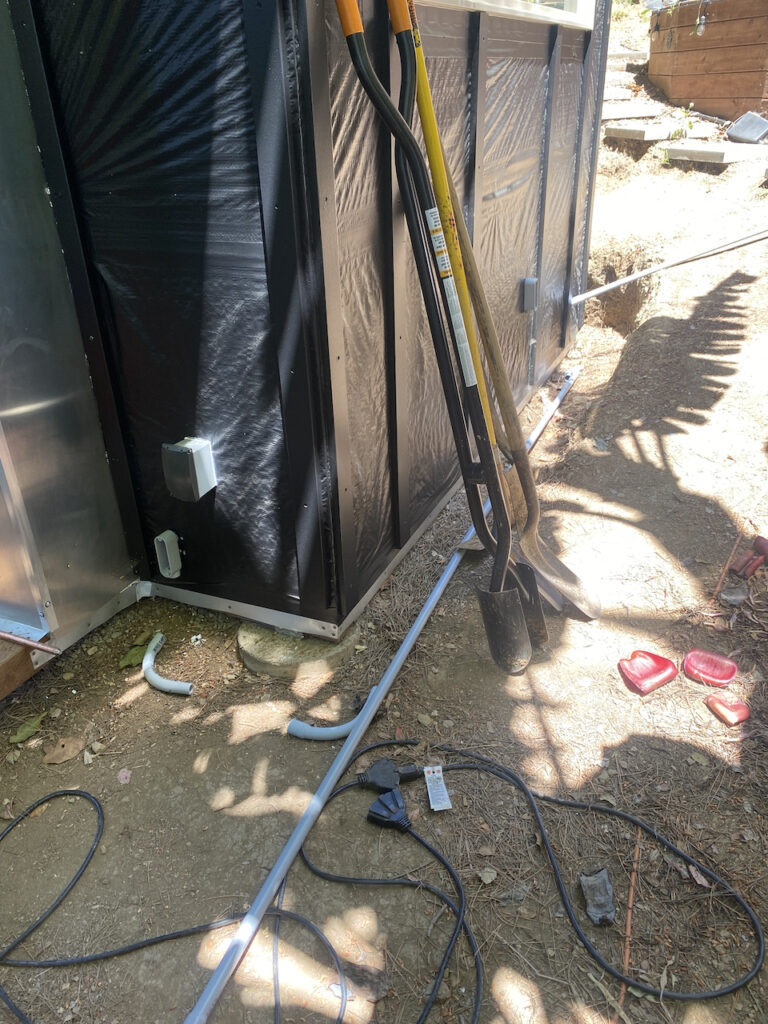
The one task that I’d most been dreading was trenching up the hill to lay conduit for electrical and ethernet wires. Not only does trenching give me flashbacks to the years I spent working road construction as a summer job (and one entire year between high school and college), but said job would require working small sections due to the lack of available space to store dirt. I also needed to dig beneath stairs and around various obstacles in the backyard. Also, due to how compressed the top 6 or so inches of dirt is, nearly all the 60-ish feet of trench had to be dug using a post hole digger. It took a few days of “free time”, but the trenching was done and I was able to get everything back to looking as if nothing happened (aside from the two boxes of mint I had to toss as they were where I needed to dig).


From June 2024 until December, I did pretty much nothing on the project. This was due to a long vacation in July followed by a new gig at work that required all of my focus. At some point, I realized that it had been over a YEAR since starting this project, a fact that motivated me to get back to it.
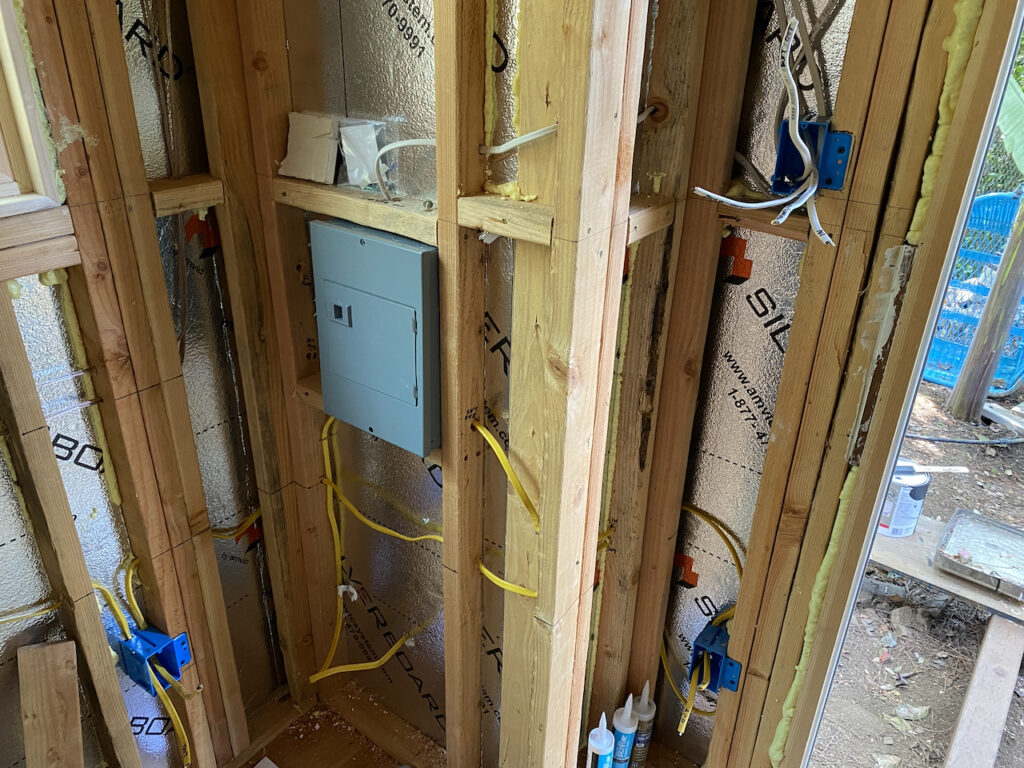
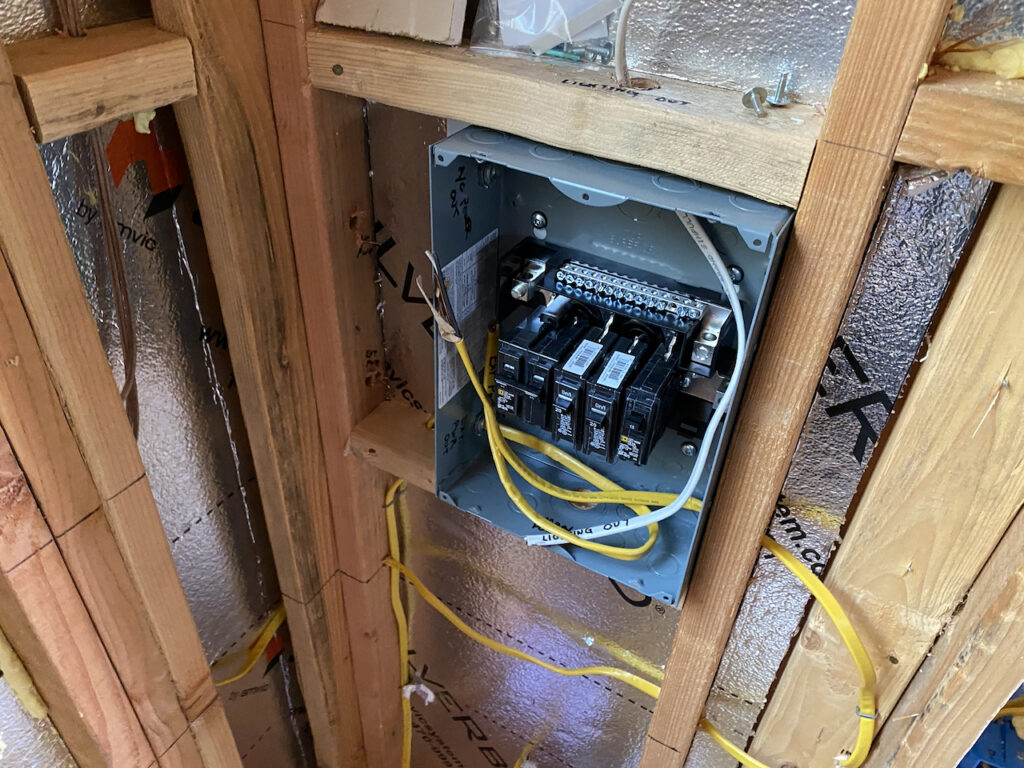
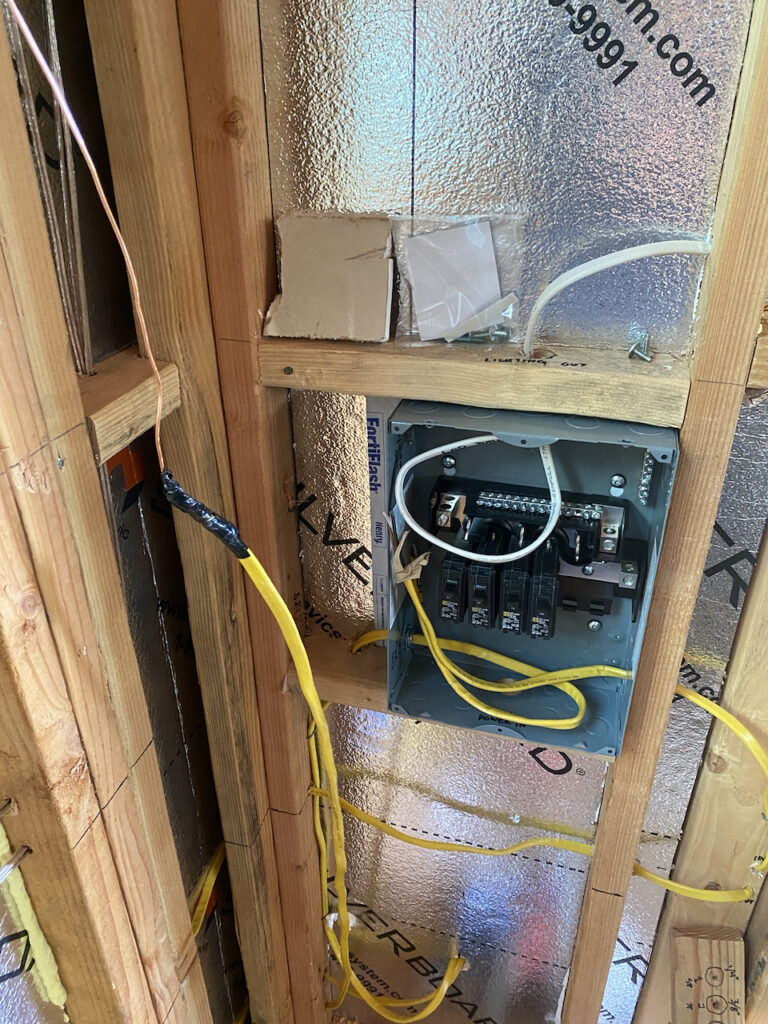
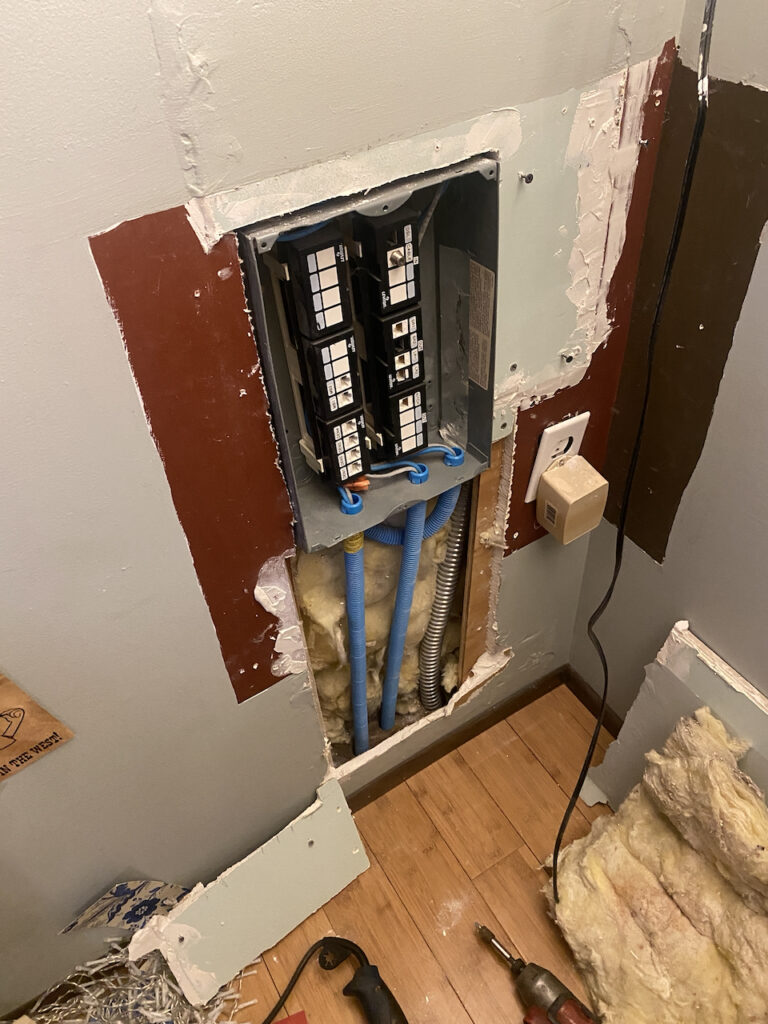
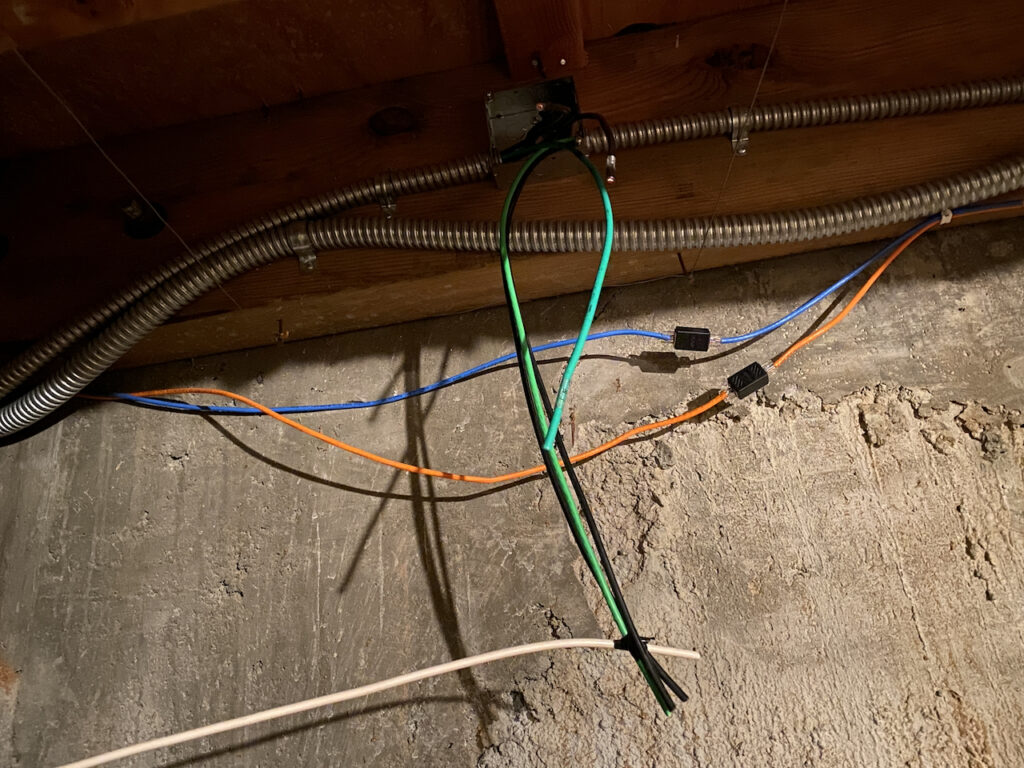
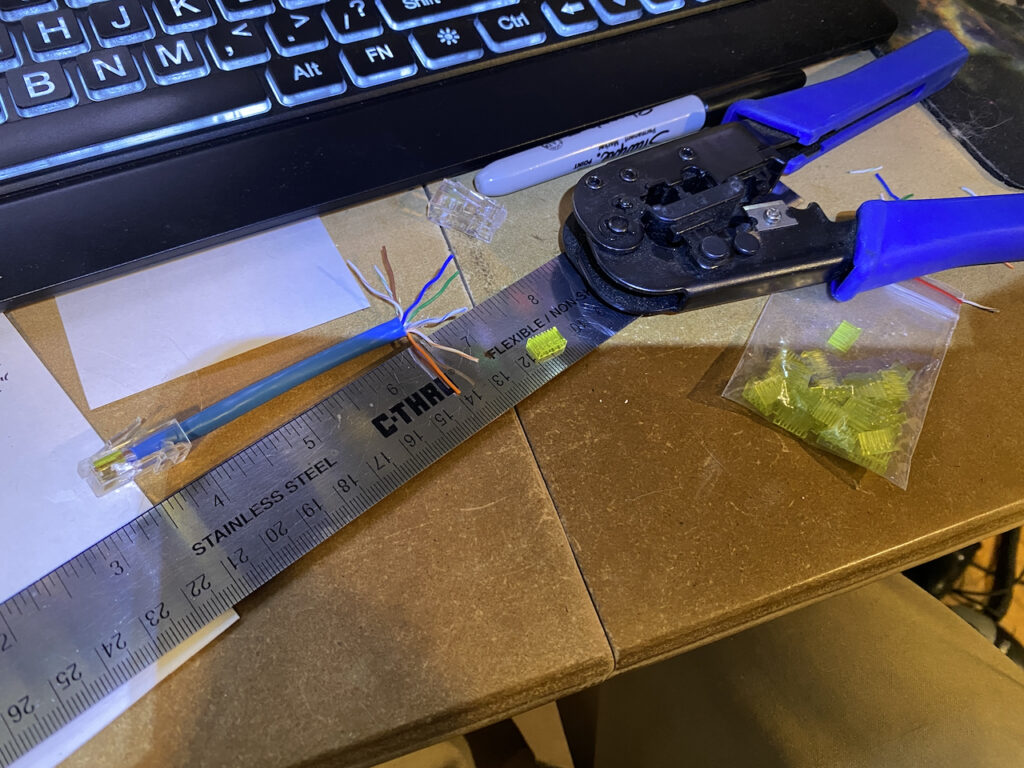
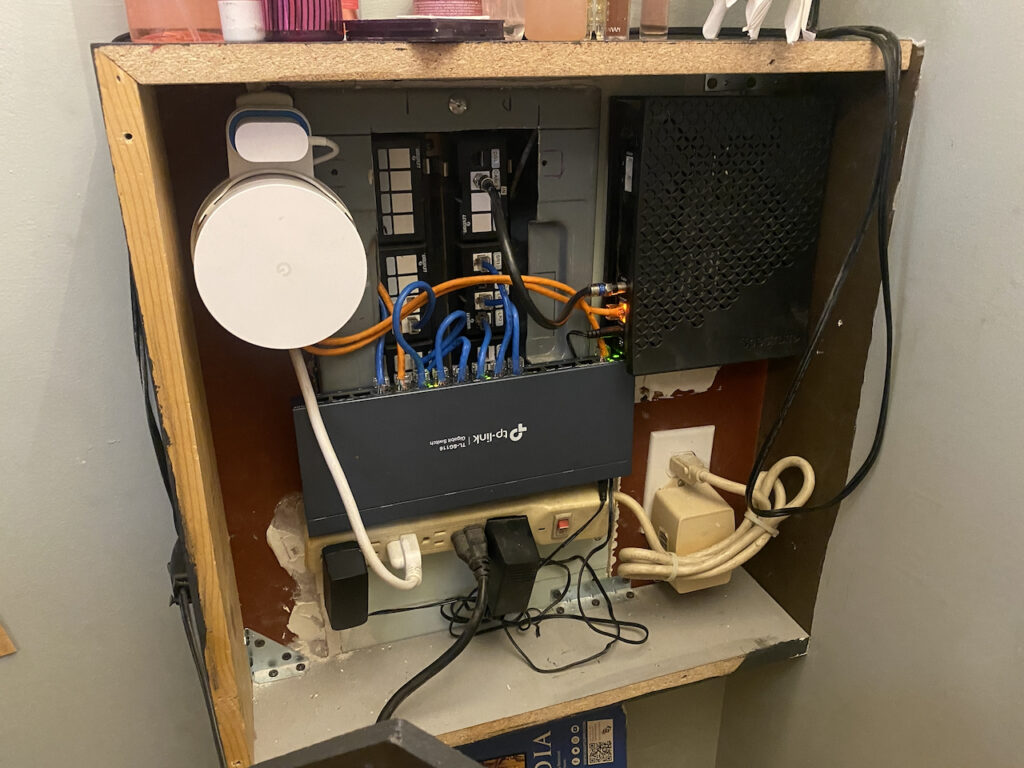
The next step was completing the wiring. This meant spending time in the crawl spaces under my house and tearing out drywall in my daughter’s room, where our power main is, to bring in all the wiring, connect the dual 40 amp breakers, and connect/test all the Ethernet connectors (in addition to creating all the connector ends). While I was in there, I updated my switch to serve more ports around the house and to the office.

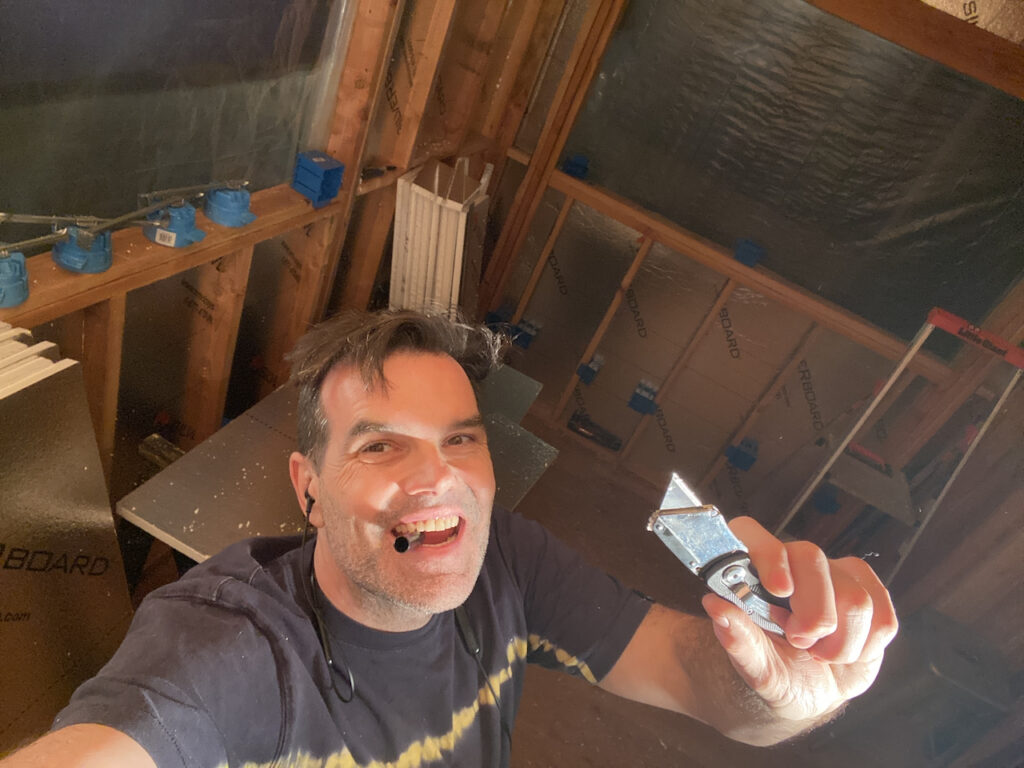
Throughout the year, I had also been installing Silverboard acoustic styrofoam panels everywhere to help keep the office quieter for the neighbors as I often play loud-ish music and games. This took a very long time as there were so many places in the corners and ceiling bays that needed special sizes cut. After I had finished all the soundproofing, I tested it by putting a small bluetooth speaker inside, then going outside, closing the door and cranking the volume. Did all the effort and expense mitigate sound? Maybe a little, but with windows on all sides, it is far from silent. I’ll still have to be aware of how much volume I play things at.
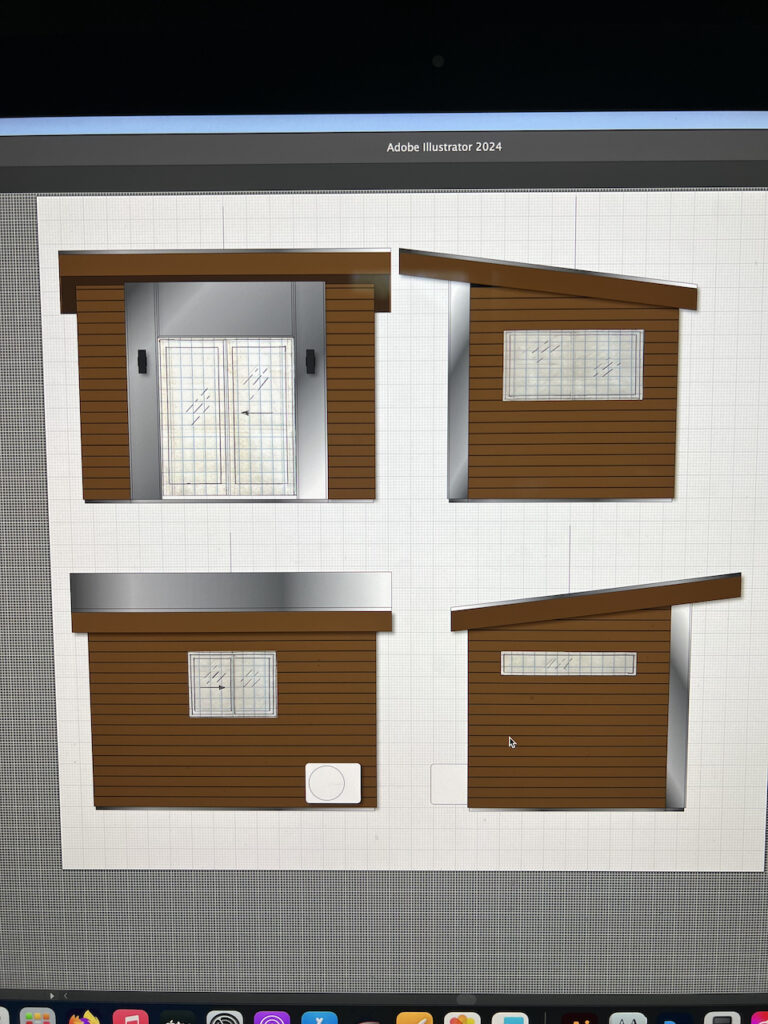
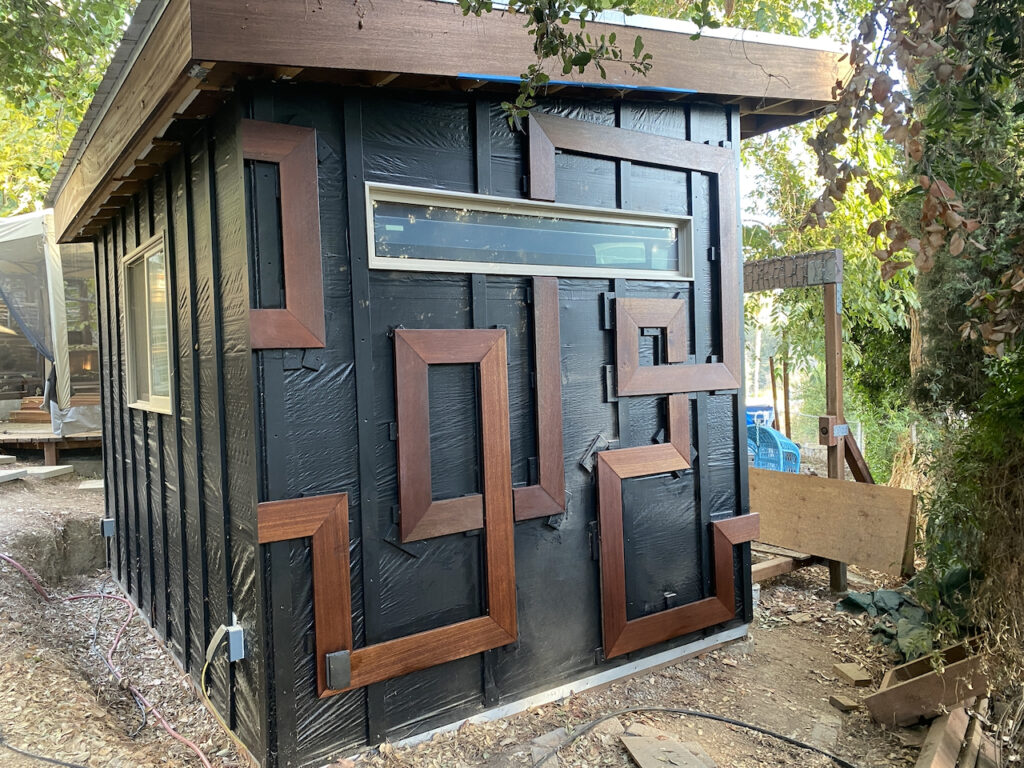
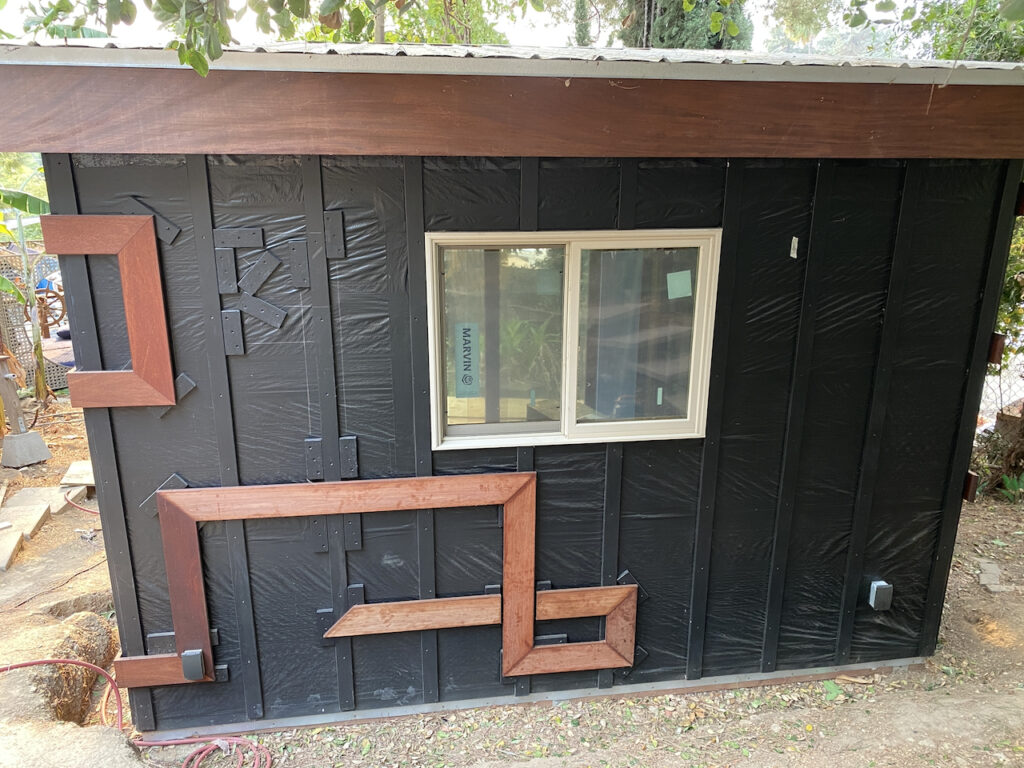
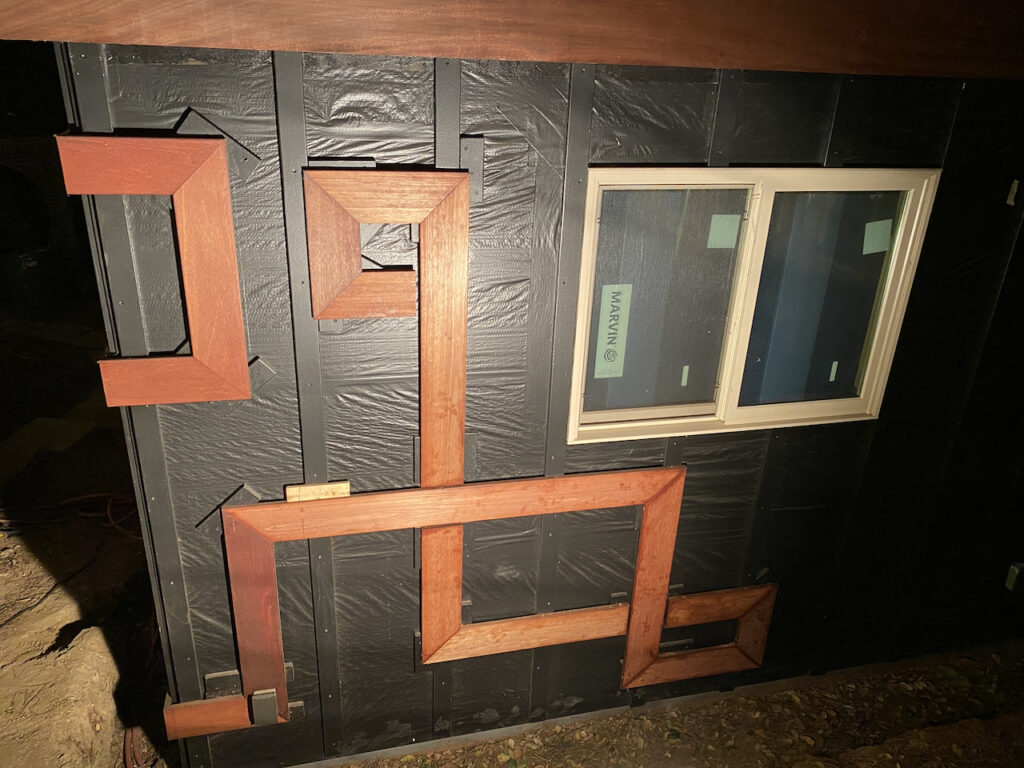
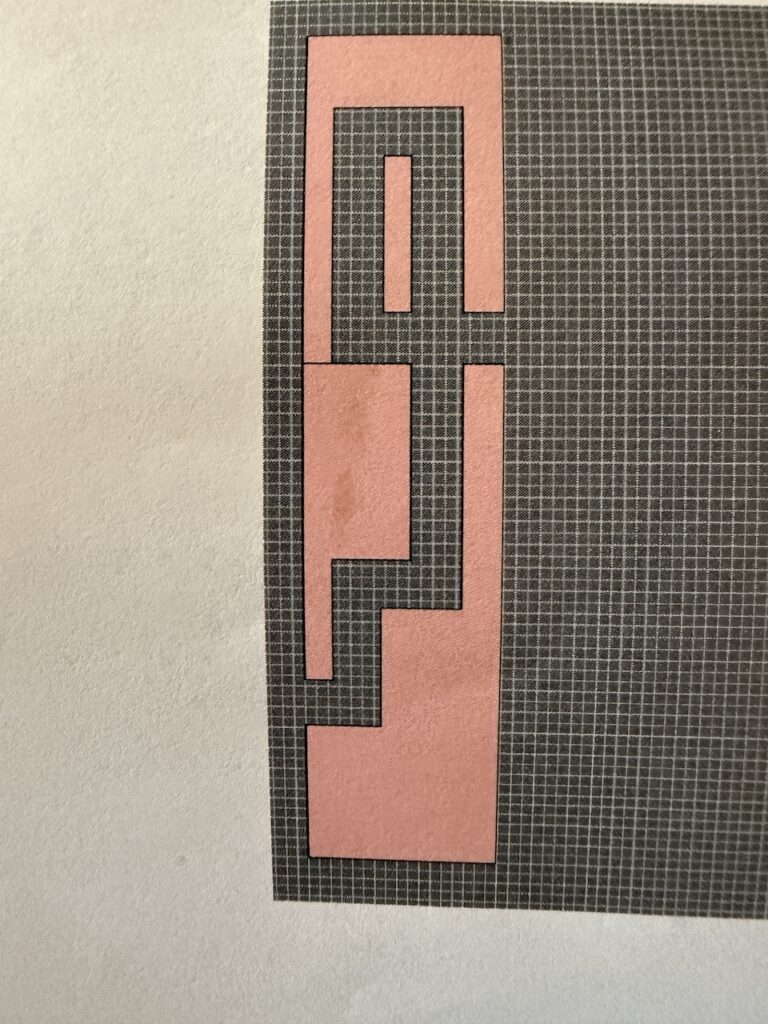
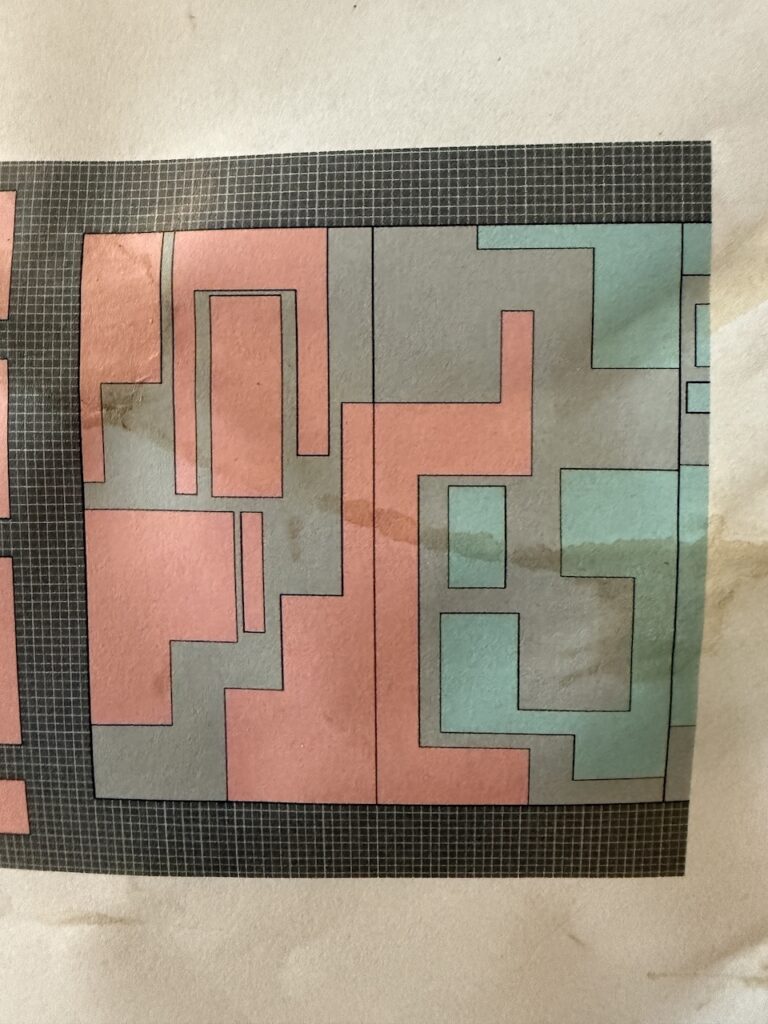
I wrote earlier about the weight of our original cladding solution (full decking on all walls) being a concern. To try to find a solution to the weight problem, we started playing around with design options. Eventually, I mentioned to Sylvia that I’d like to do something with a geometric style I doodle a lot and had done a painting with a few years back…
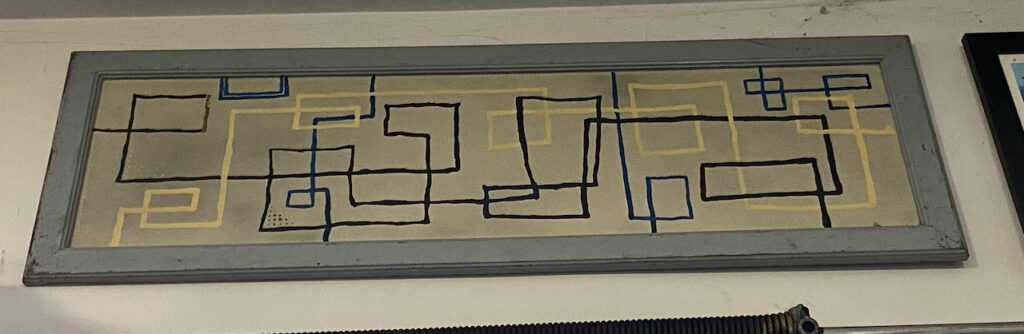
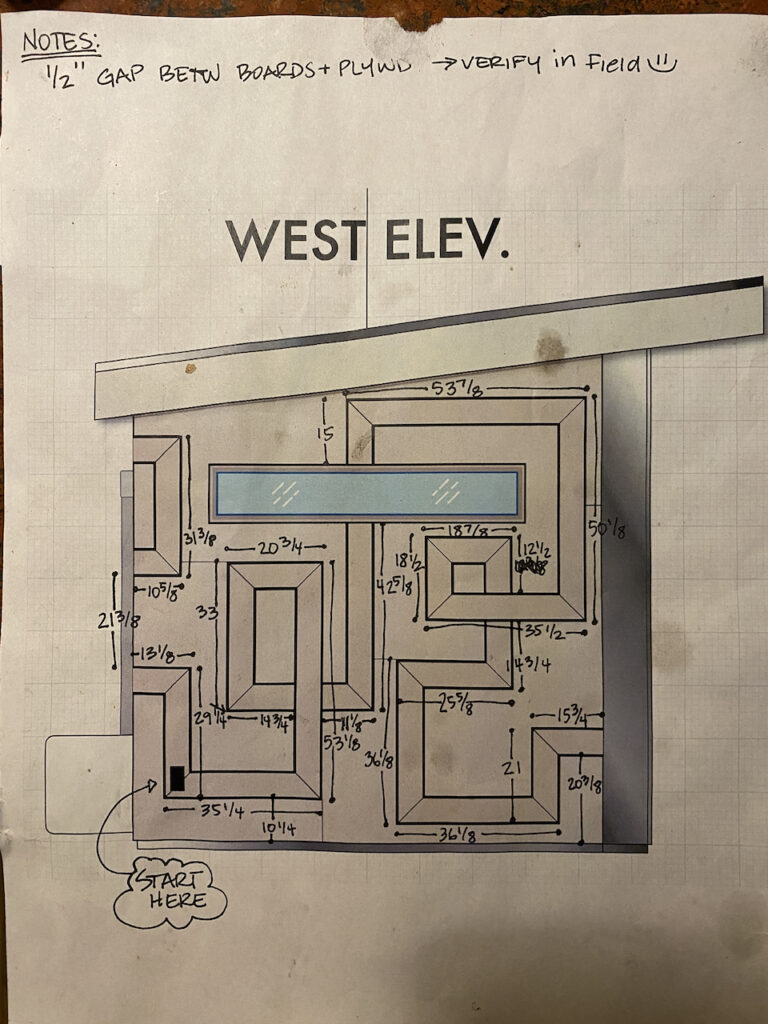
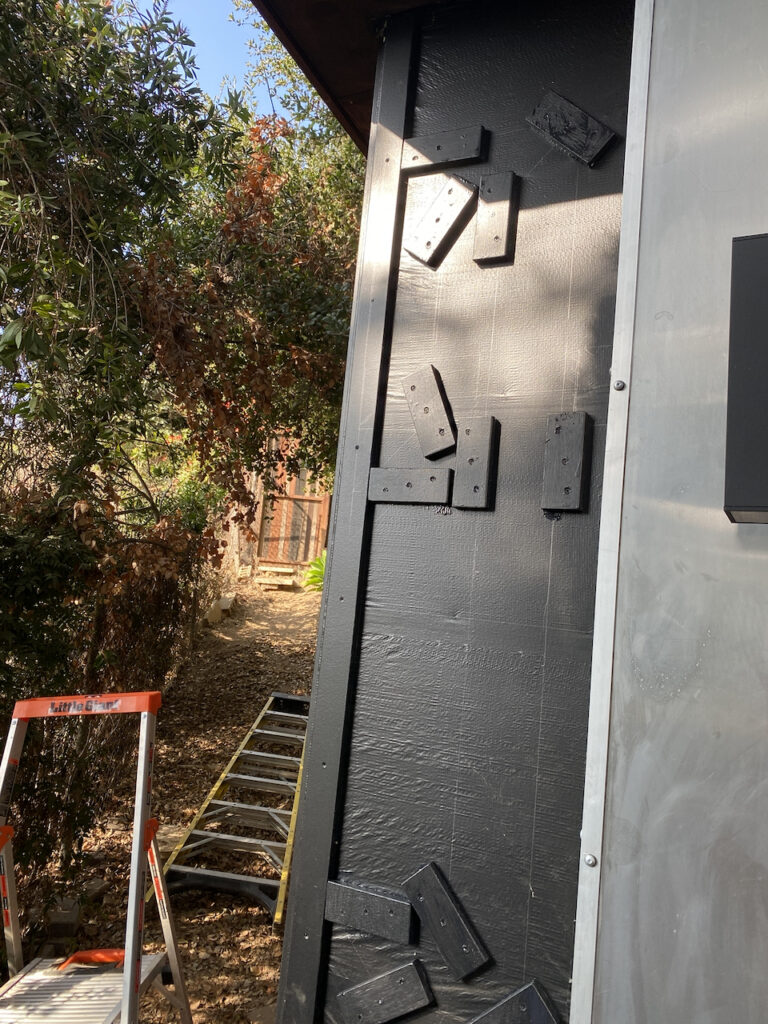
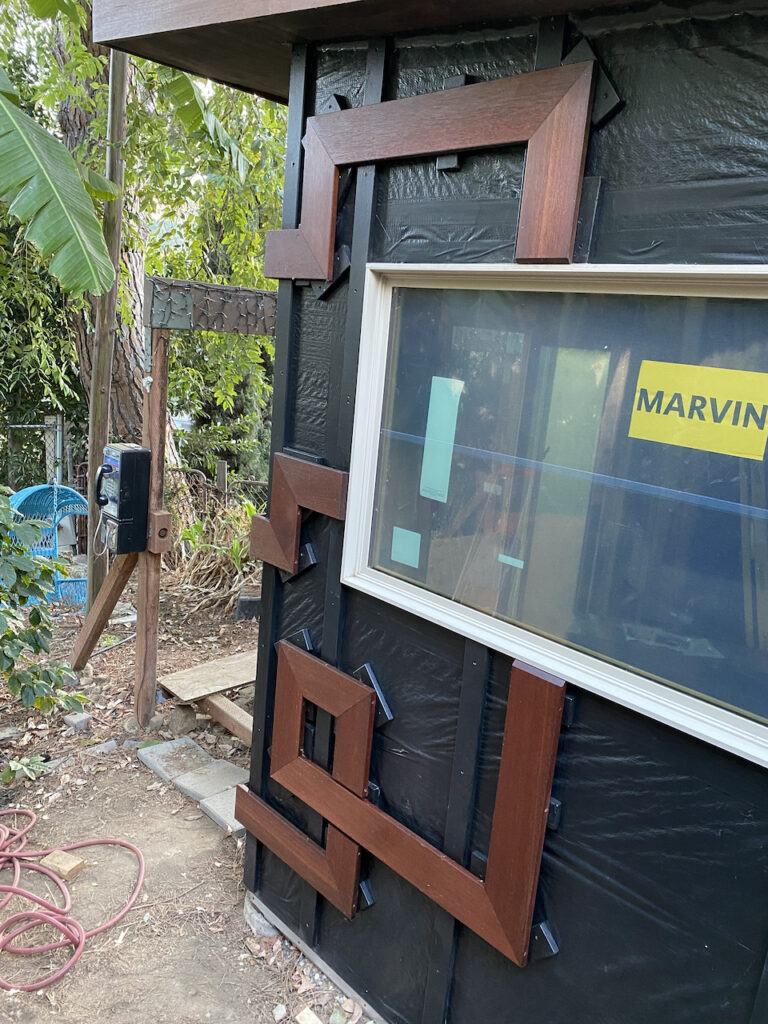
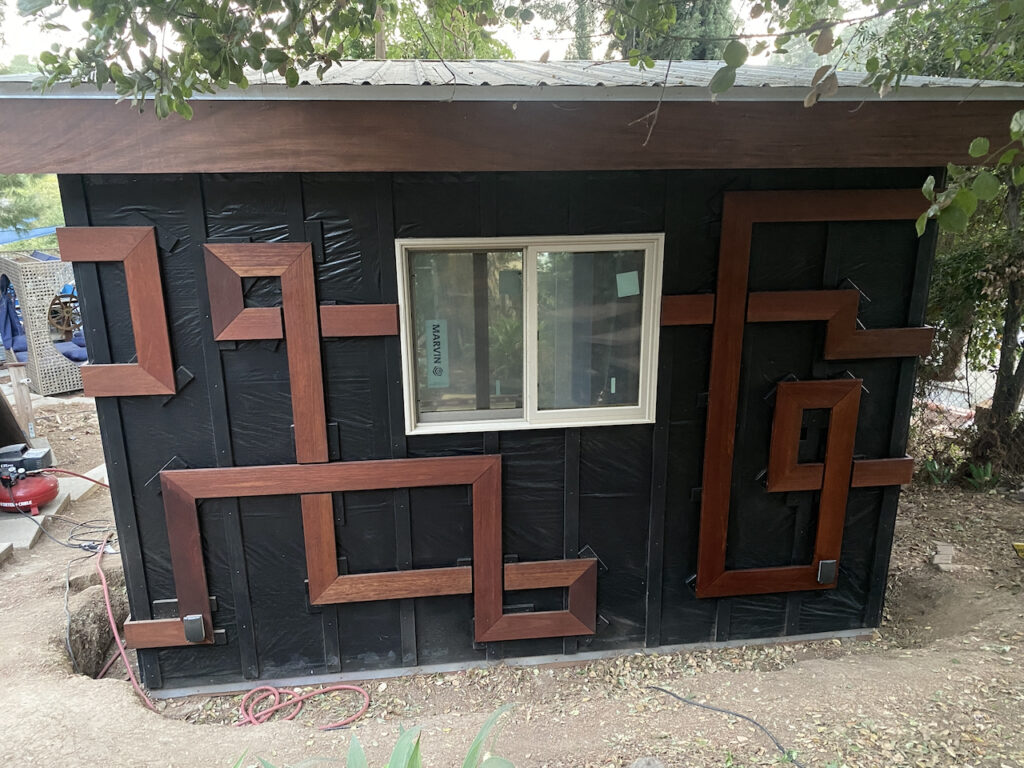
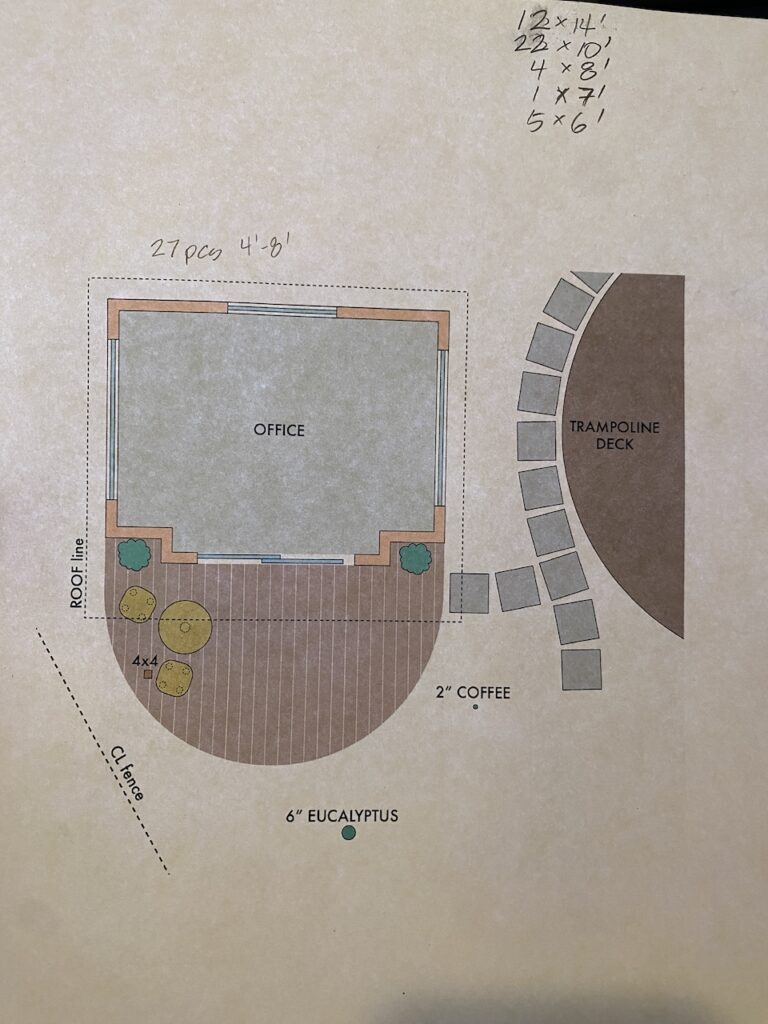
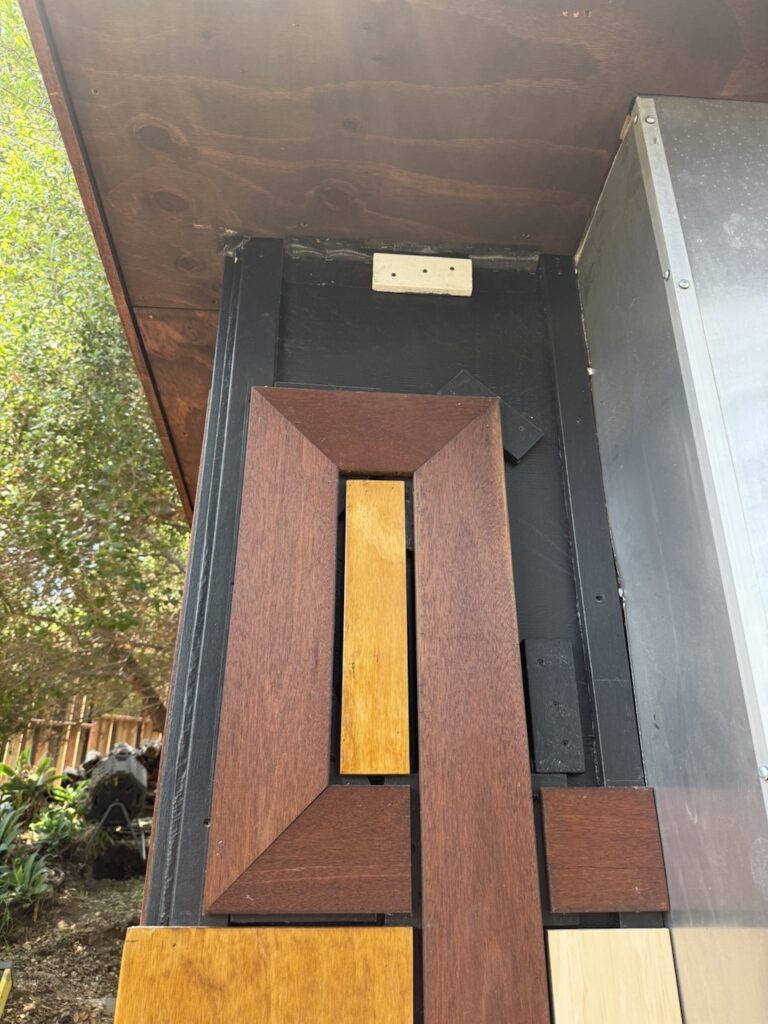
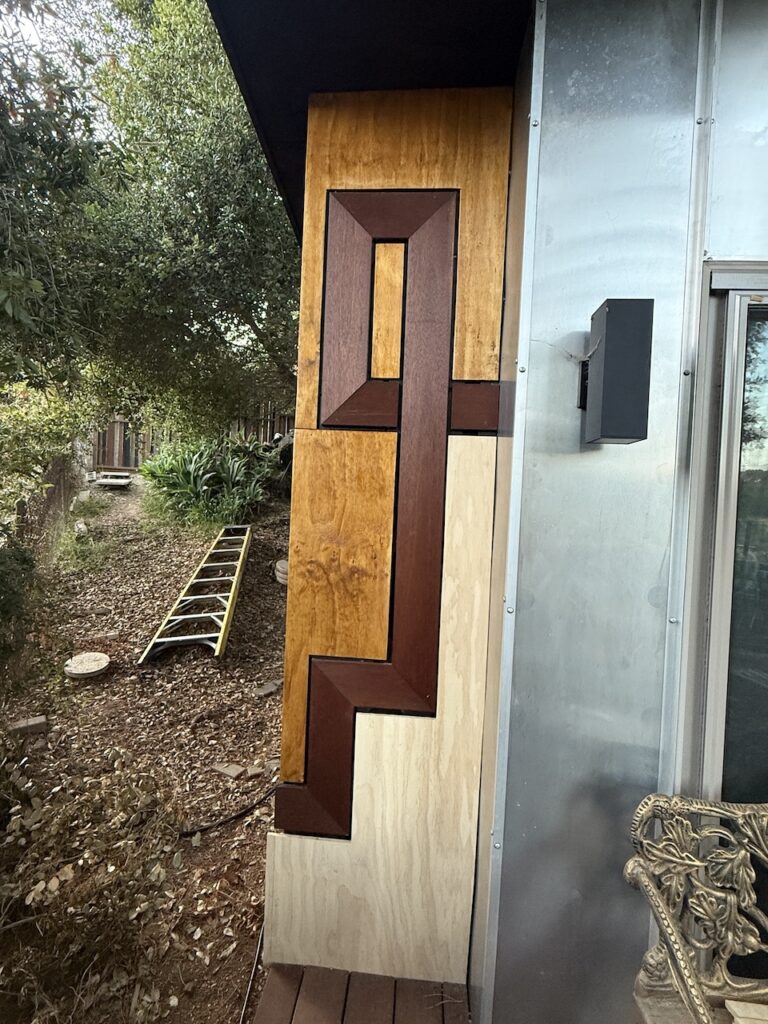
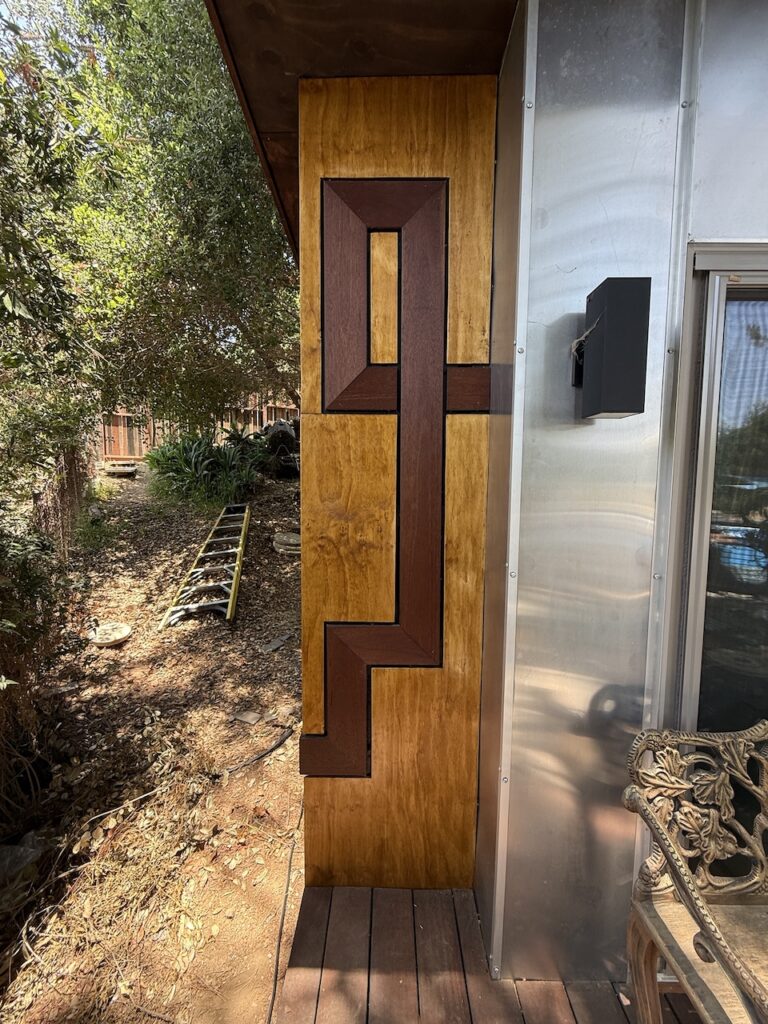
She ran with this idea, cleaning it up in Illustrator, doing many revisions to find a good balance of positive to negative space and create a wrap-around design that started at each sconce at the front of the structure to emulate circuit patterns (which seemed apropos for the work that would be going on inside). The print-outs below included the measurements I’d be using to build it all (adjusting where needed).
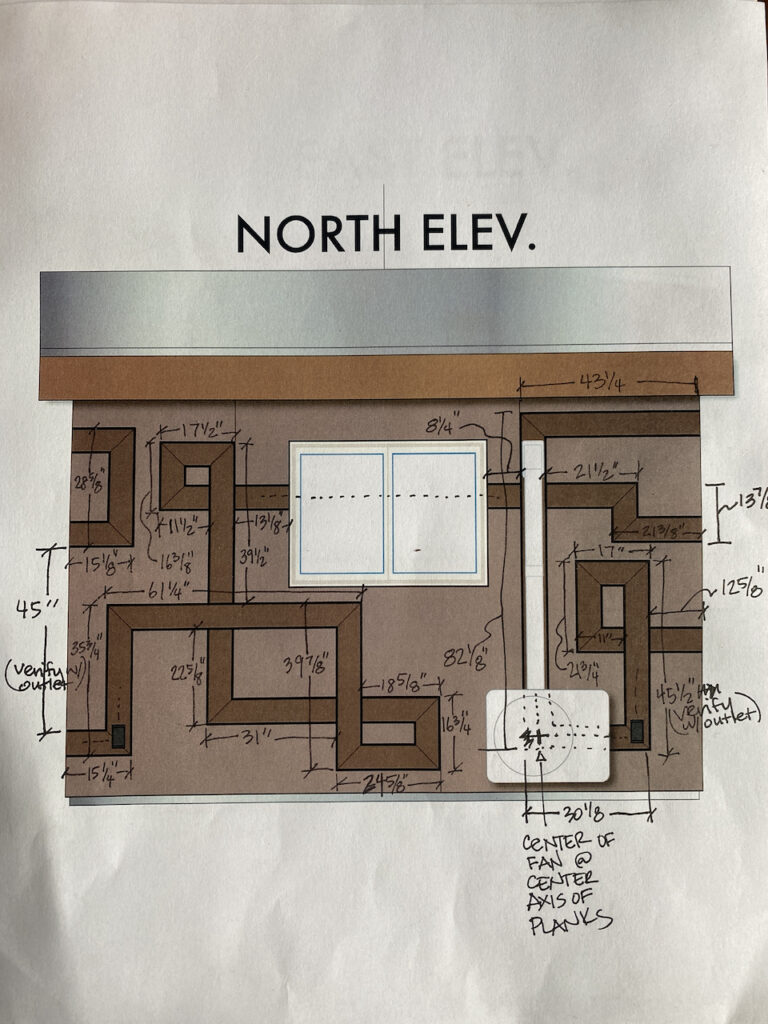
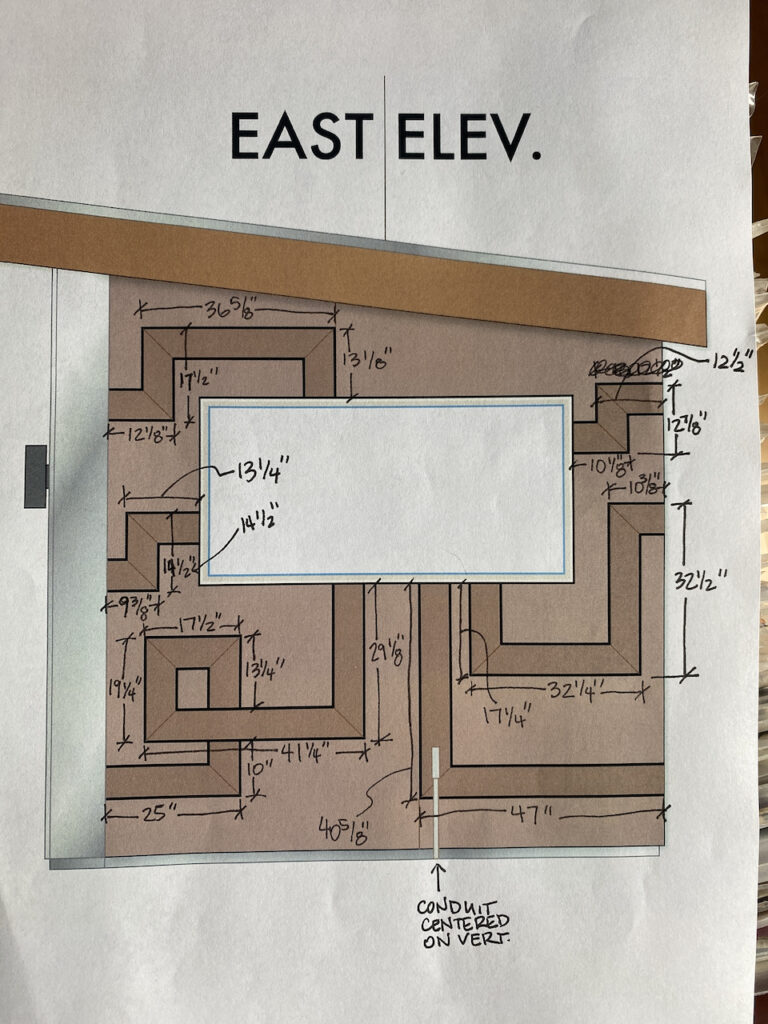

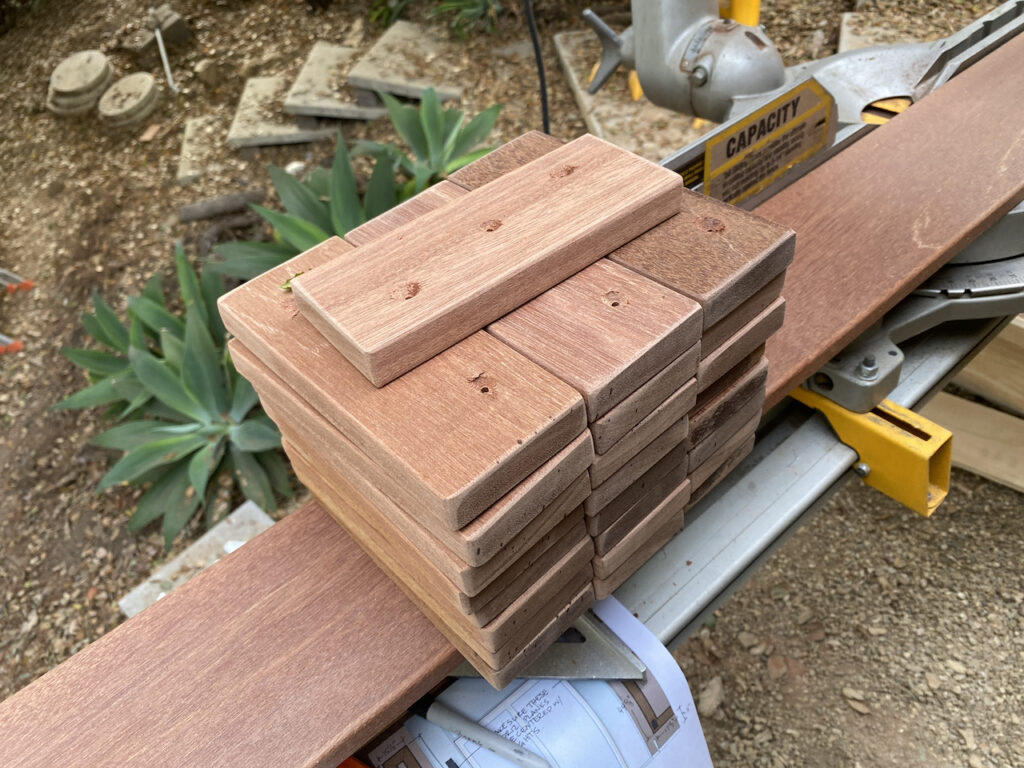
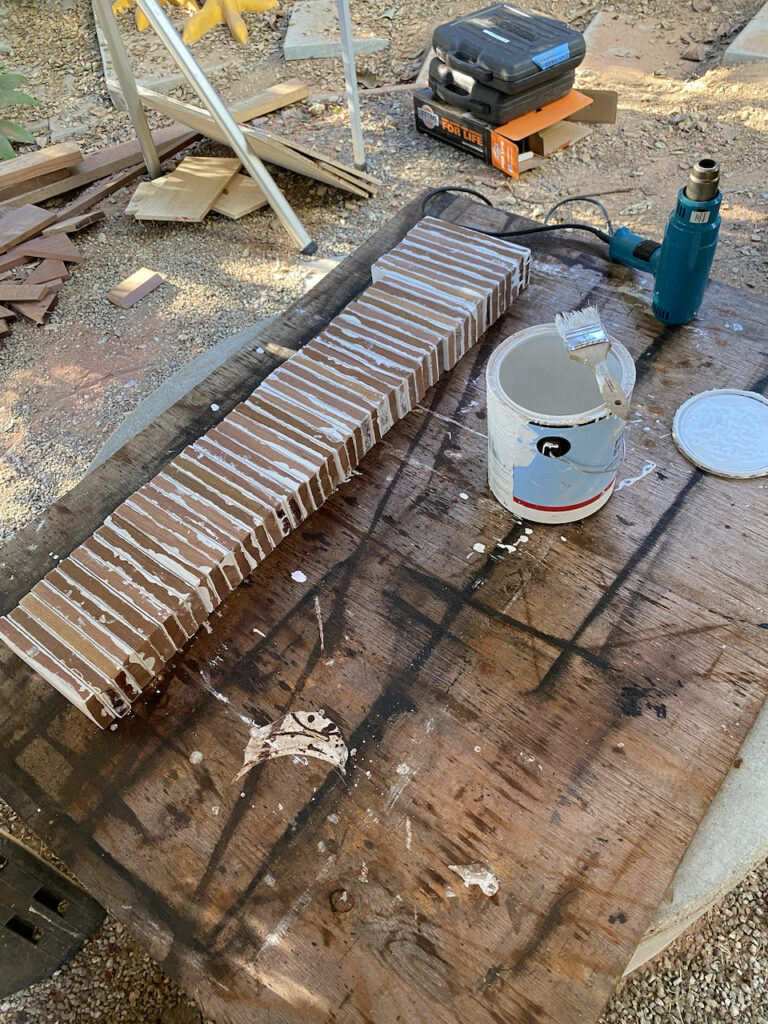
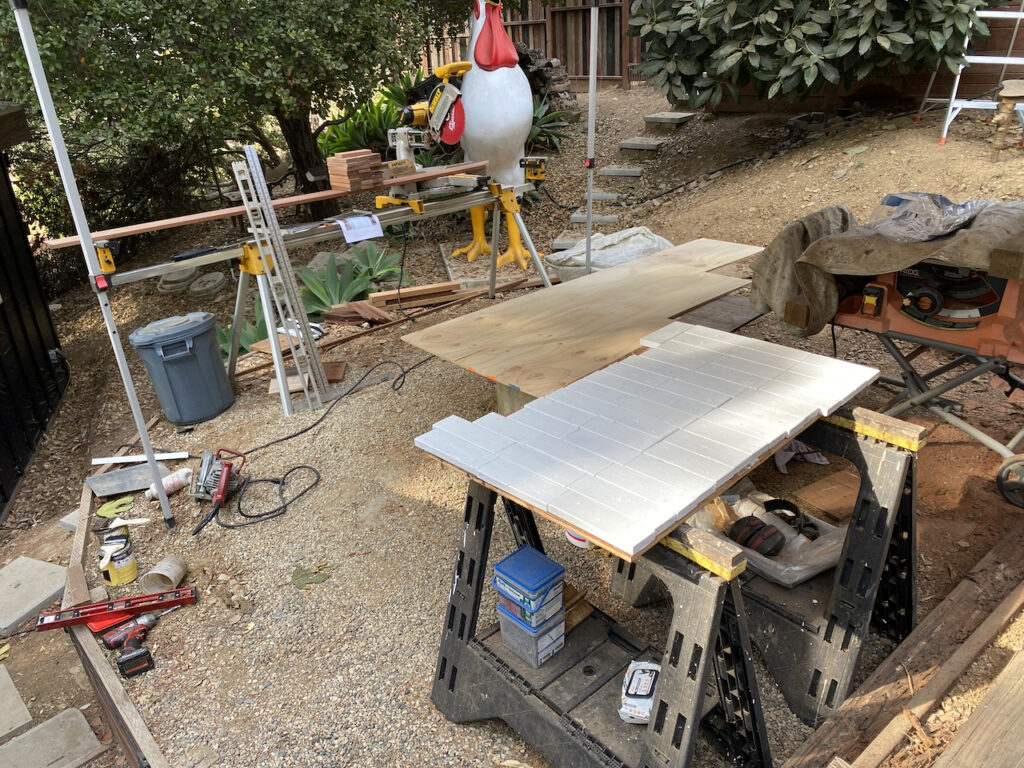
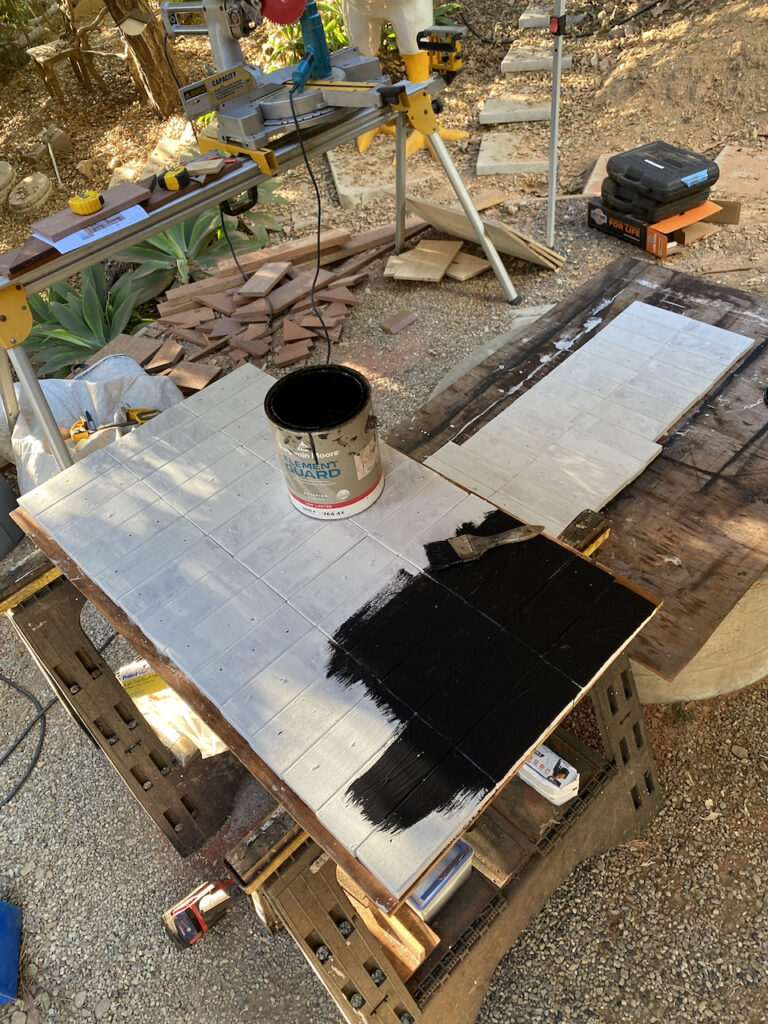
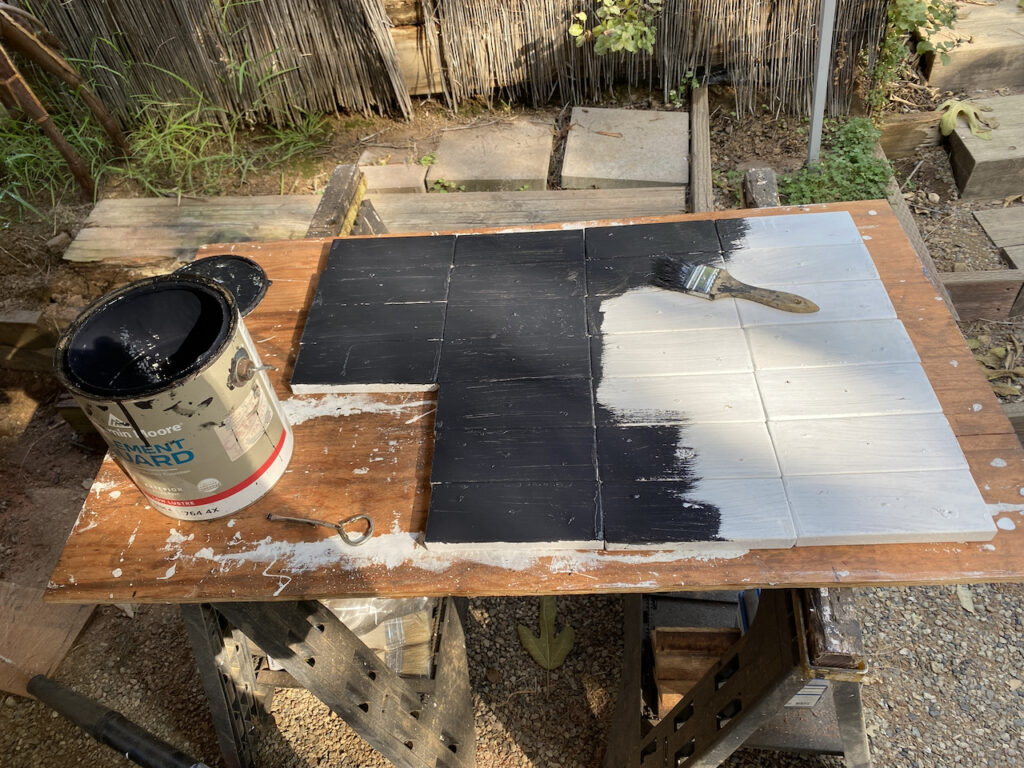
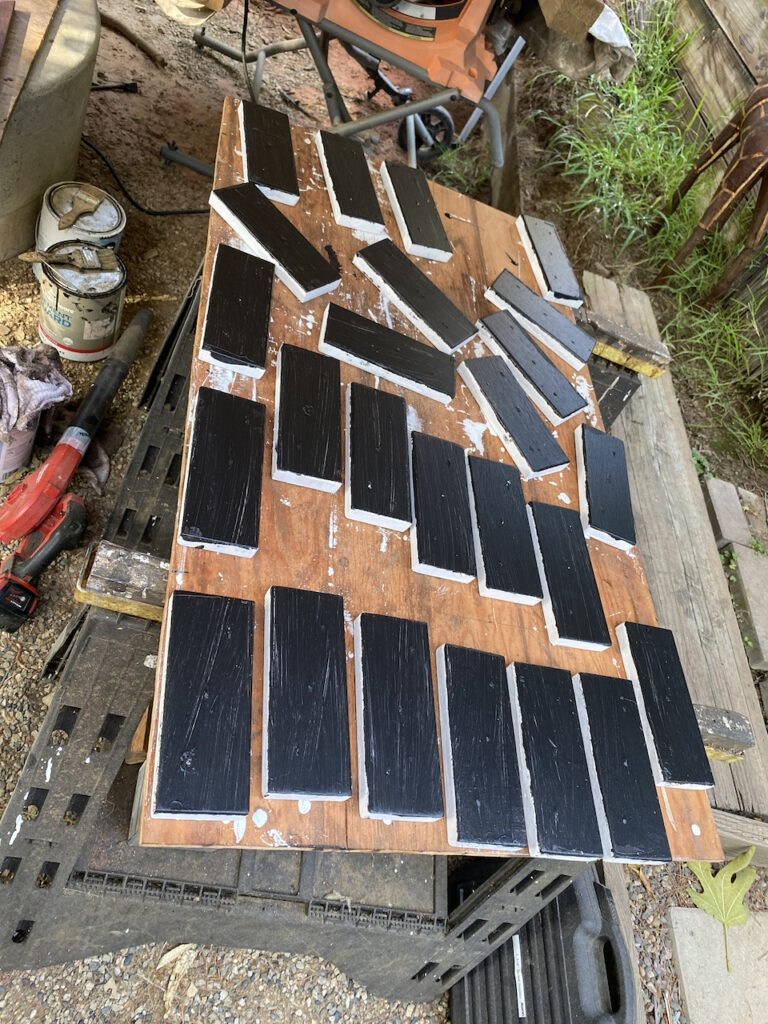
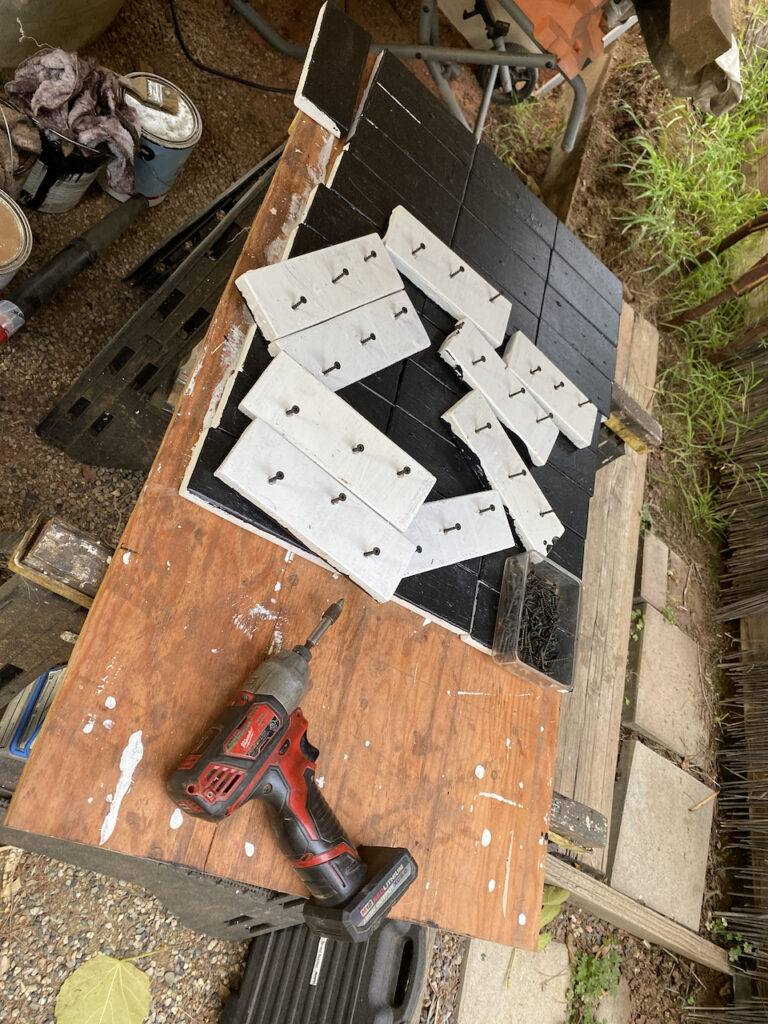
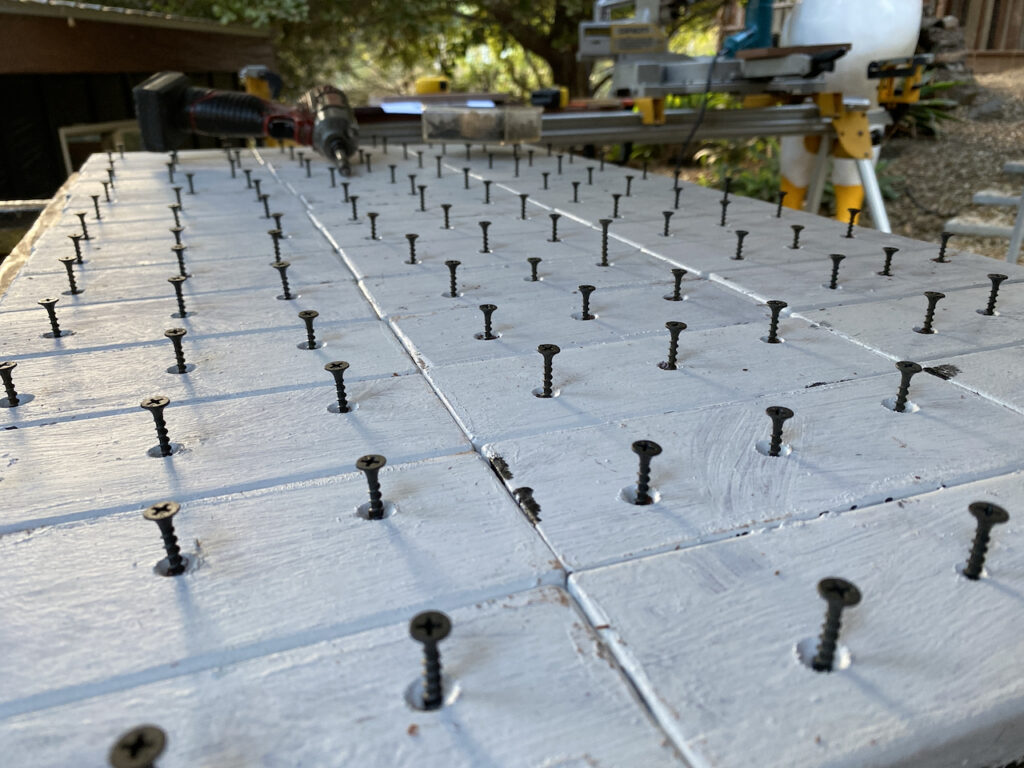
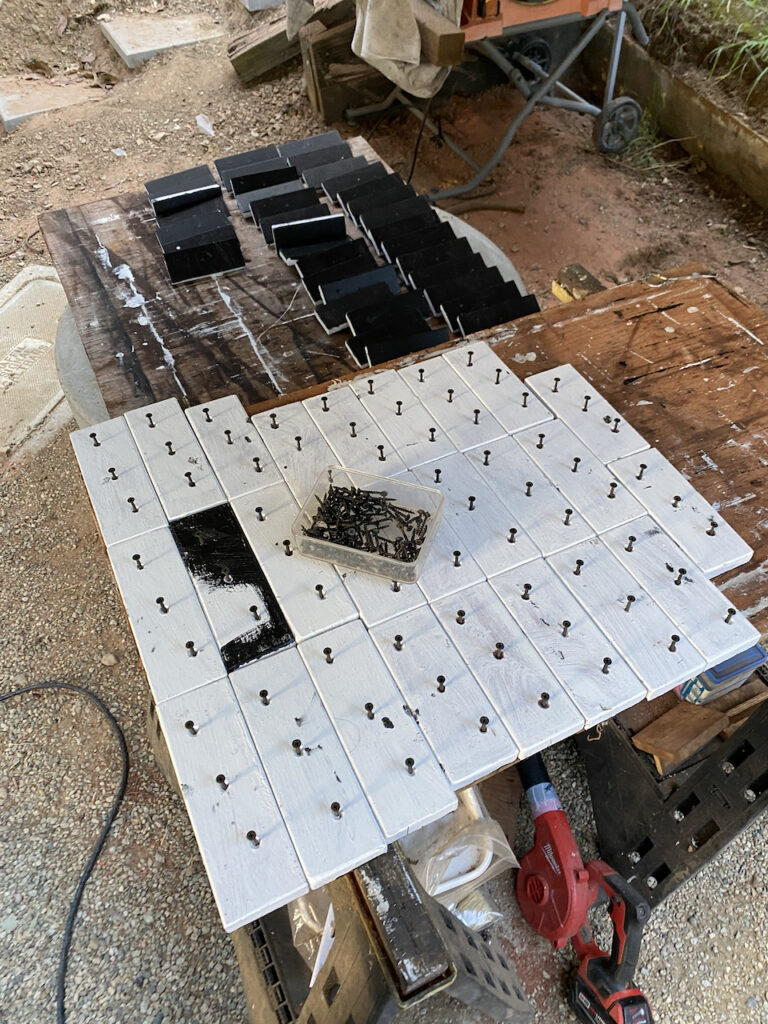
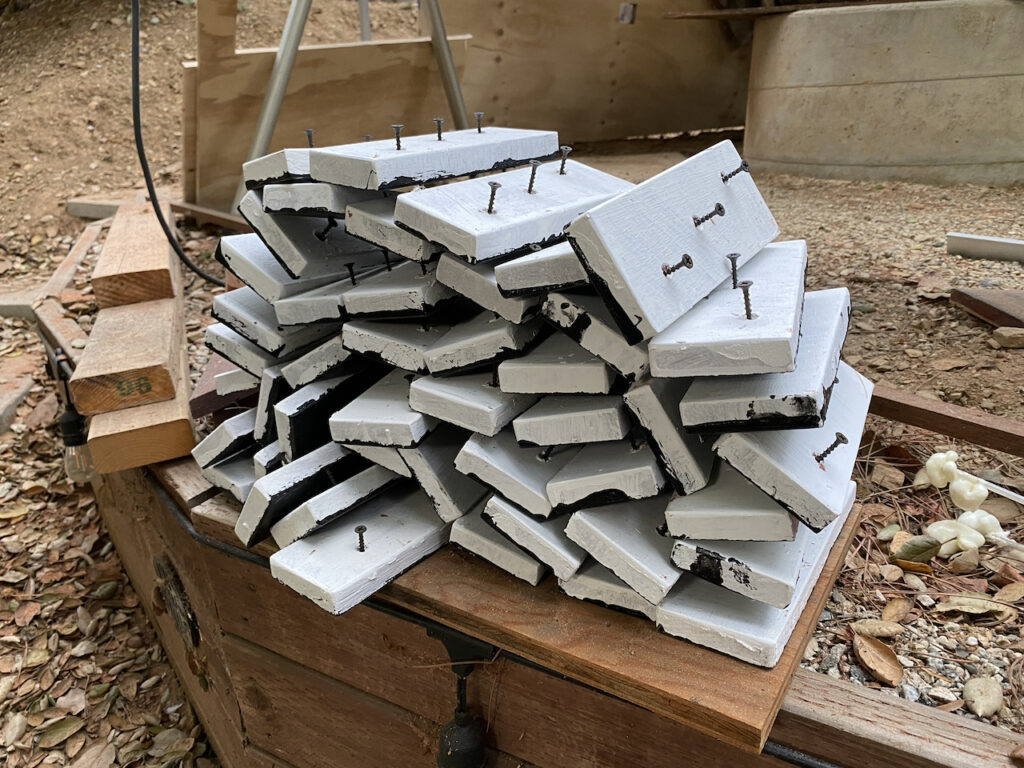
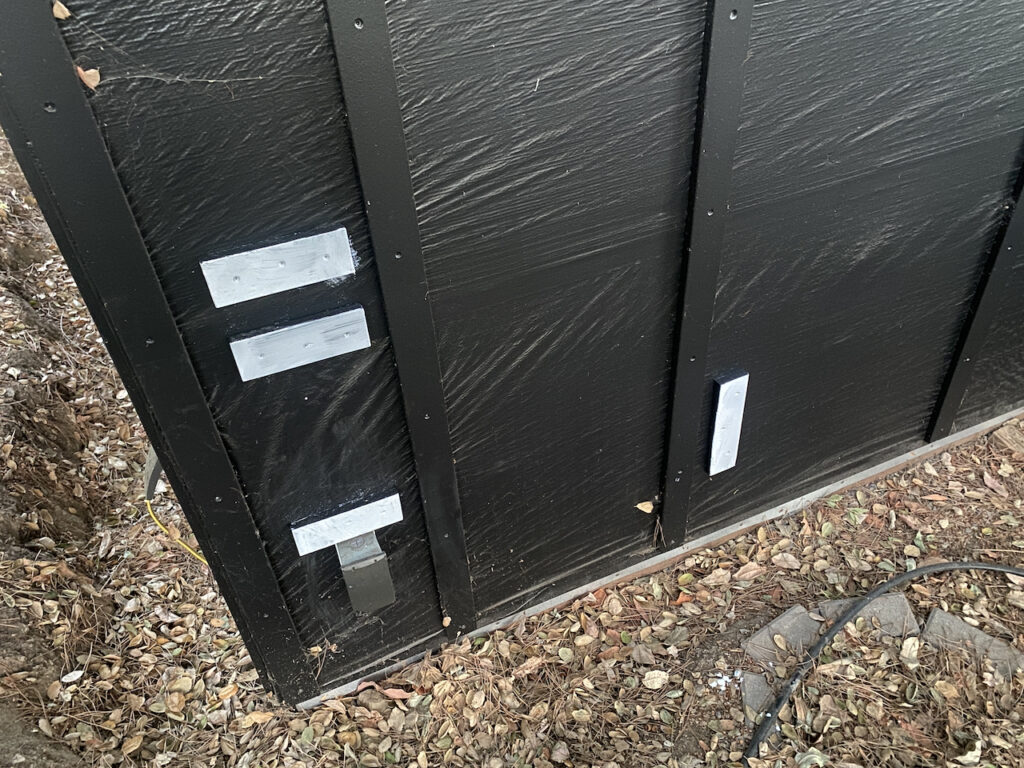
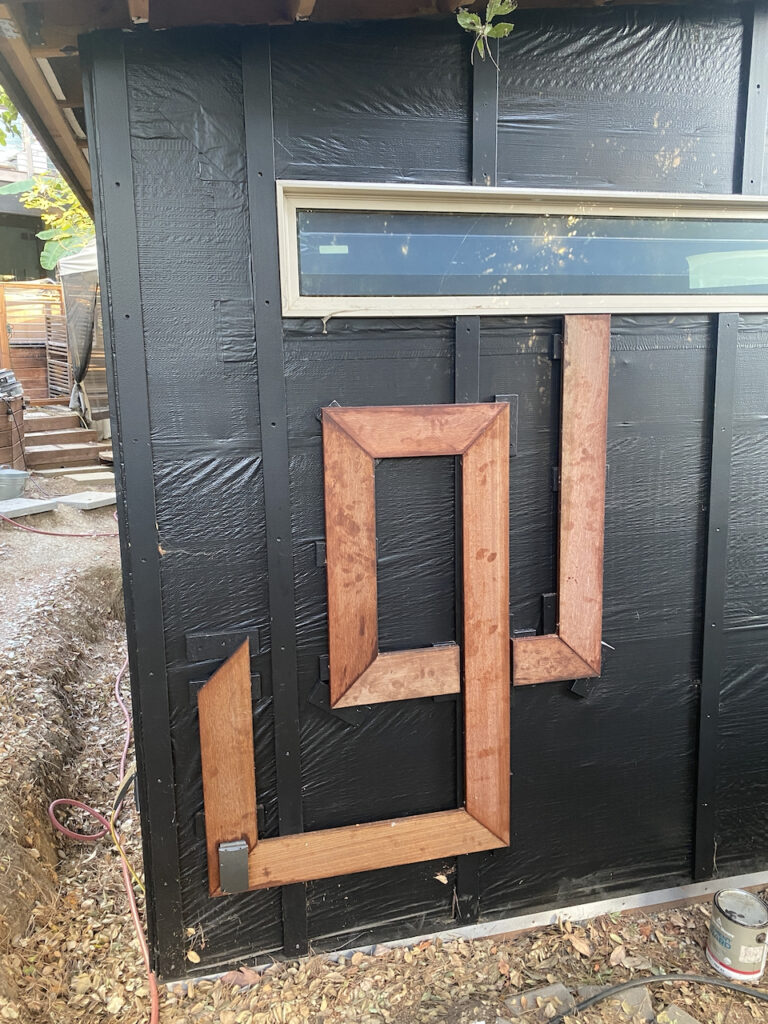
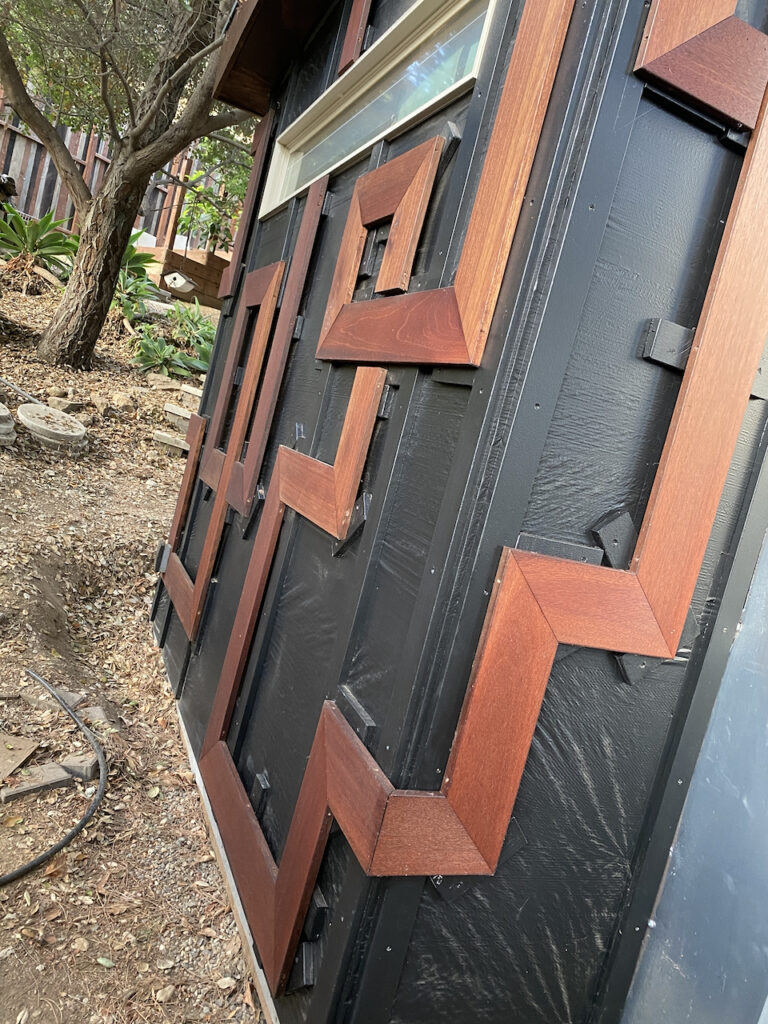
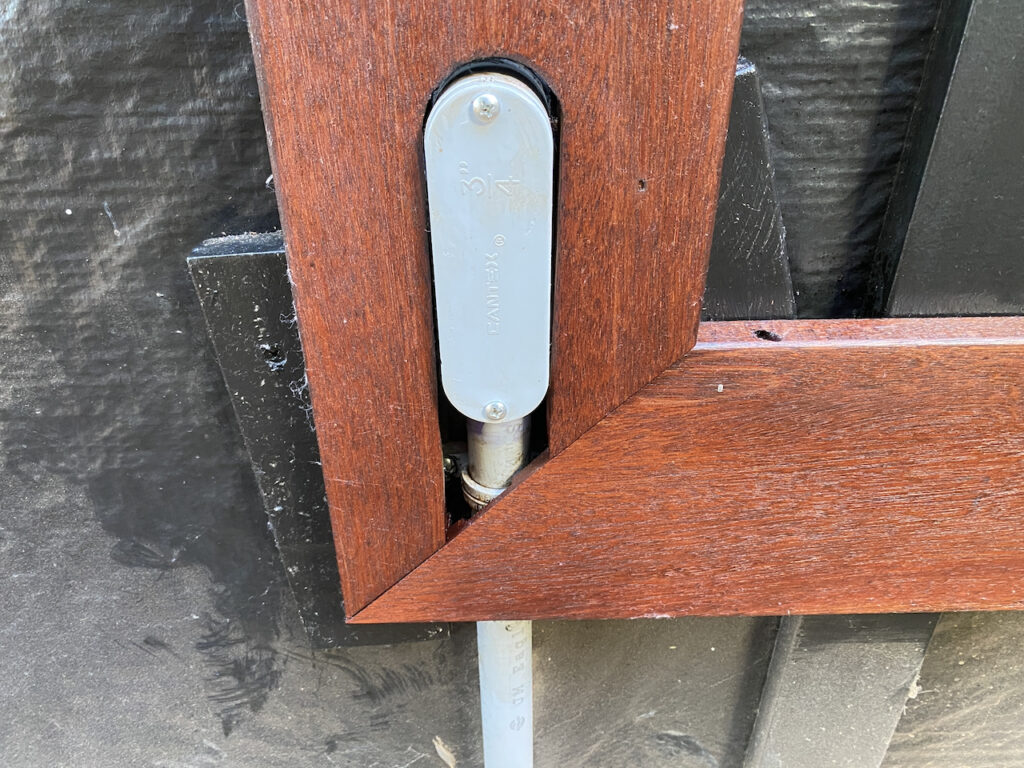
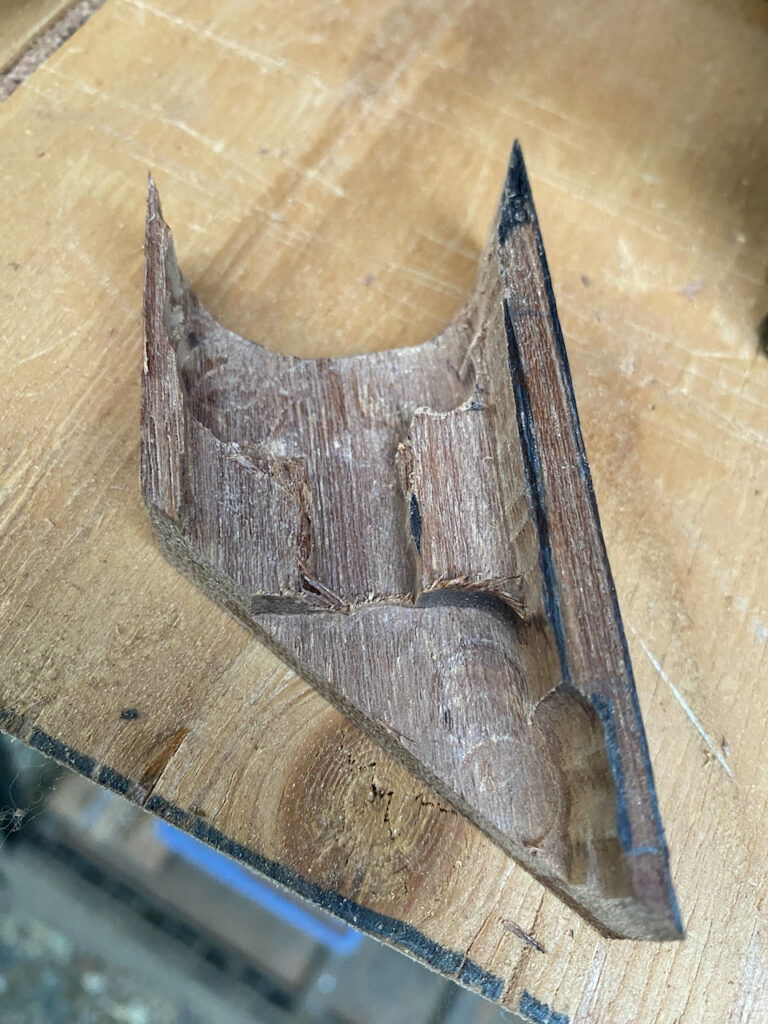
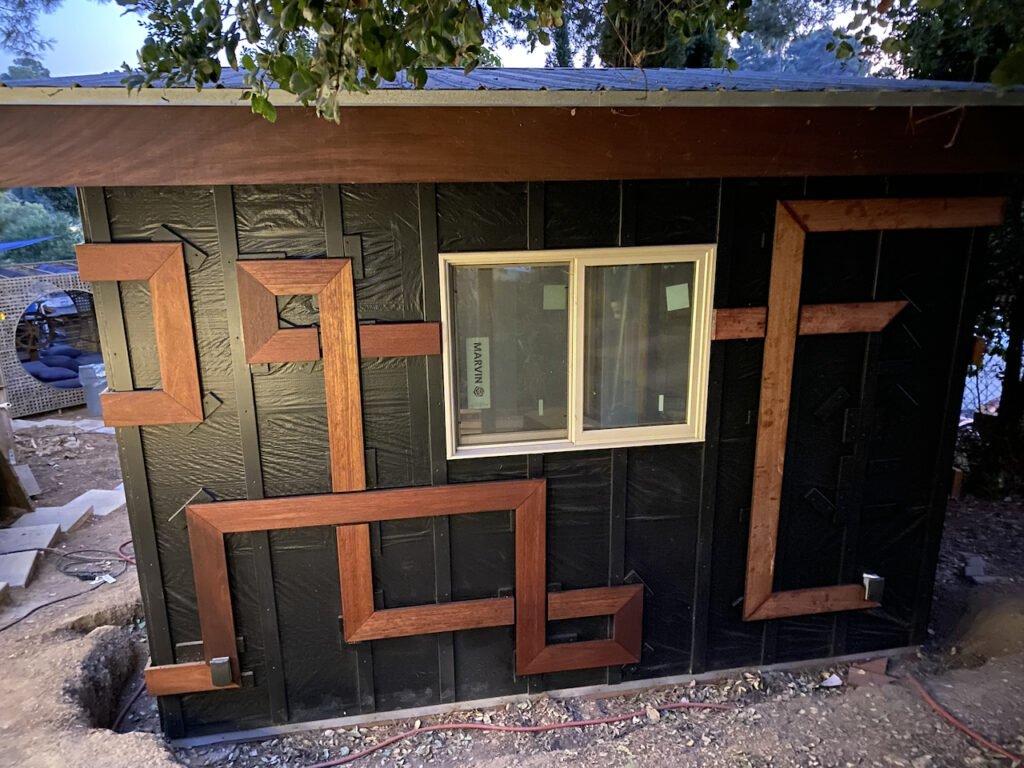
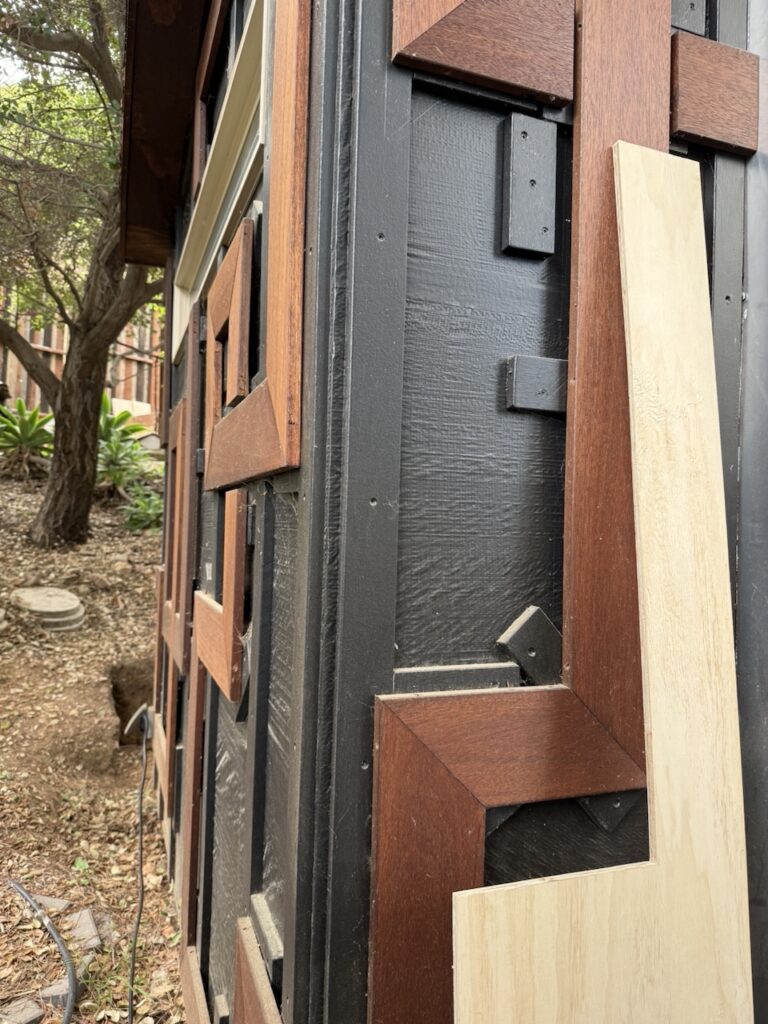
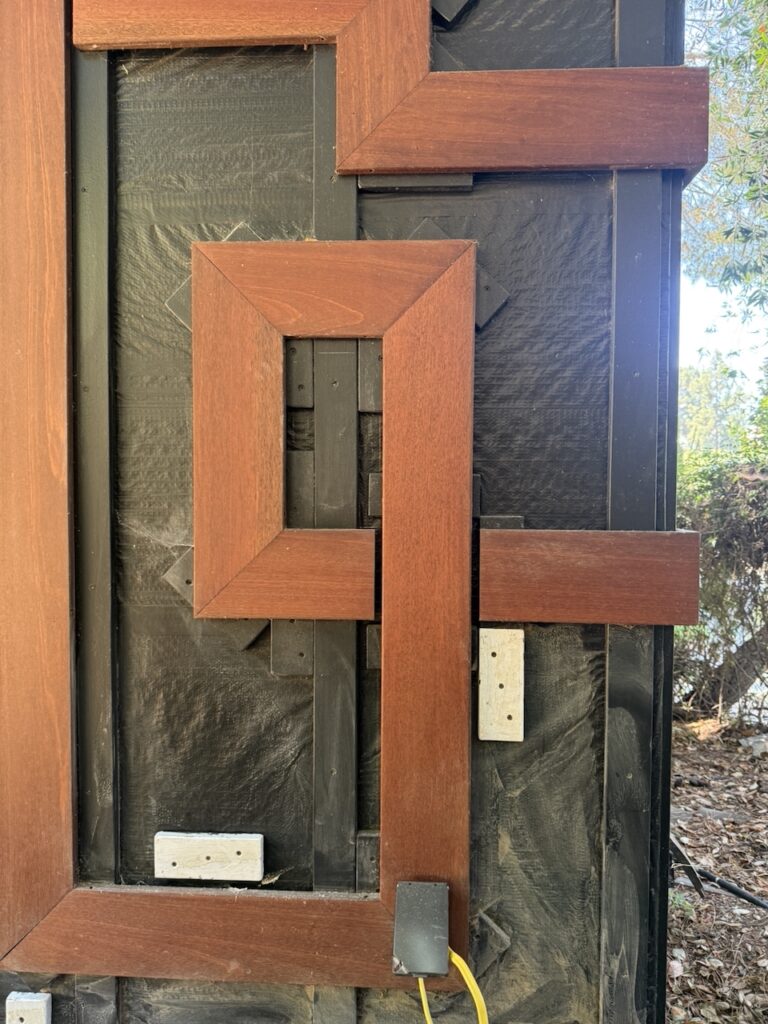
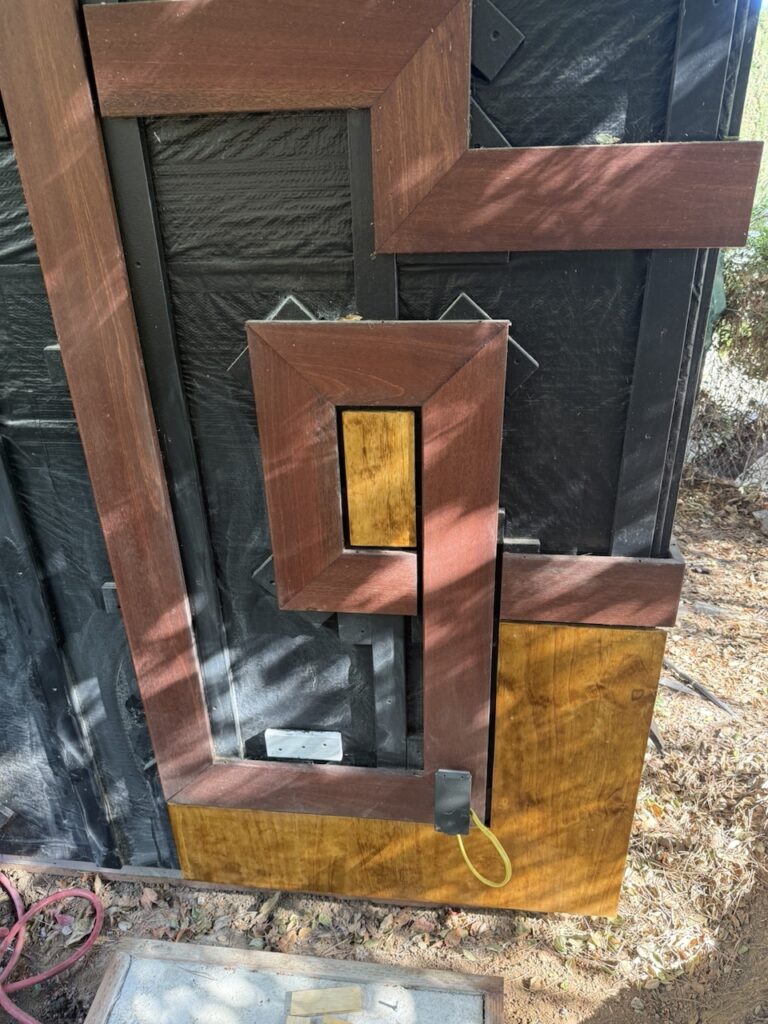
The cuts were complicated enough (needing both precise 45 degree cuts at the turns, but also mitred cuts at the edges), but the true complication came from the fact that we were offsetting these 3/4″ off the surface to allow air flow between the planks (we had been told that decking mounted flush had a tendency to curl as it aged, something we’d like to avoid). While we had vertical mounts installed back when the plan was to mount all the decking horizontally, many, many of the pieces would not span them, so I needed to create a LOT of pieces that could be used to offset the decking while giving a place for the decking to be mounted. I made hundreds of “biscuits”, each one needing to be cut to size, then sanded to prevent cracking, then holes drilled for screws to be installed without splitting, then primed, then painted black to blend in with the black vapor barrier that would be visible through the gaps designed into the pattern, then finally screws added to make the installation quicker. To speed things up, I started only painting the backs and painting the sides and front black after I installed them where they needed to be. This added an additional protection against moisture getting behind them as the paint would form a seal.
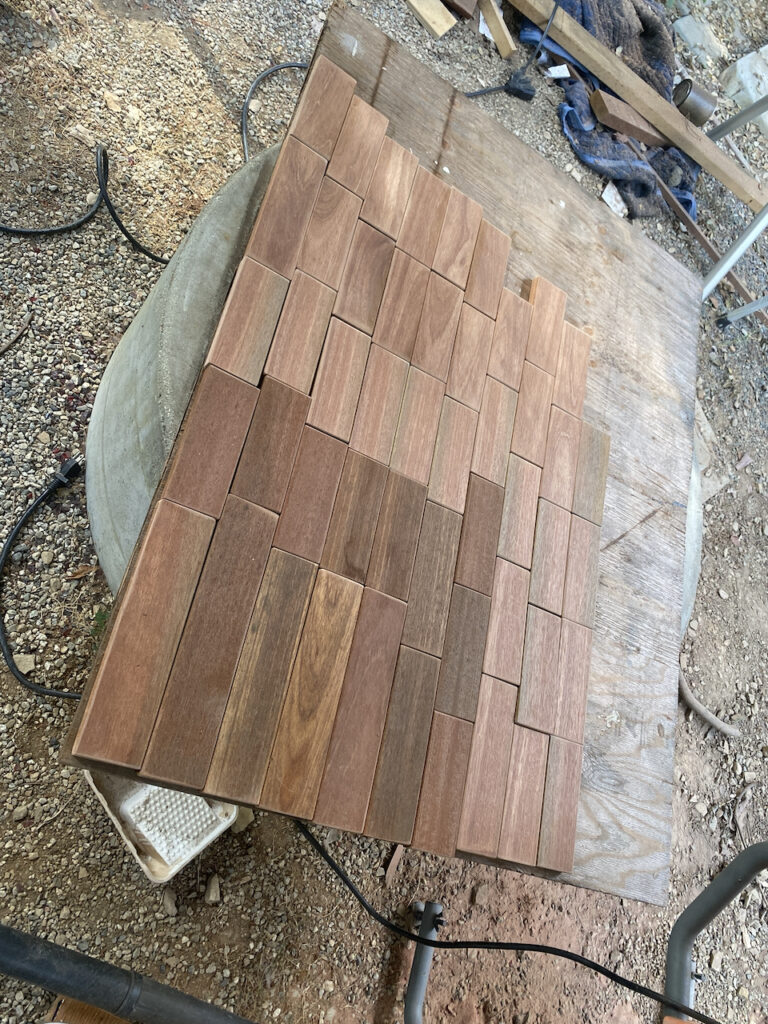

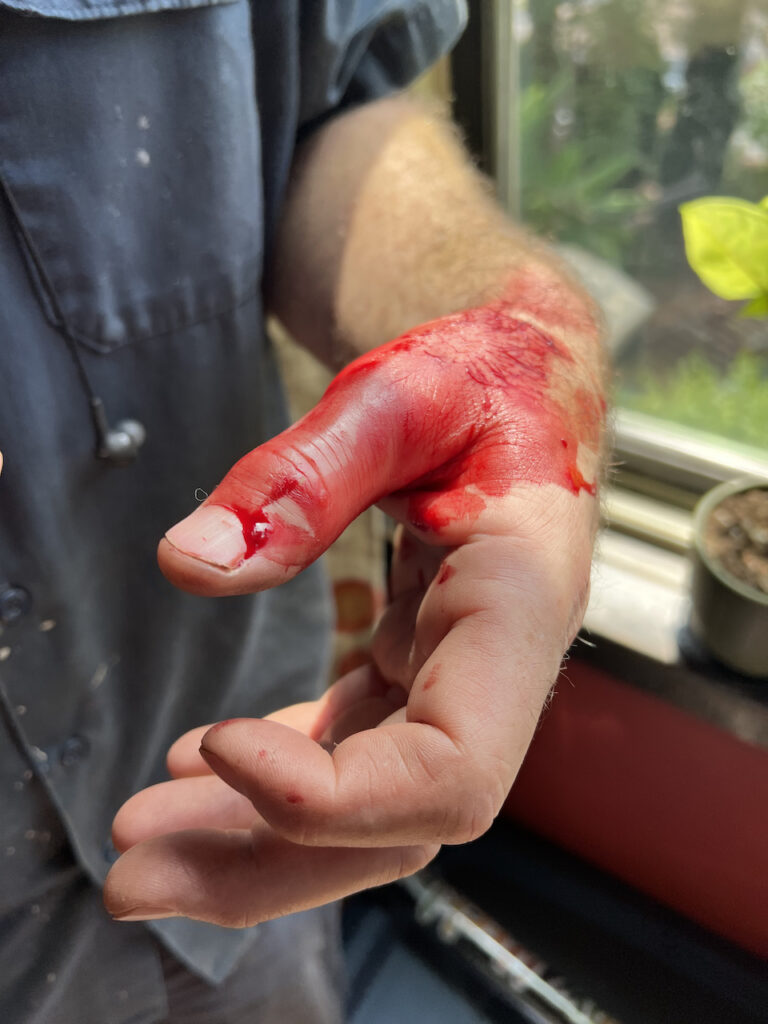
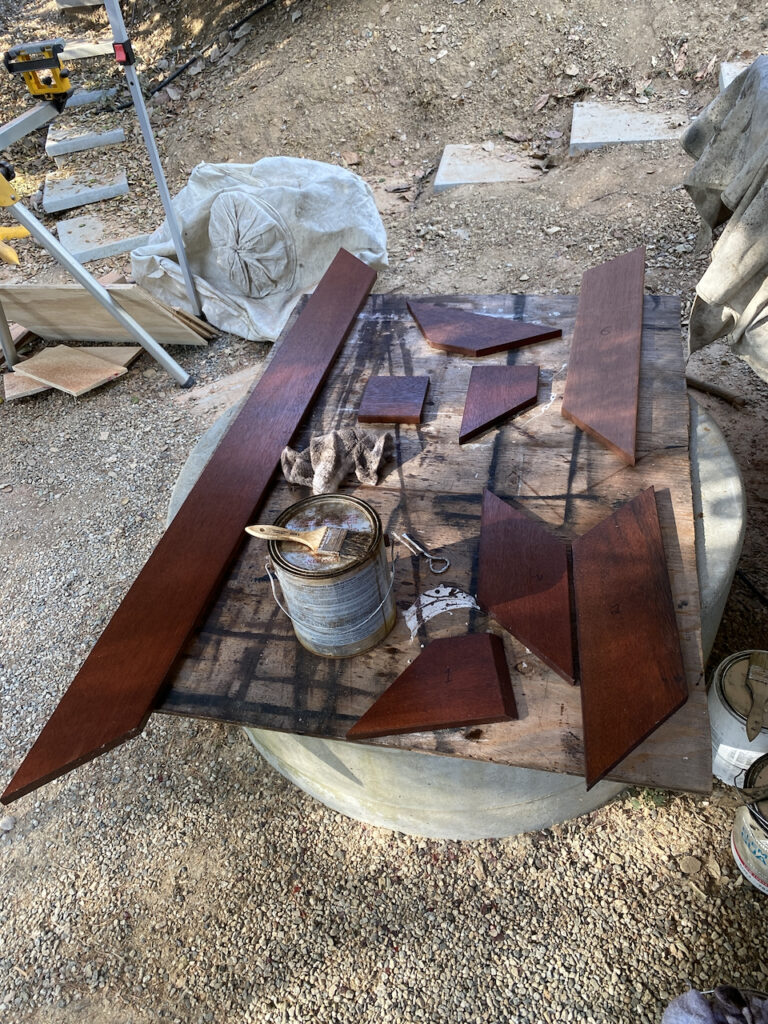
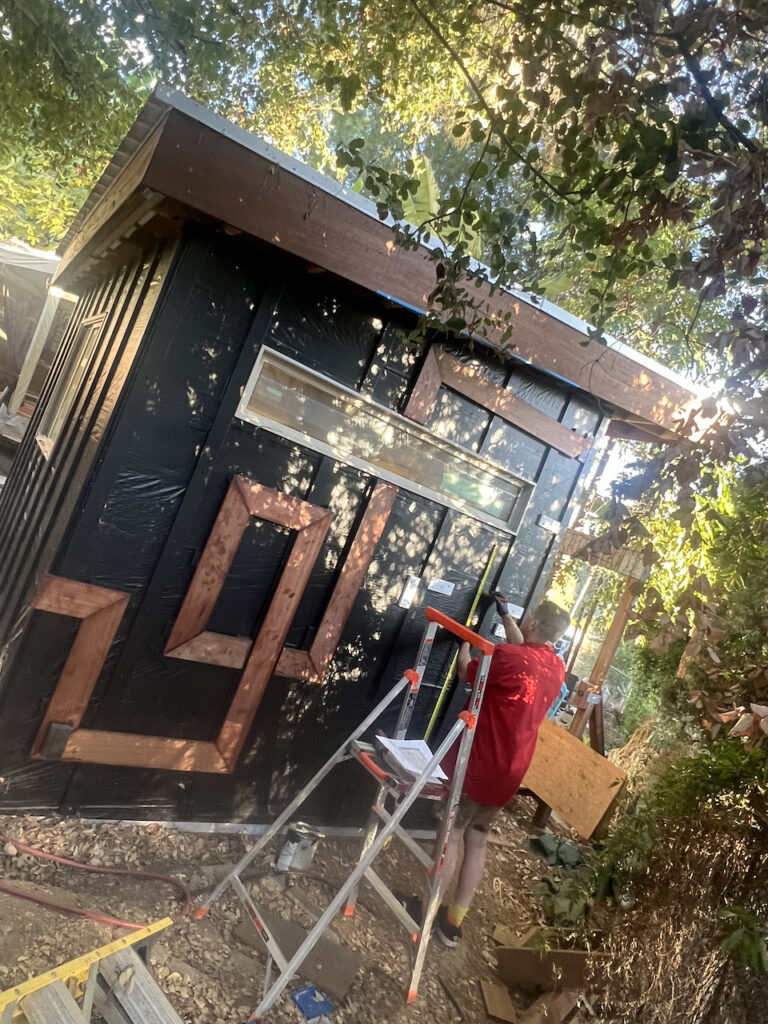
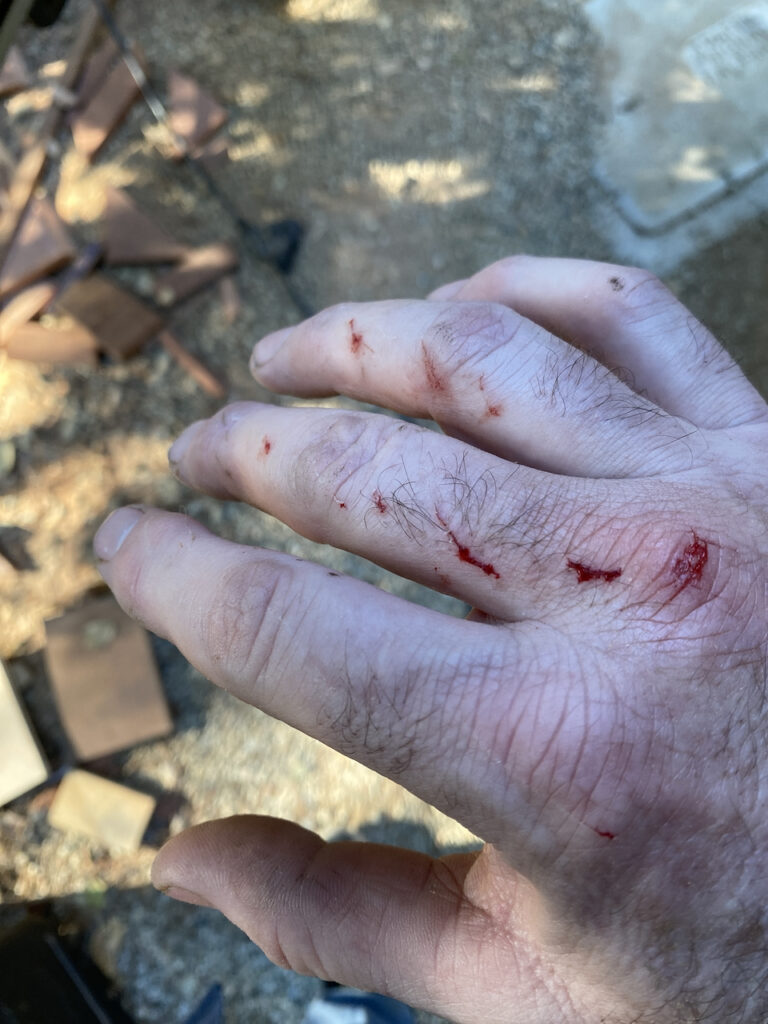
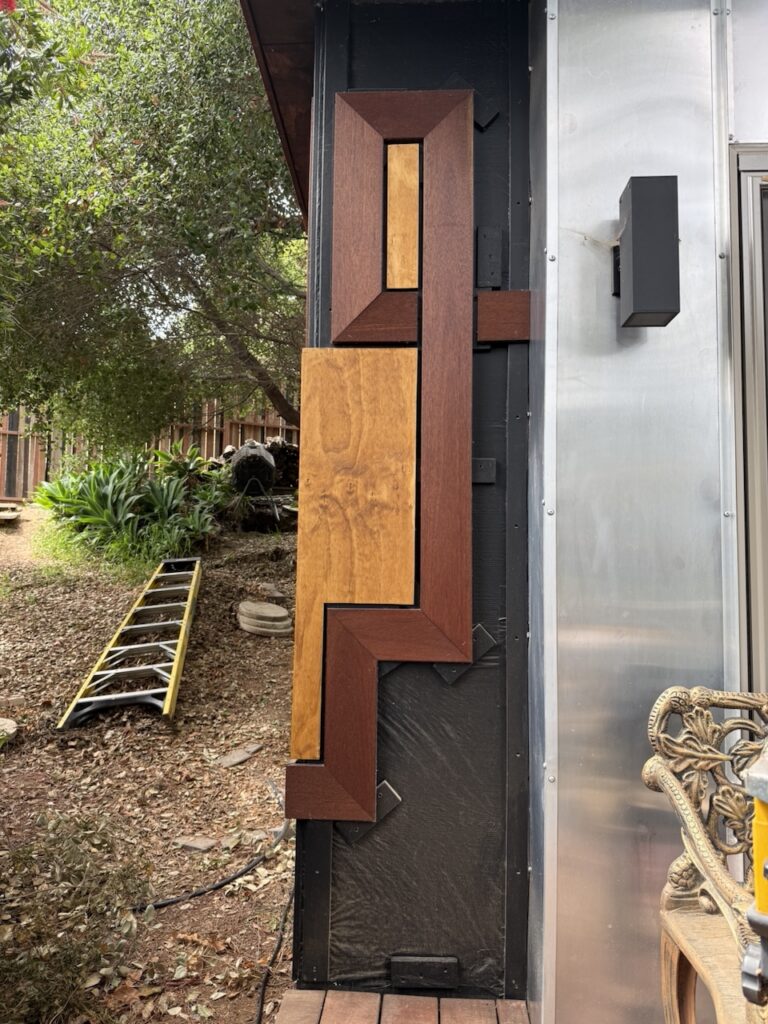
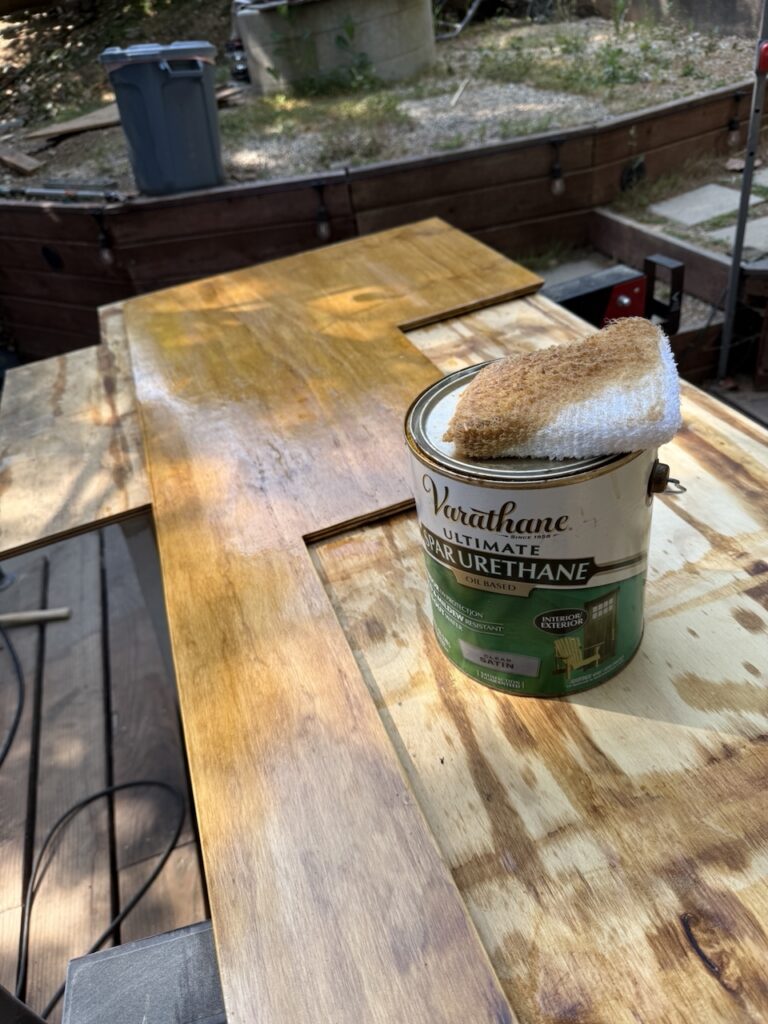
It was exciting to get started because this was one of those jobs that I knew would not be easy- every cut needed to be precise and there were many features that added additional complications- such as the power outlet boxes and junction conduit for the Ethernet cables. I’m lucky that my company has a very long holiday vacation at the back half of December, so I figured I’d be able to knock it out. However, it was slower going than I thought- fewer daylight hours in winter, holiday traveling to see family, an unexpected water leak in the house, and finally LA wildfires all added additional delays. From start to finish ended up being just under a month. Each piece needed to be cut, the back and sides stained, then wiped dry, mounted- first using a finish nailer to hold it in place and then angled deck screws added to the edges to limit the amount of fasteners visible. After all that, I’d run an orbital sander over all of it and stain the decking in place, wipe it dry after 20 minutes or so. Included one obligatory bleeding picture from reaching across a mitre saw blade. Luckily it was not spinning…
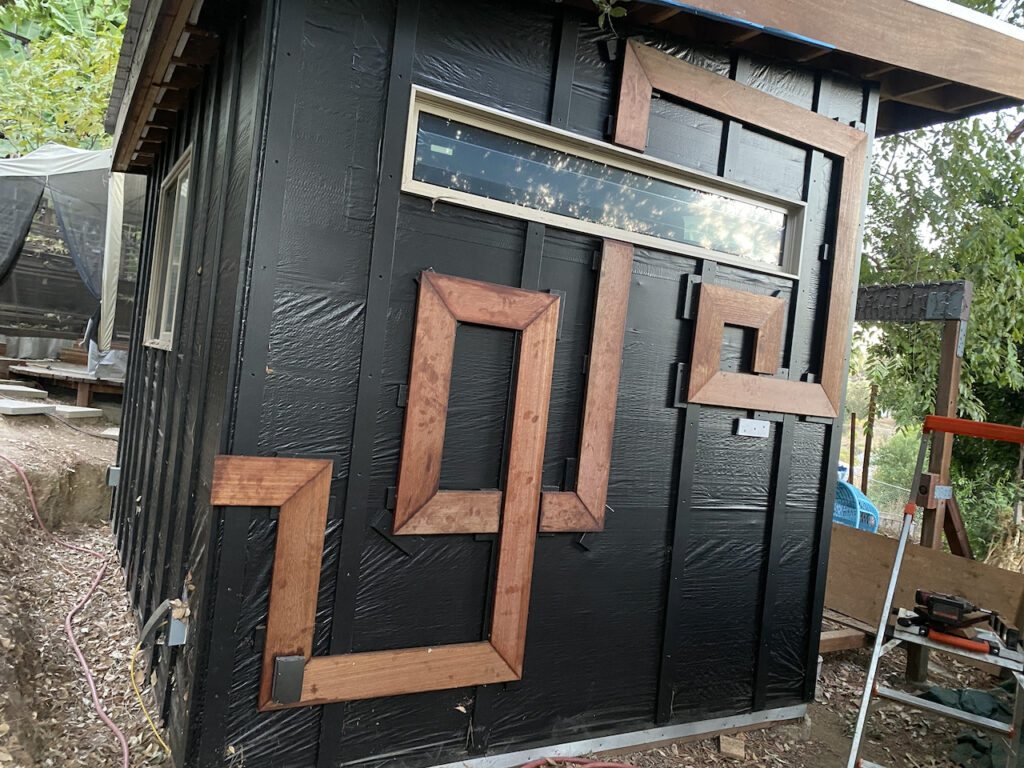

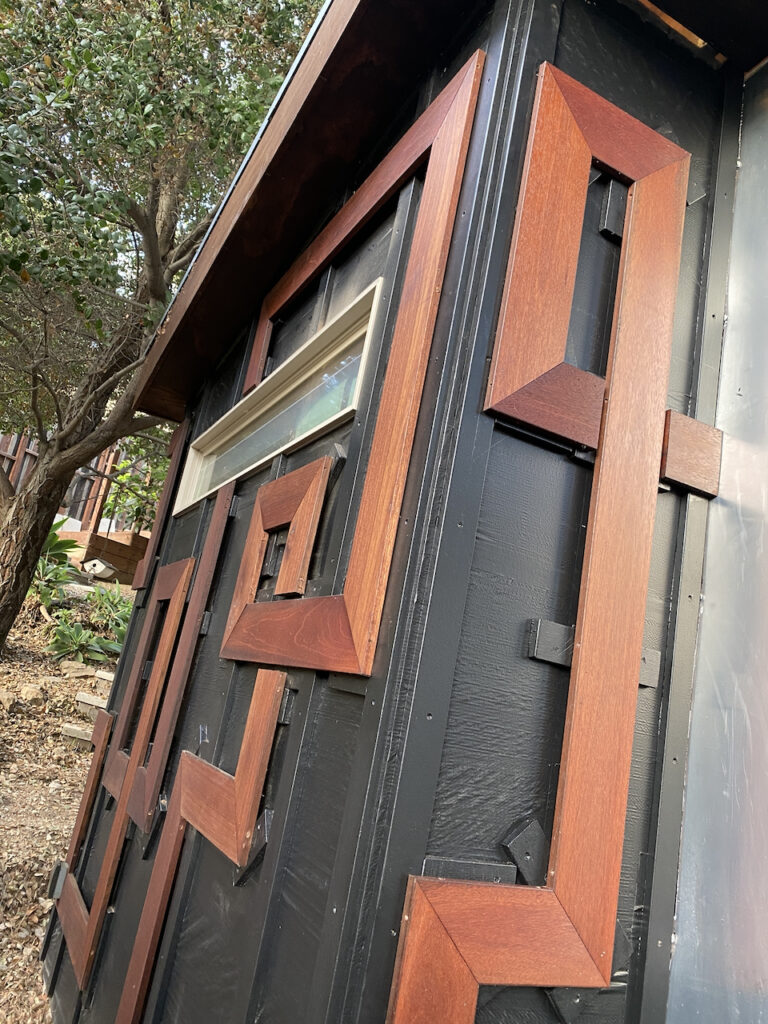
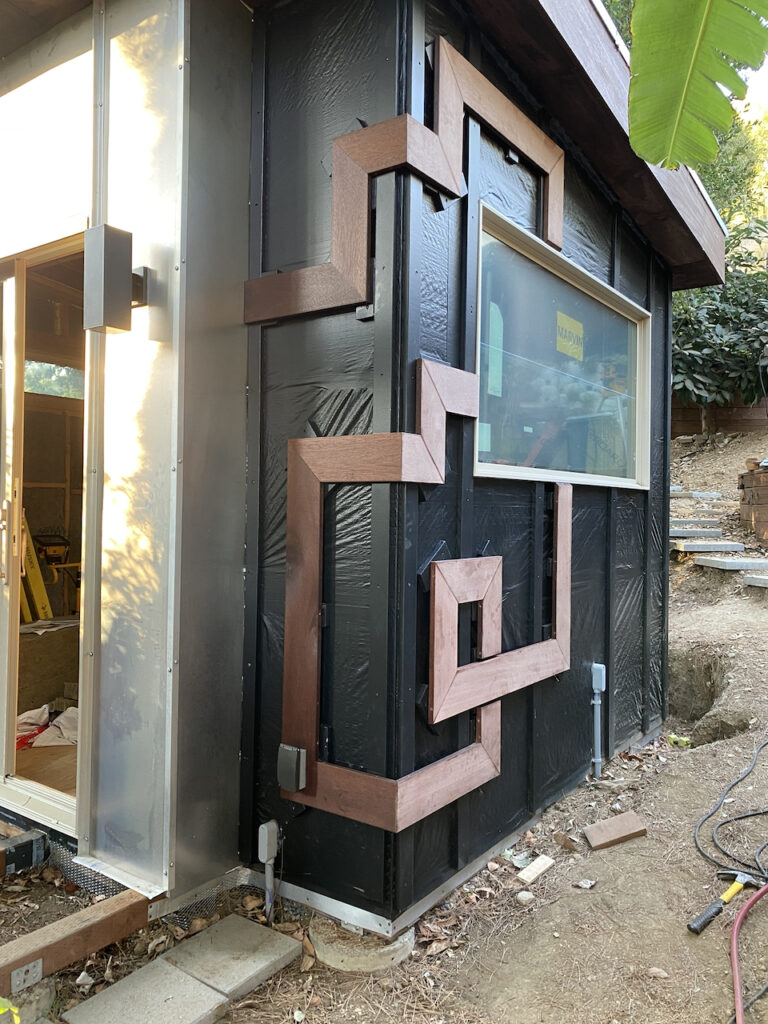

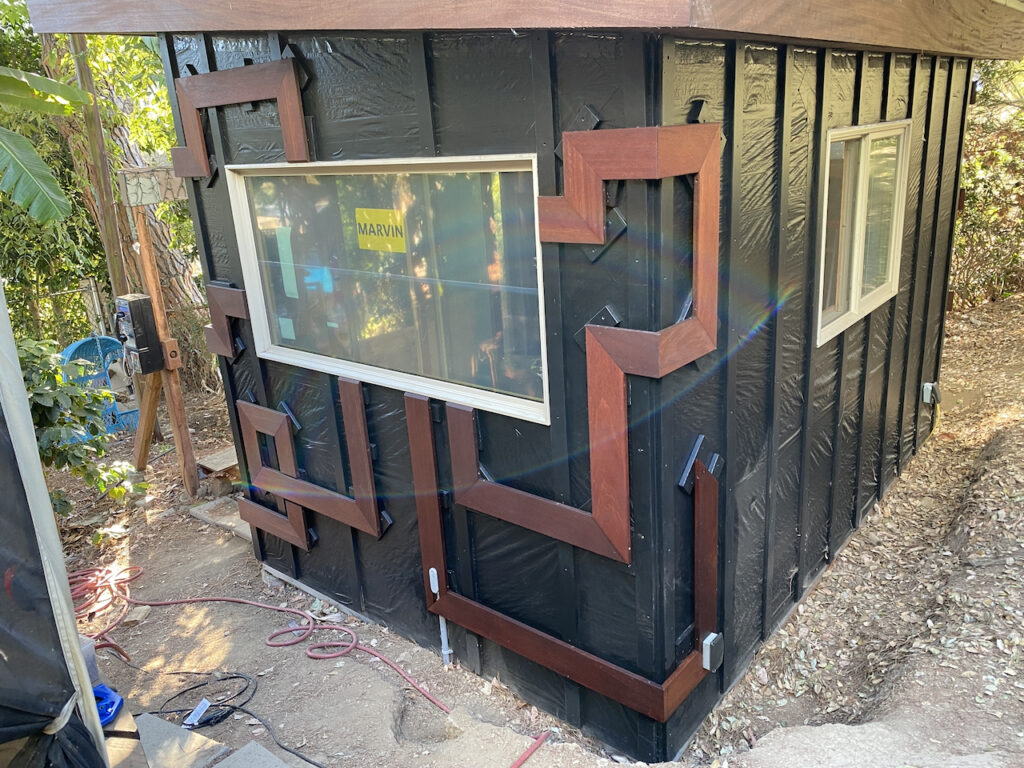

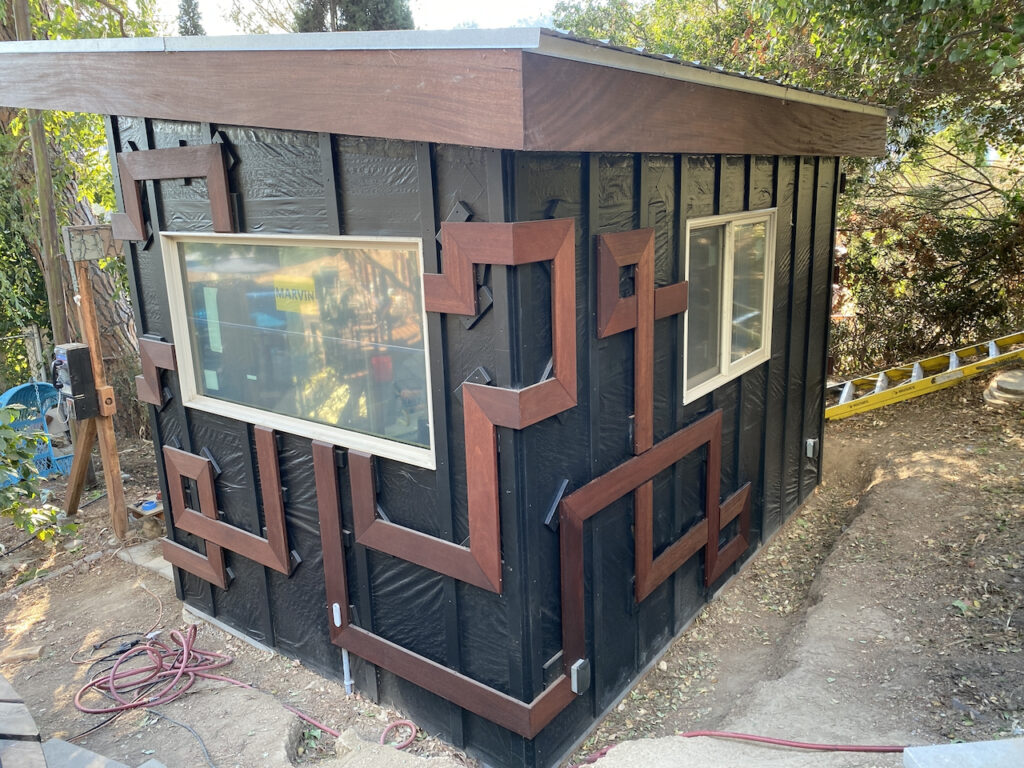
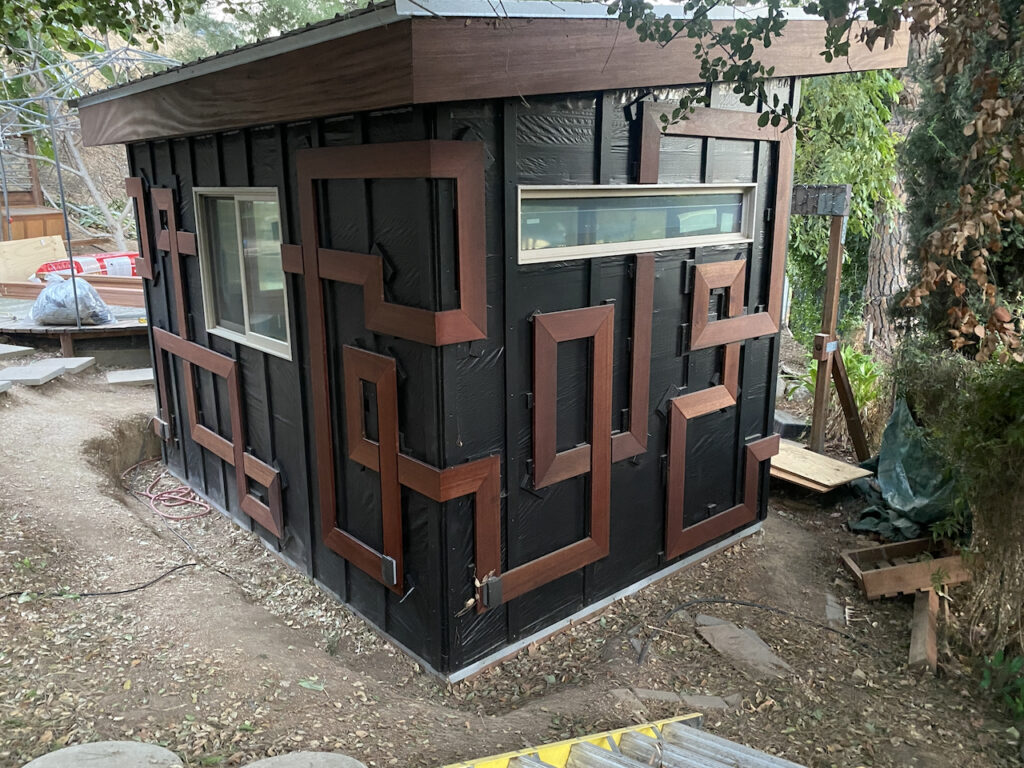
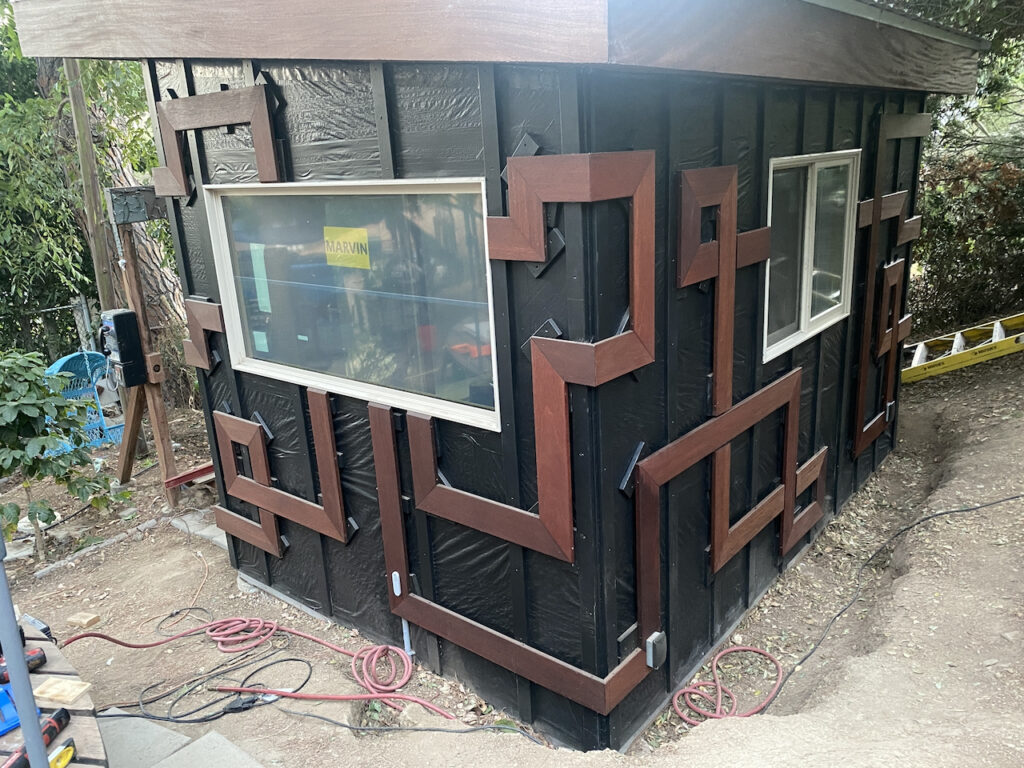
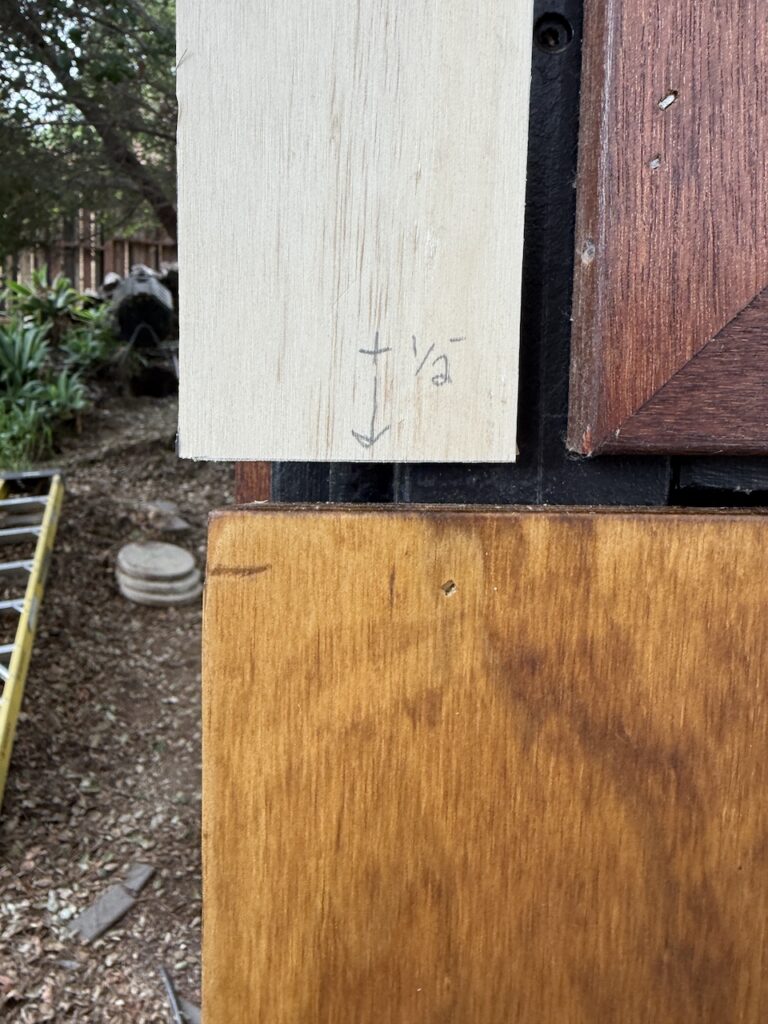
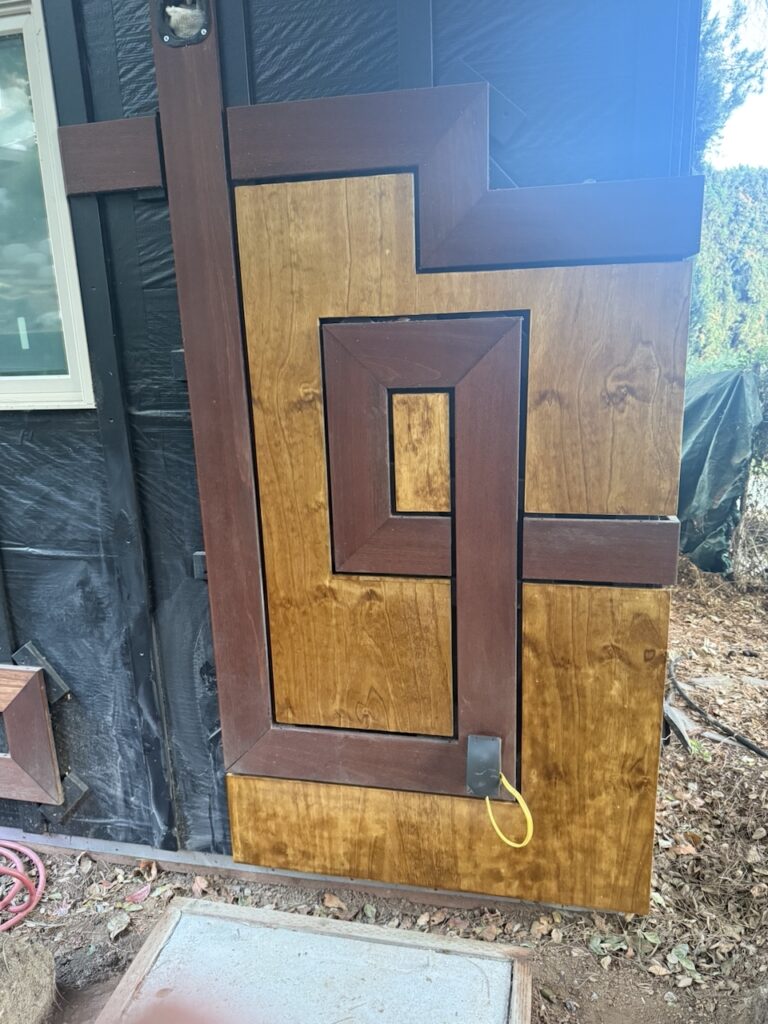
Once finished, it was very satisfying. It definitely has a unique look. We’re going to be adding stained plywood into the negative space, giving 1/2″ gaps between decking and ply for more breathing room (again, to prevent curling). That will be another time consuming process, but at least it won’t need to be done for me to start using the office.
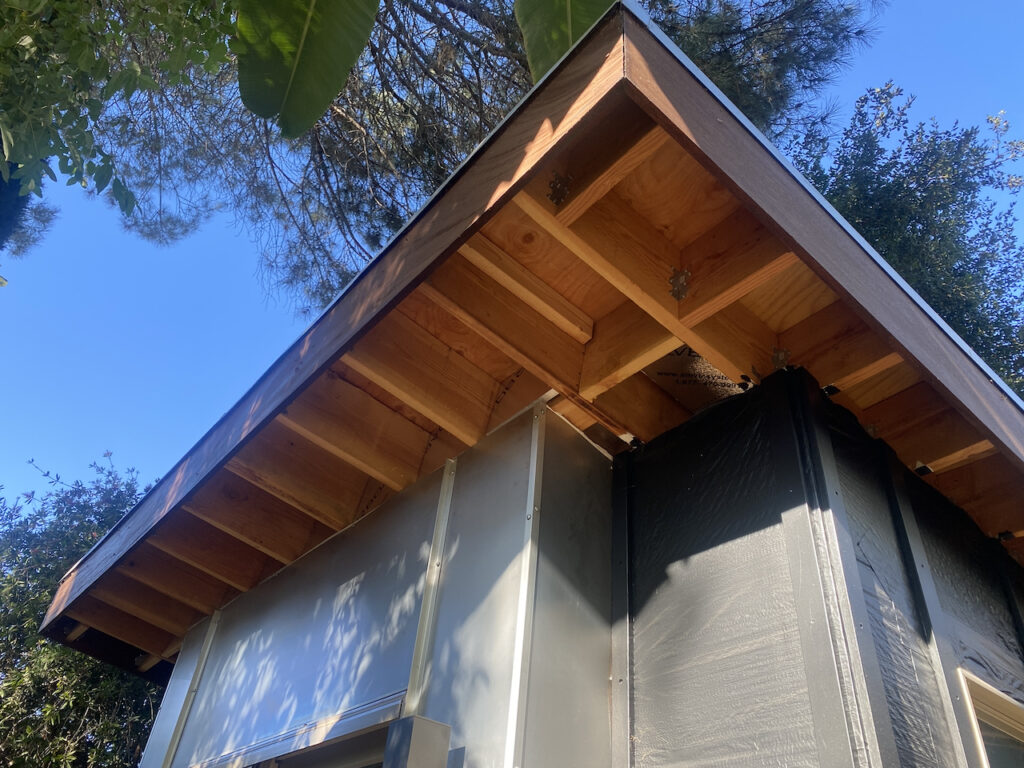
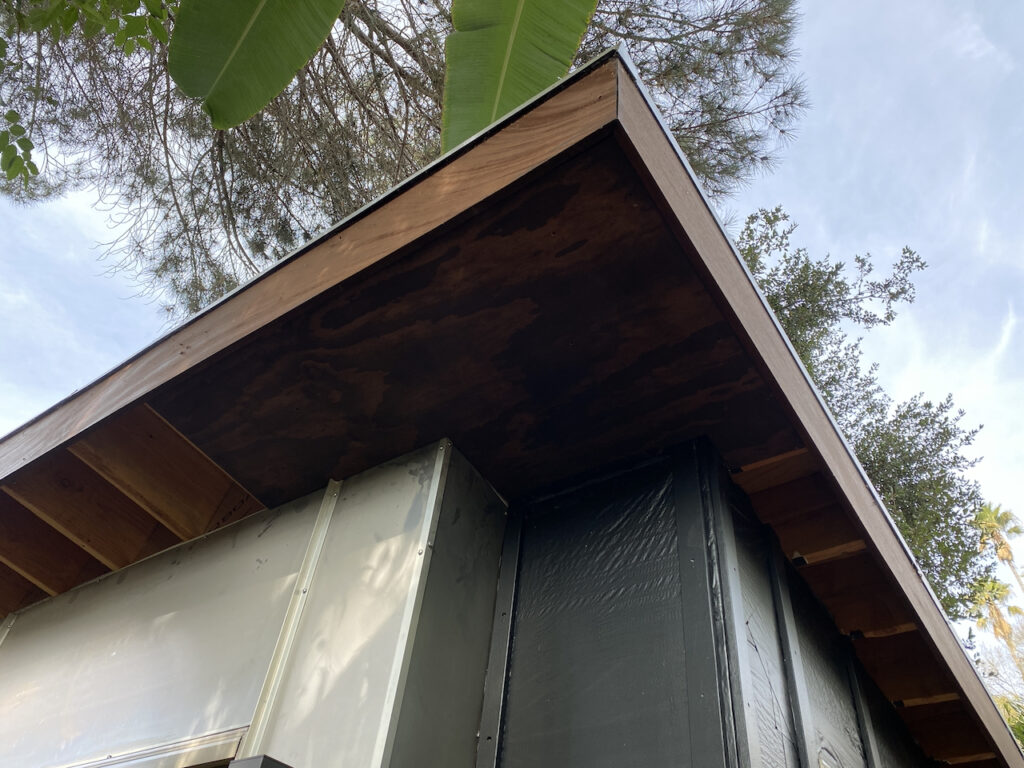
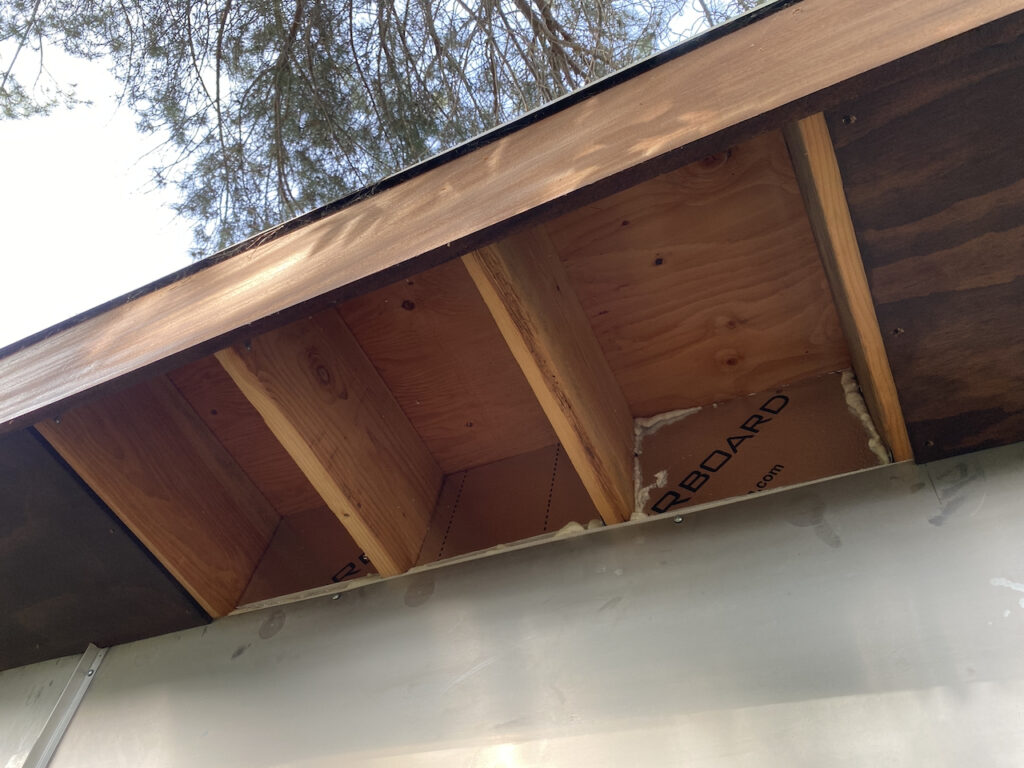
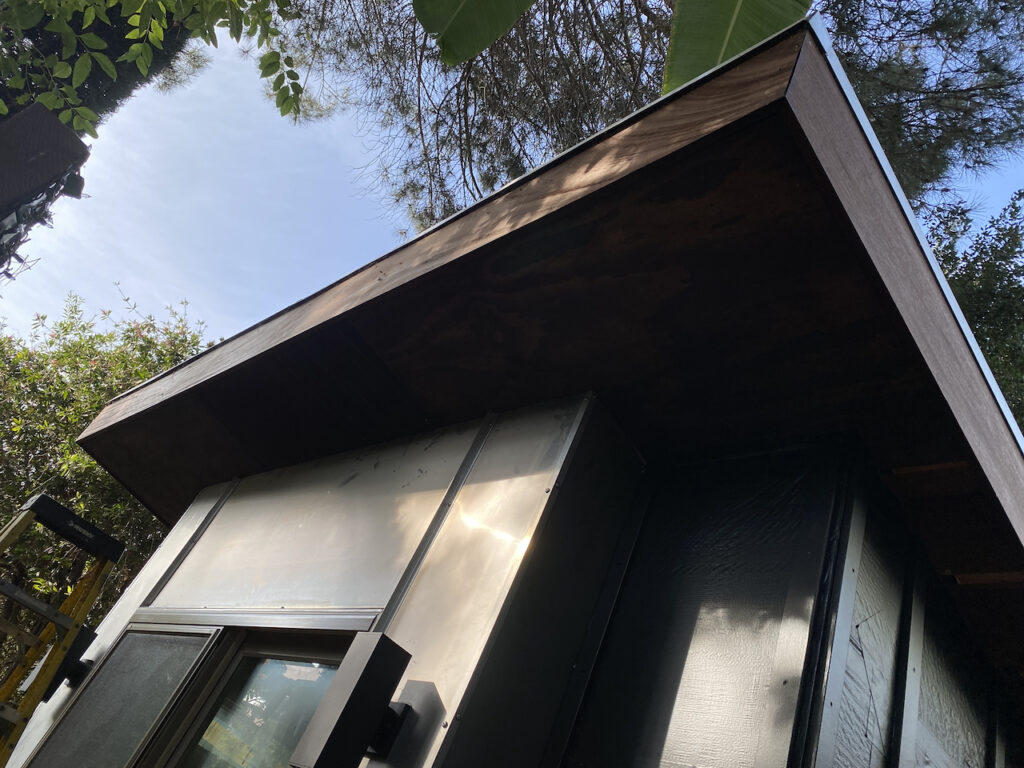
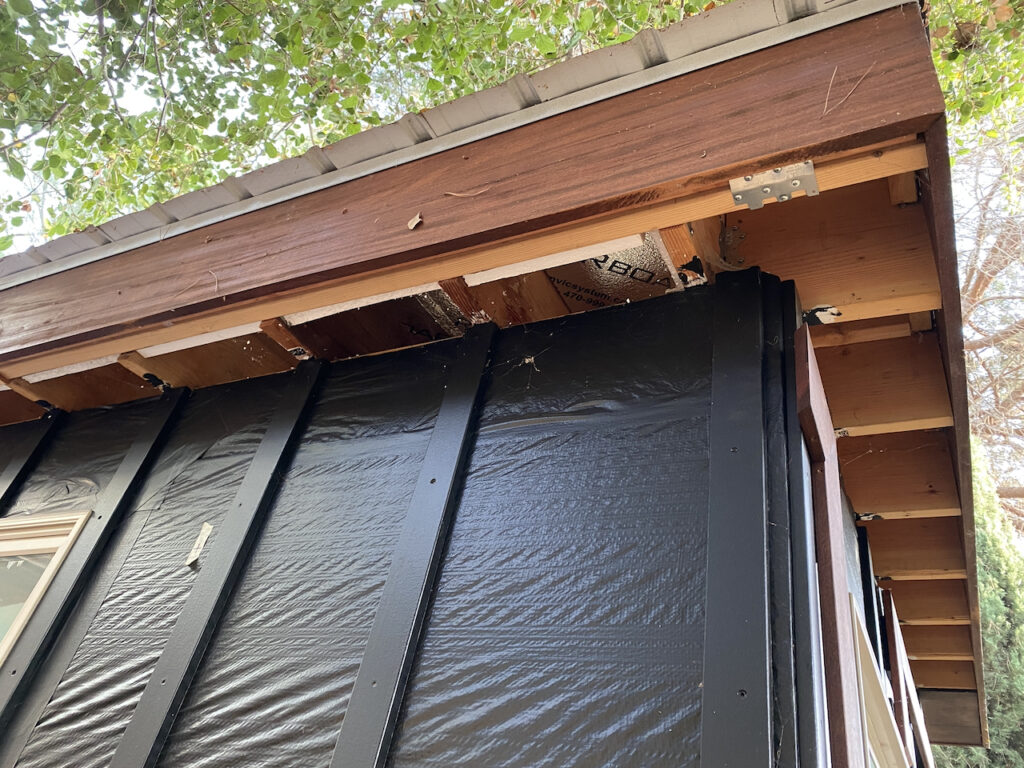
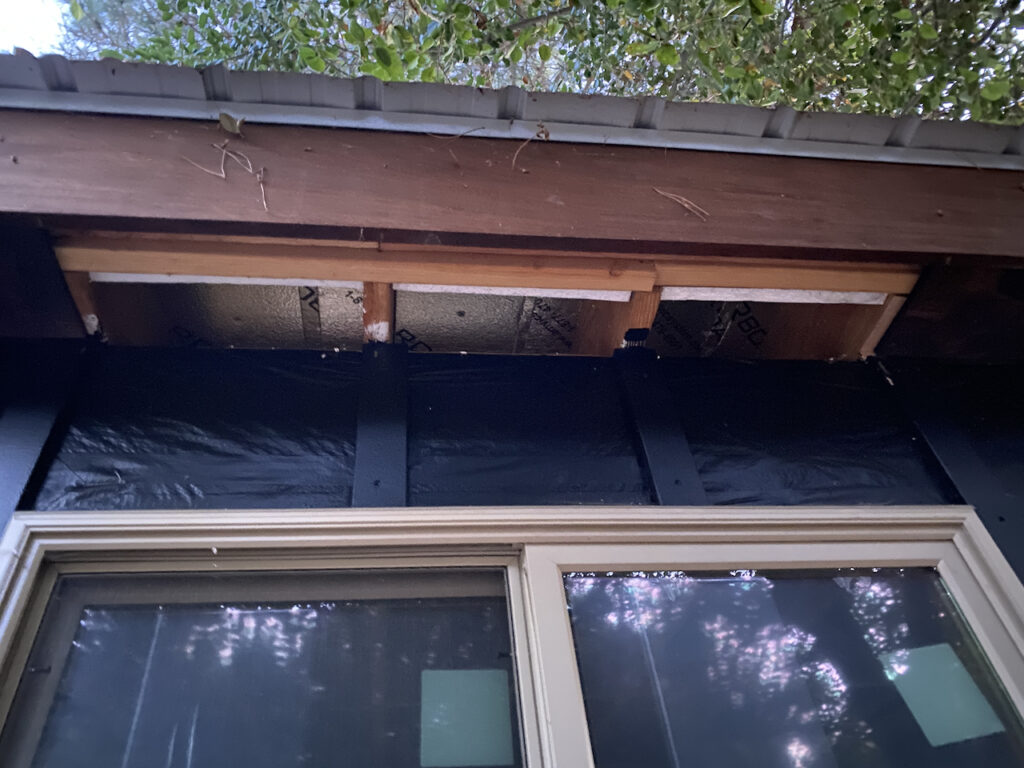
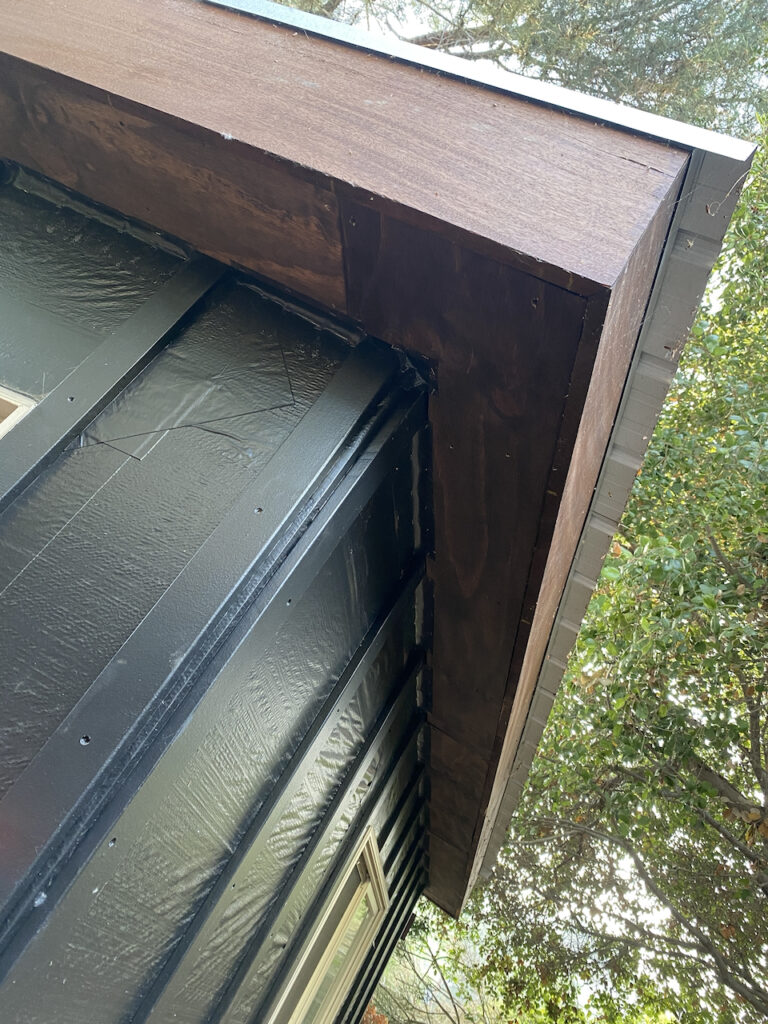
Another thing I was avoiding- adding plywood under the awnings. This also meant lots of precise cuts, but on larger pieces of wood (with more opportunities for miscalculations) and requiring lifting everything over my head while on ladders to install. The plan was to stain this wood dark, to make it all “disappear”. Since there were gaps left between the vertical support slats and the awning underlay, I went around and added “screen tape” over them to reduce insects from being able to crawl up into the exterior ceiling bays.
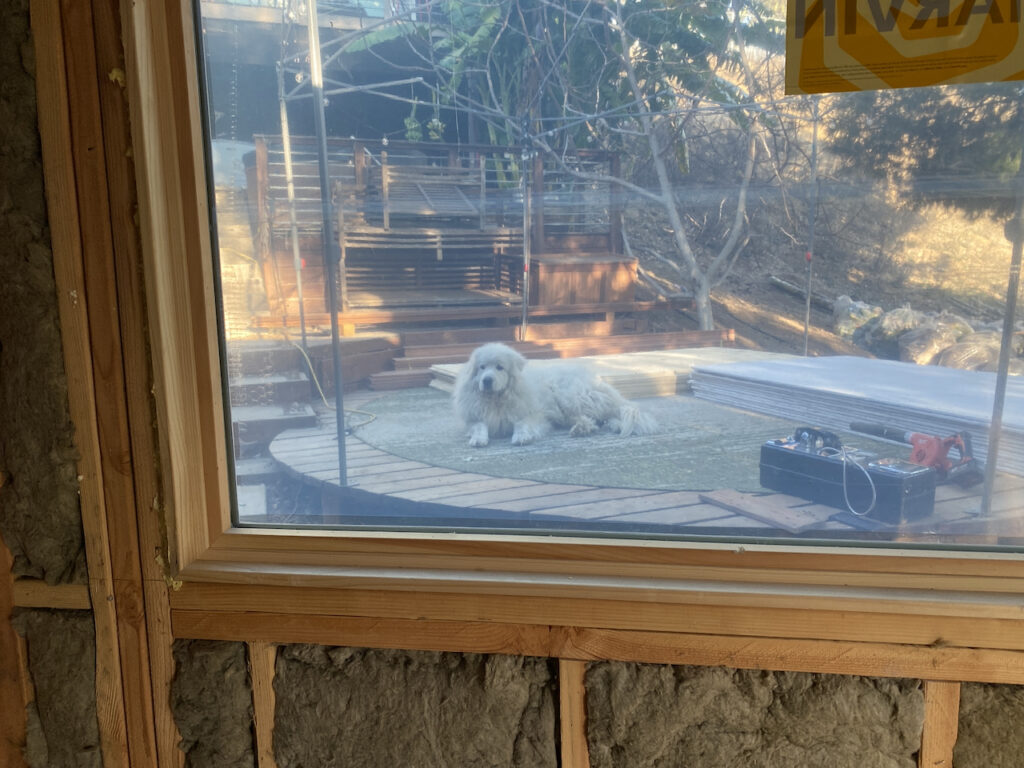
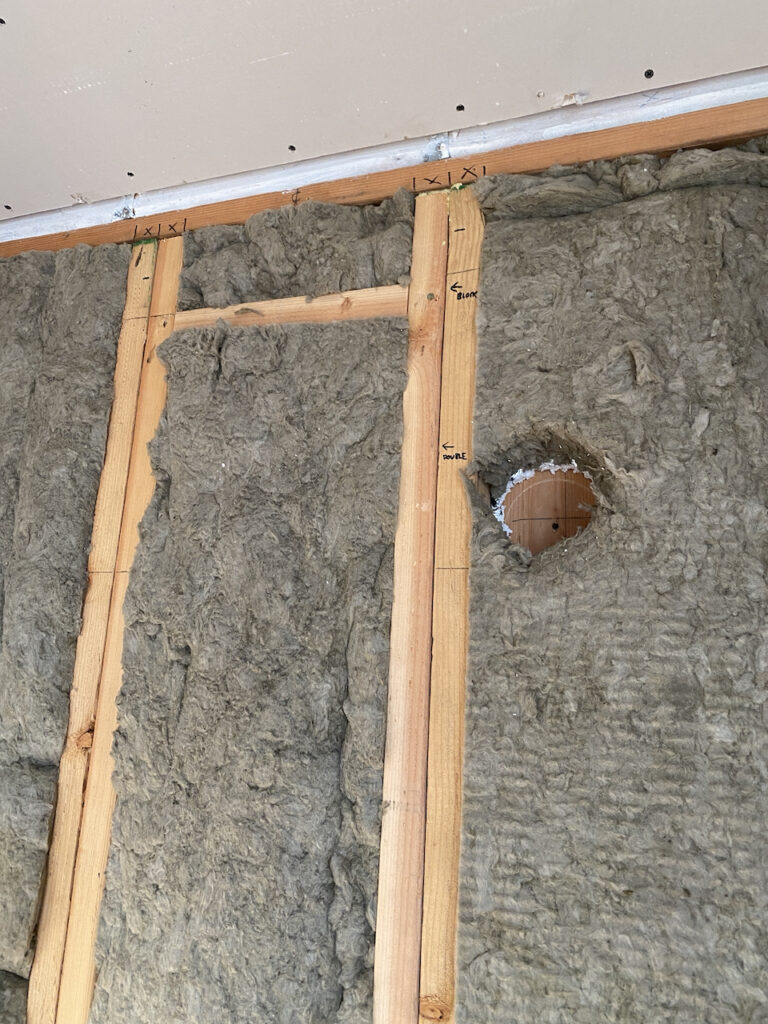
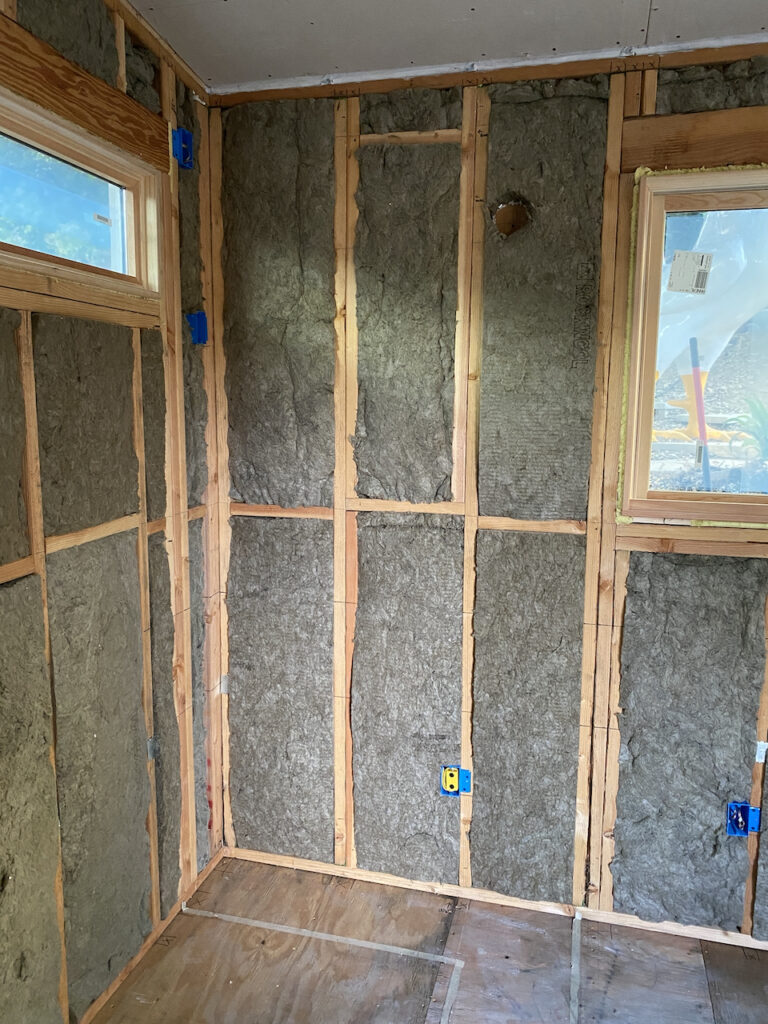
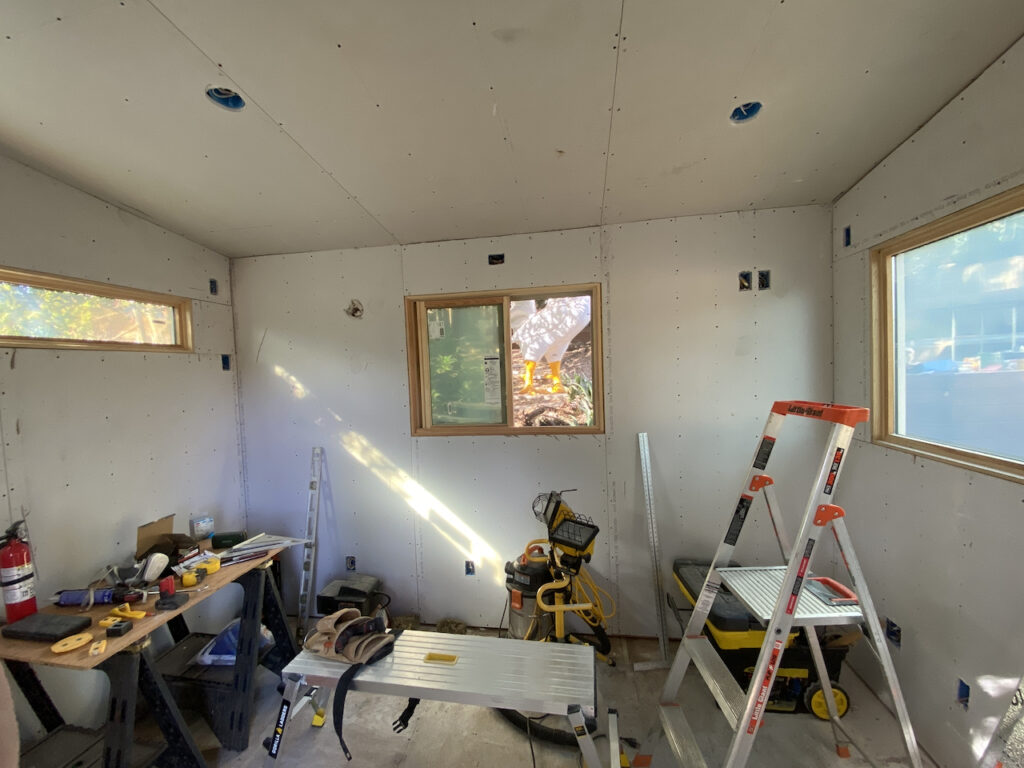
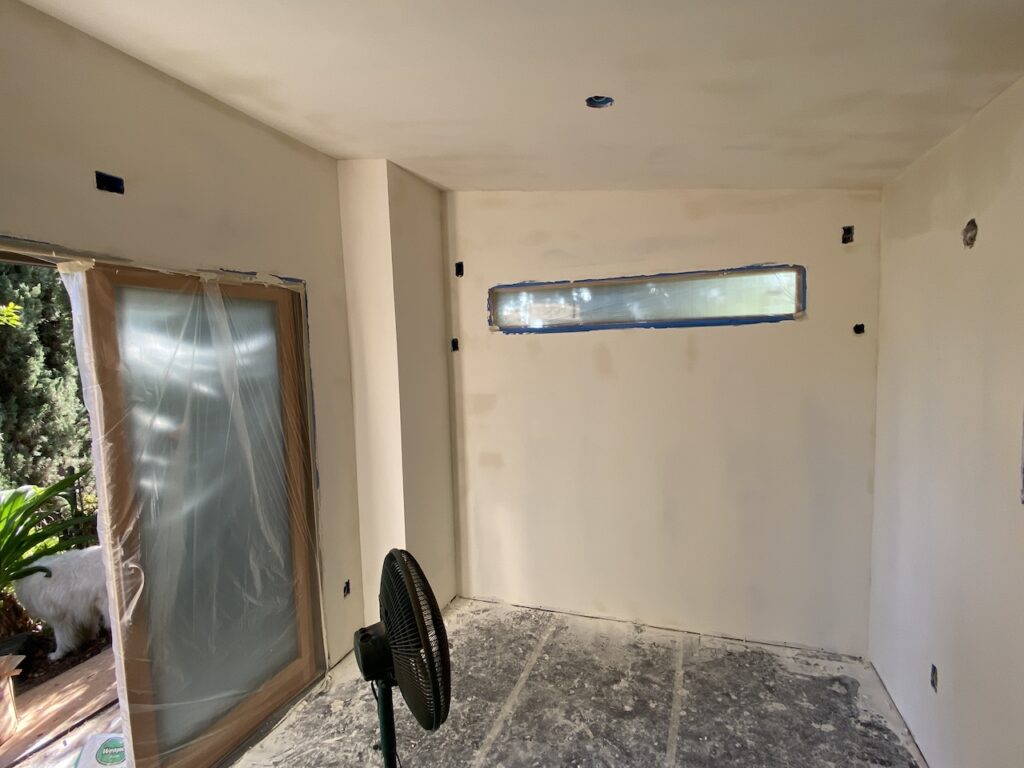
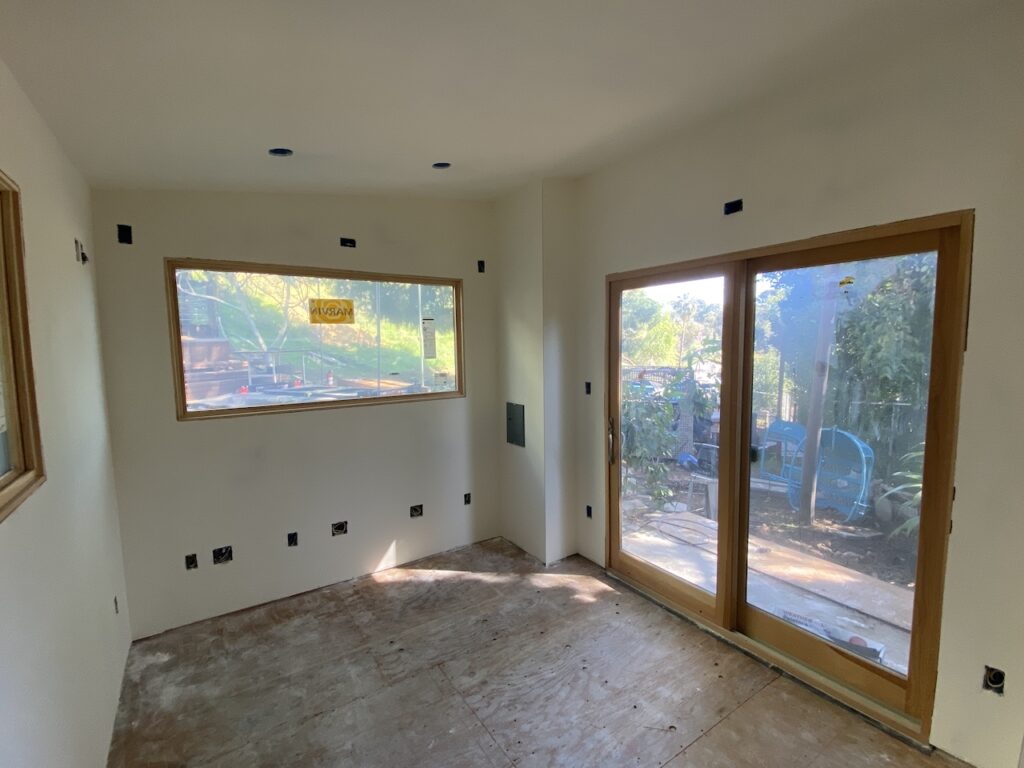
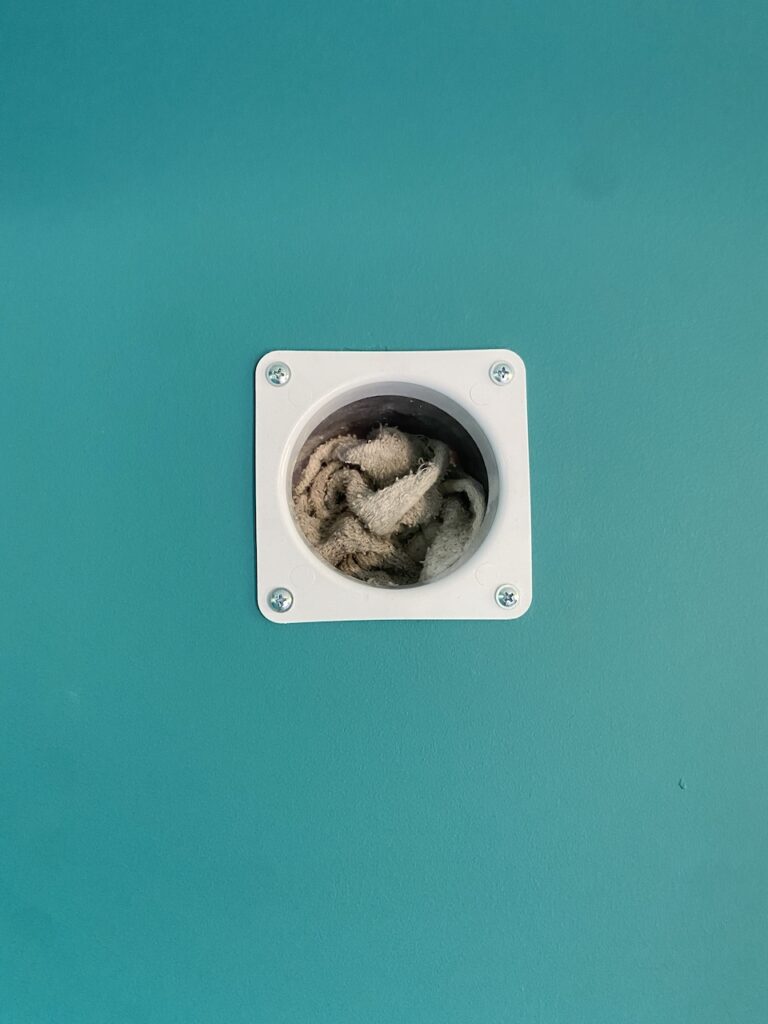
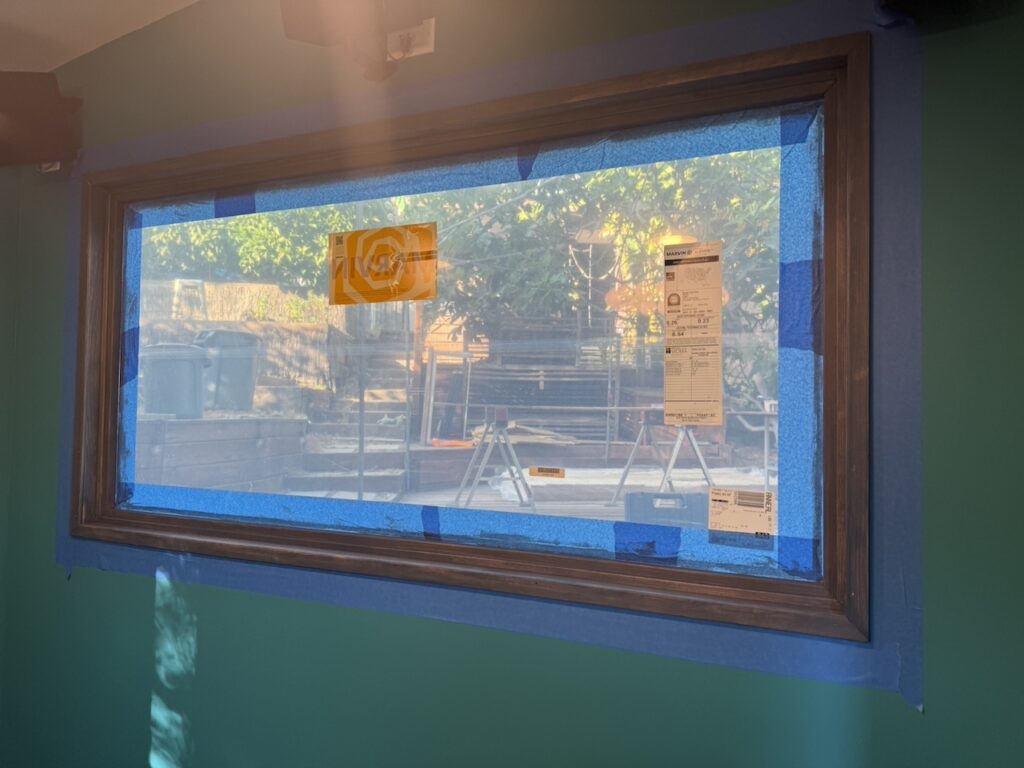
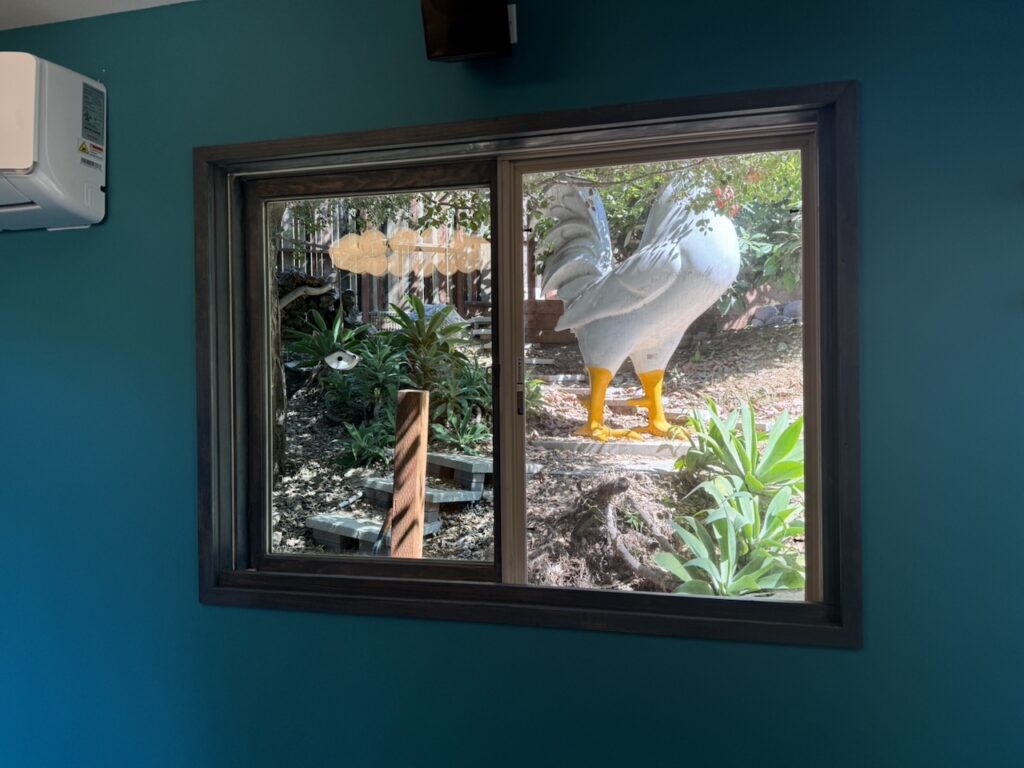
Back to the interior, I added Rockwool insulation (mentioned above in the floor framing section) into all the walls and ceiling bays. Cut out the hole for the a/c tubes to run out to the condenser. Again, the great thing about that stuff is that it can be cut with a serrated blade, so I was using an old bread knife from the kitchen. Also love not feeling fiberglass everywhere. The view from the front window is adorable.
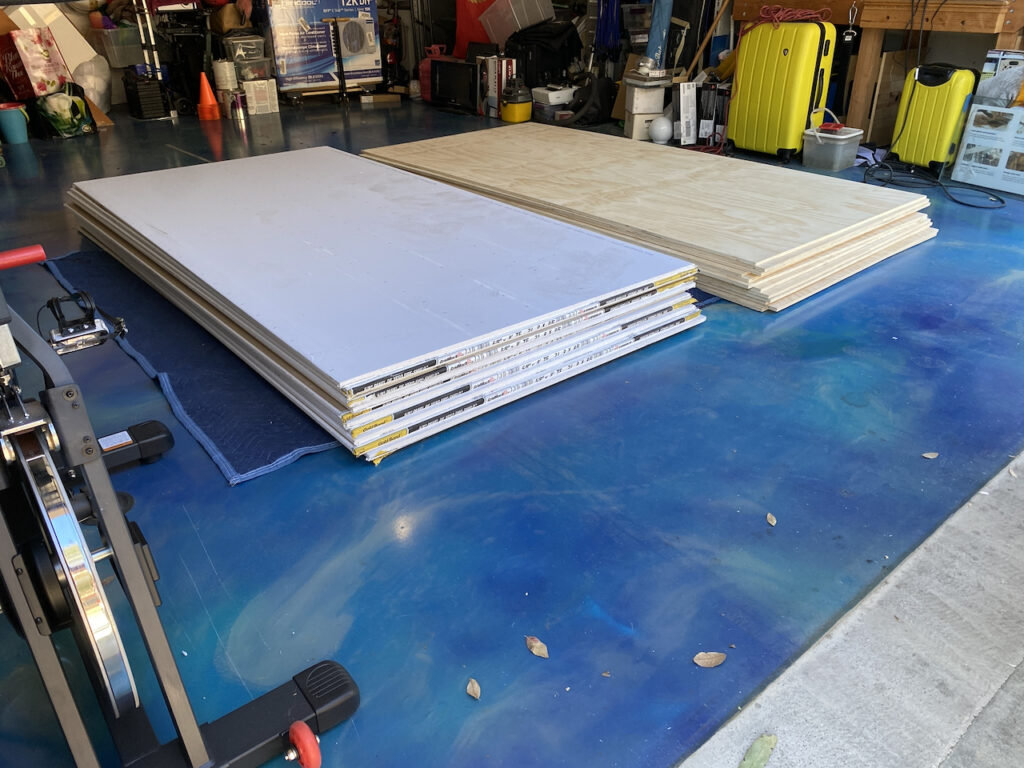
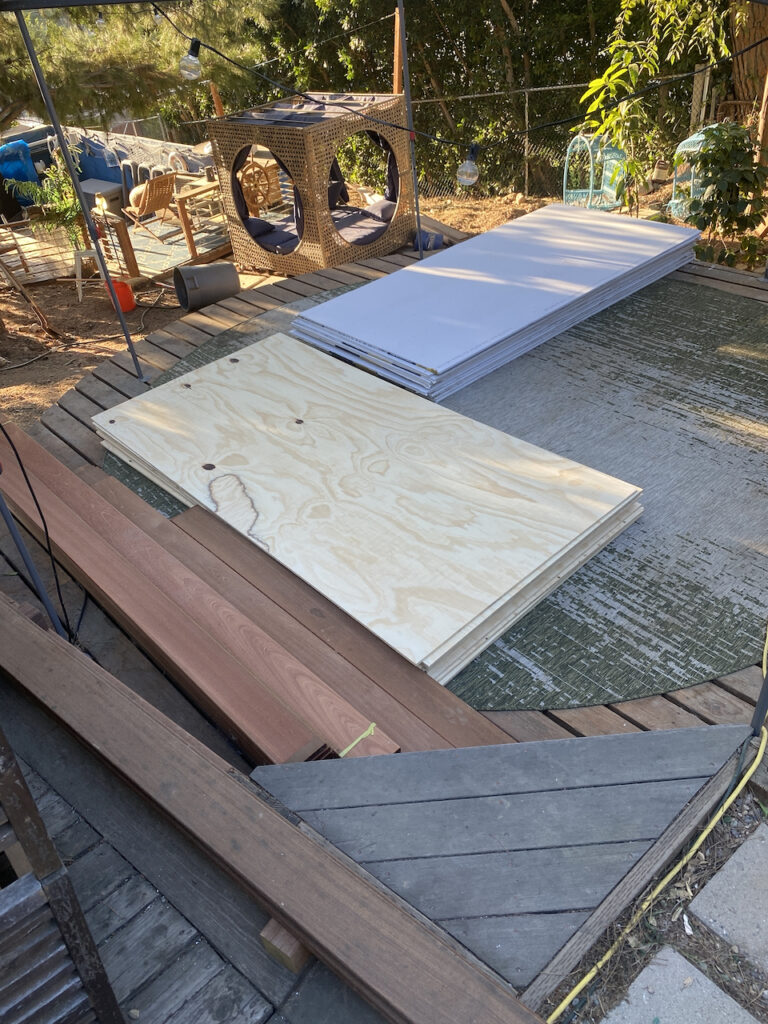
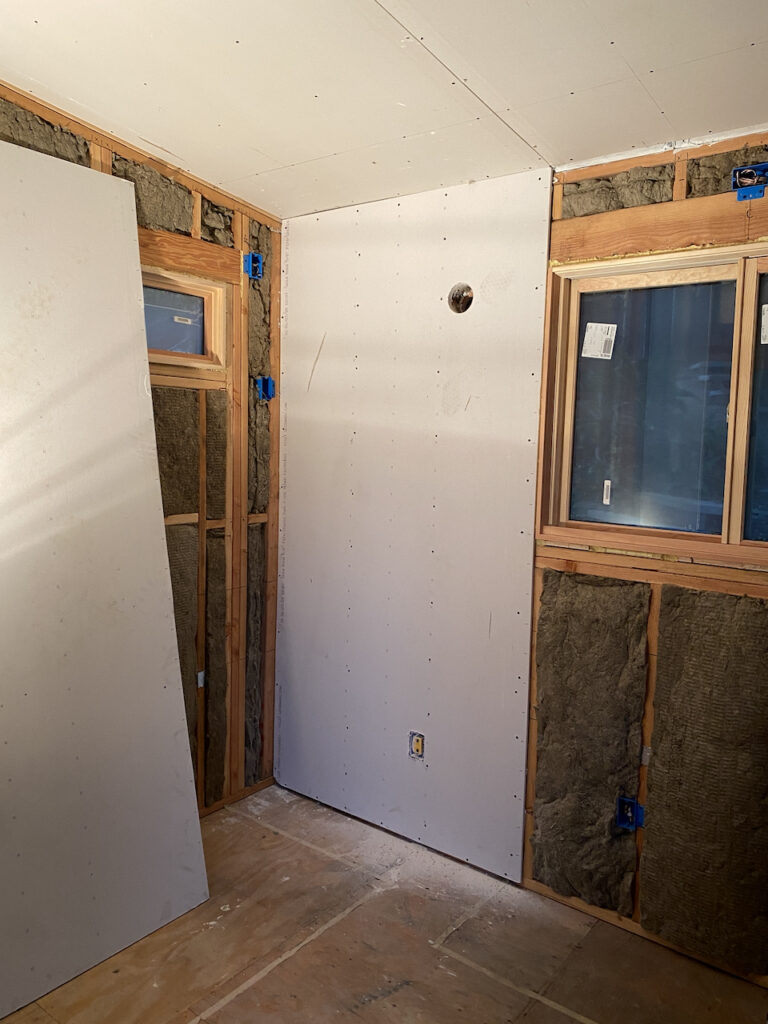
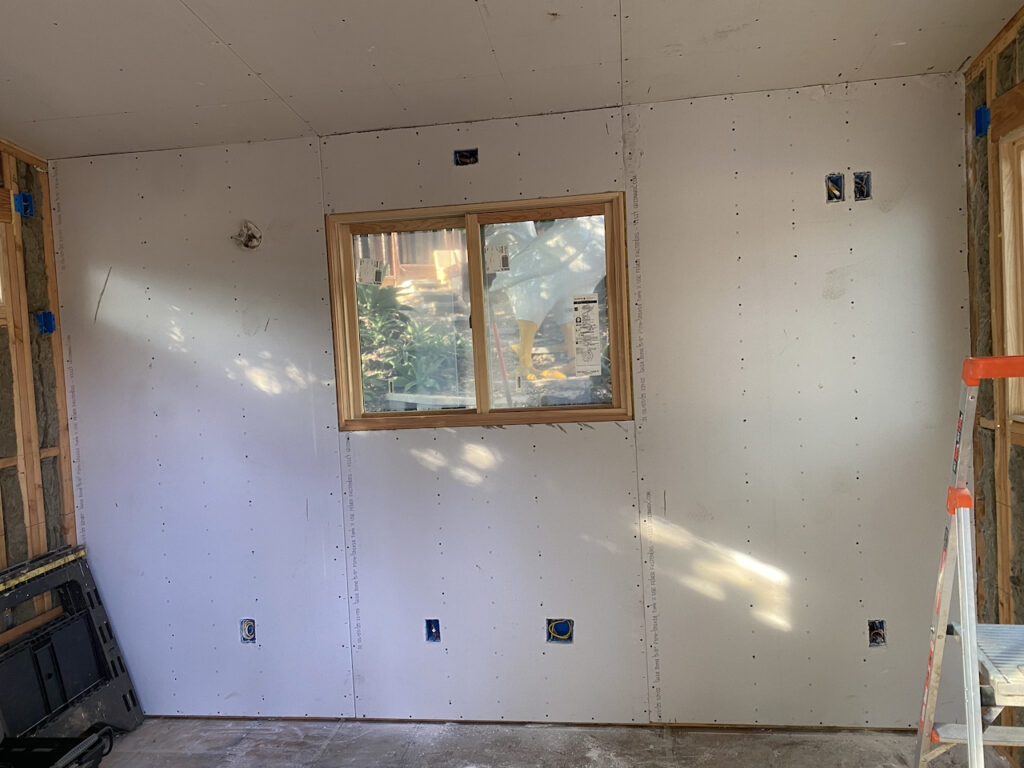
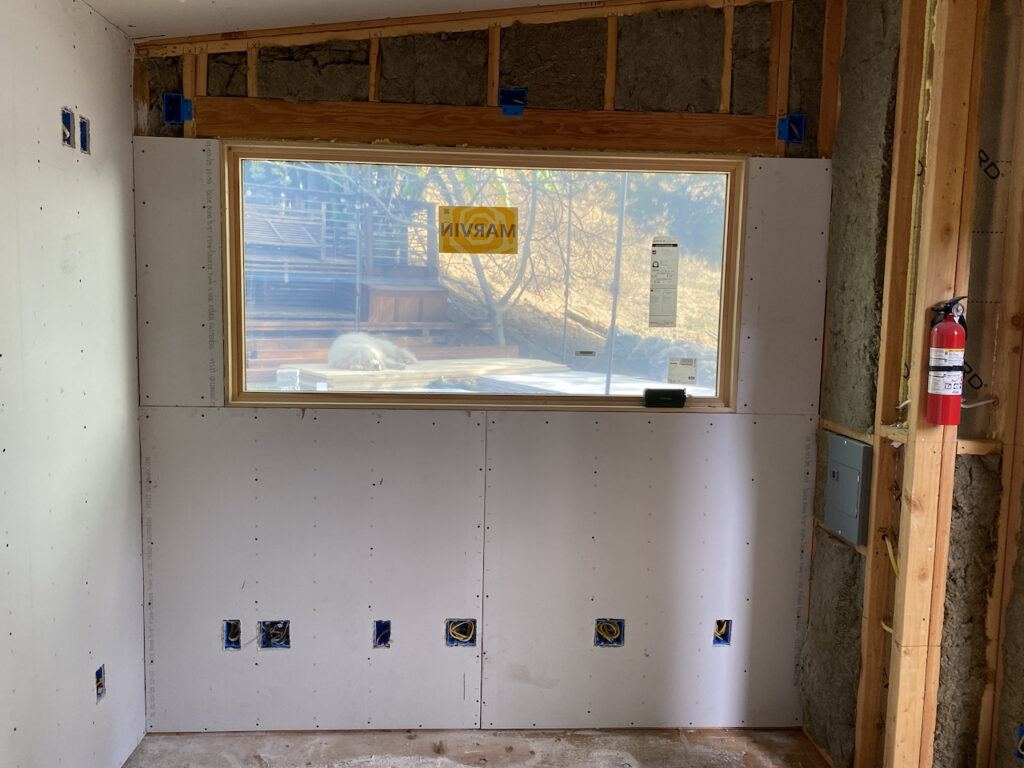
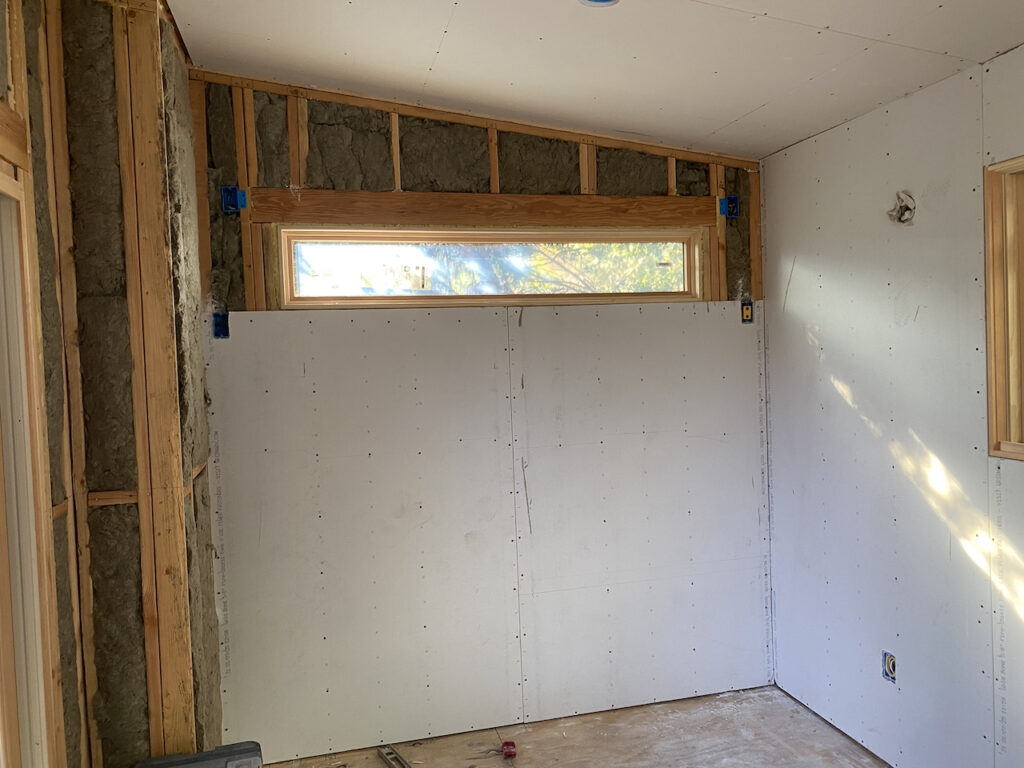
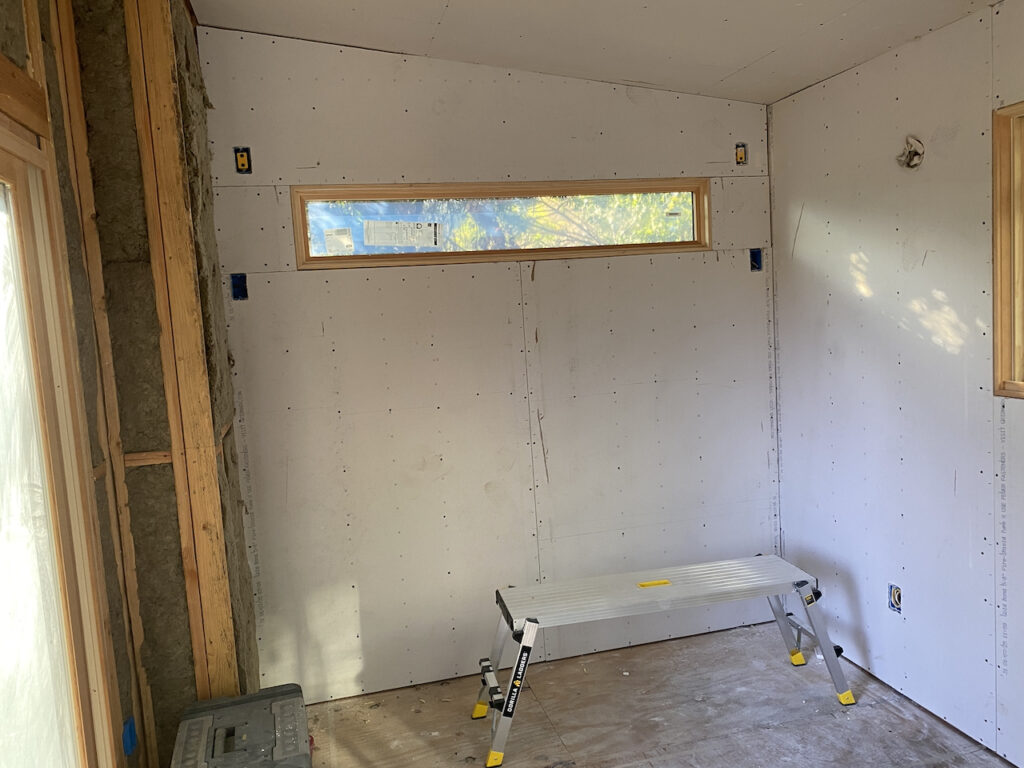
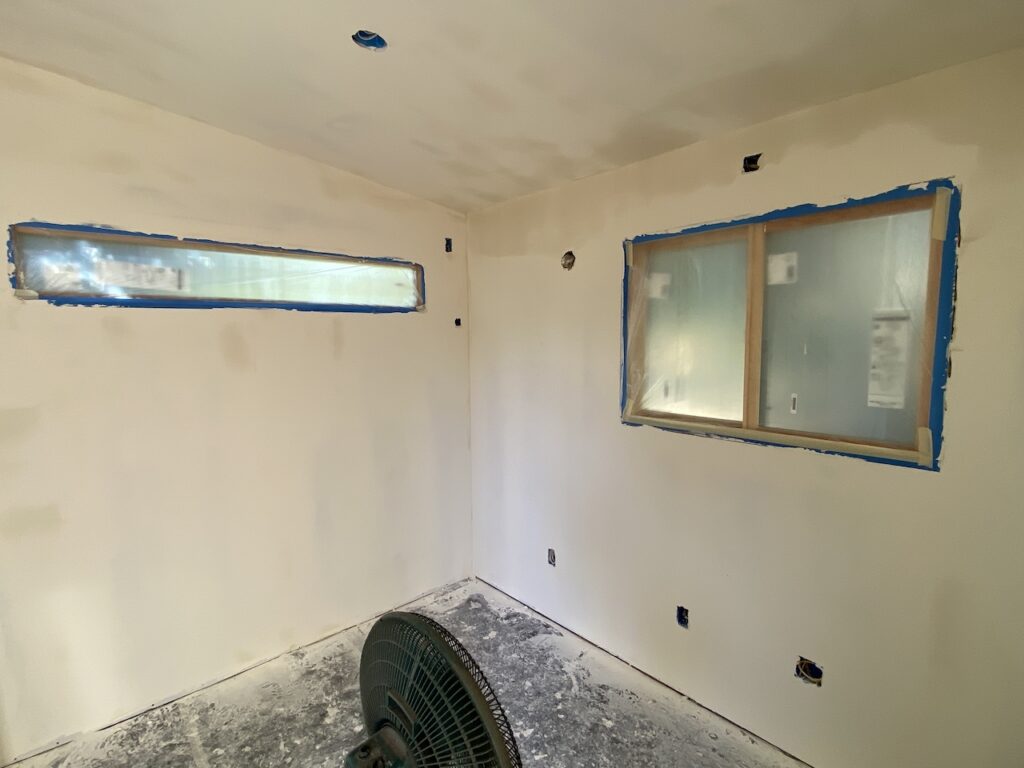
We decided to order all the drywall and plywood needed to finish up the exterior at one time and get it delivered. I then needed to carry it all down the hill and put it somewhere I could access it. It was now hanging drywall time. You haven’t lived until you’ve needed to hoist 70 pound slabs of sheet-rock (awkward as all hell being 4 feet wide by 8 feet long) up over your head while balancing on a ladder and aligning them on all sides- then trying to drive drywall screws up into ceiling joists. Such an aggravating task!

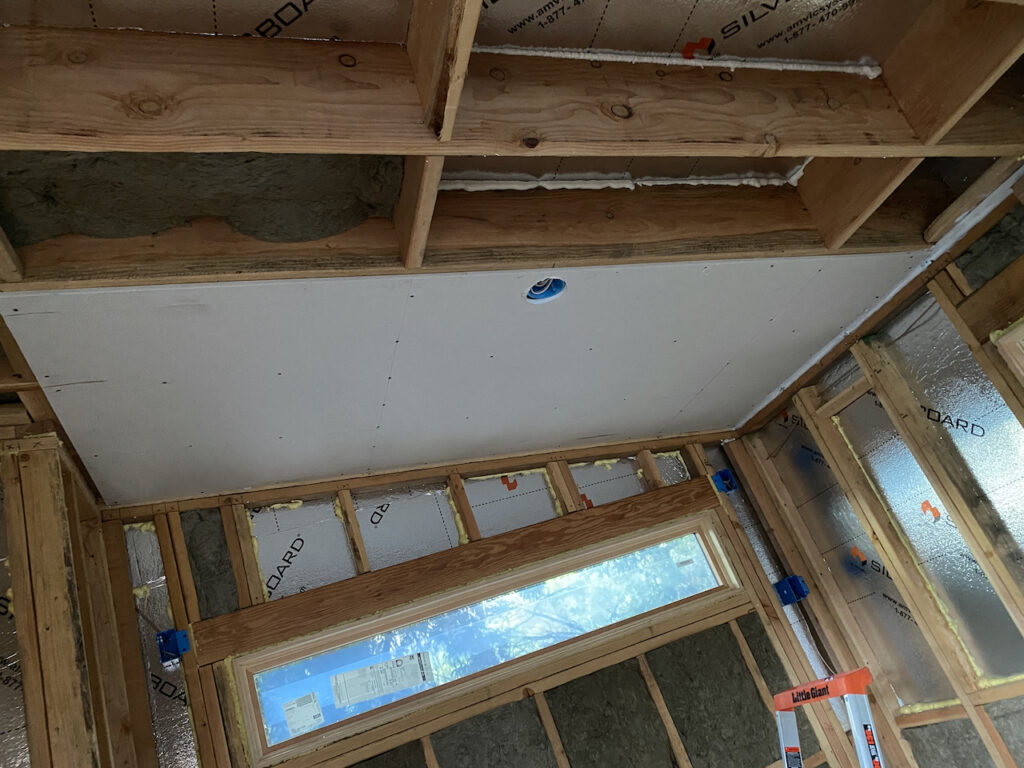
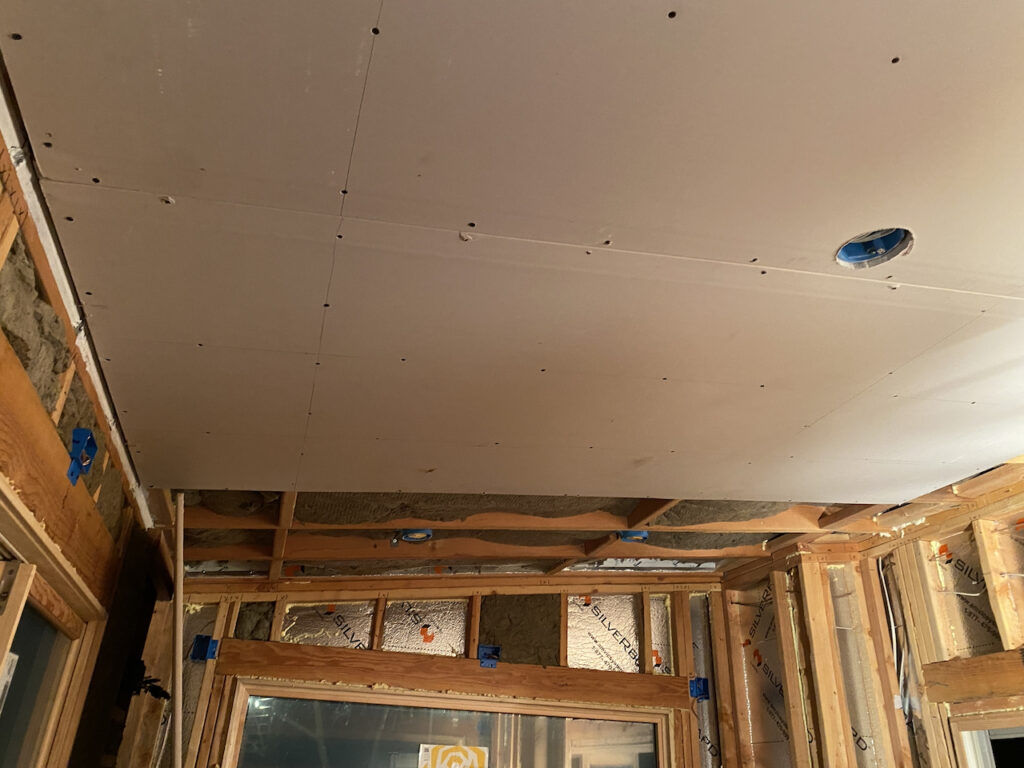
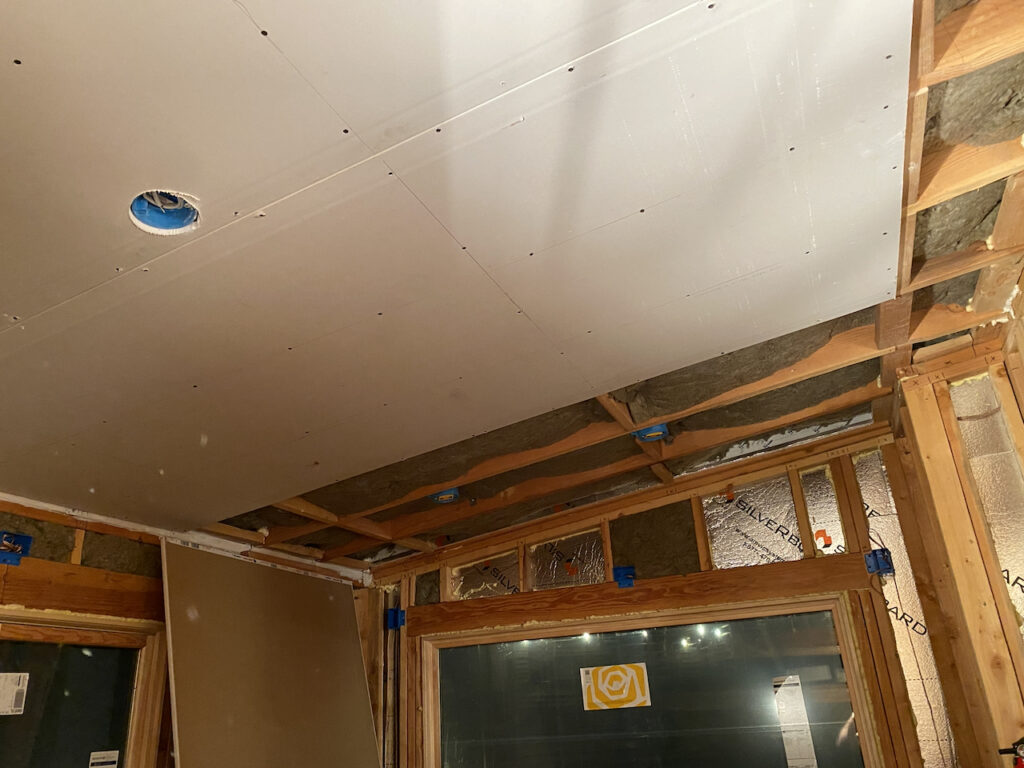
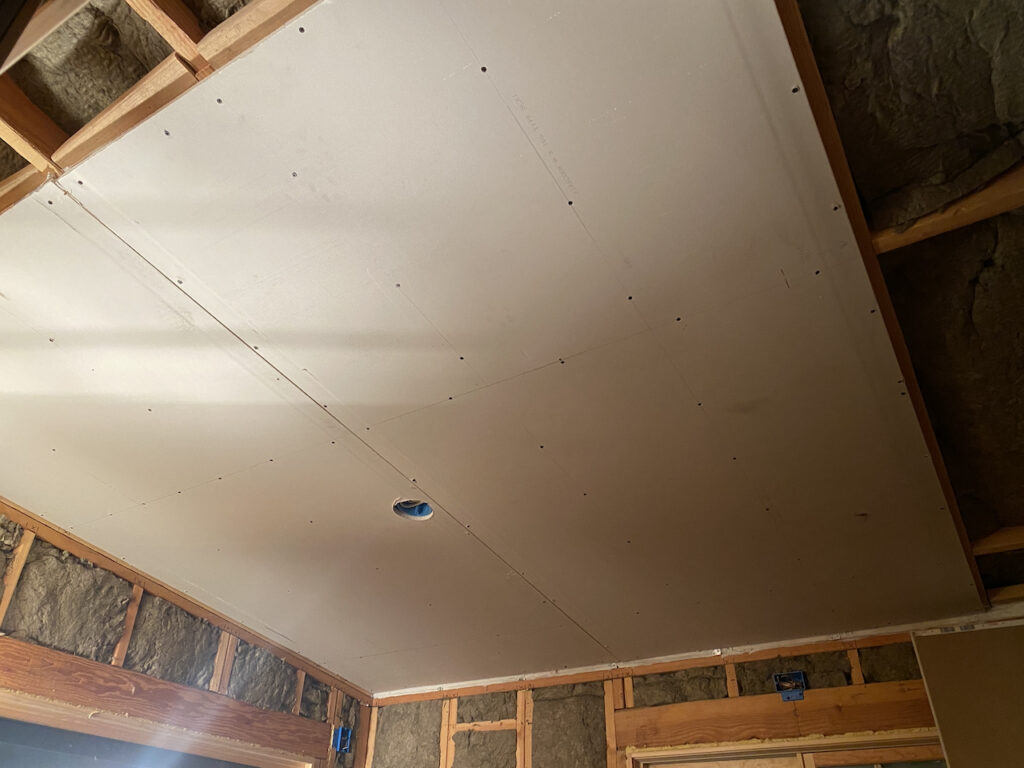
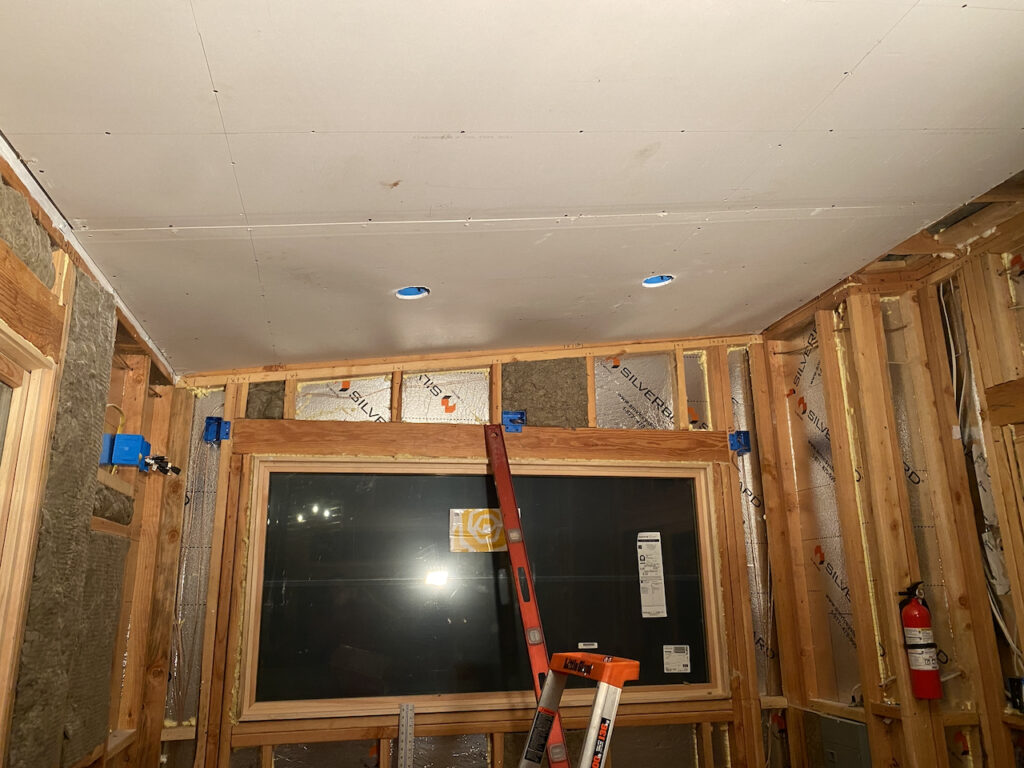
Hanging the drywall took a few days for me, made more complicated by the pop-out section we added to the front.


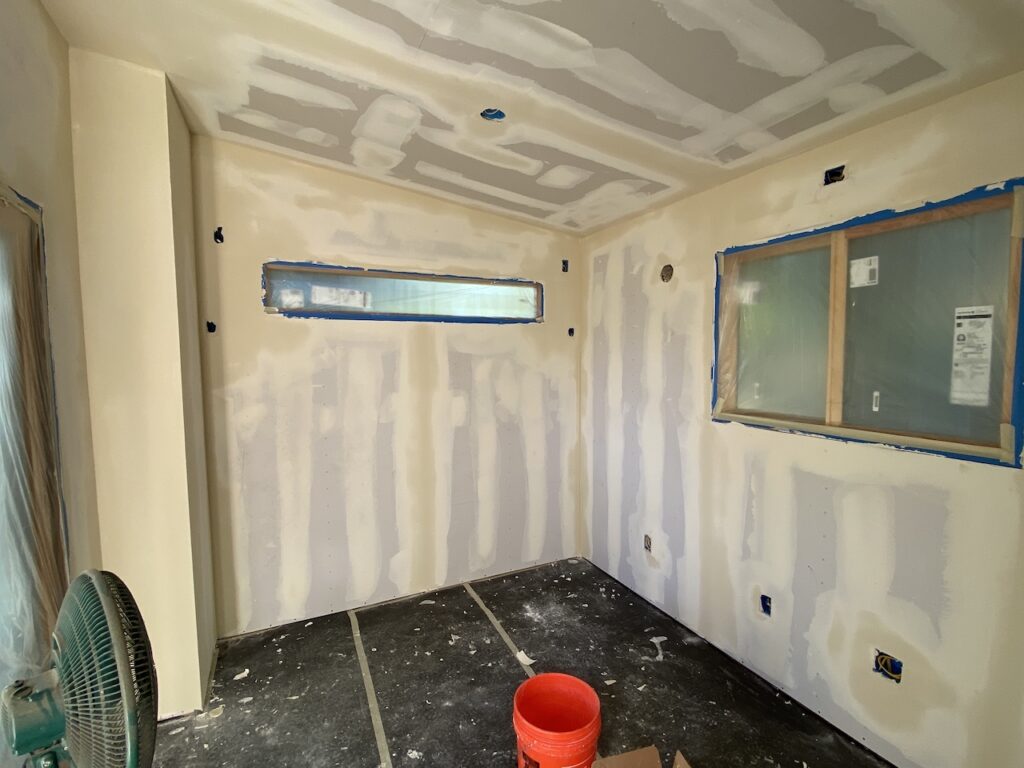
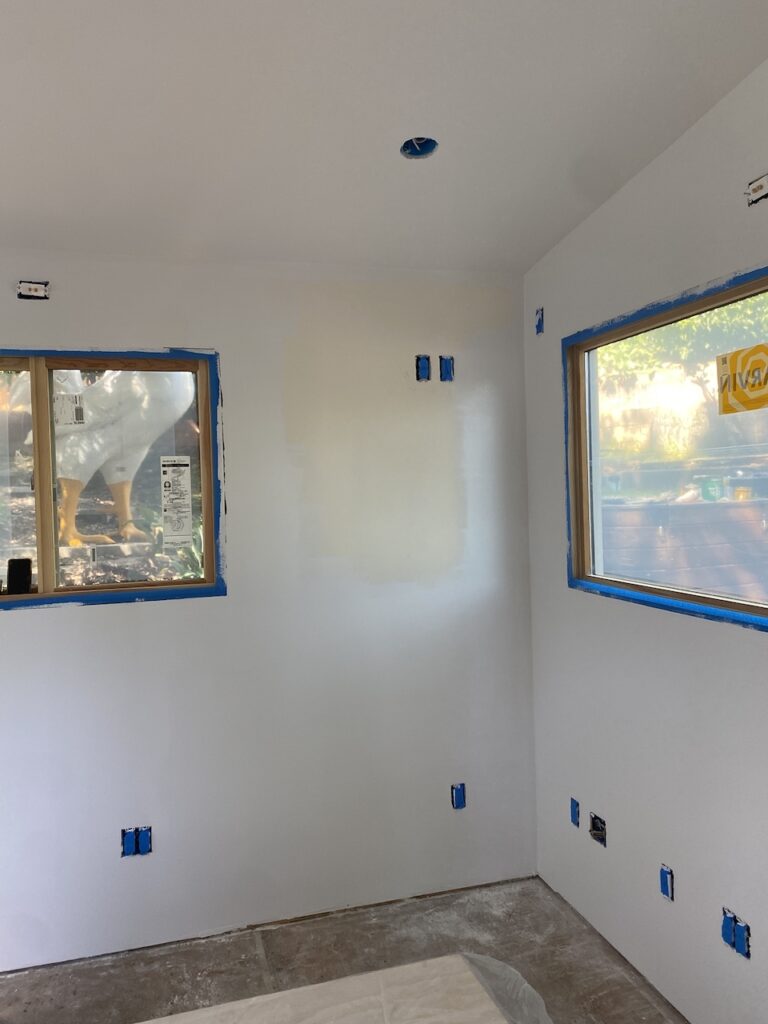
The one thing (so far) that I am not going to do myself is “mudding”, the plaster work to fill all the gaps, cover all the screws, and achieve a smooth wall. I want this done well, so we hired a painting company to come do it. It took one guy three visits. First the rough coat, which covered all the screws and gaps, added corner bead, and made everything closer to level.
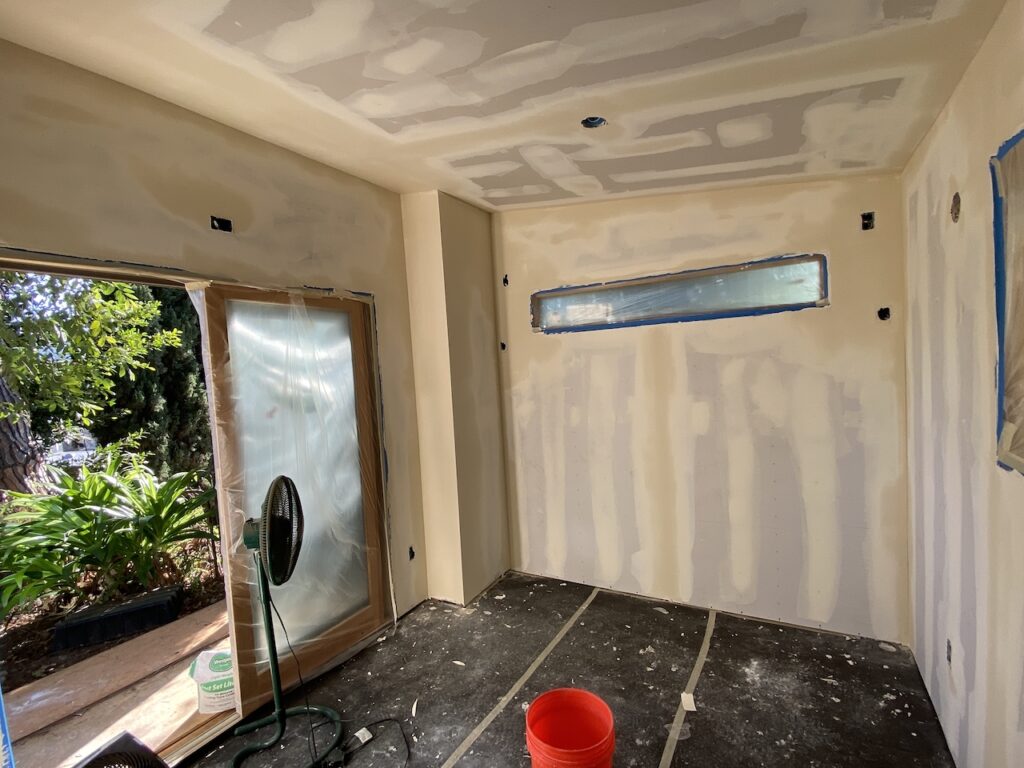
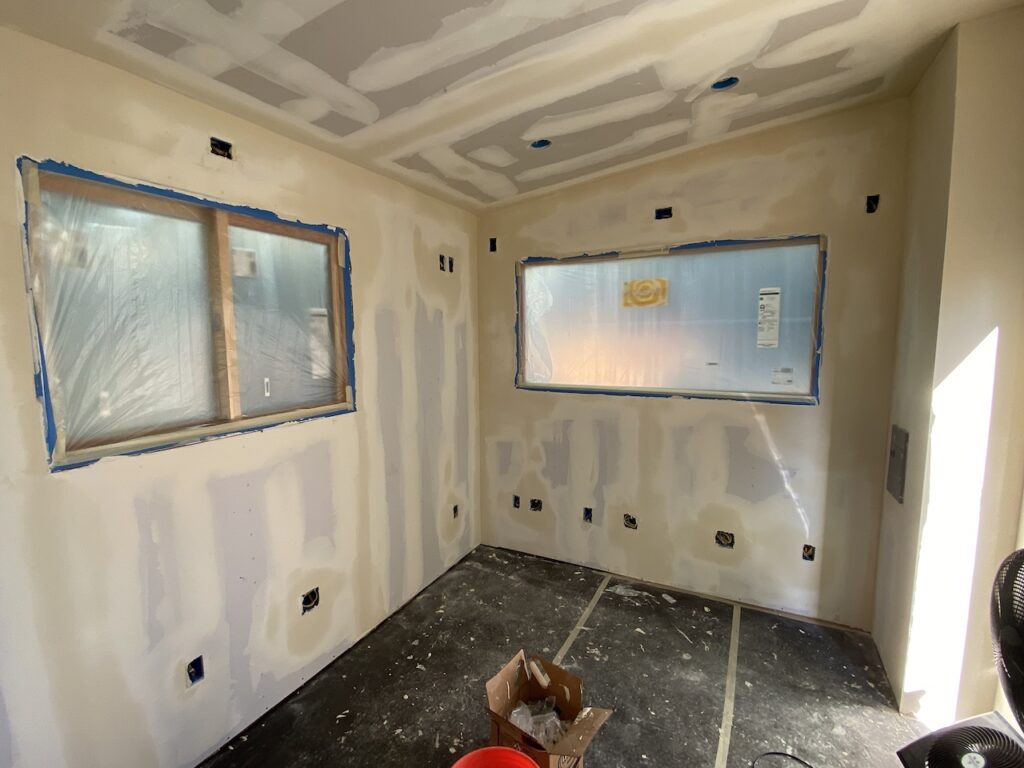
After letting it dry for two days, he returned, sanded and added the first skim coat, making the walls even more smooth.
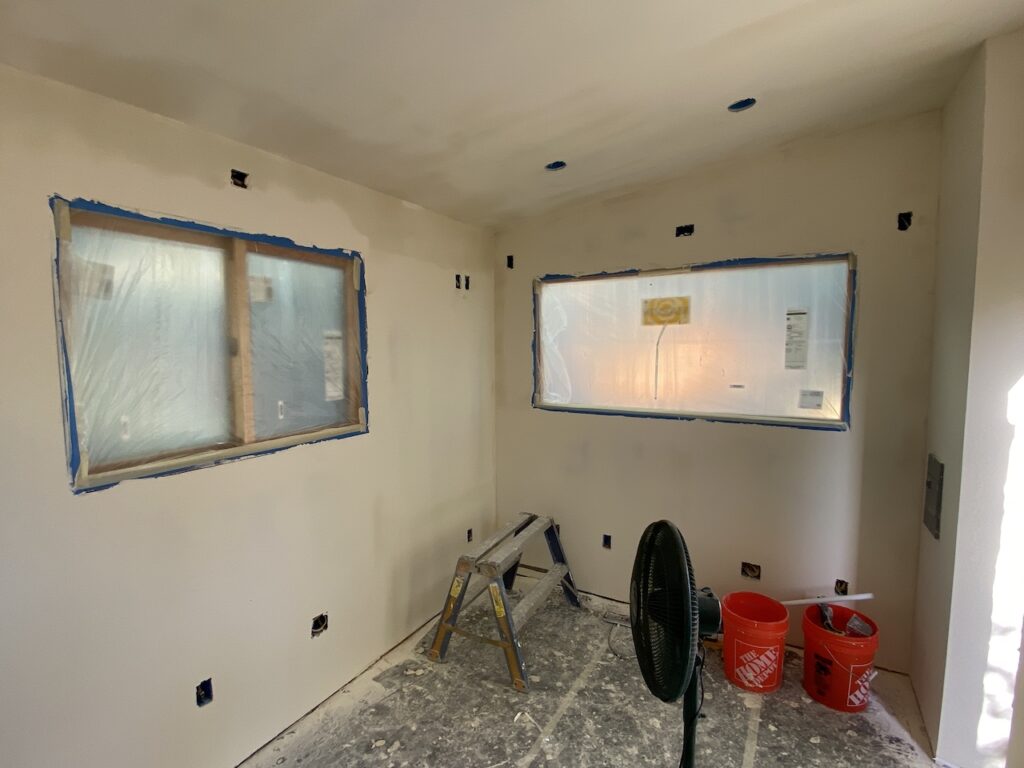
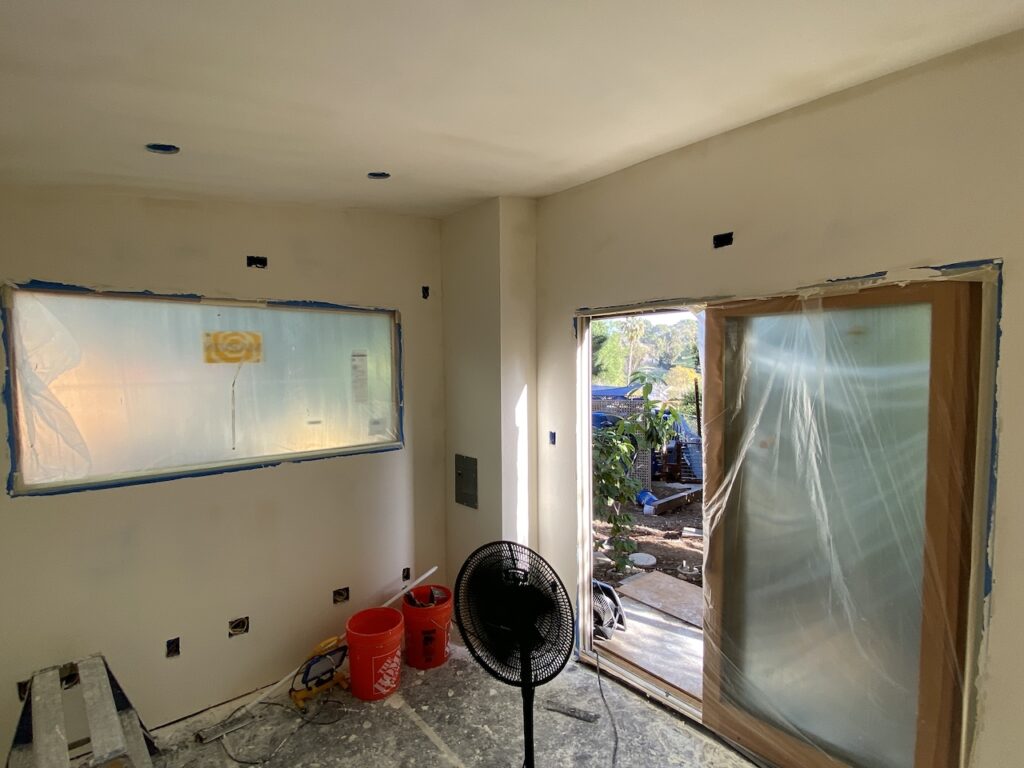
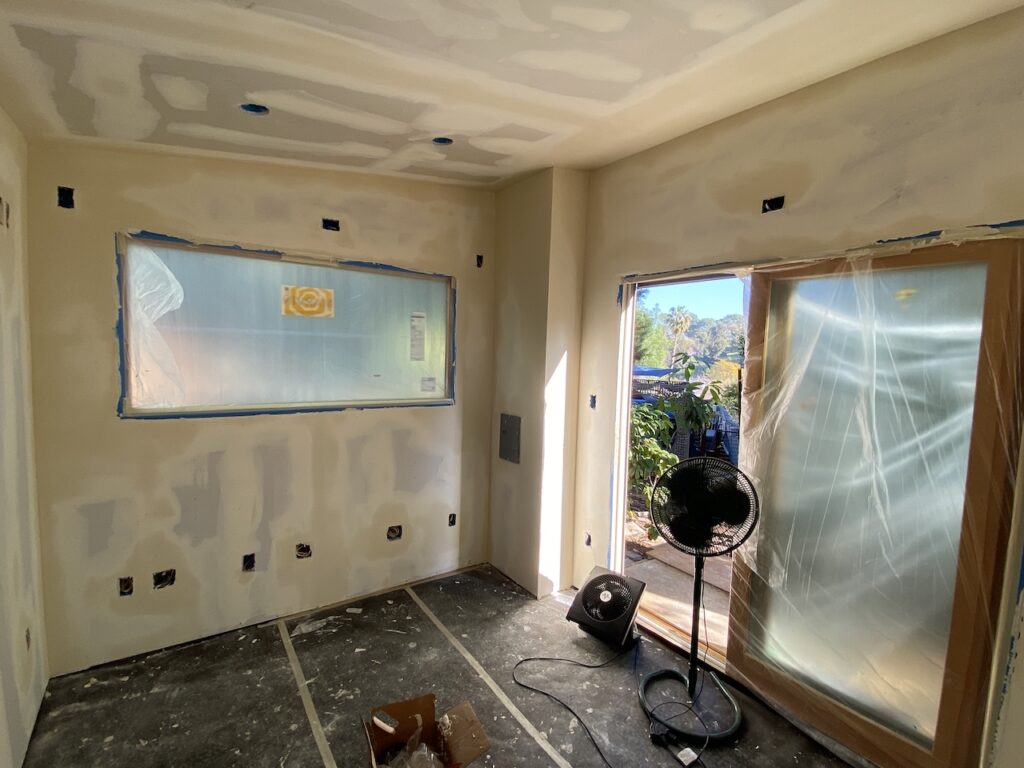
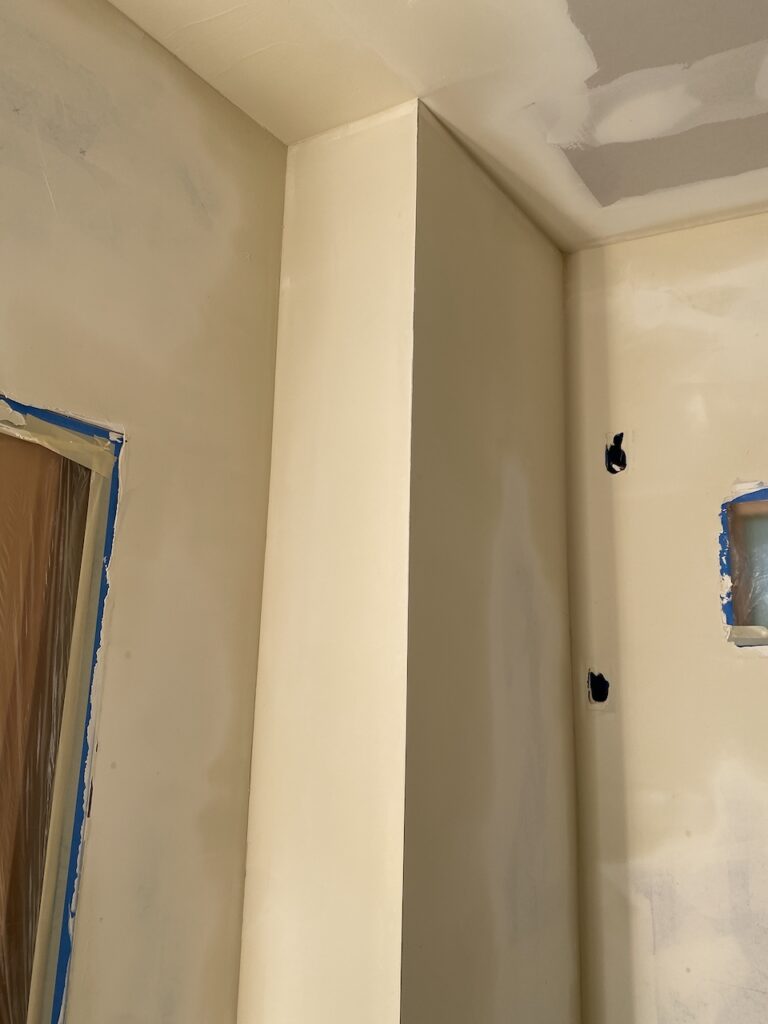
Again waiting for a few days to dry, he came back for the last visit. More sanding, more skimming, cleaning out the outlet openings, and cleaning up all the window and floor protection. Really pleased with the results. MUCH better than I would have done. Worth the money!
Ready for priming and painting. And adding the floor. And adding jamstock and edging for the windows. And adding baseboards And wiring up the outlets. And finishing the exterior. And poring a cement base for the A/C condenser. And installing the mini-split. And framing and decking the exterior. And building the surrounding retaining wall… There is still a LOT to do, is what I’m saying…
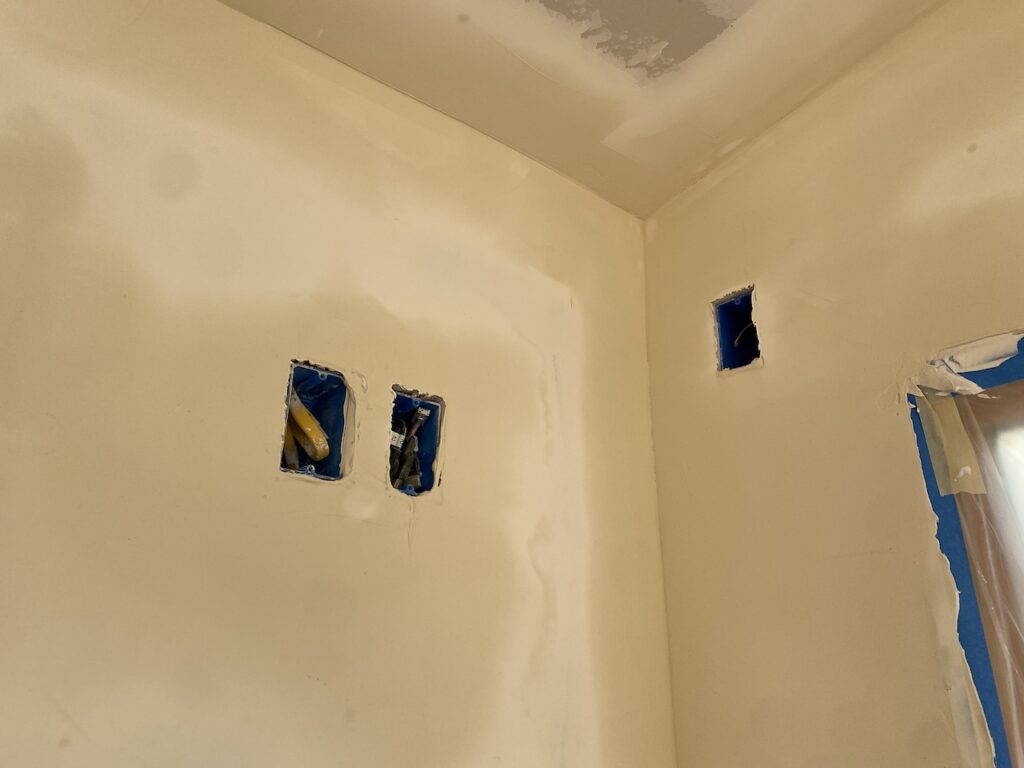
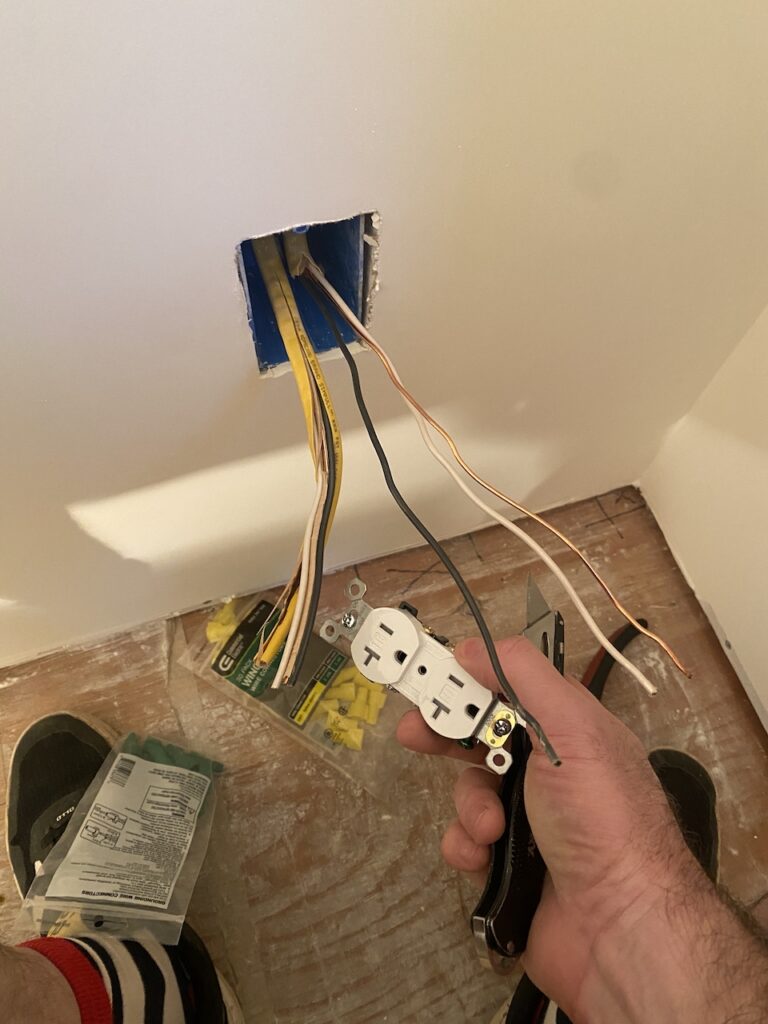
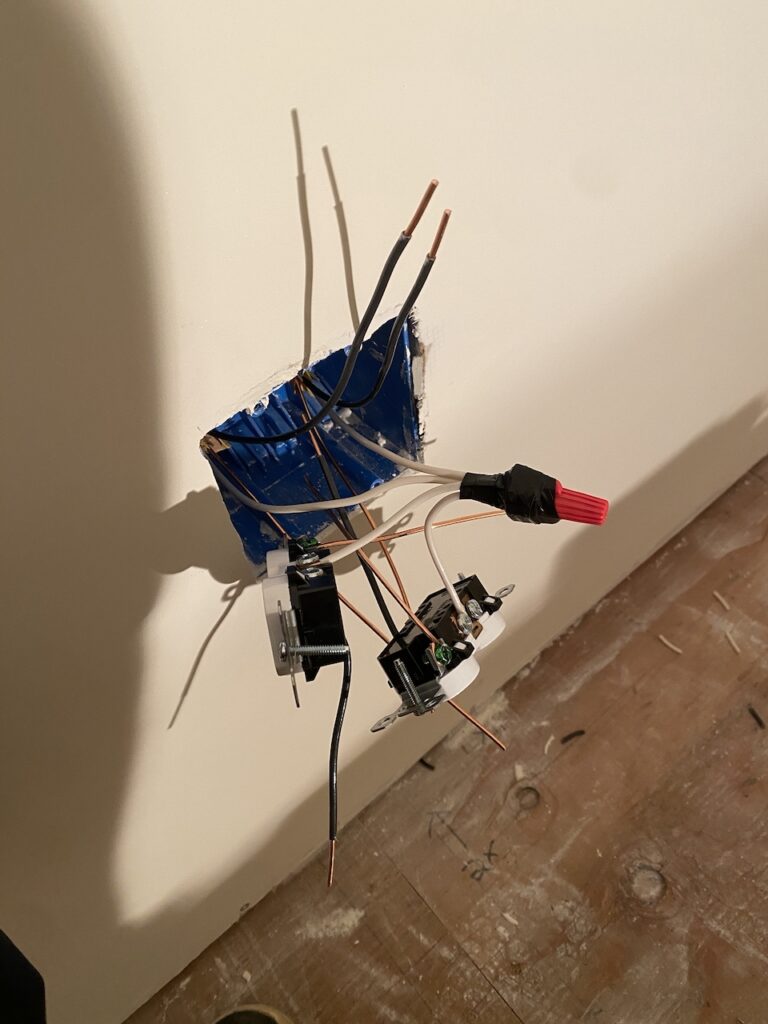
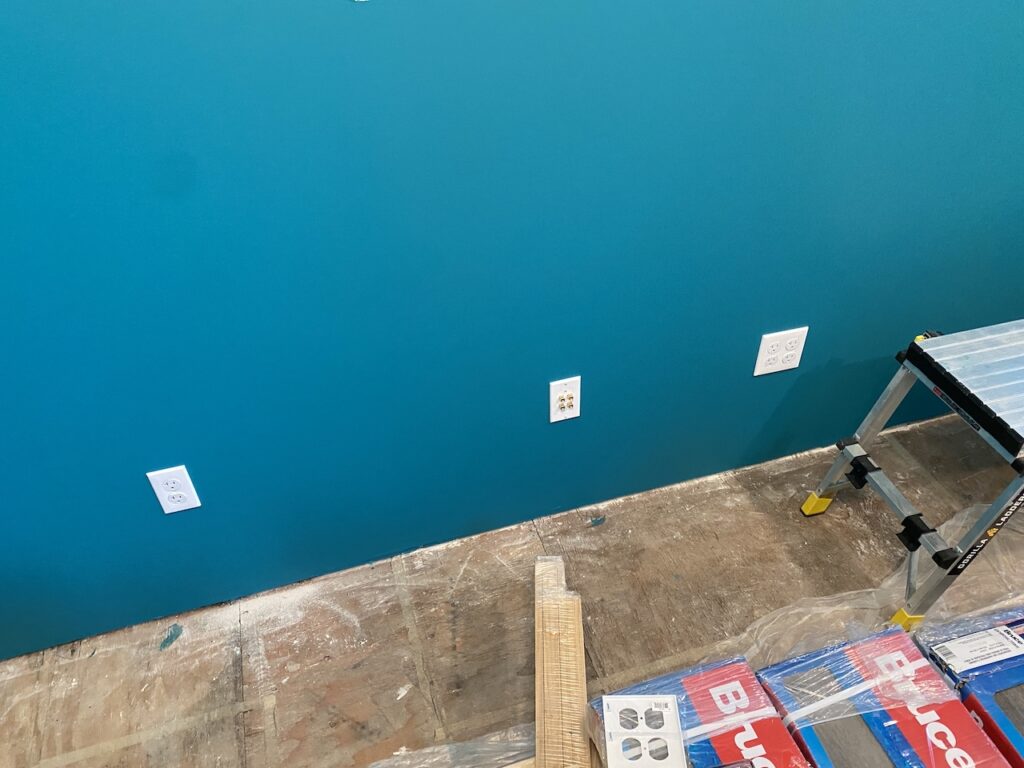
Once the plaster was done, I was finally able to start wiring the outlets- interior power, light switch, speakers, HDMI, and ethernet. For the electrical, I decided to run a parallel circuit. The idea is that if one outlet fails, all the others will still function. Unfortunately, it means more wires and pushing 10 pieces of #12 wiring into on duplex box was kind of tough.
Once all the outlets were wired up, it was time for the big test. It had been so much work trenching and running wires up to the power main that I started to stress that something wouldn’t work. Now that everything was encased in drywall and plaster, troubleshooting would be limited. What if I mislabeled something, or ran the wrong wire to the wrong place? What if a connection was not connected properly? I was a little nauseous as I ran upstairs to turn the breaker on, then return to the shed to test out the power.
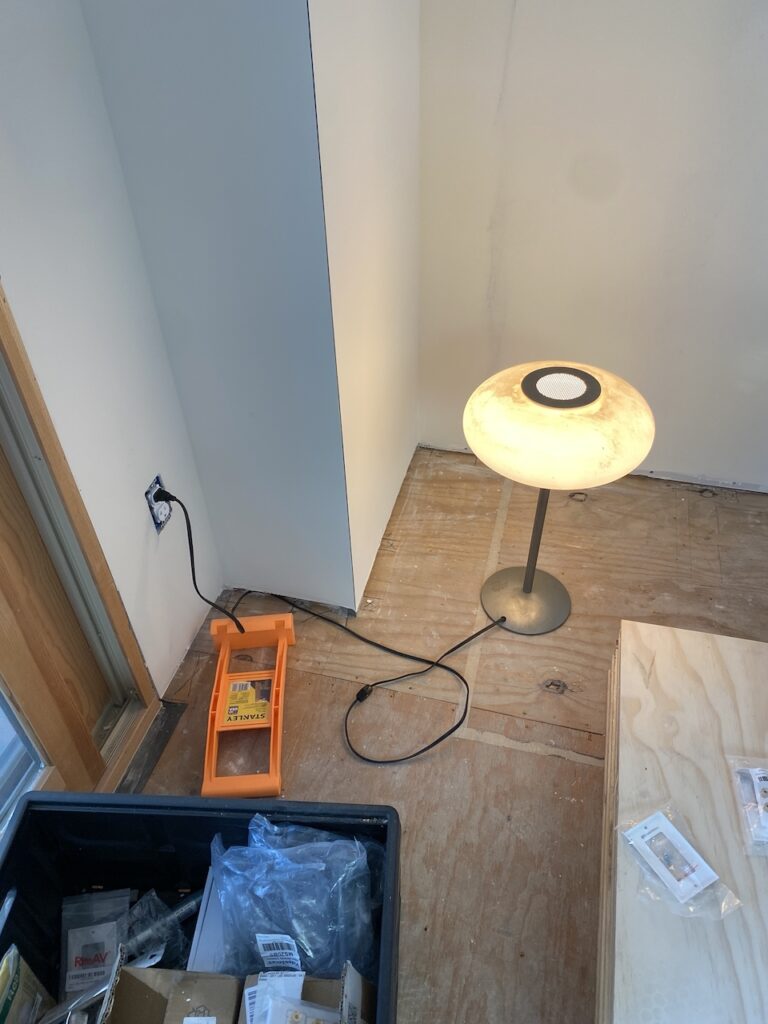
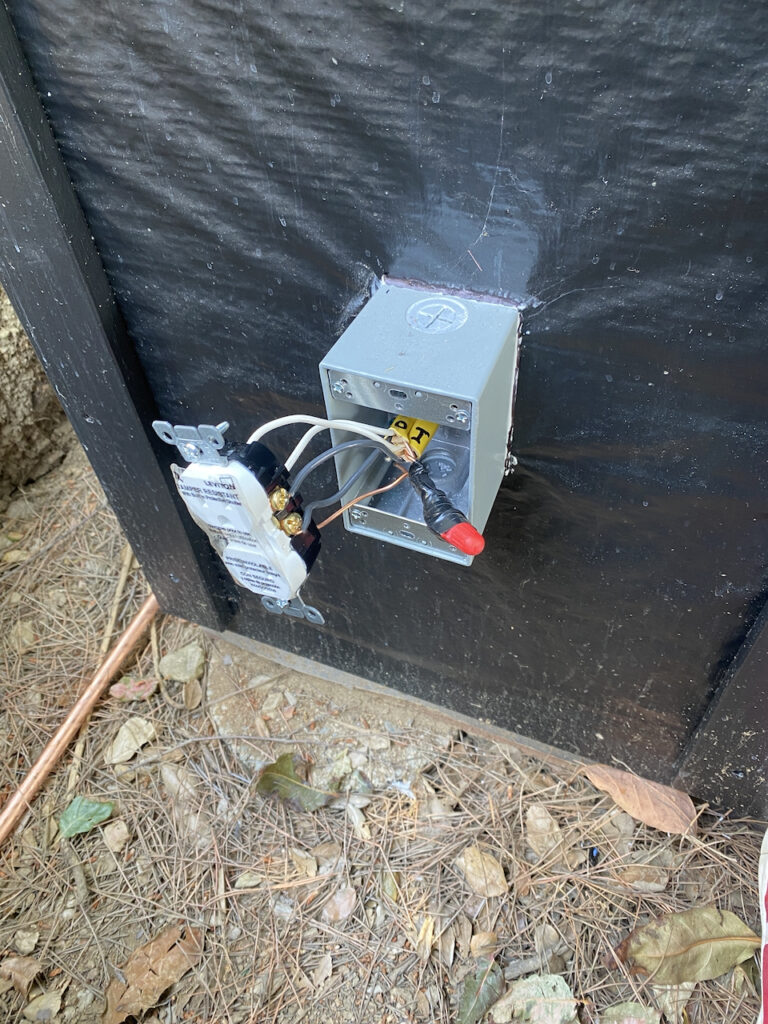
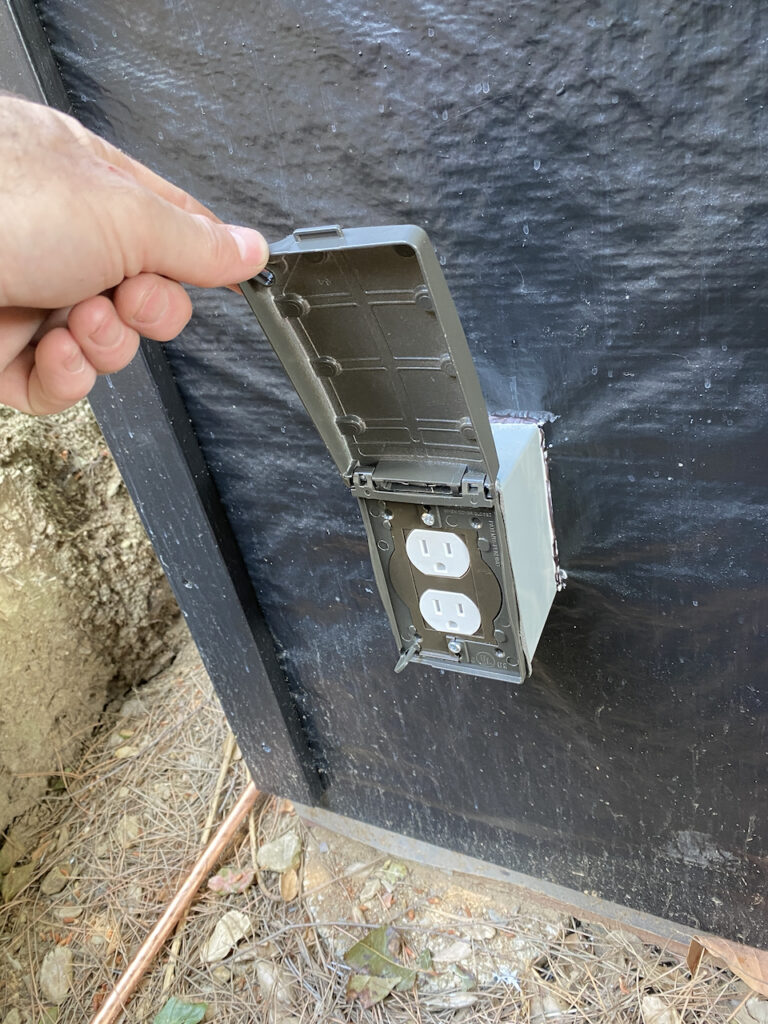
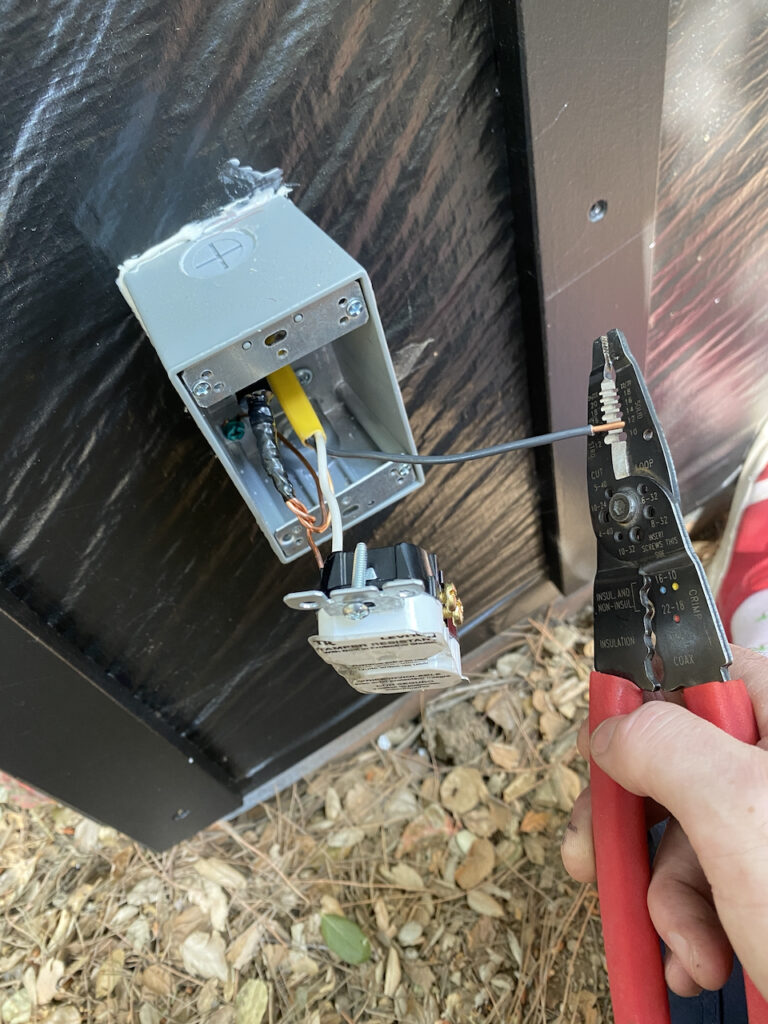
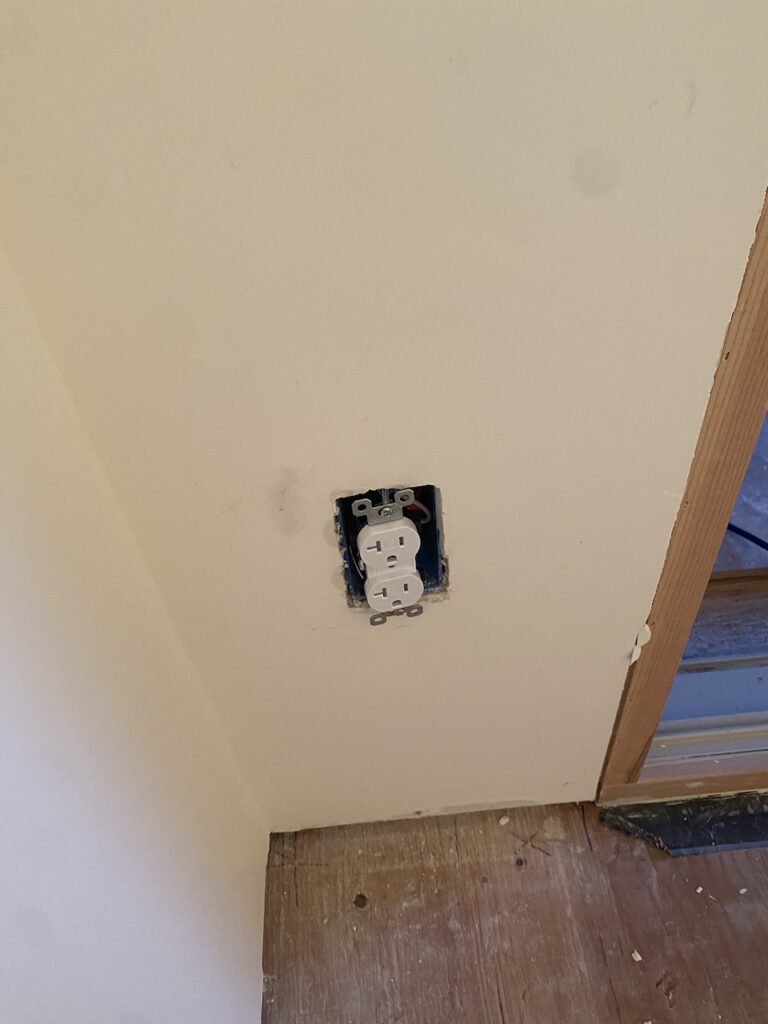
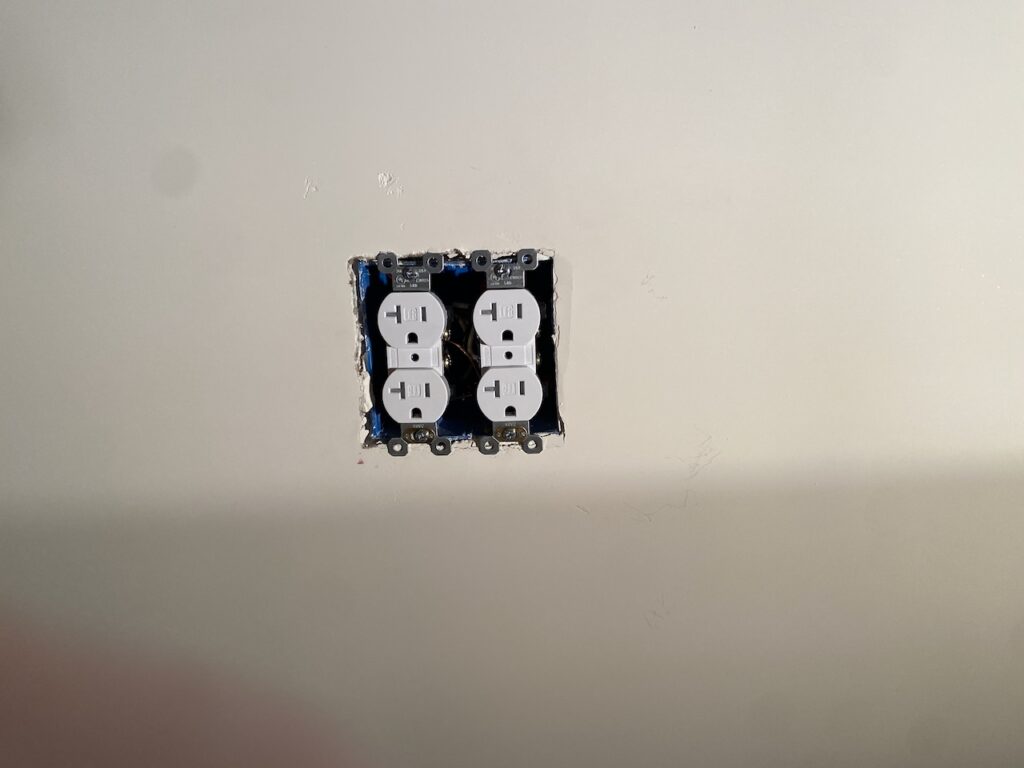
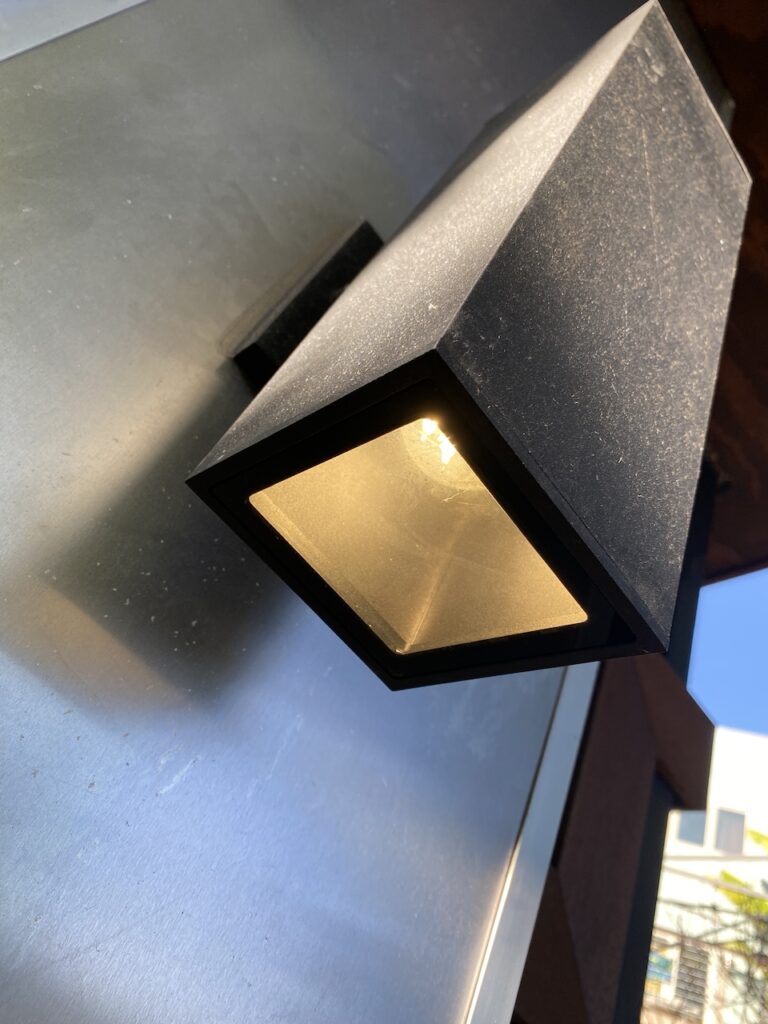
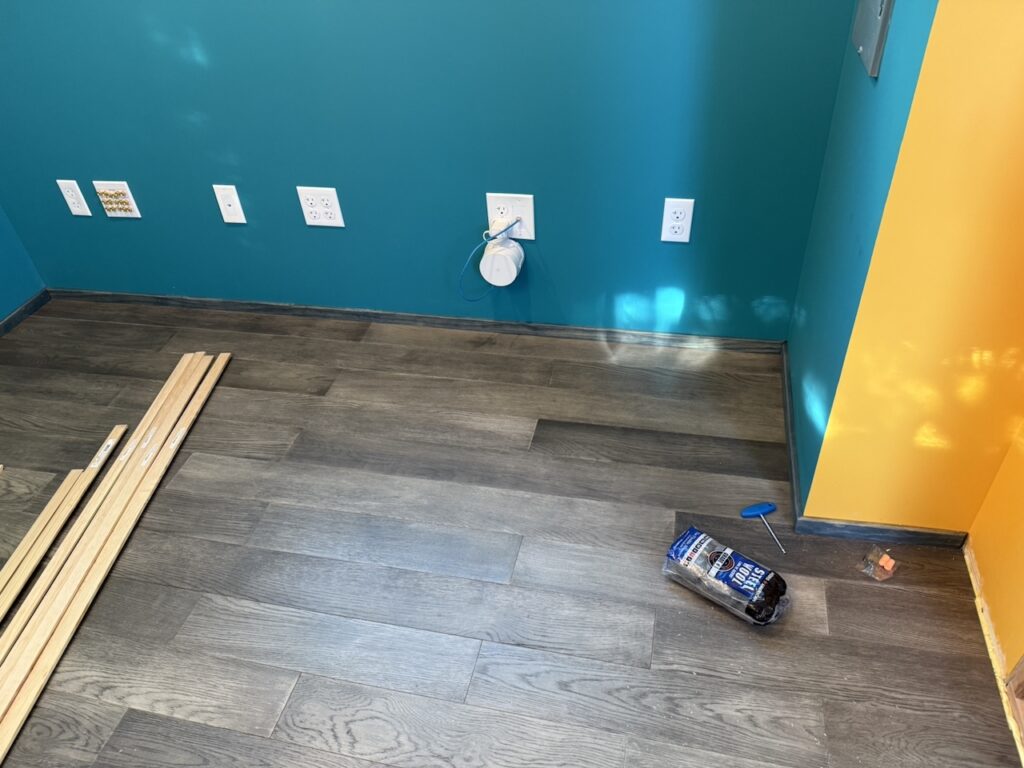
Success! It doesn’t look like much, but that dirty lamp is sunshine on my heart. I tested all the internal wiring and they all worked. Whew. Unfortunately, neither the exterior outlets or lighting worked. I’m using a three-switch-in-one for the lights, so I was worried I’d done something wrong when installing that, but it turned out testing sconce lights is much more successful if you install light bulbs. Sigh. The exterior power was more concerning. It had been a long time since I wired the exterior, so I was worried I’d done something stupid. The first outlet in the run needs to be a GFCI outlet (Ground Fault Circuit Interrupter) as it’s an exterior circuit. Since the subpanel breaker was not tripping, I figured maybe I used 15a outlets somewhere. After a run to Home Depot and an hour or so, I swapped out all the outlets with 20a receptacles, first testing the GFCI with the line wires only. It worked. Then I added the load wires and it worked!
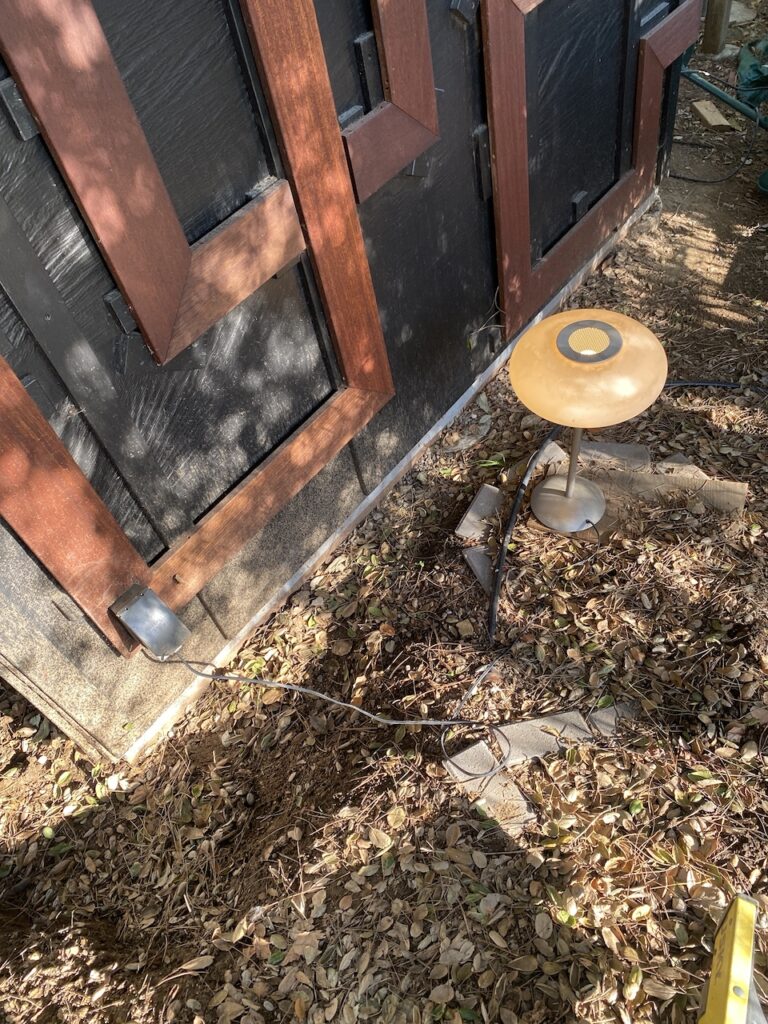
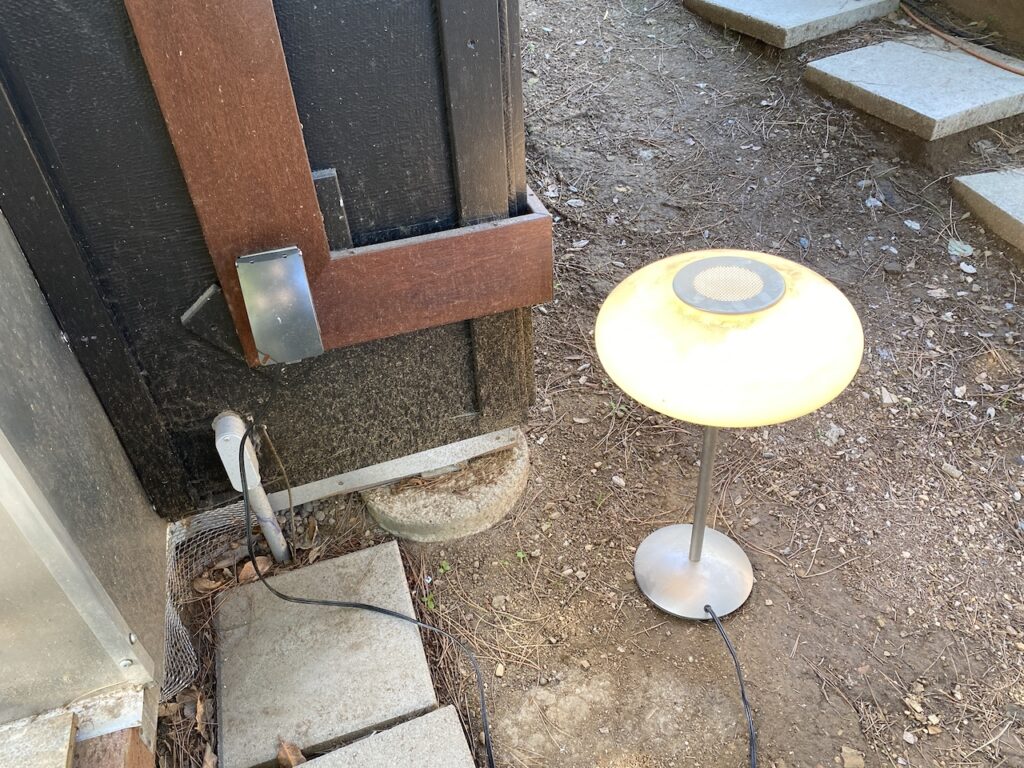
Ended up spending most of the afternoon troubleshooting what I was hoping would have just worked from the start, but eventually got everything working. Such a relief.
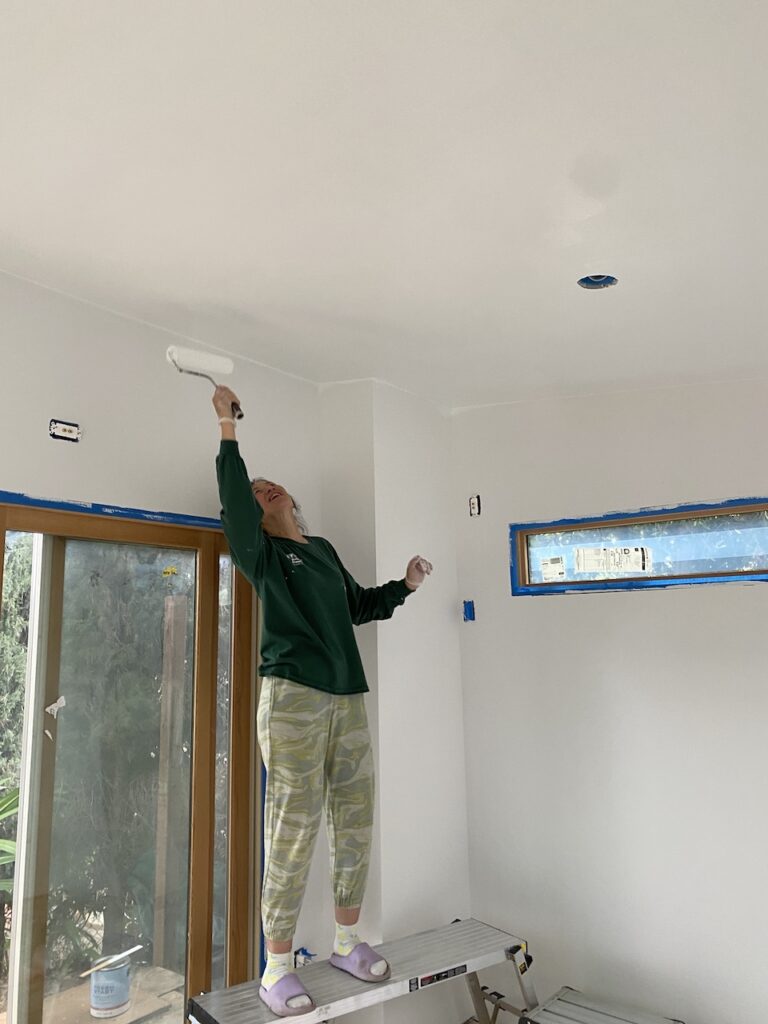
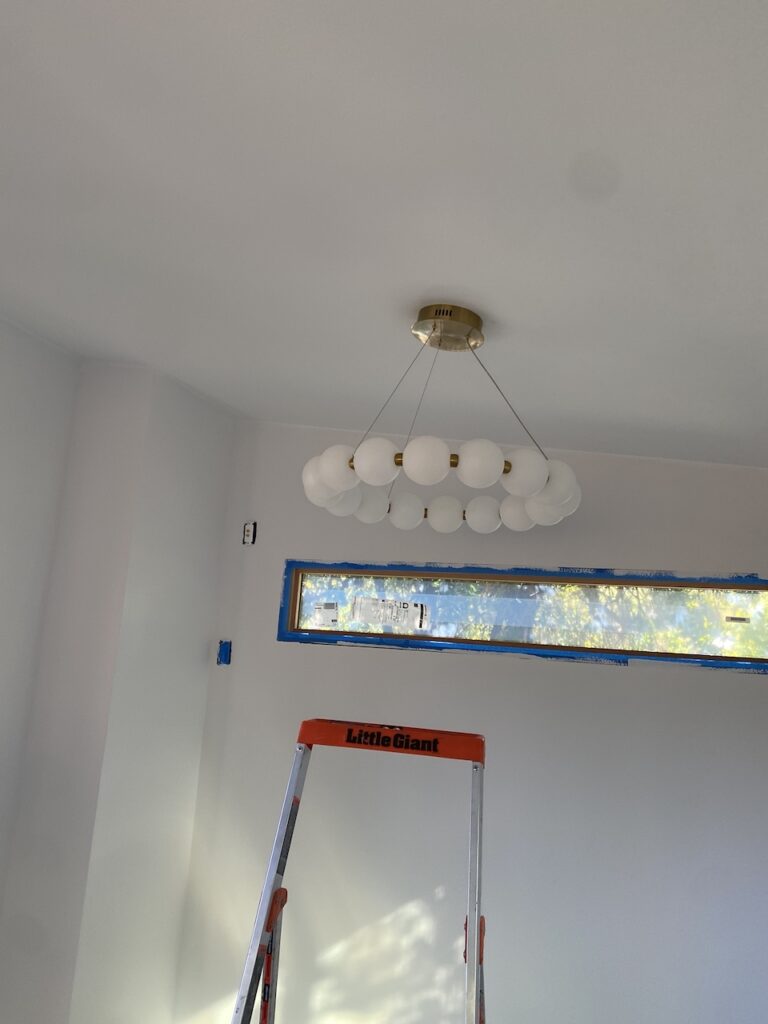
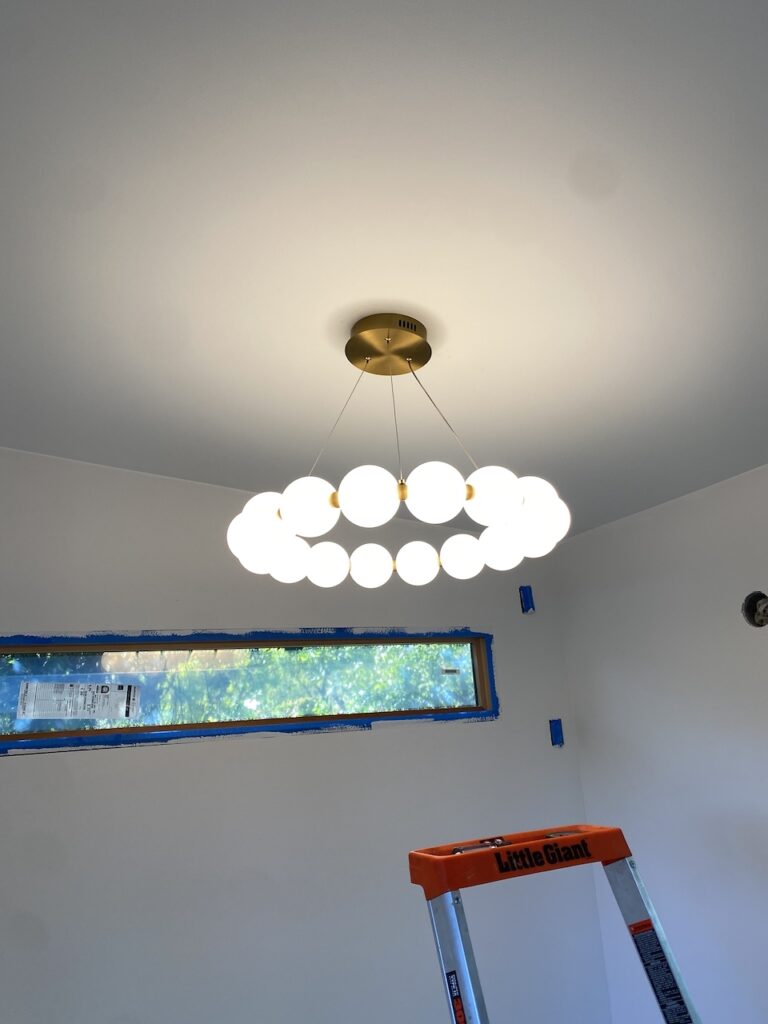
Sylvia graciously volunteered to handle the painting (while I undertook an unrelated task of expanding the deck around the pool area elsewhere in the backyard). She primed all the walls and finished the ceiling, which allowed me to install the lights!
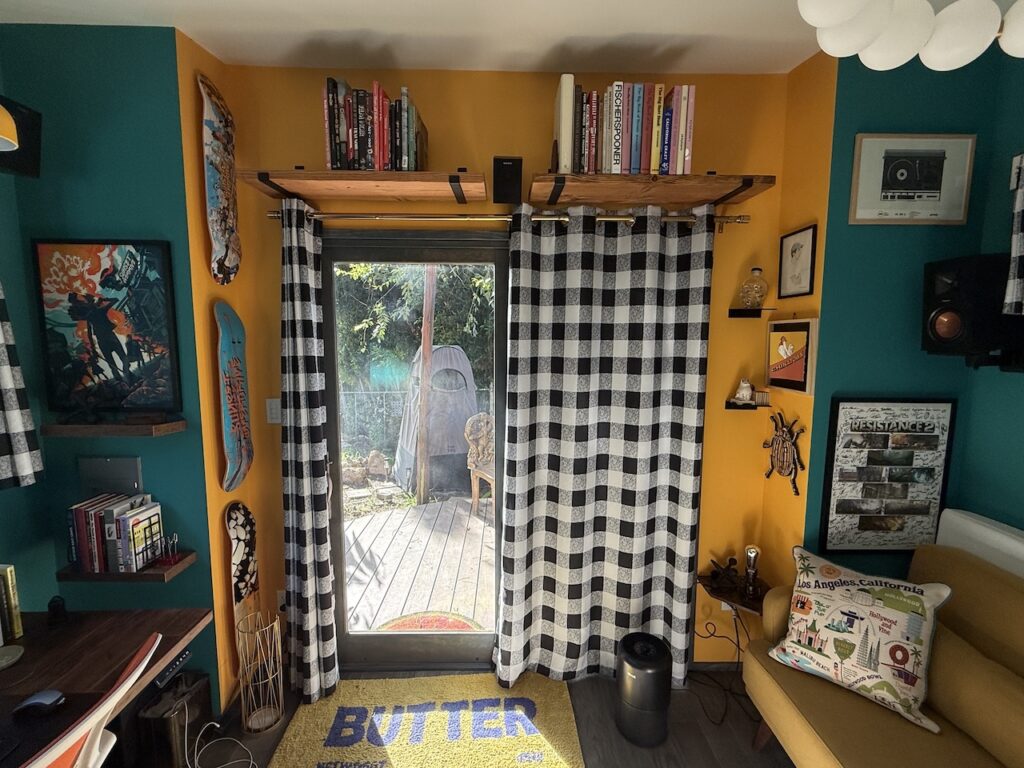
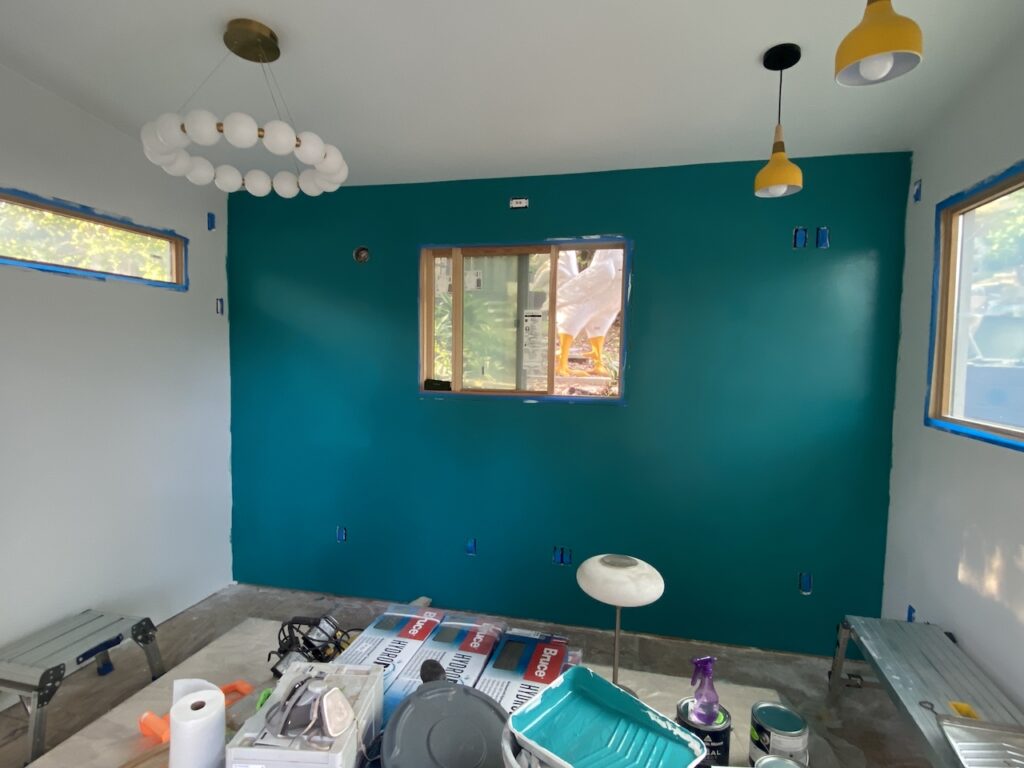
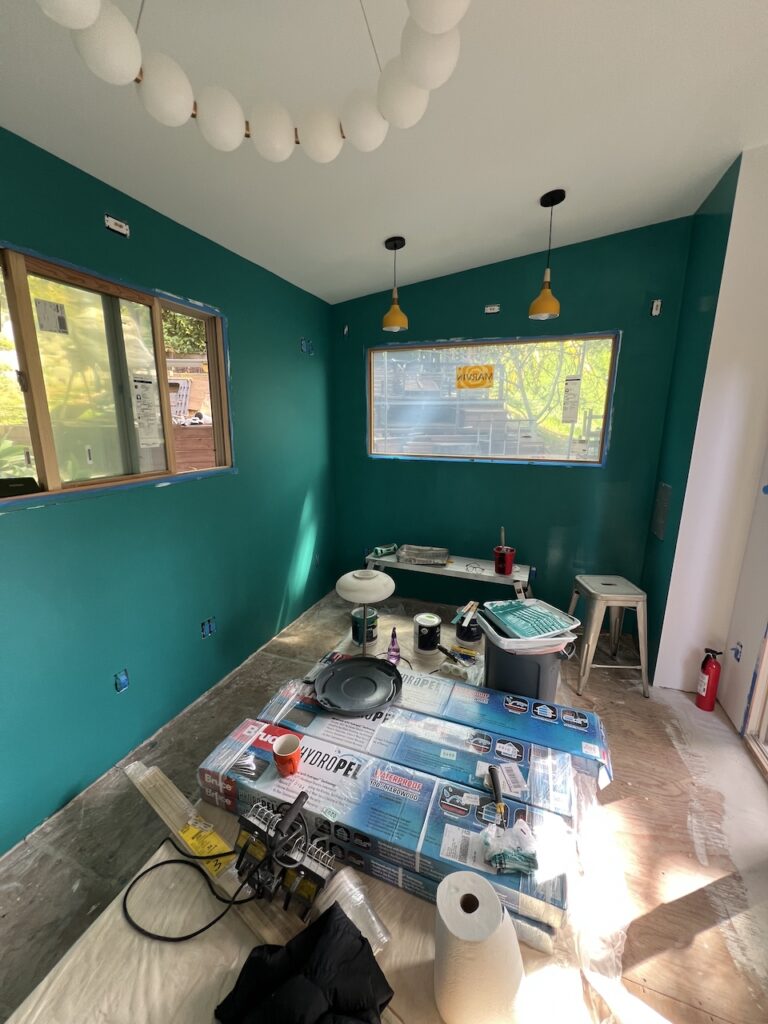
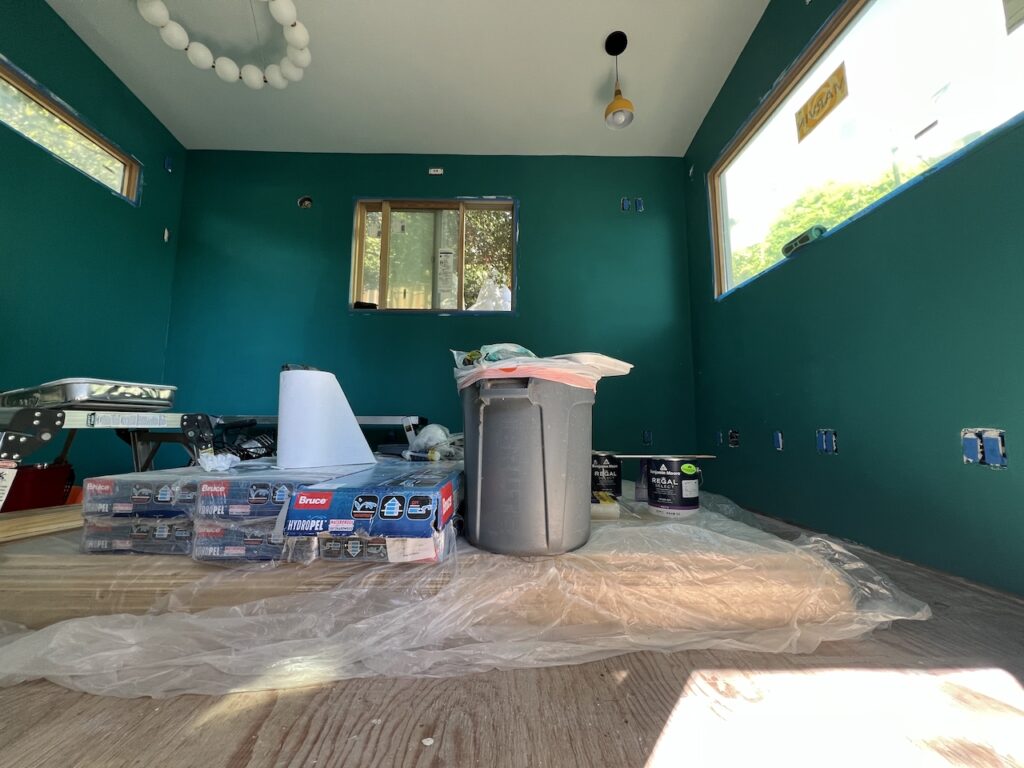
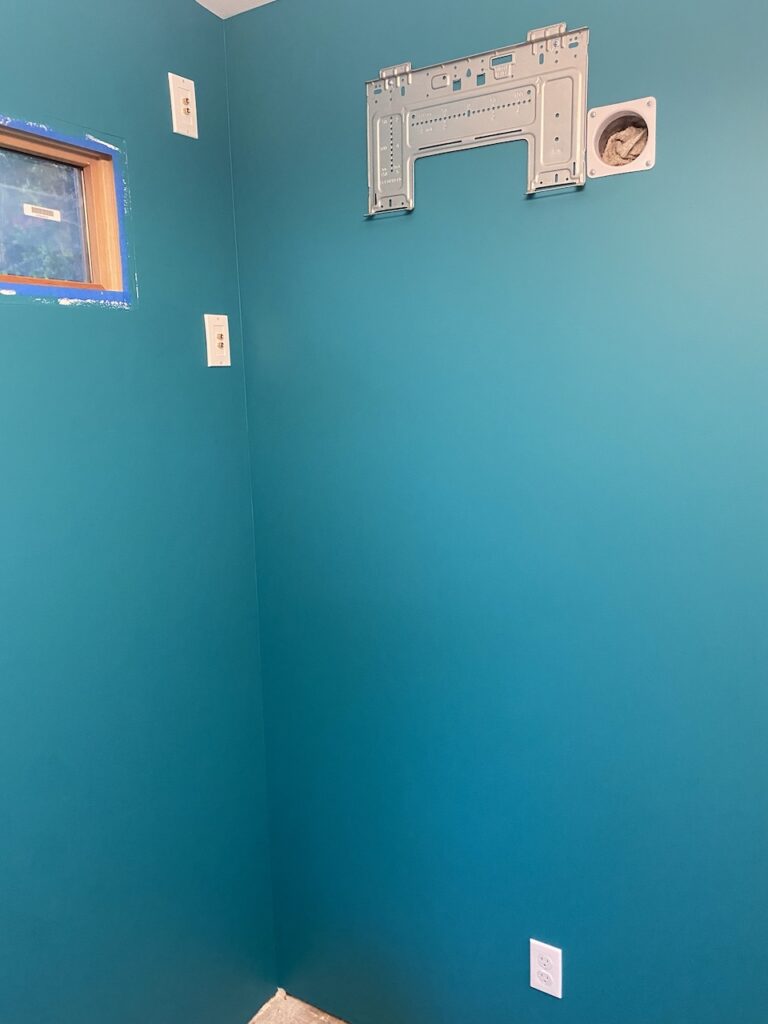
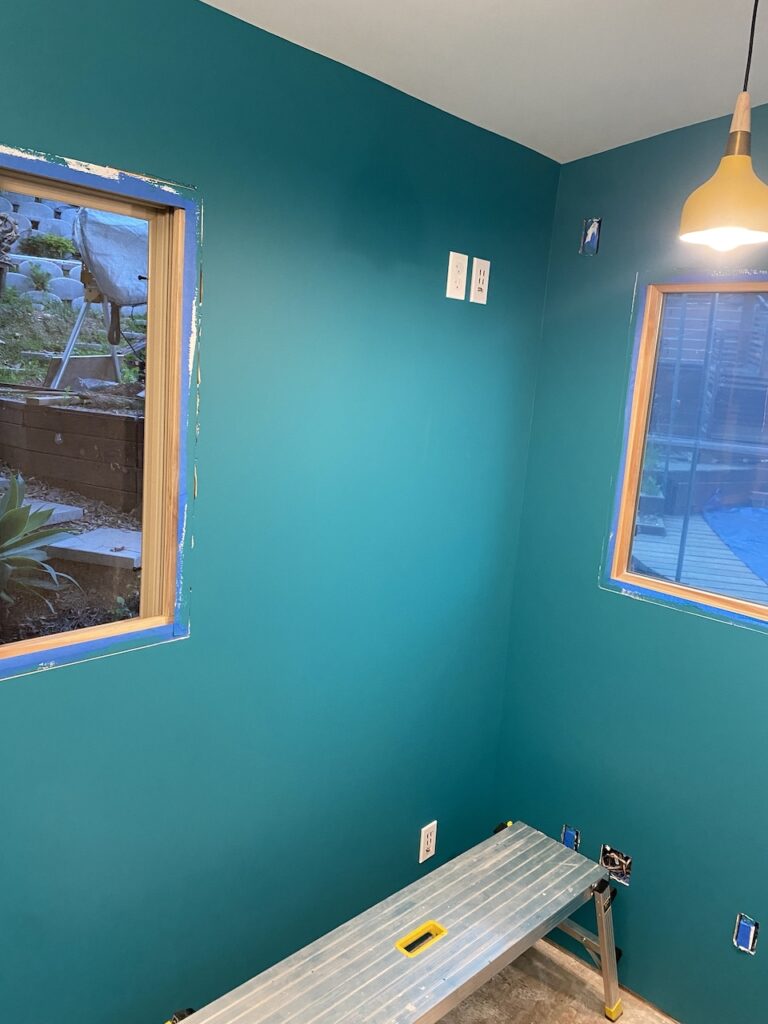
Color came next, with three walls getting a dark, unsaturated blue/green.
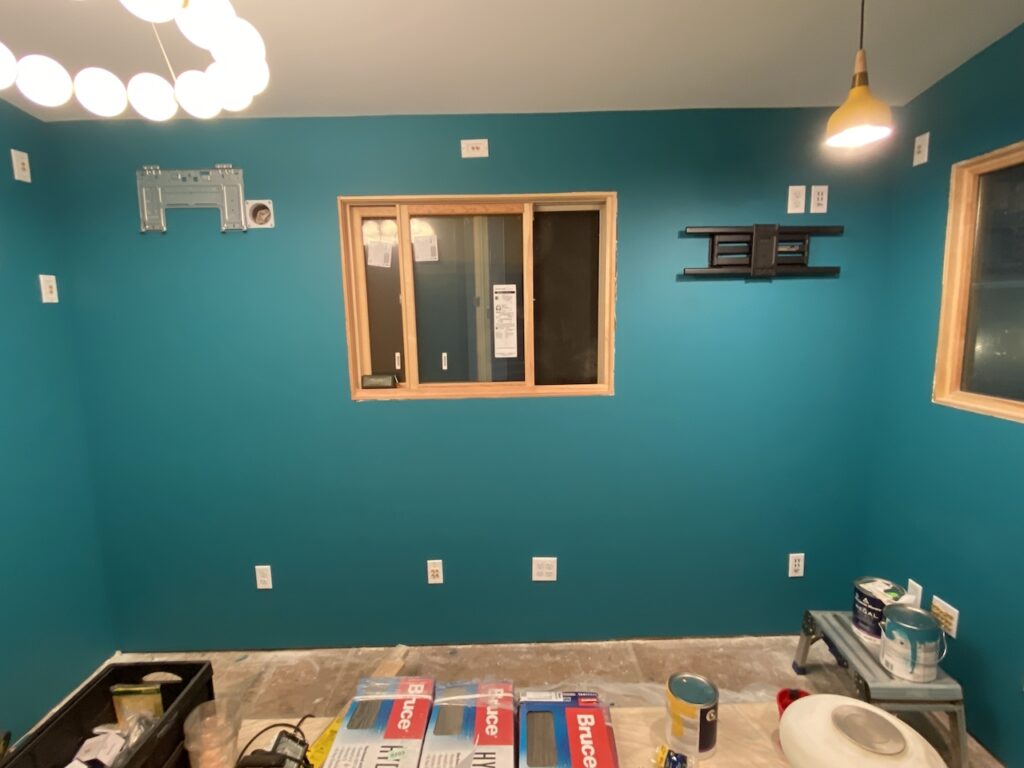
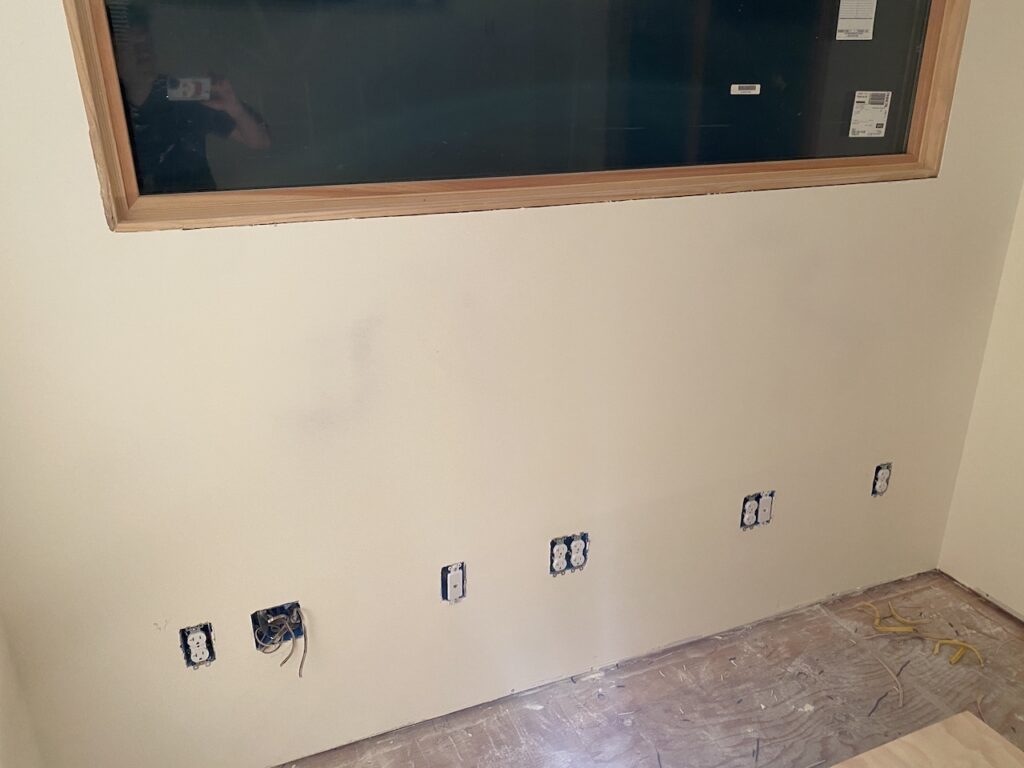
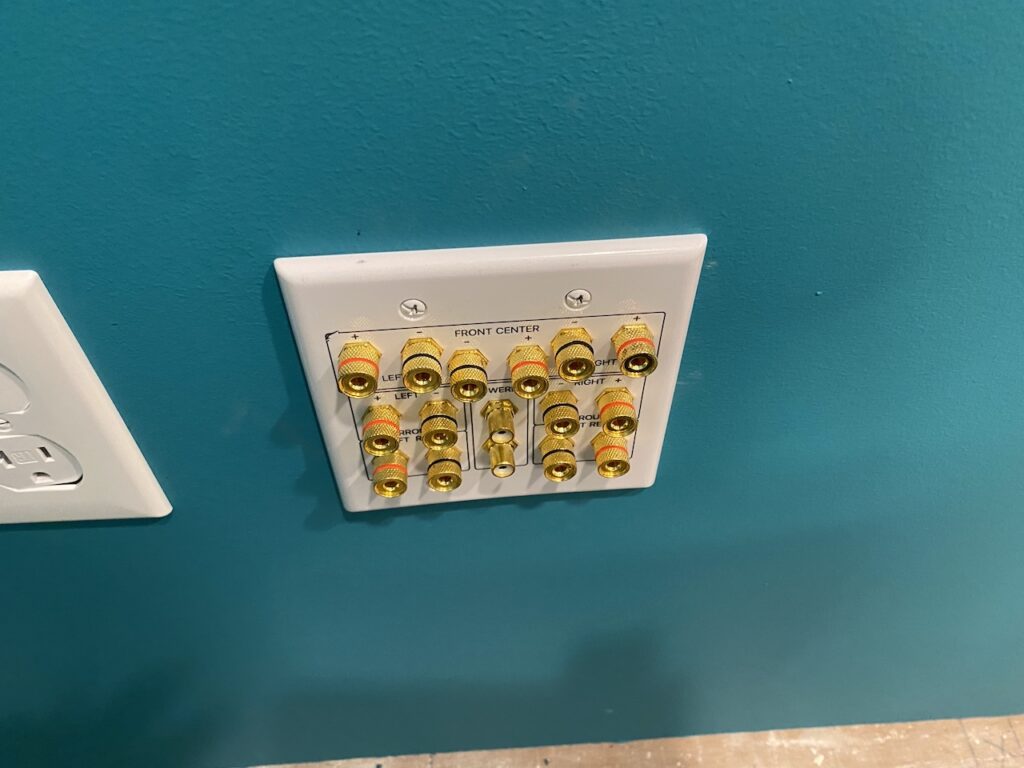
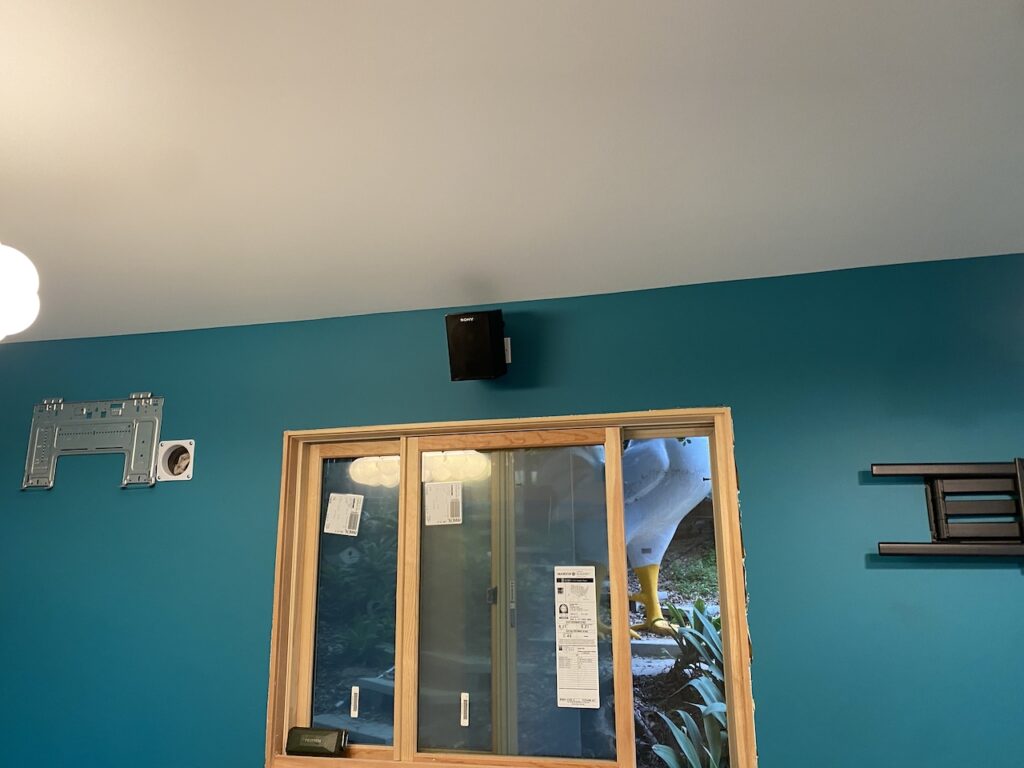
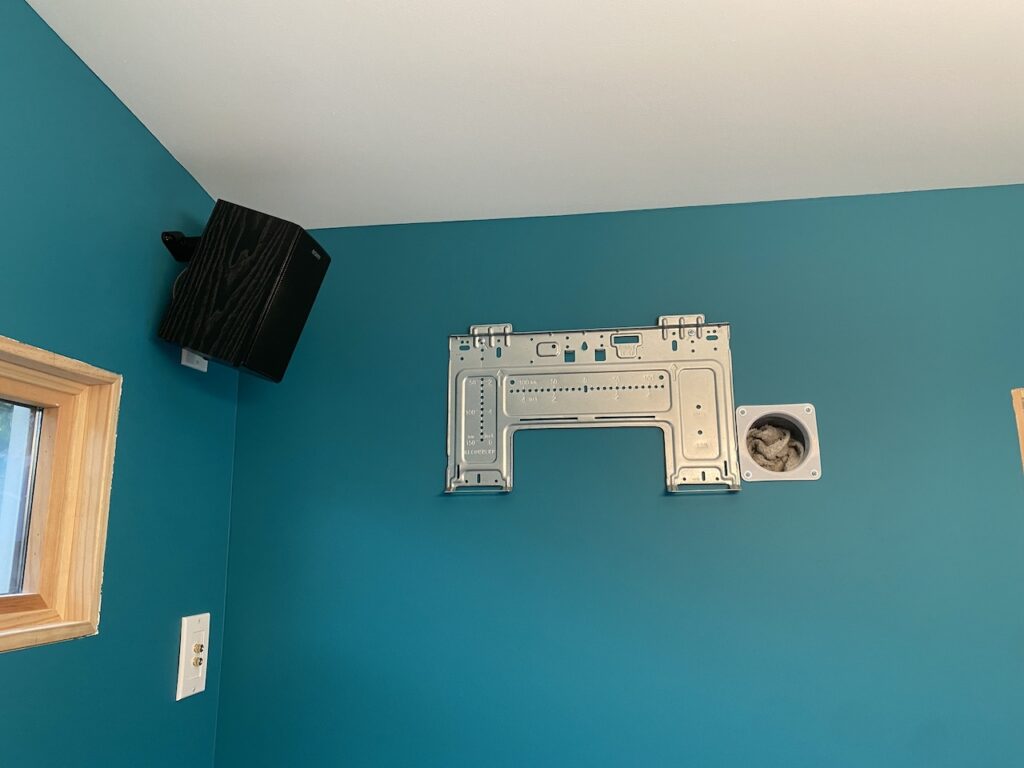
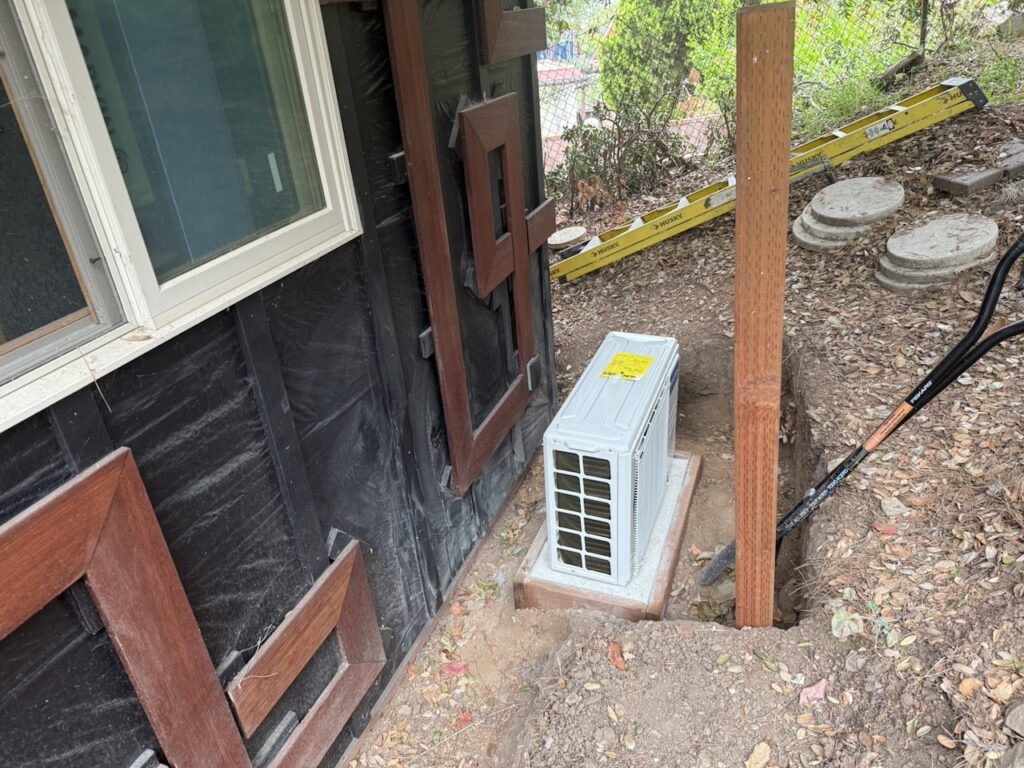
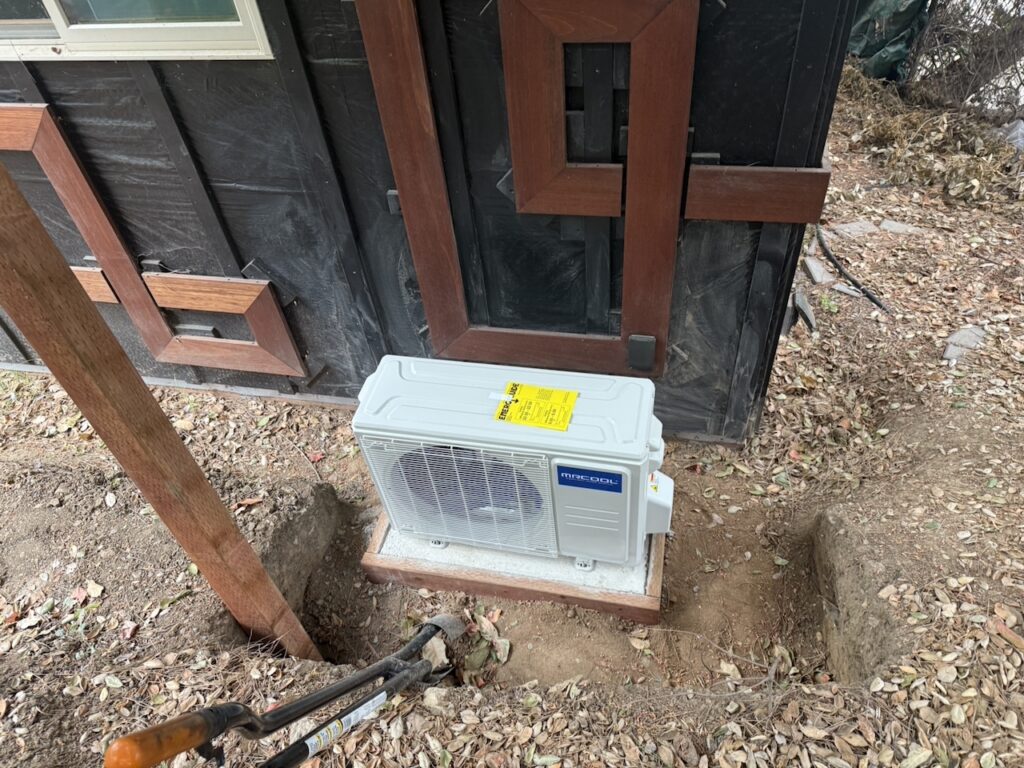
With the walls painted, I was able to start installing face plates and the mounts for the A/C unit and TV.
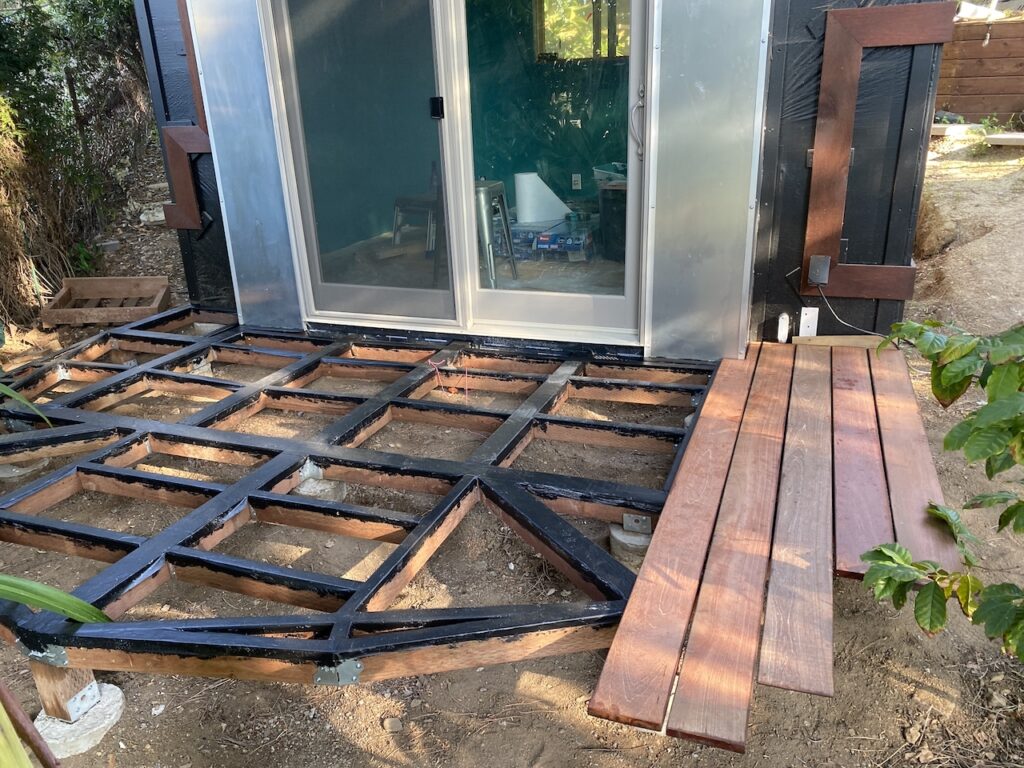
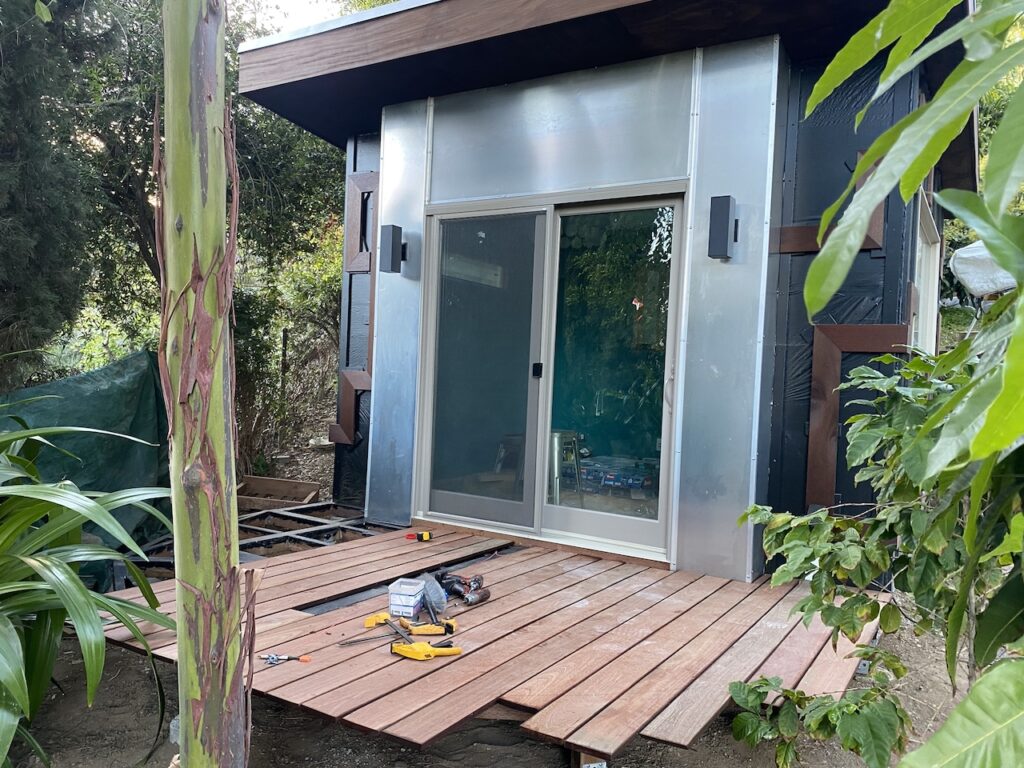
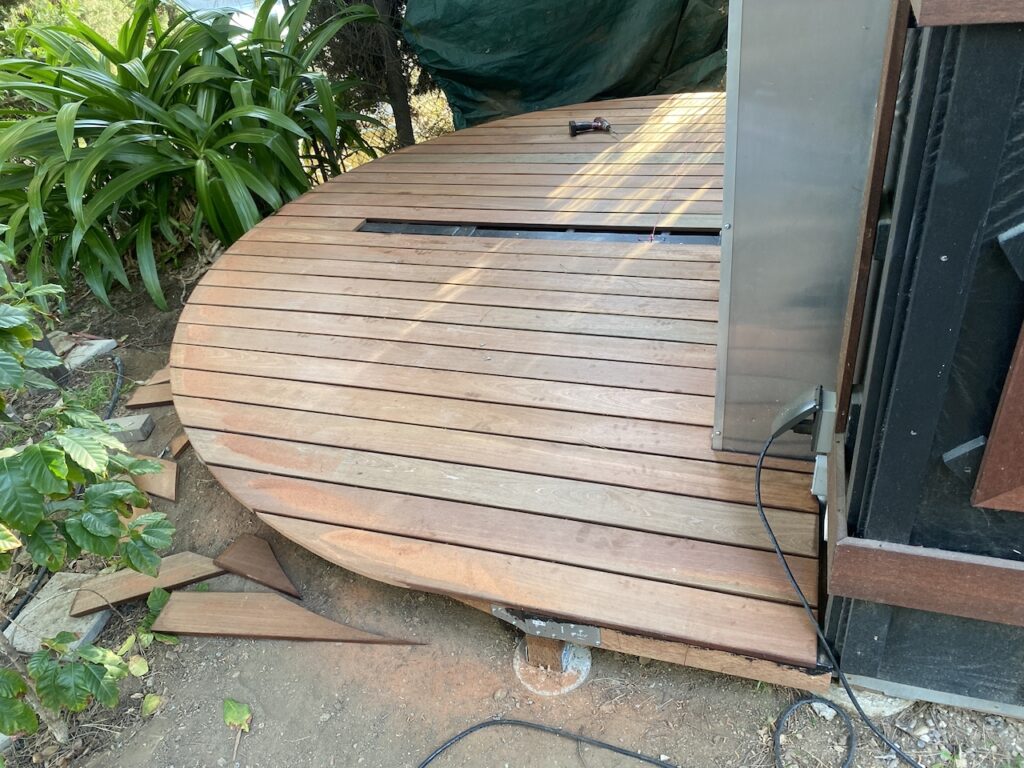
We had always envisioned that the office would have a small deck out front. Originally, the entire structure was angled off the swinging chairs that had been there a few years, but as the structure took shape, the chairs ended up being too close to the sliding glass door. So I disassembled the swinging chairs and cut down the frame so that I could use them as a way to extend a frame. Had to pour a few additional caissons and do some weird shapes to give support to the semi-circle design Sylvia created. I also used window flashing to cover the wood before adding the decking to both protect the frame from water and reduce creaking caused by wood rubbing directly on wood.

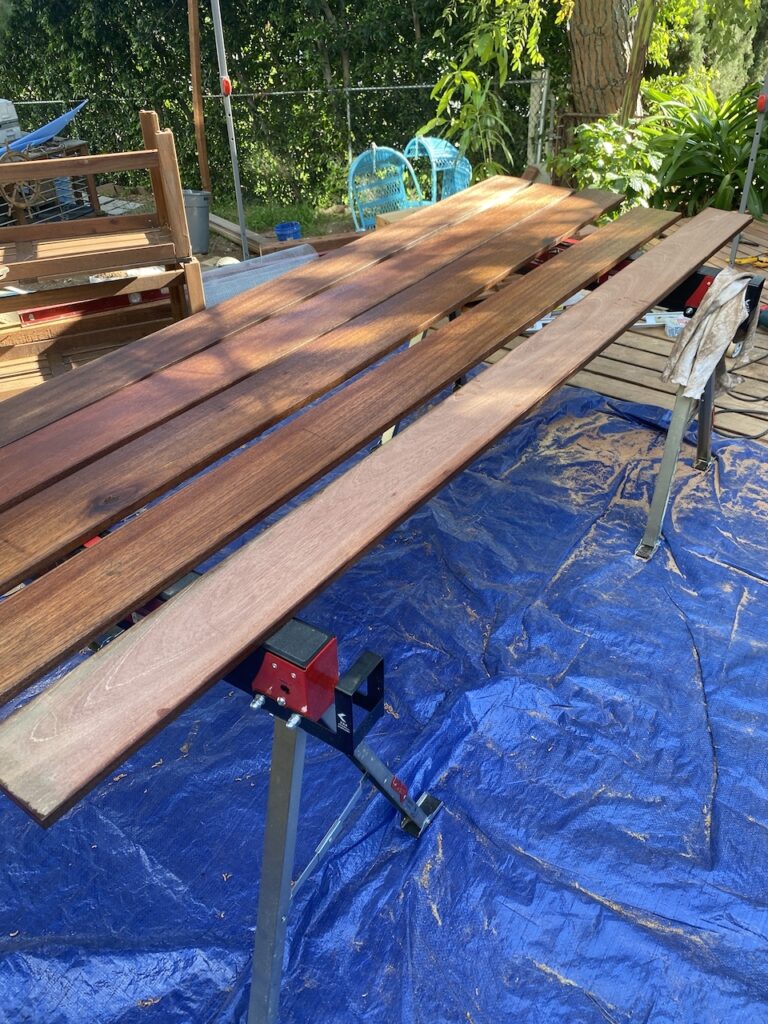
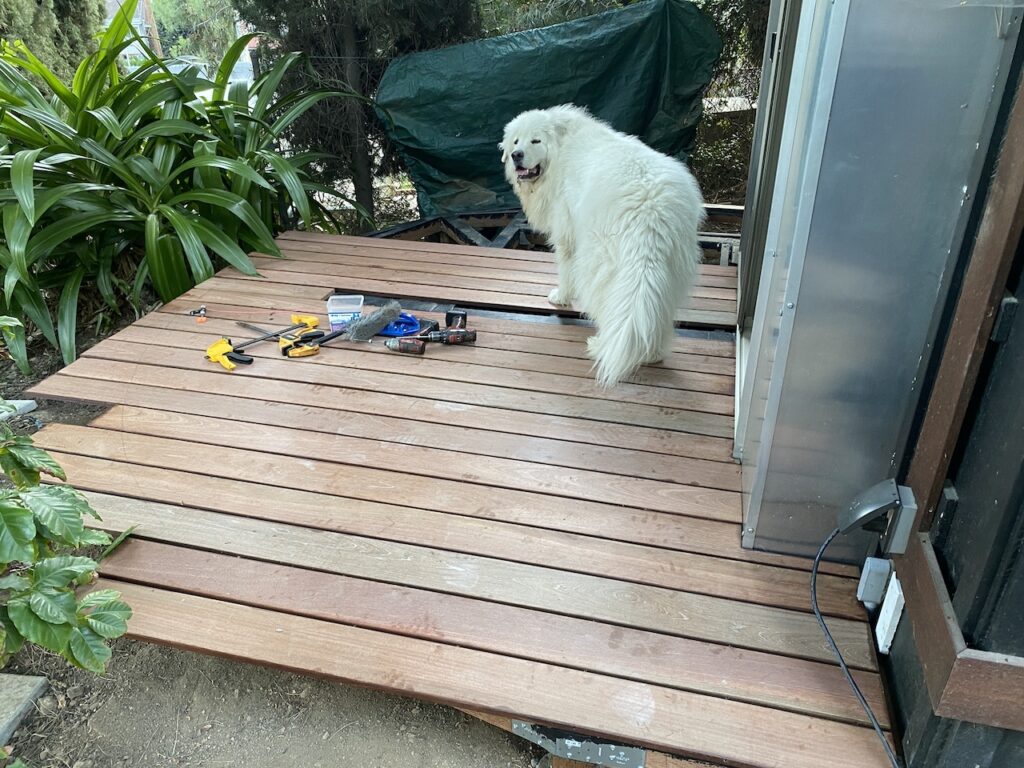
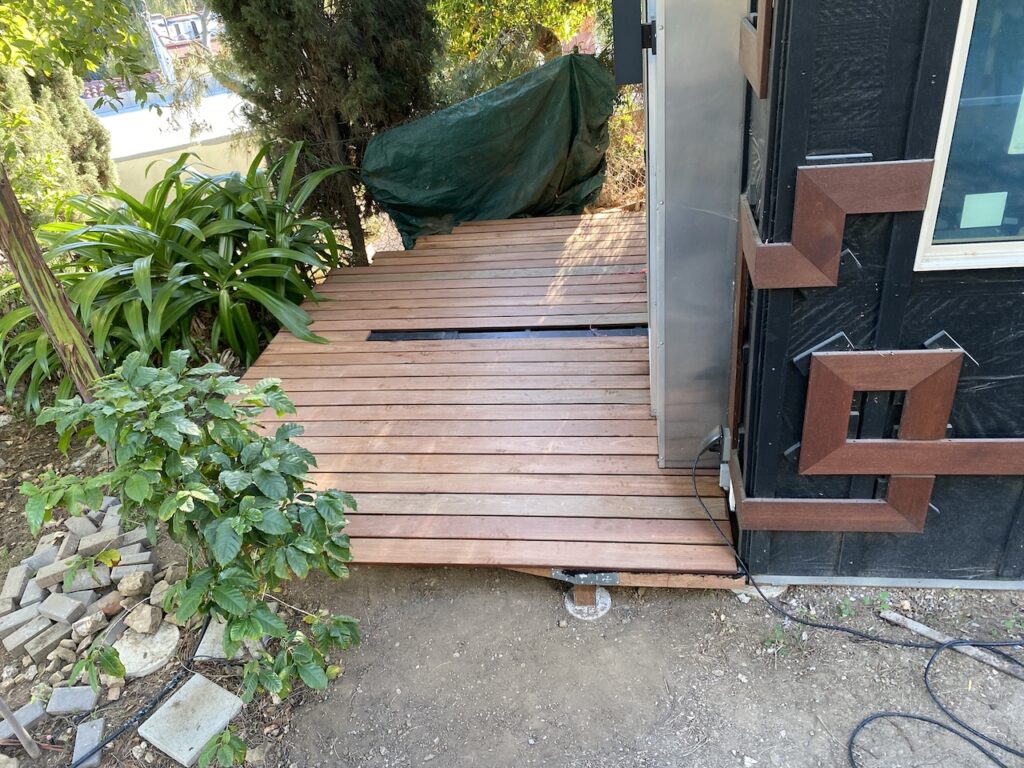
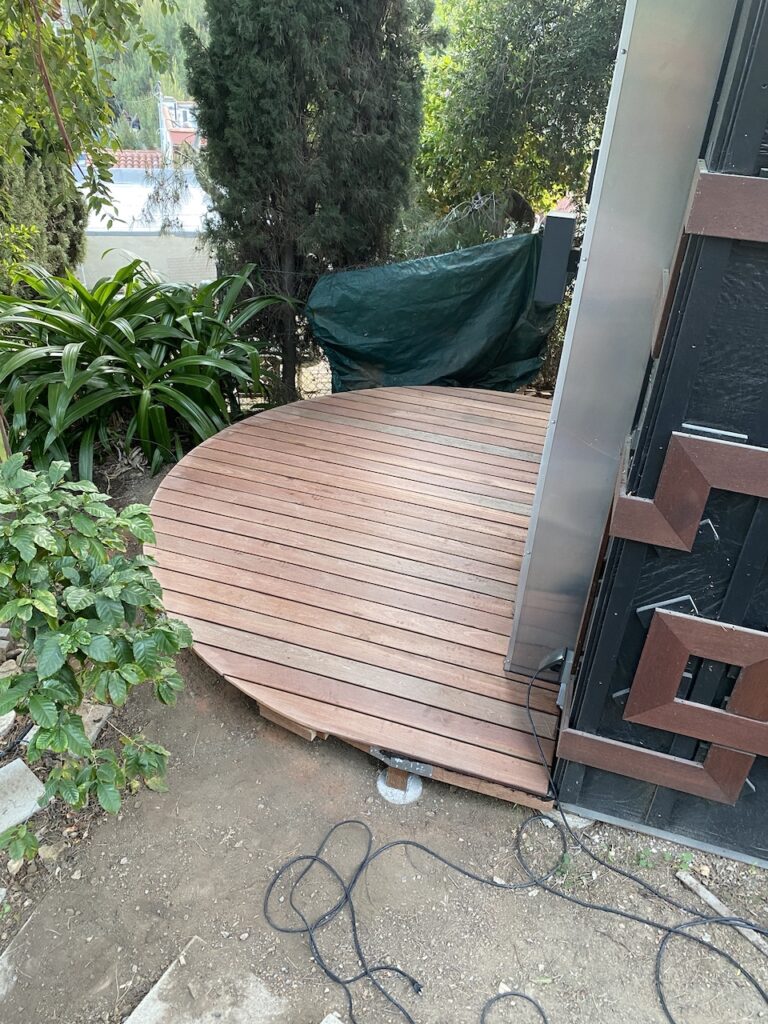
After getting the frame ready, it was time to start the decking. For each slat, I stained the bottom and sides before installing. There was all kinds of problem solving that needed to be done along the way, but I’ll save you the misery. In the photos below, you can see that I left the center slab out. This was so I could expose a center screw to draw the radius of the semi-circle later.


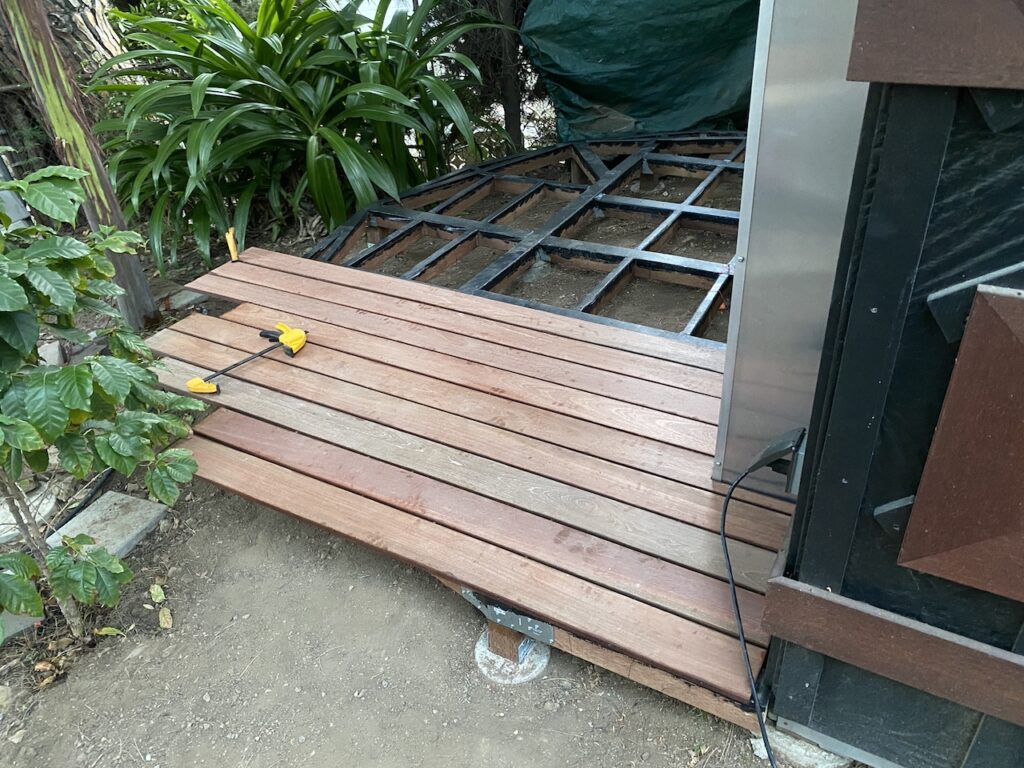
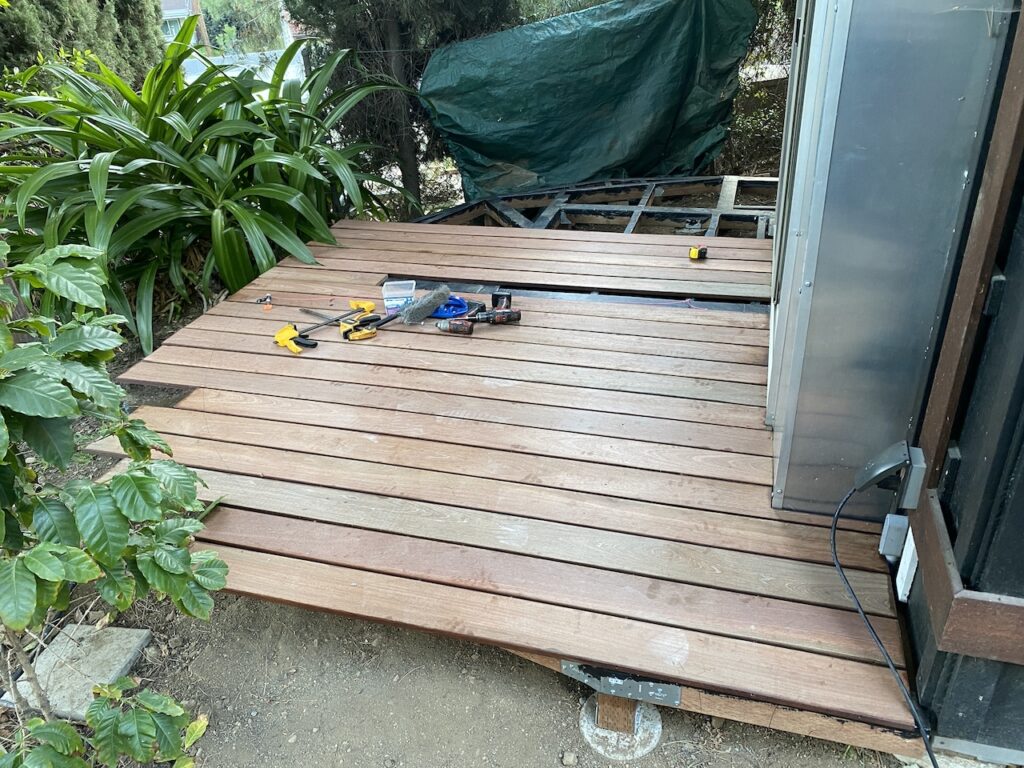
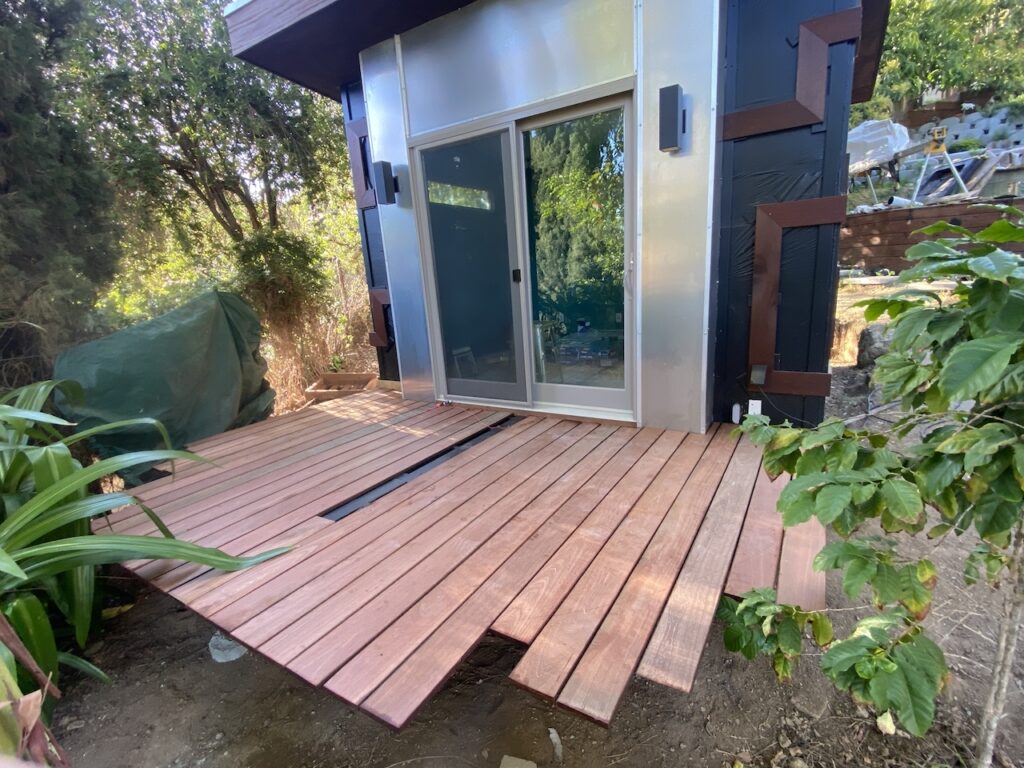
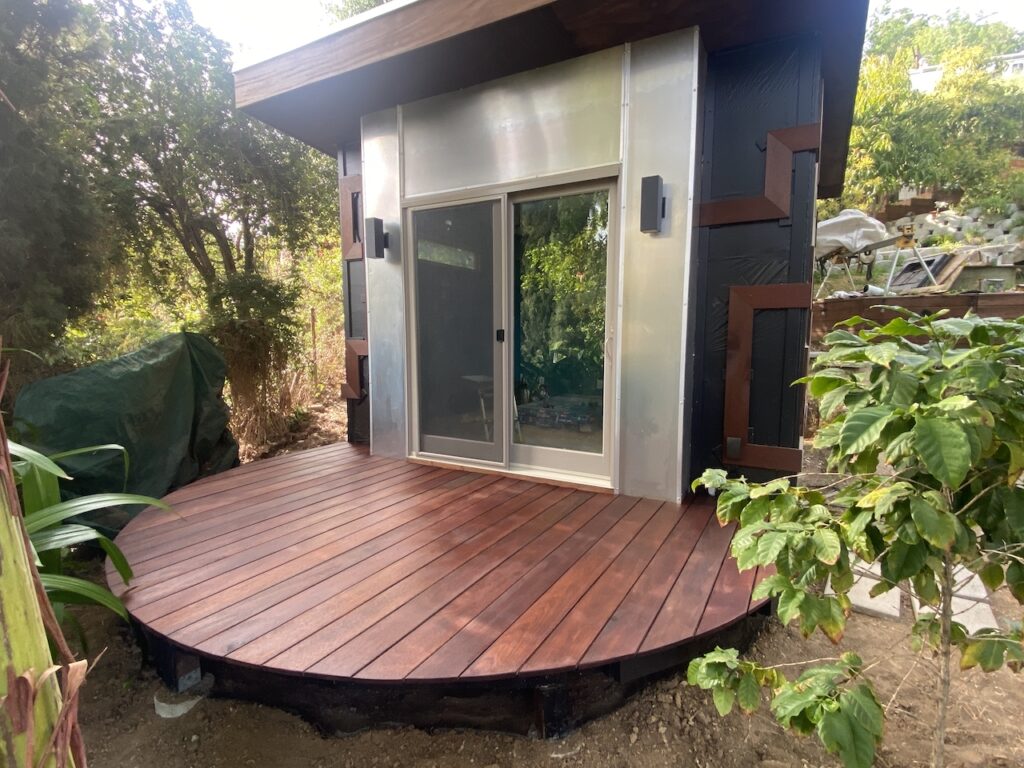
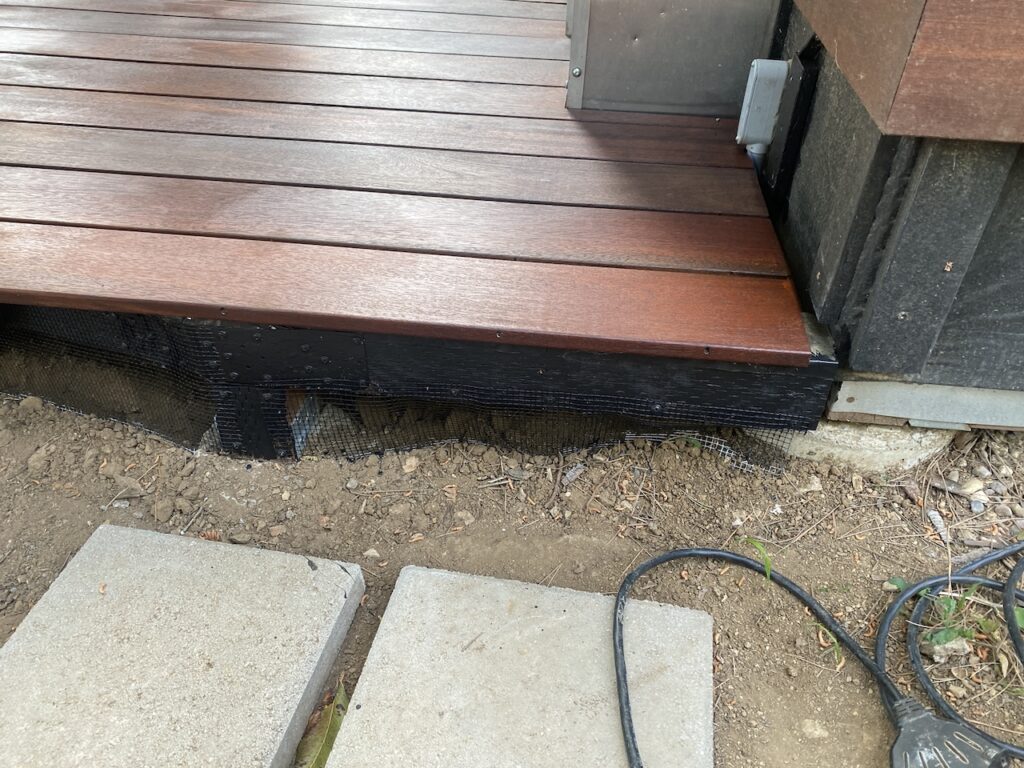
After finishing installing all the decking, I trimmed the circular shape with a jigsaw, installed the center slab, sanded the edges (and full surface of the deck) and applied the stain. I also added gopher mesh underneath the entire frame to prevent animals from living under there. To make it less prominent, I painted it all black.

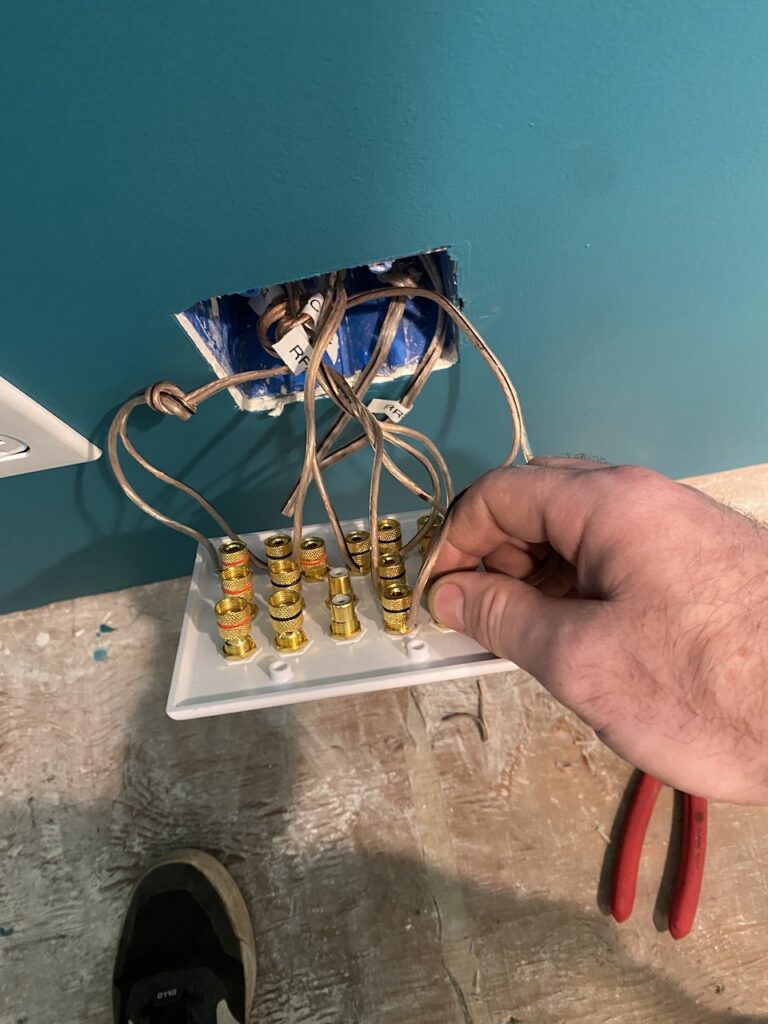
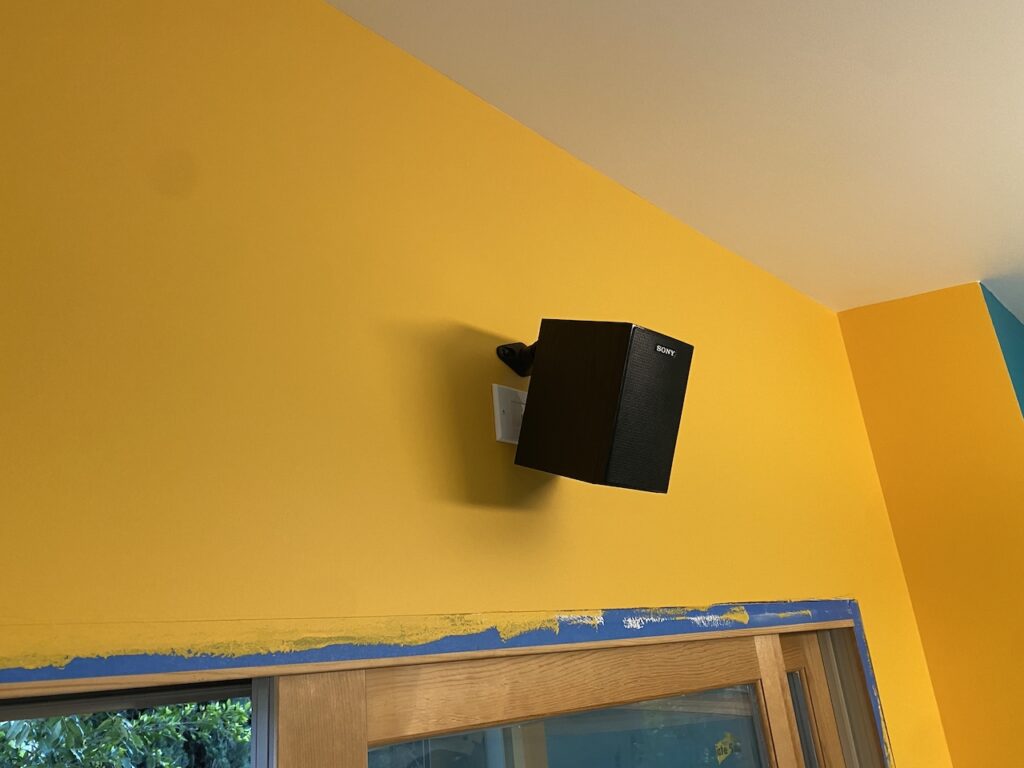
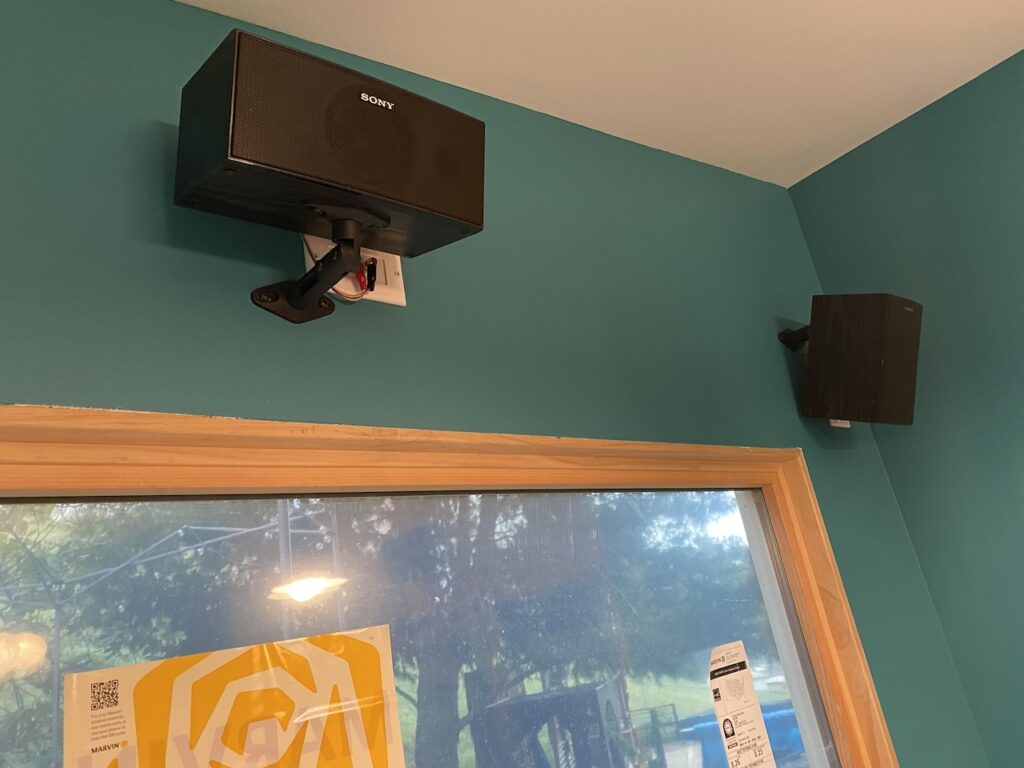
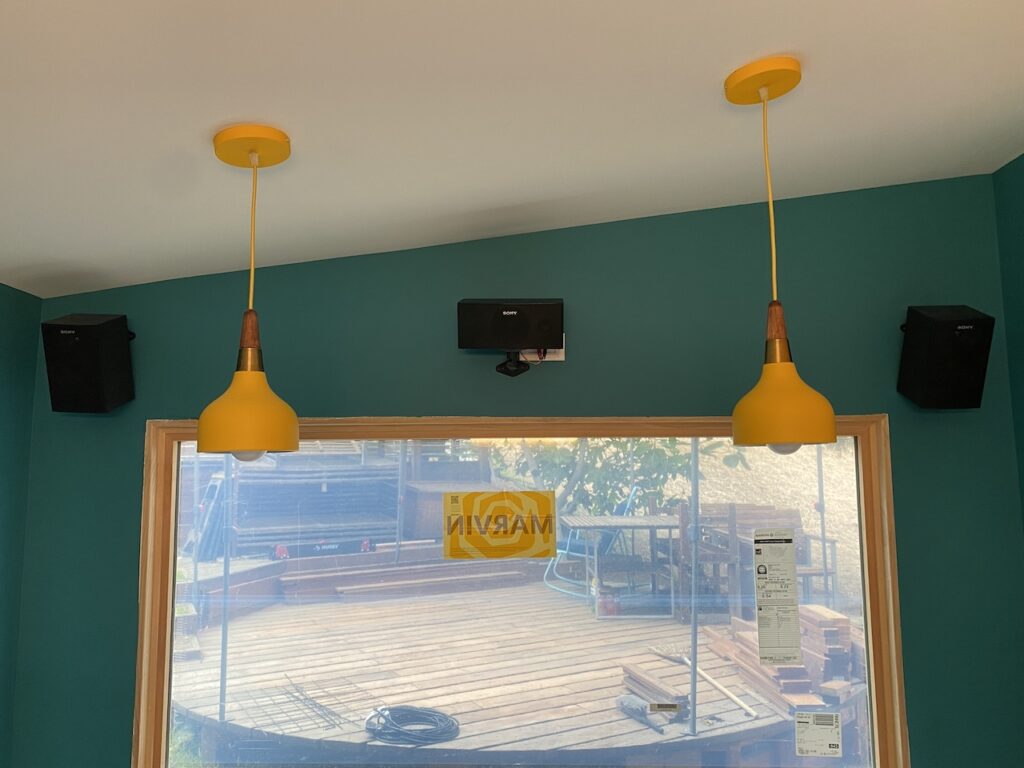
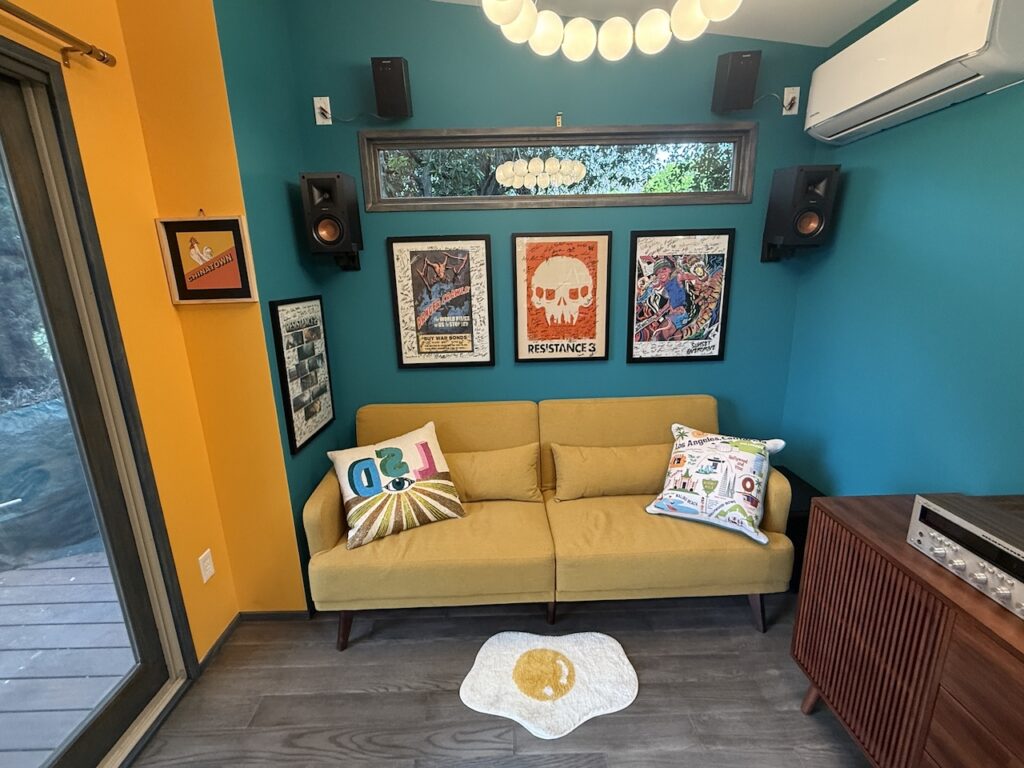
Sylvia finished the interior painting, so the logical next step would be for me to install the floor. Nope! Demonstrating my priorities, I installed the speakers for the 7.1 system I have planned. Will this make things like installing curtain rods more difficult in my future? Yup. Worth it though… (I have also spent WAY too much time trying to get a hardwired Google mesh wi-fi router working, but everything that company does is terrible. Finally got it connected and recognized, but it was super slow and constantly failed. I eventually traced it down to a back cable- one that I had created, so all blame goes to me)

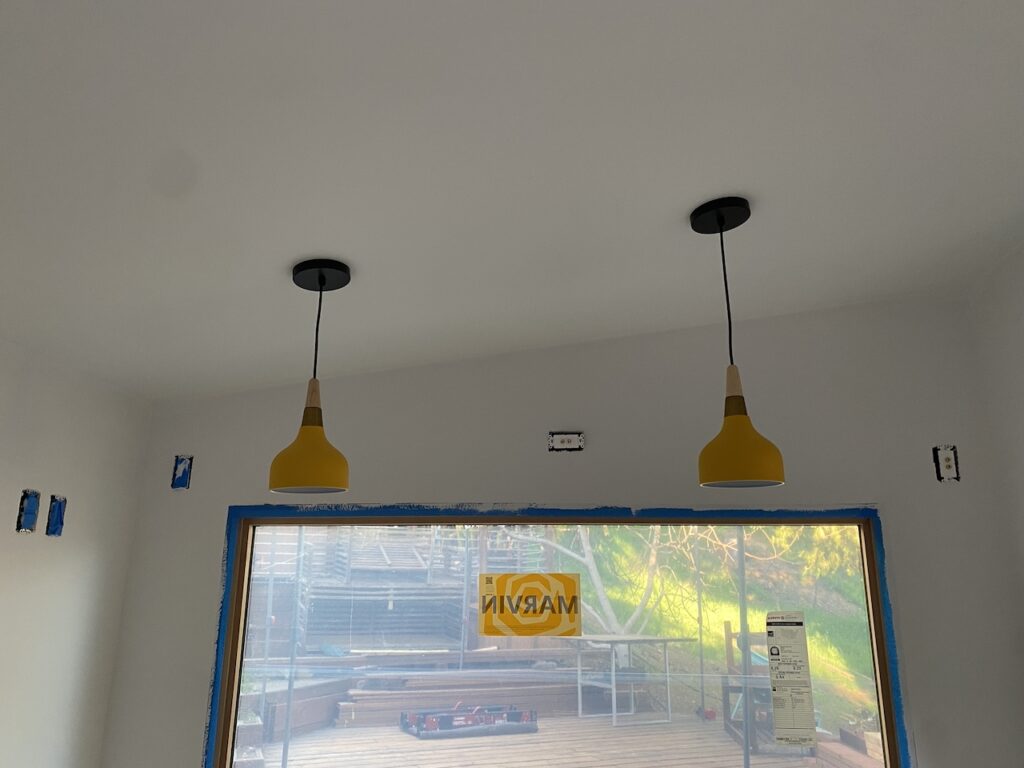
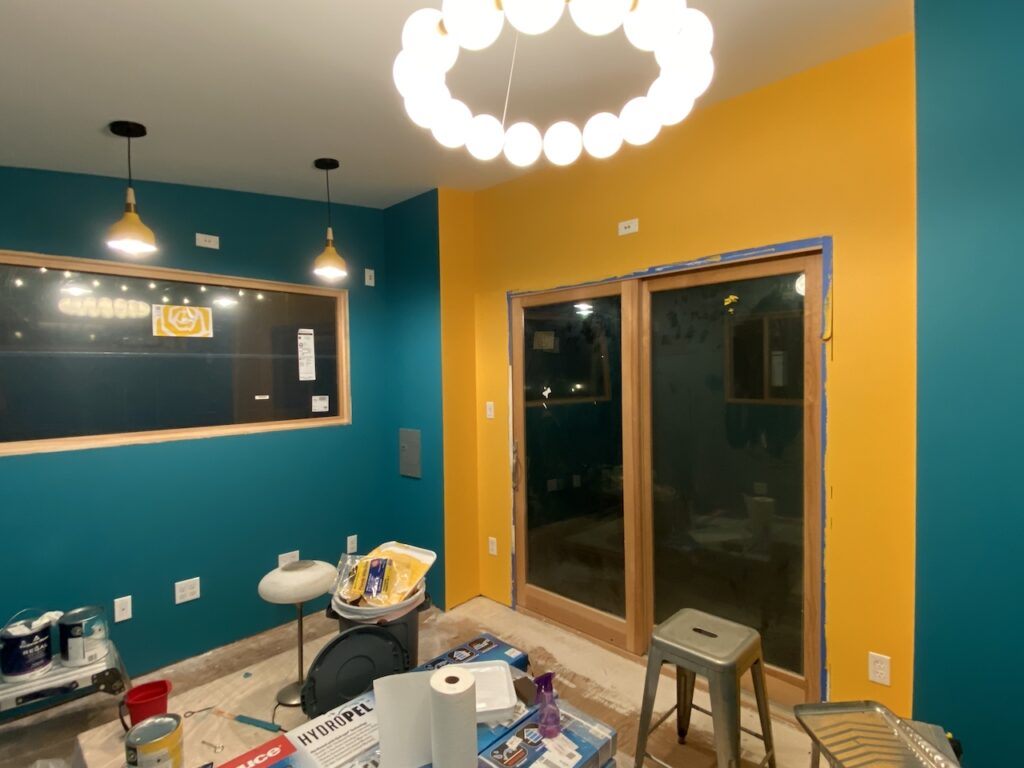
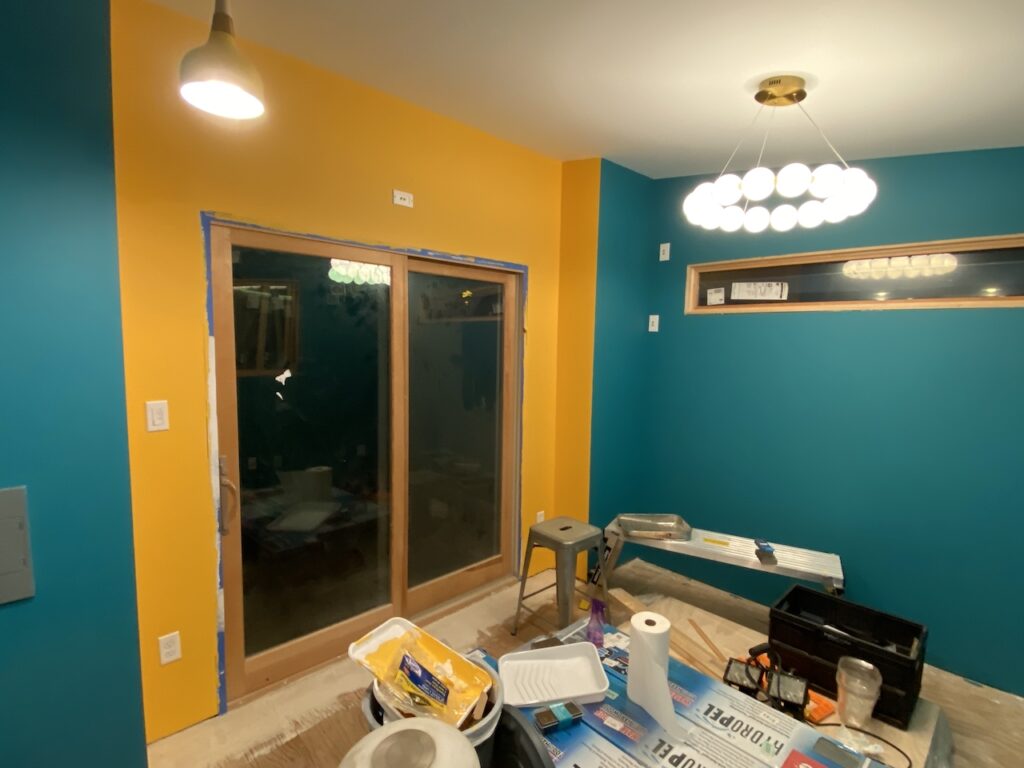
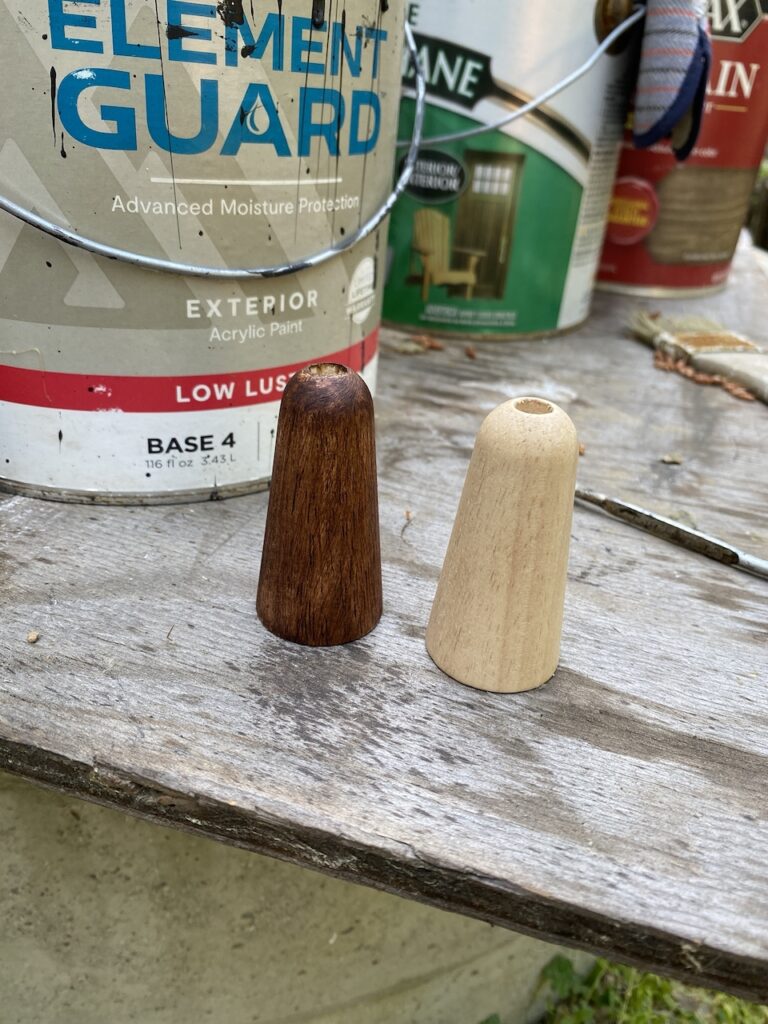
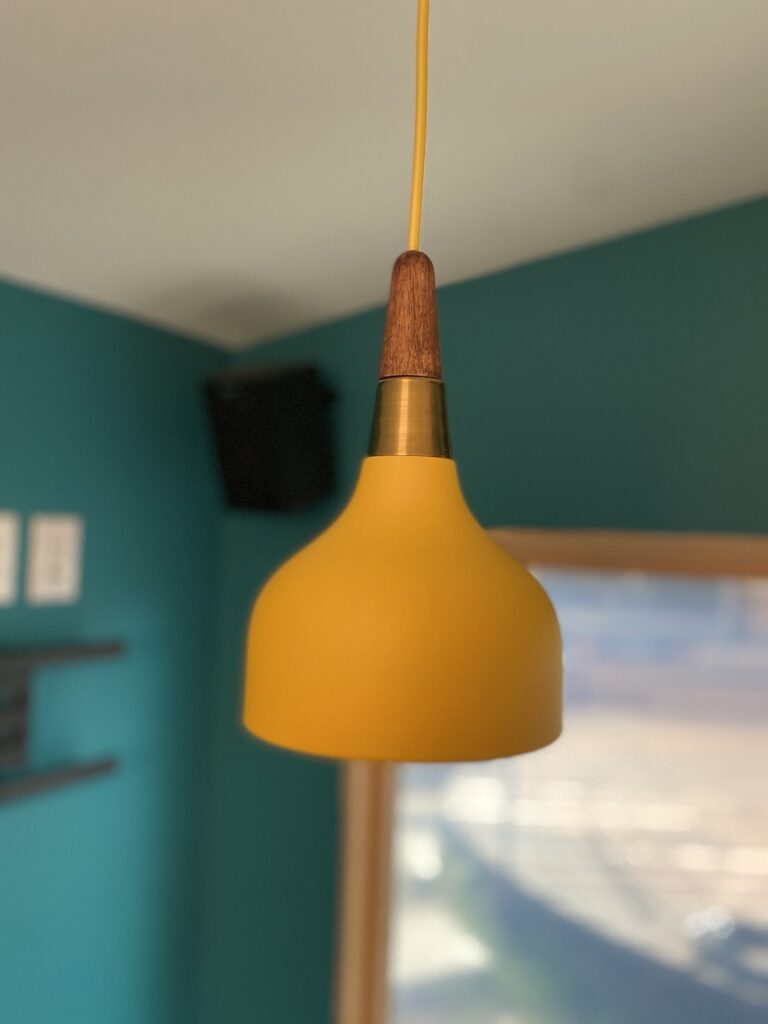
After getting the colors on the wall, the pendent lights were bothering me. I didn’t like the black wiring or caps. So I ordered a different set of pendents that featured yellow wiring and cap. As it turned out, though, the fixtures were too awkwardly large, so I took them apart and rewired them to keep the old fixtures.

While I had them deconstructed, I sanded and stained the wood elements to match the stain on the outside cladding, too.
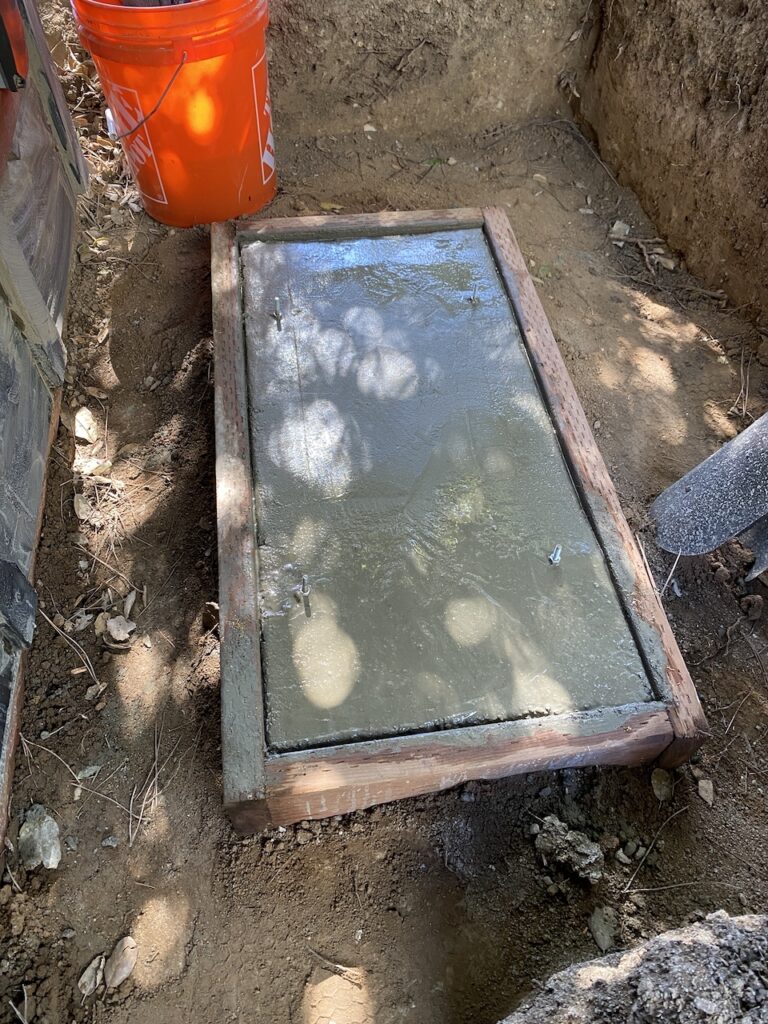
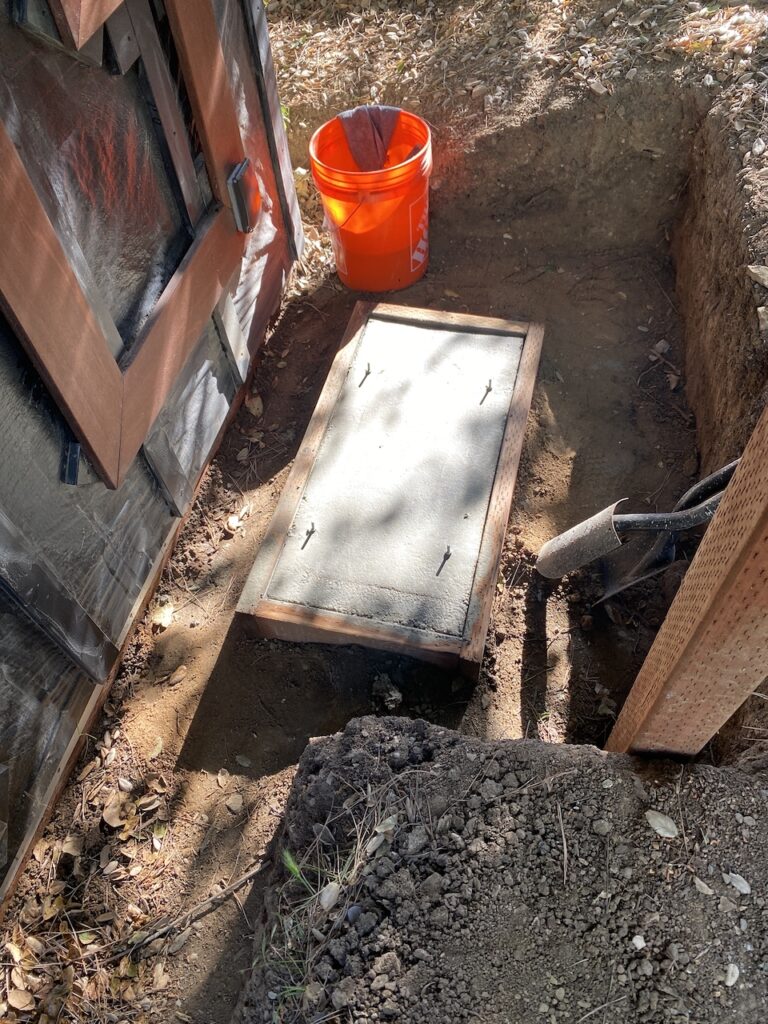
Finally started on the pad for the A/C condenser.

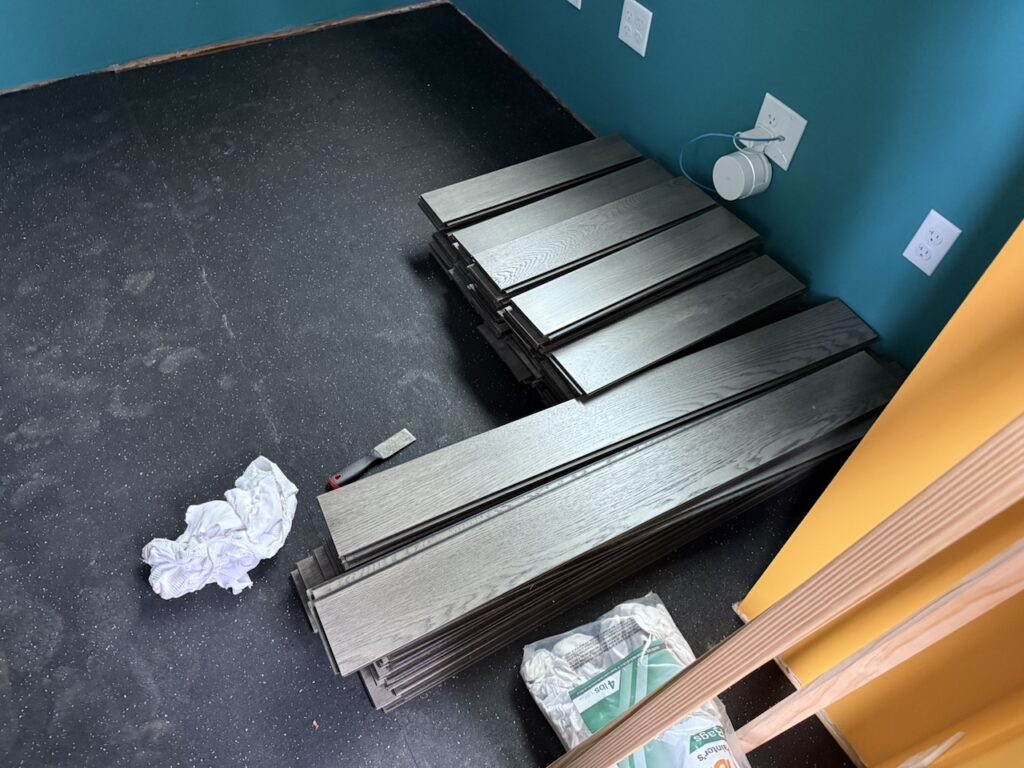
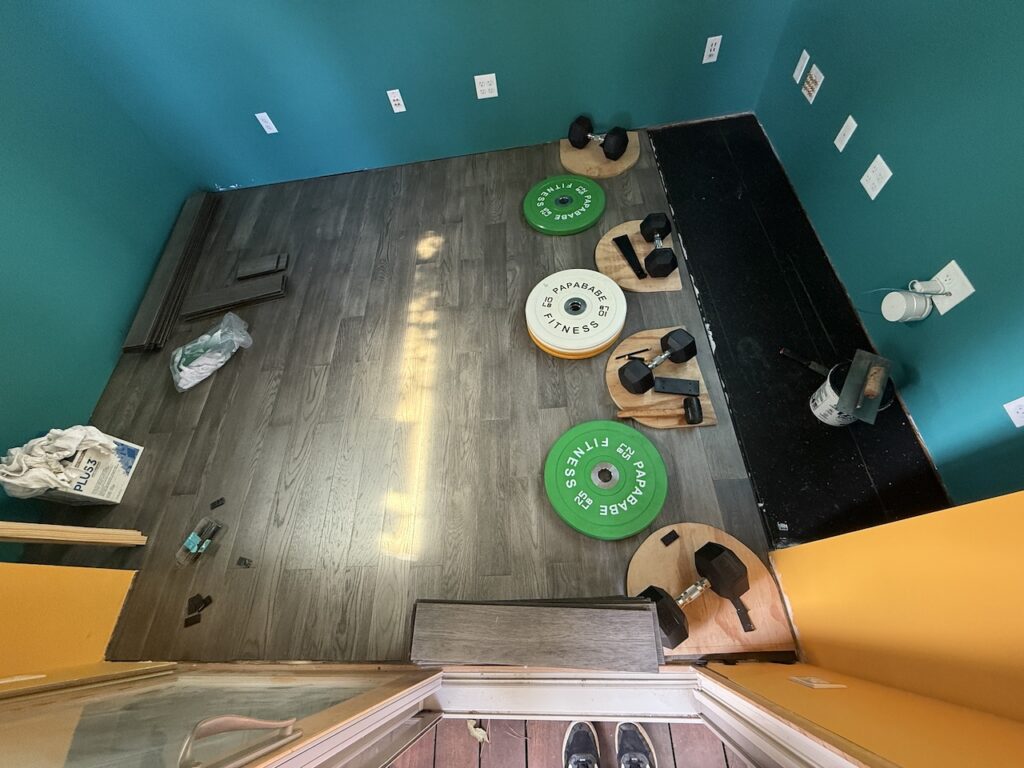
The final BIG projects are flooring the inside and completing the cladding on the outside. To make things more complicated on myself, I started doing both at the same time. This way if one task is making me frustrated or tiresome, I can hop on the other. Also though, they both require drying time.
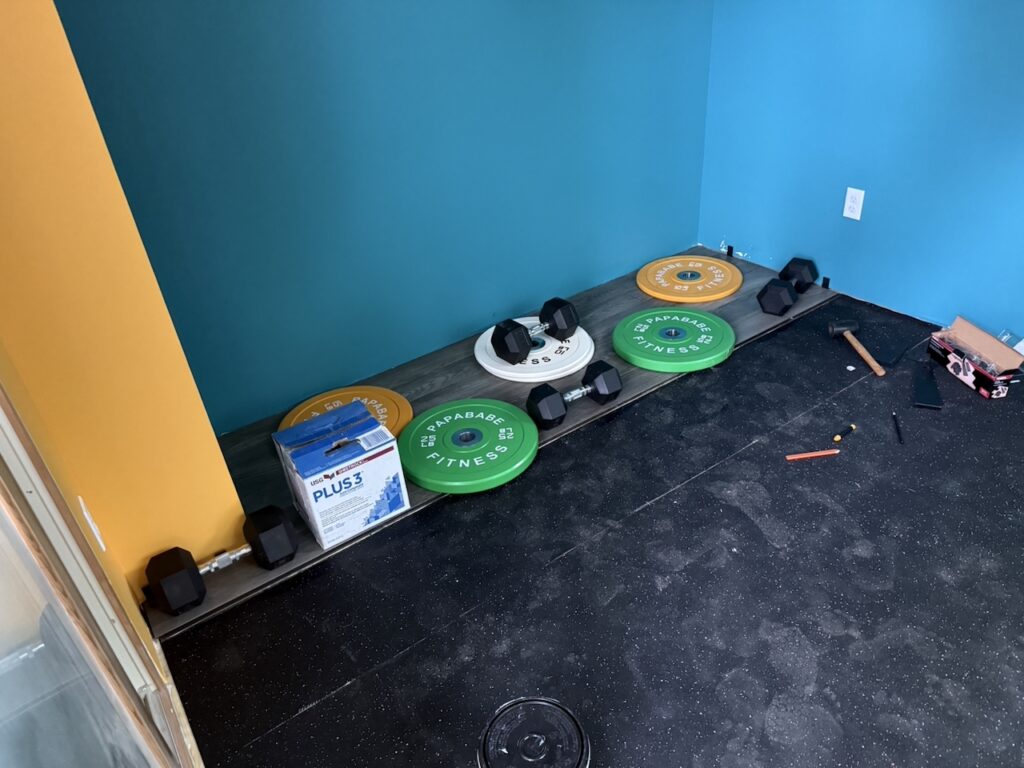
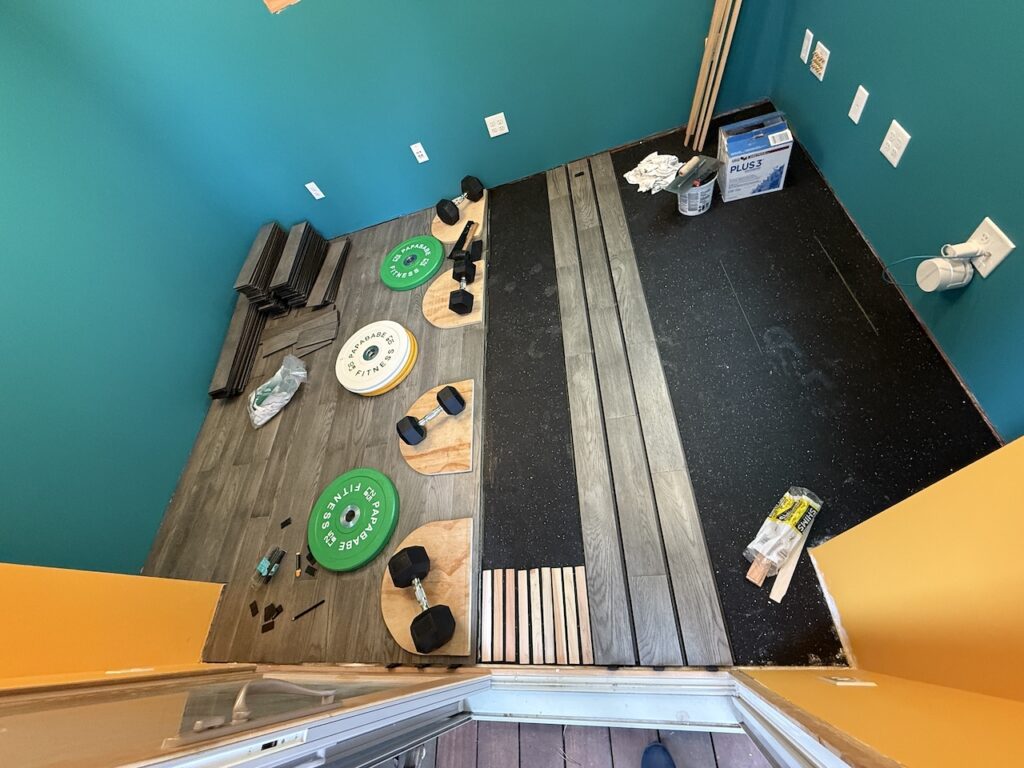
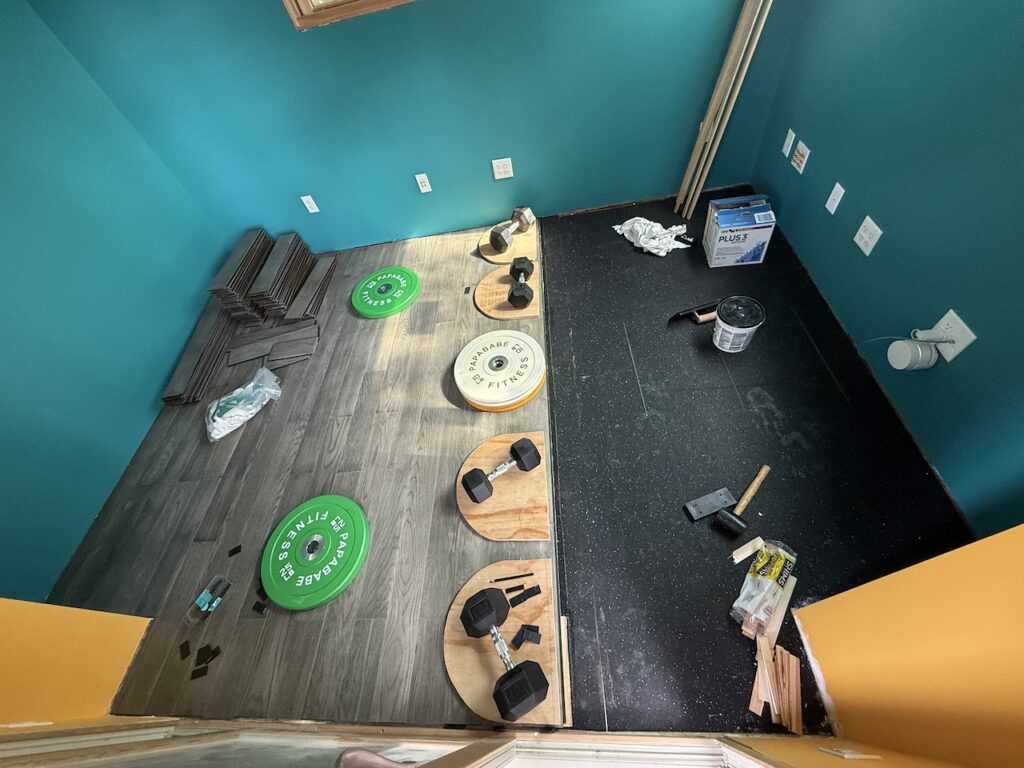
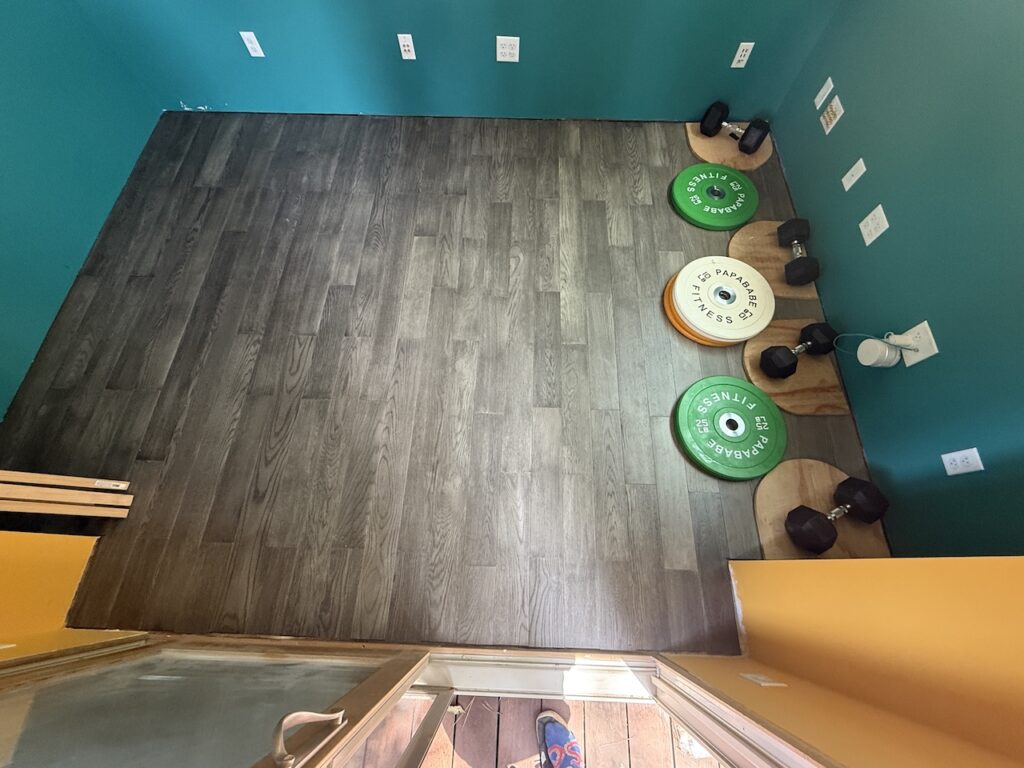
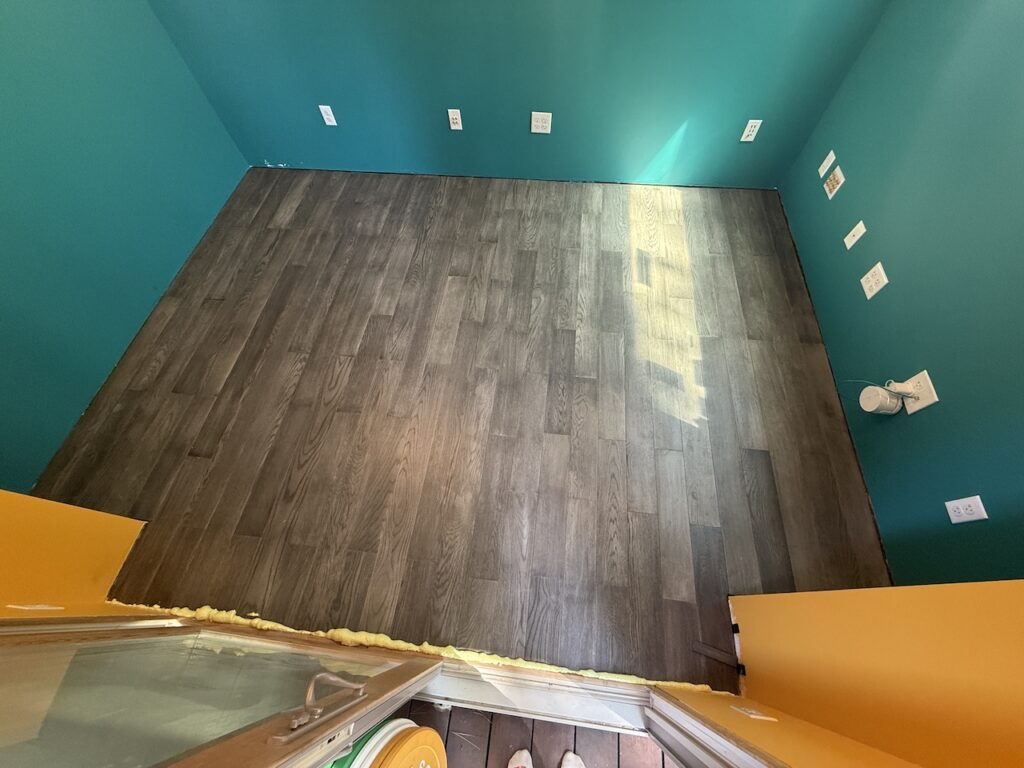
The flooring is a messy endeavor as I’d decided to go glue down (this is because I lack the tools for nail down and I don’t understand floating floors). I initially started a few rows, but didn’t understand how each panel needs to be banged into place and I had too large of a gap below my drywall, so the shims I was using to keep distance from the wall to the flooring kept getting pushed in, not supporting the mallet blows. Everything was sliding in the wet glue. It was a nightmare. I peeled up the three rows I had put down and washed off the glue, scrapped up as much as I could. I left the first row so that I would have them to work off when they dried. I didn’t take pictures. I finished the floor over a week doing 3-6 rows per evening so that I could stack weights on them while the glue cured.
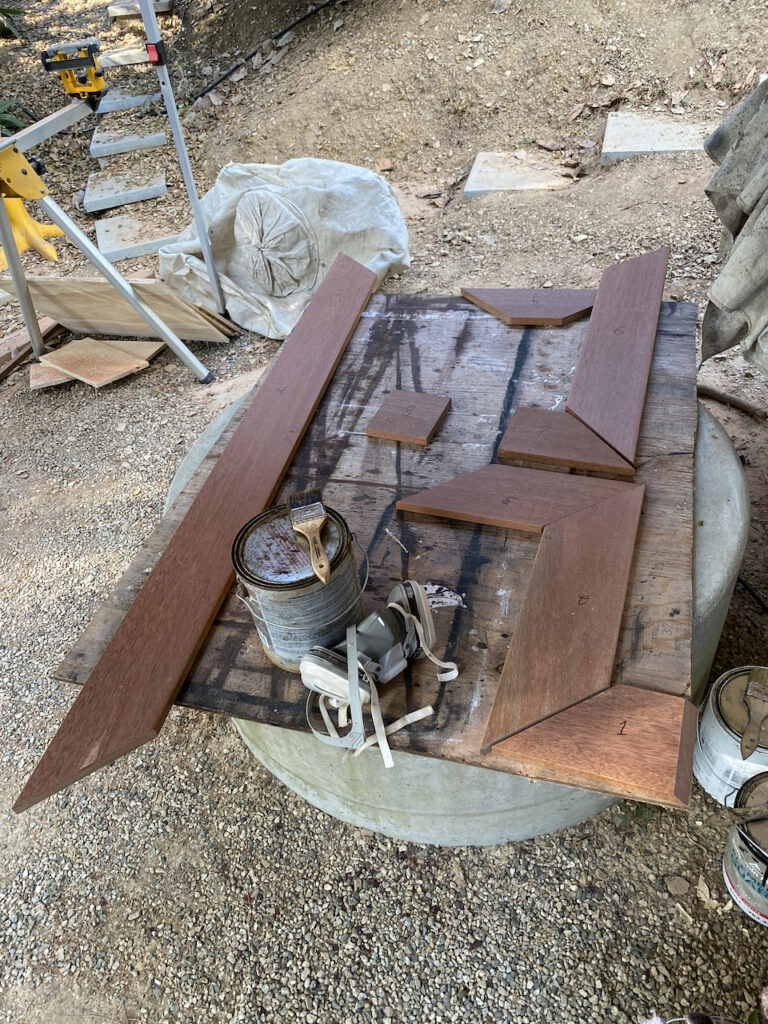
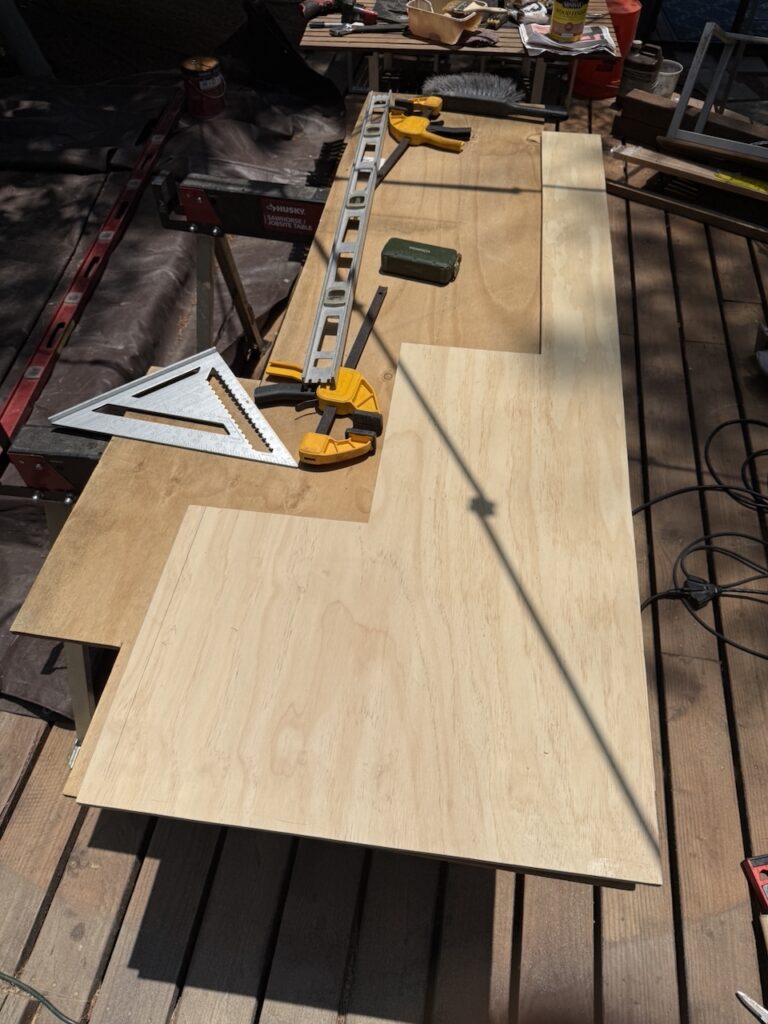
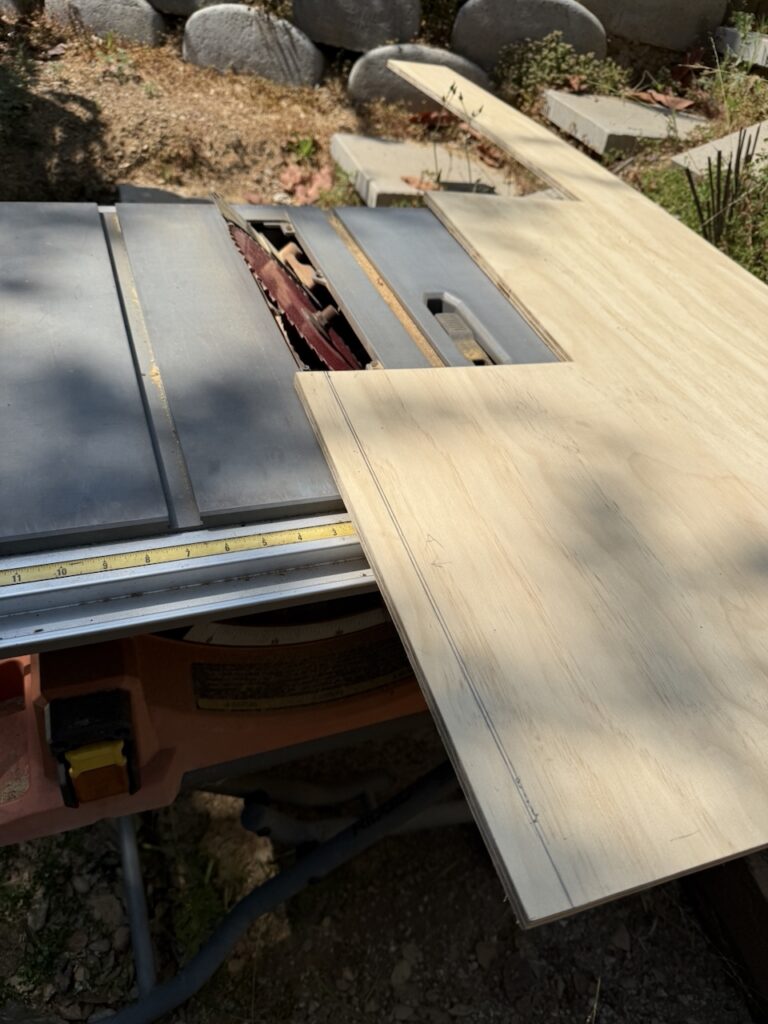
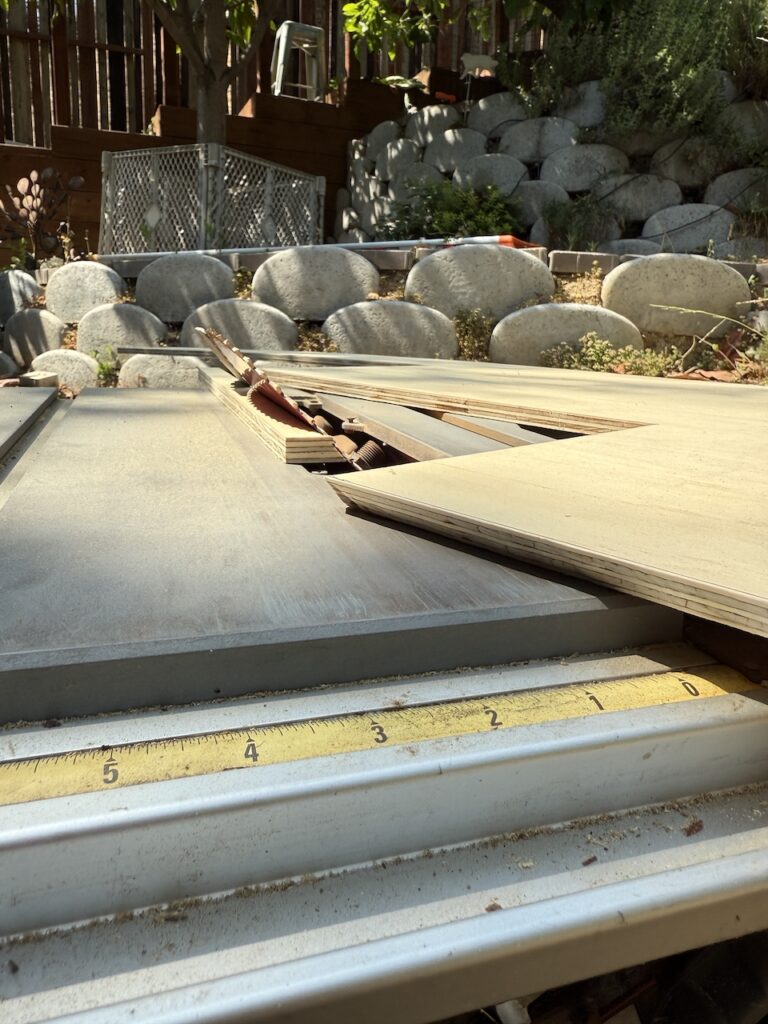
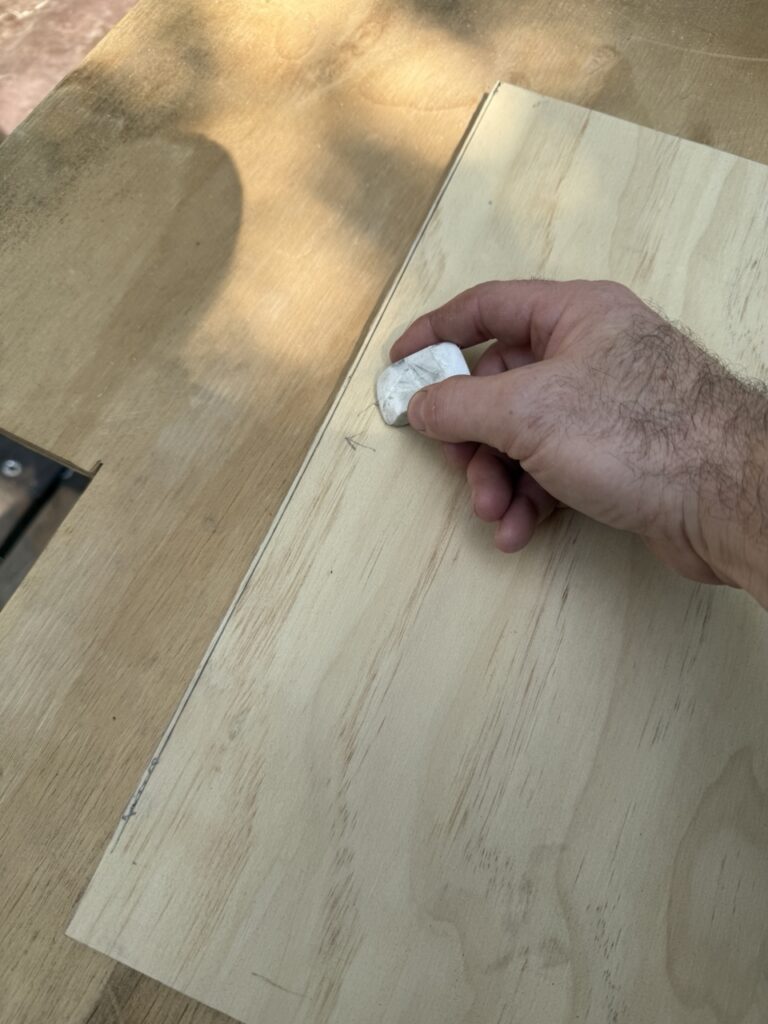
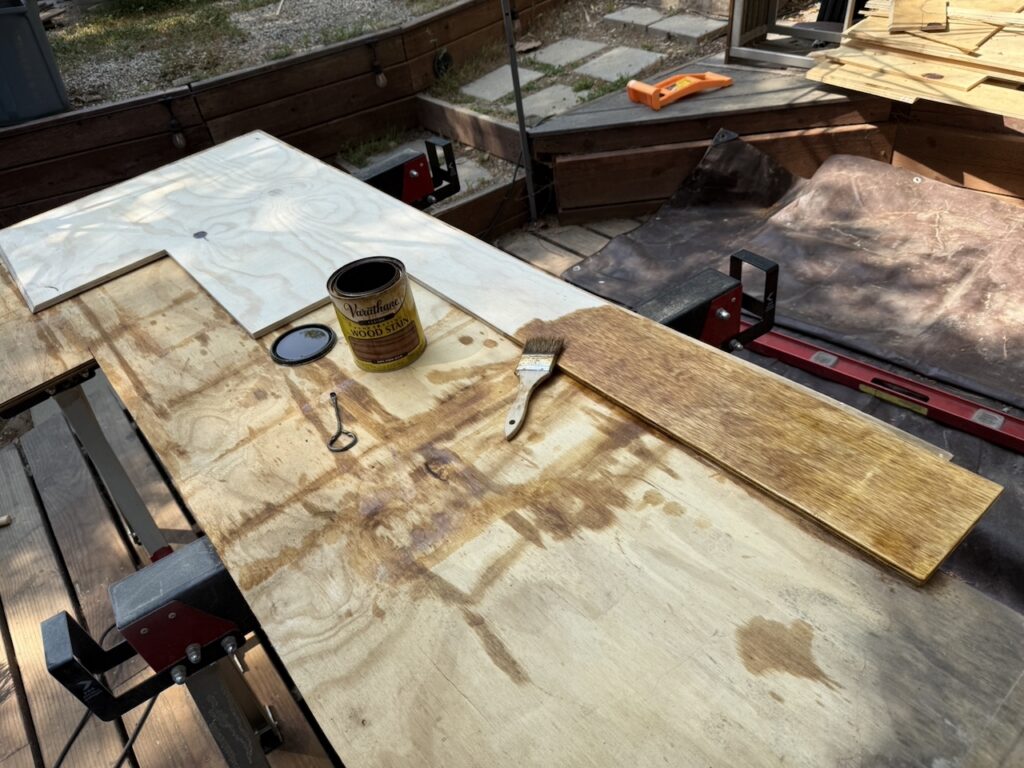
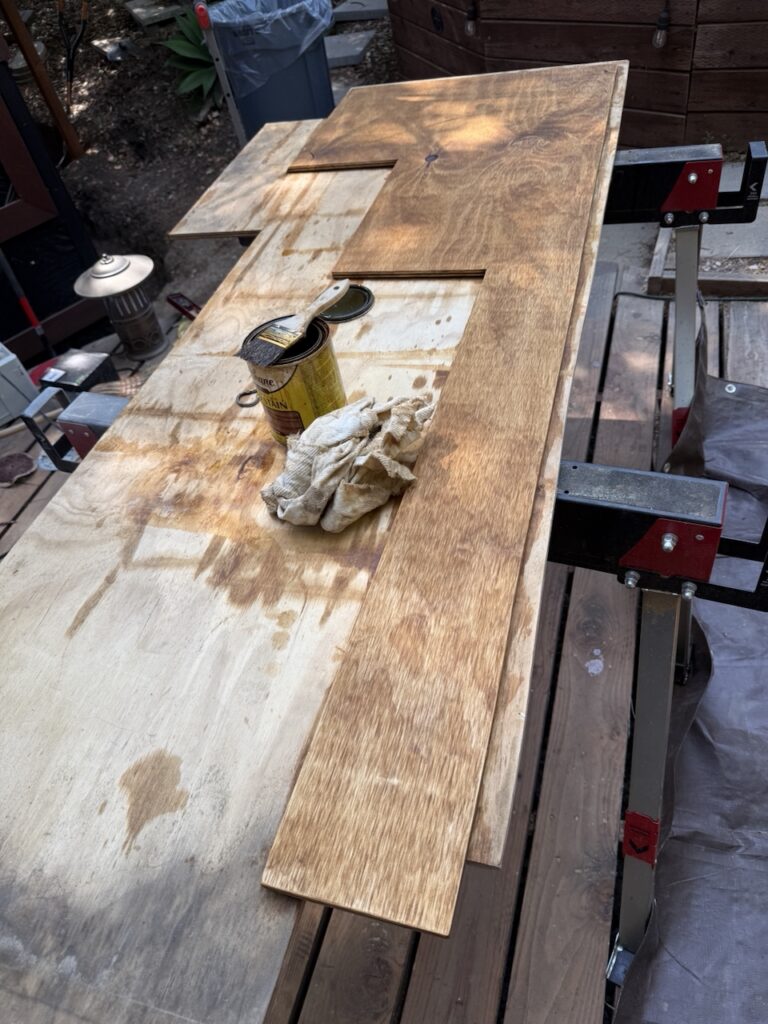
Meanwhile, I also started the “negative” spaces on the cladding. It requires a lot of measuring (there is 1/2″ around all sides that need to be deducted, except for pieces that are along the corner, which need 1/2″ added and pieces that abut against others, which need to be exact), cutting, ripping, sanding, staining, and varnishing. It’s time consuming and tedious. We had plans figured out where each piece of plywood was calculated to fit an efficient layout of cuts that would ensure all pieces had the wood grain running the same direction. However, of the 6 pieces cut from the first plywood, two didn’t work (due to bad measuring).
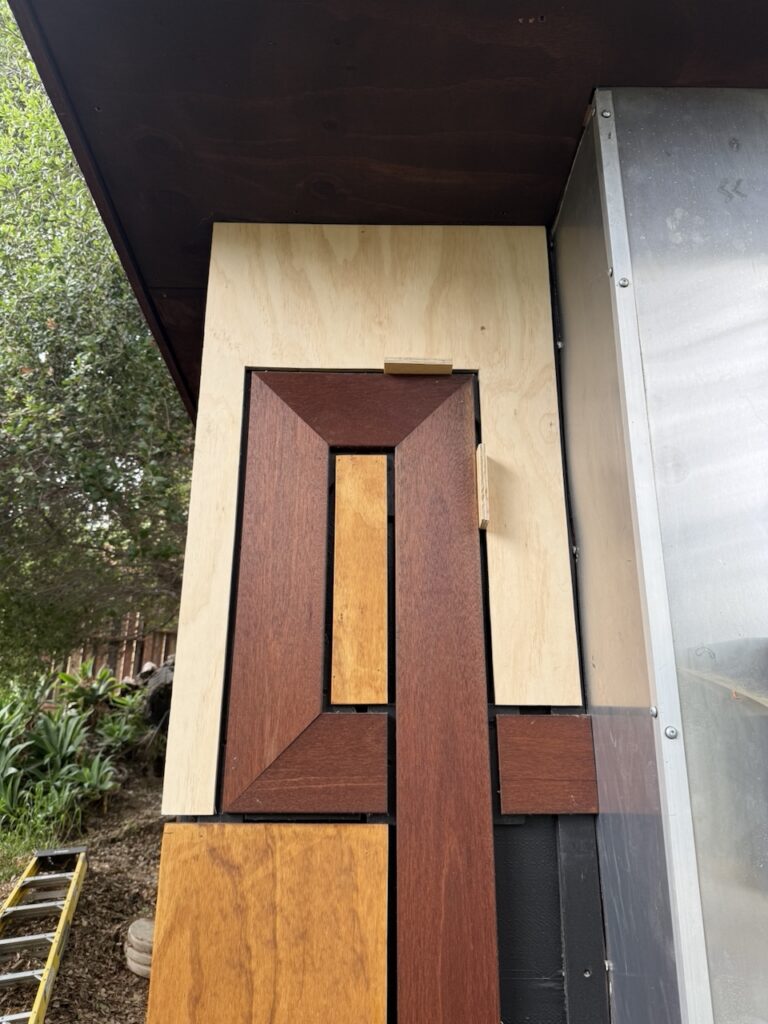
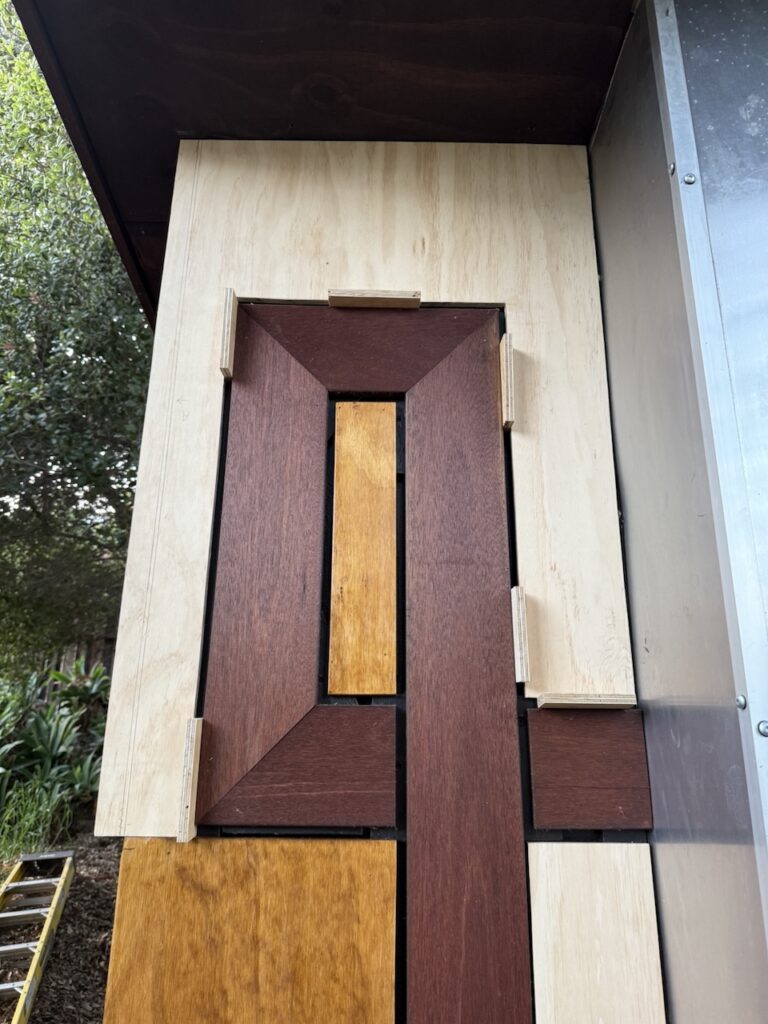
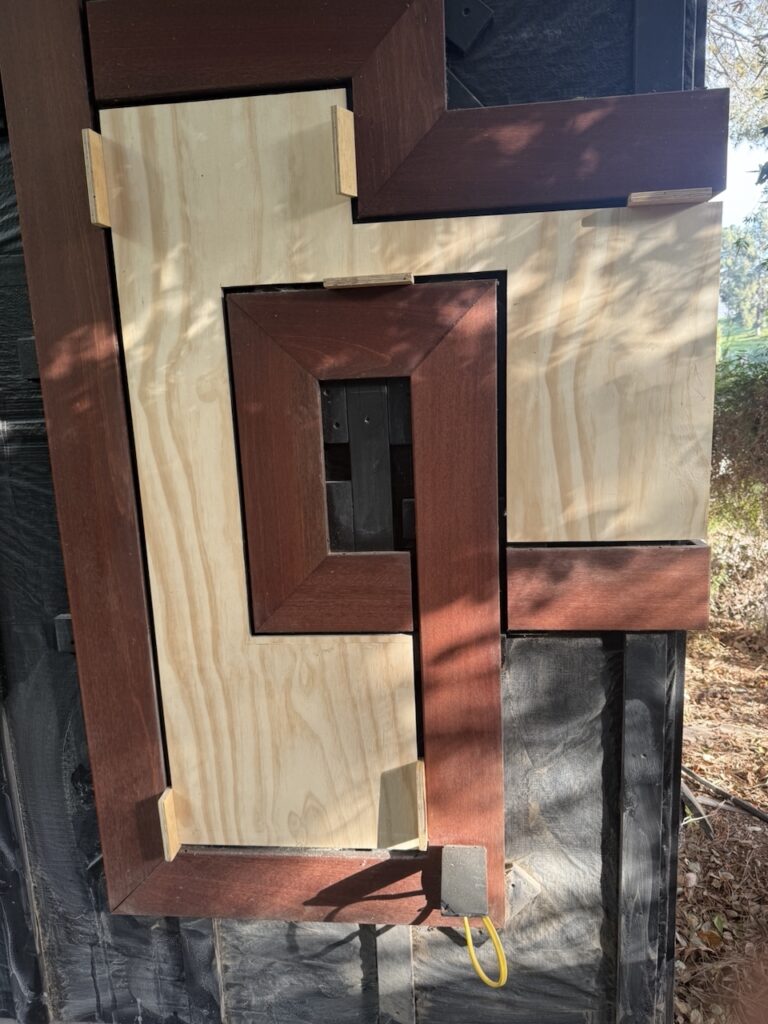
This process is going to take forever since each piece needs to be meticulously measured and cut (itself sometimes a challenge to cut from the ply without screwing up a different piece), then ripped on the sides that need angles, any markings erased, then sanded on all sides, then stained (let dry), then varnished (longer dry). Finally nailed up, then I need to go around and add more varnish to make sure the metal nails are covered to prevent future stains.
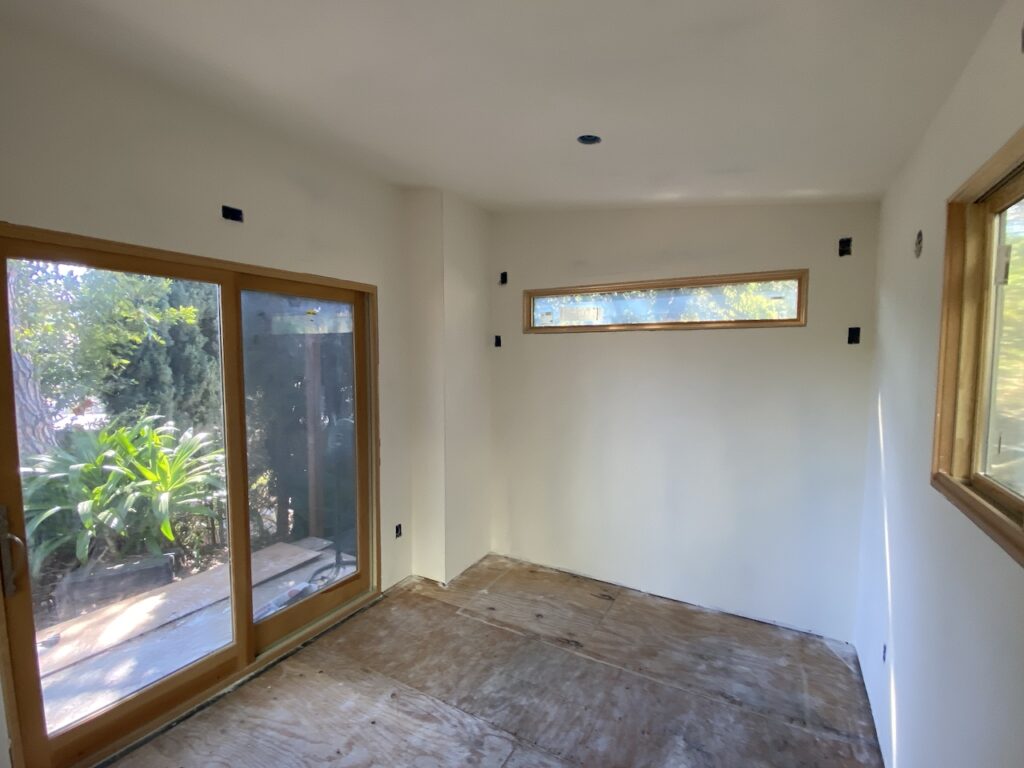
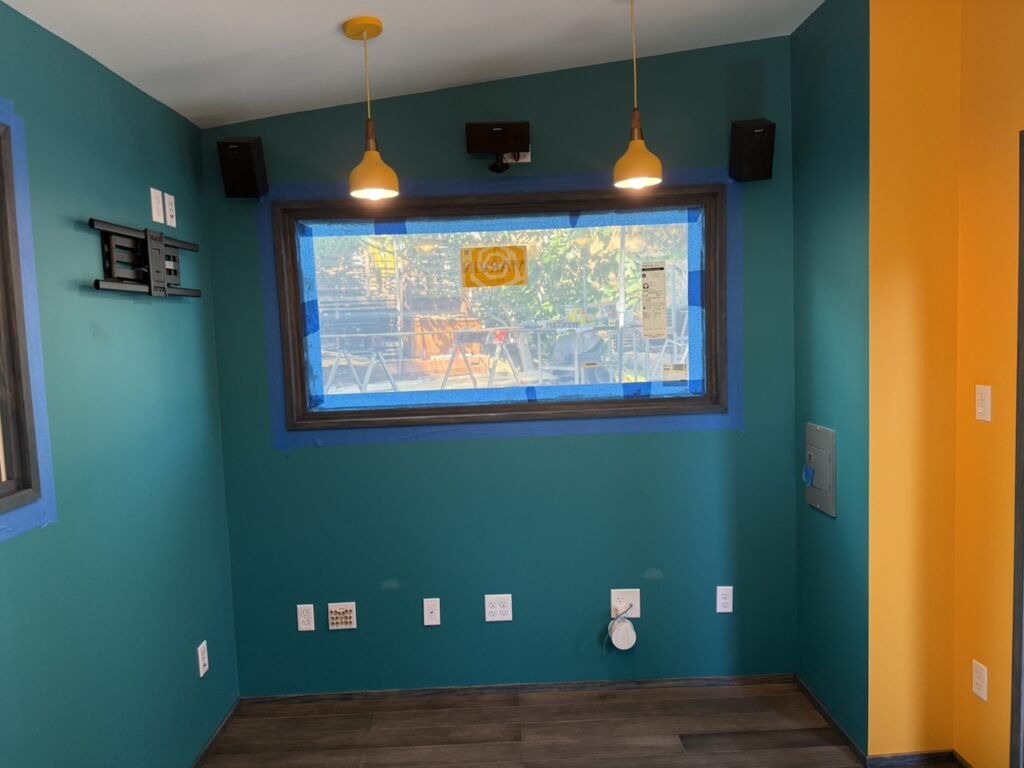
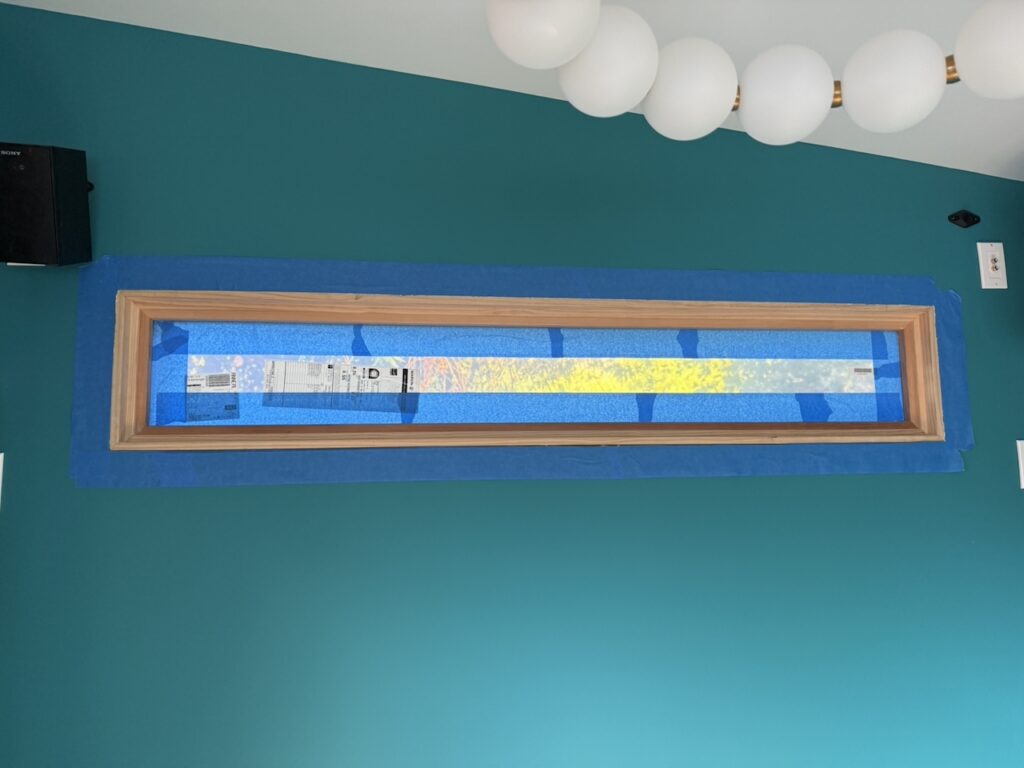
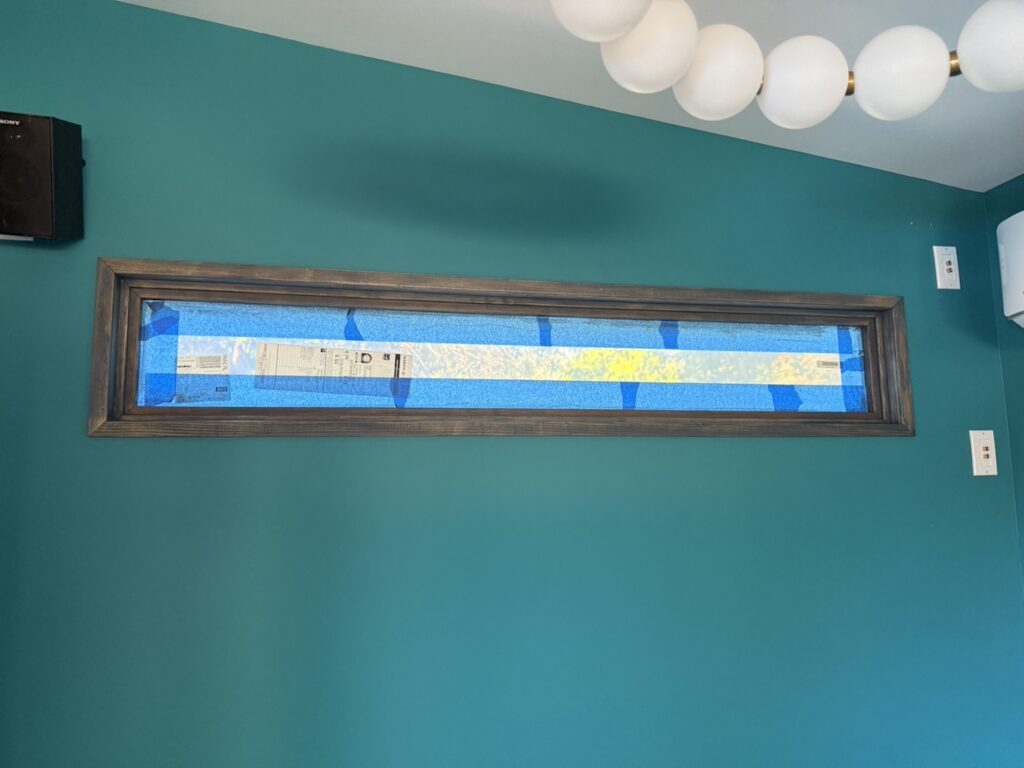
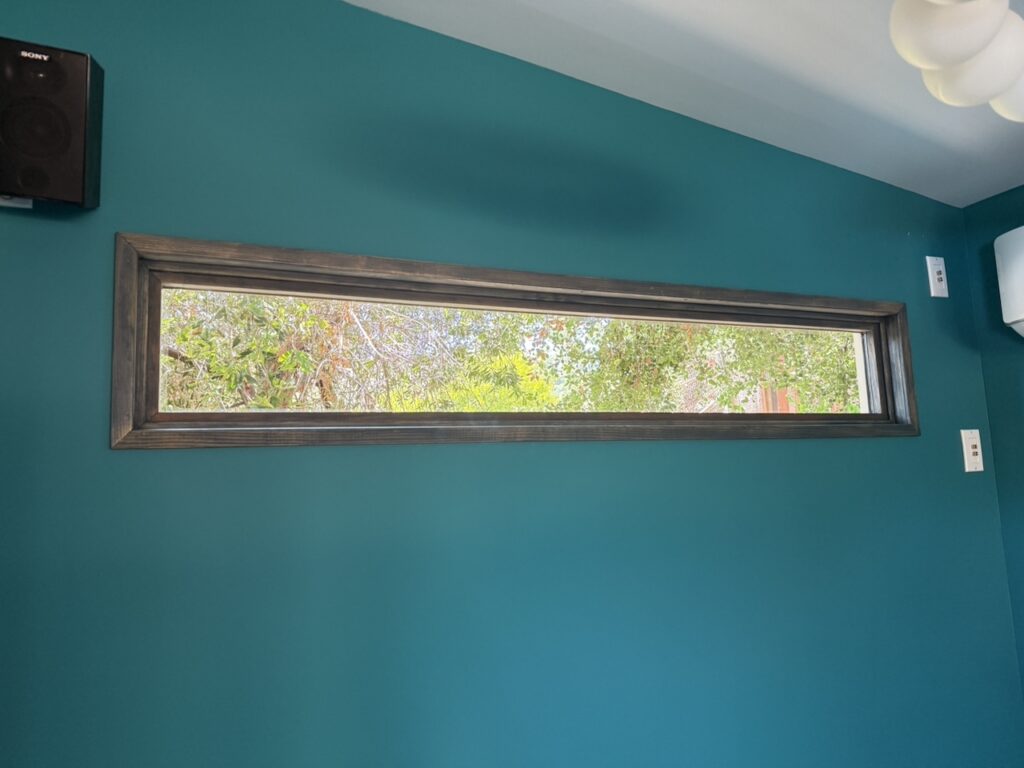
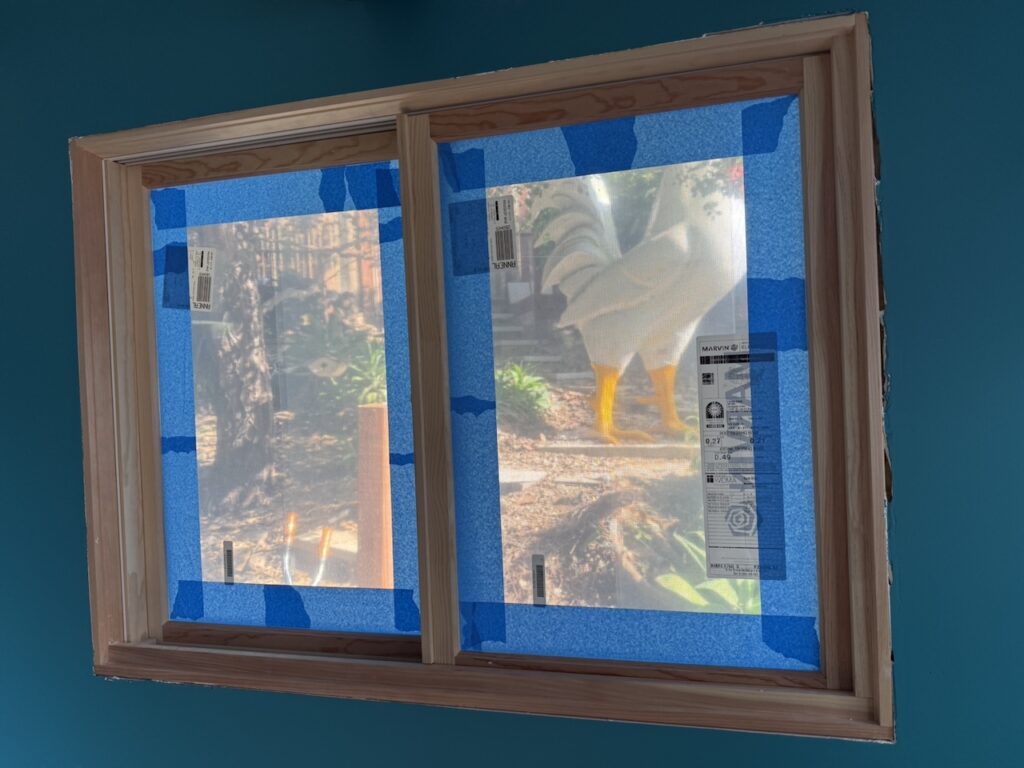
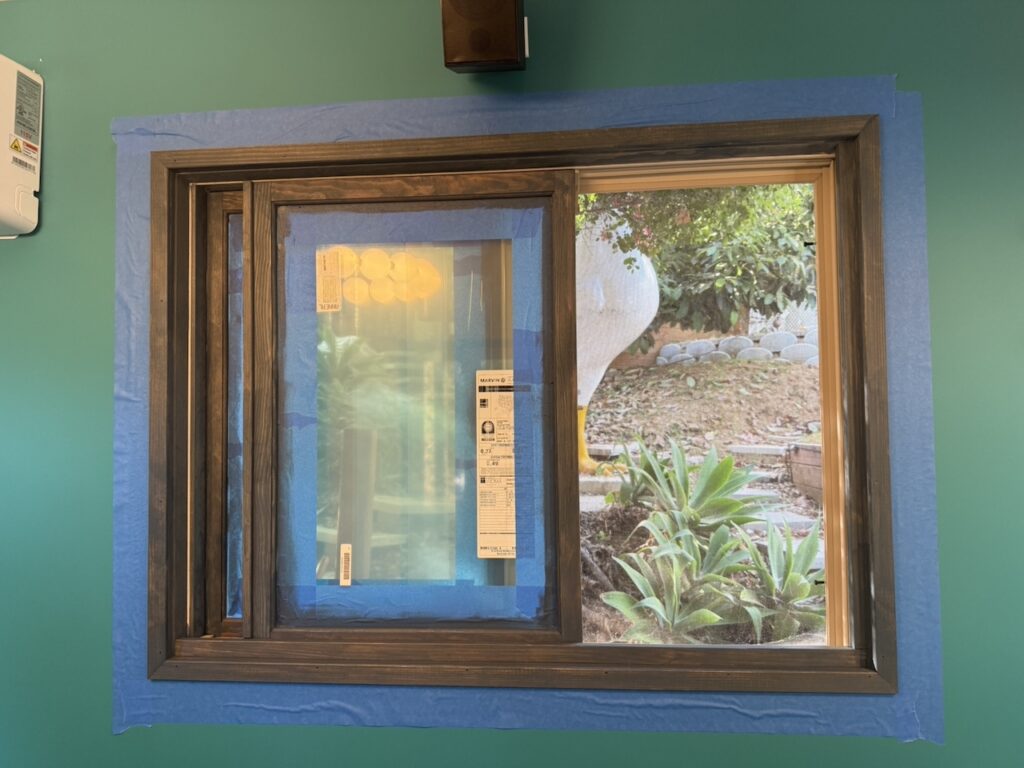
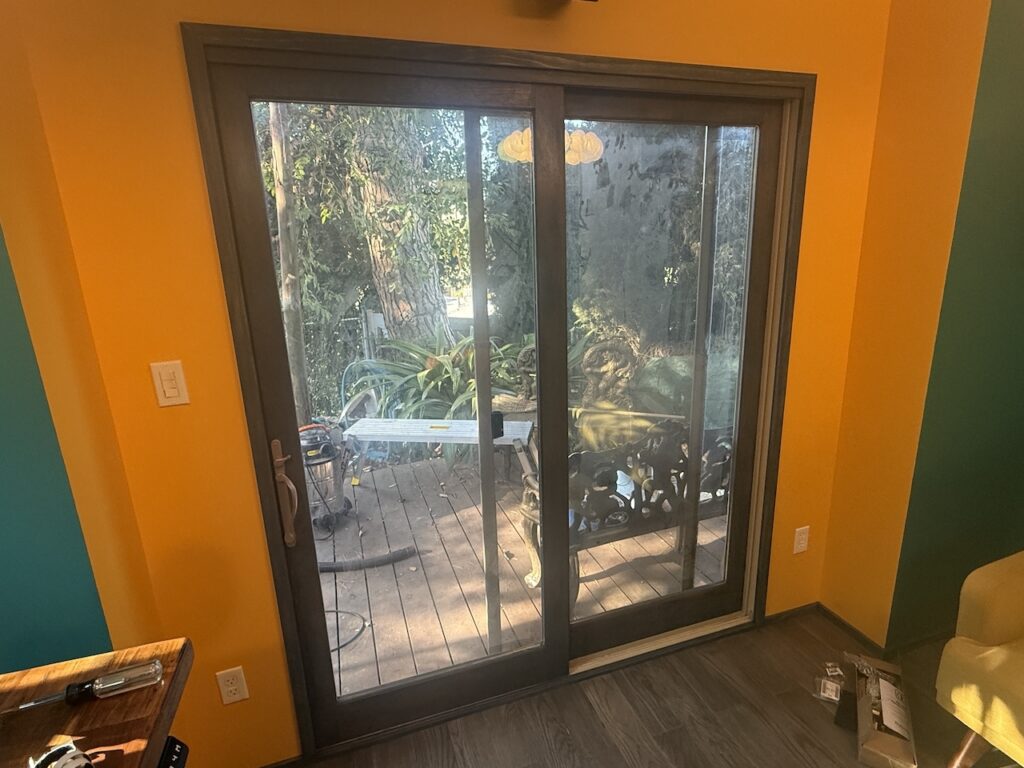
With the floor done, finishing the interior was just a matter of cutting/staining/installing the baseboards and window trim. It felt so good to finally remove the protective plastic from the windows. Can see through them now!
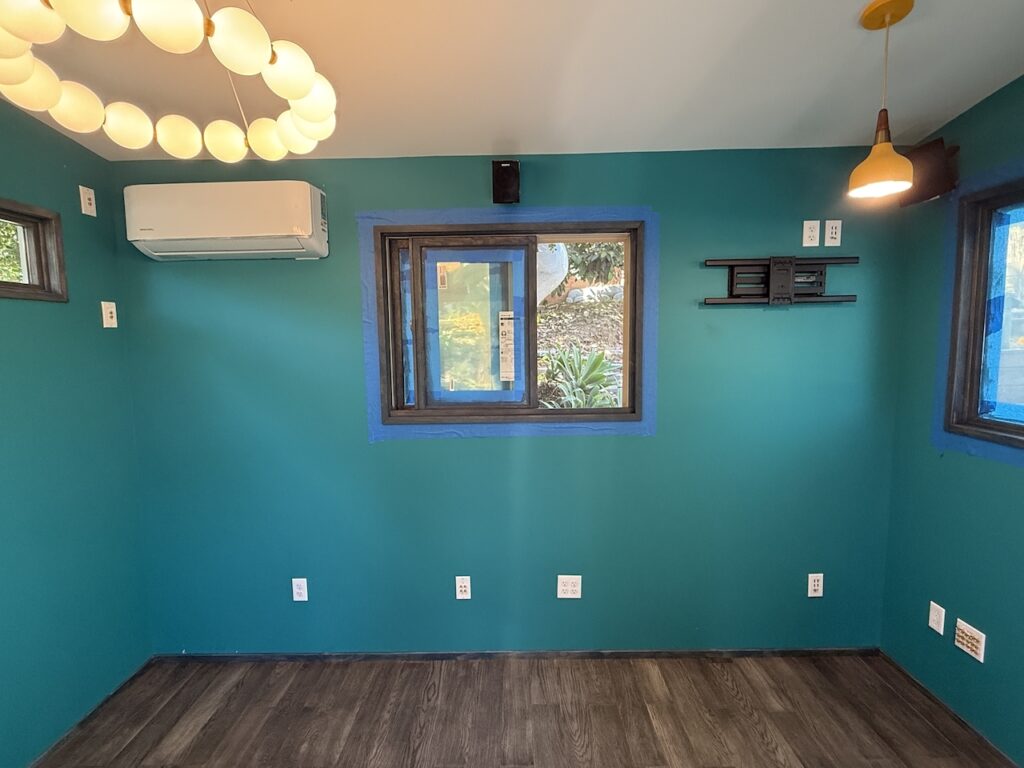
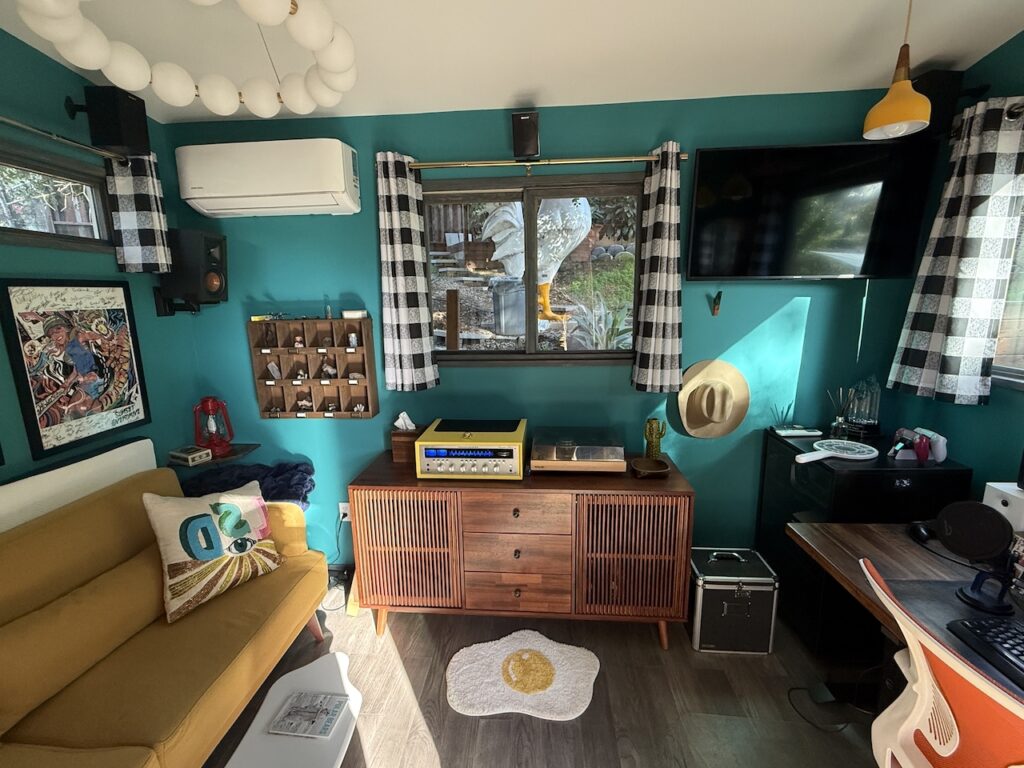
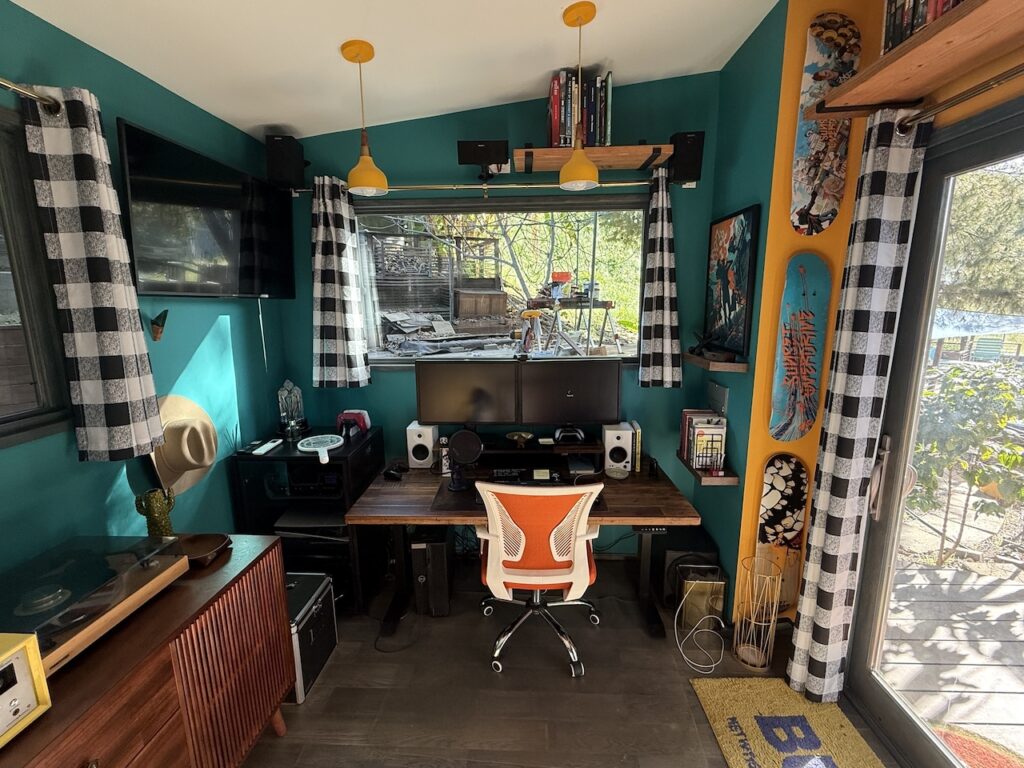
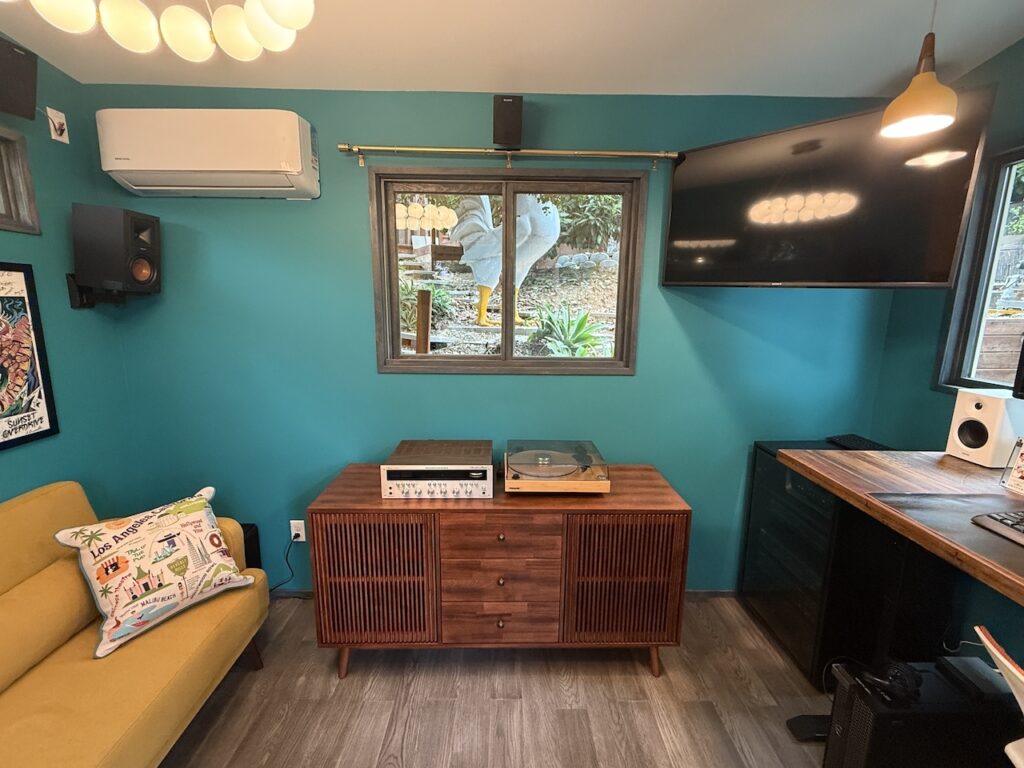
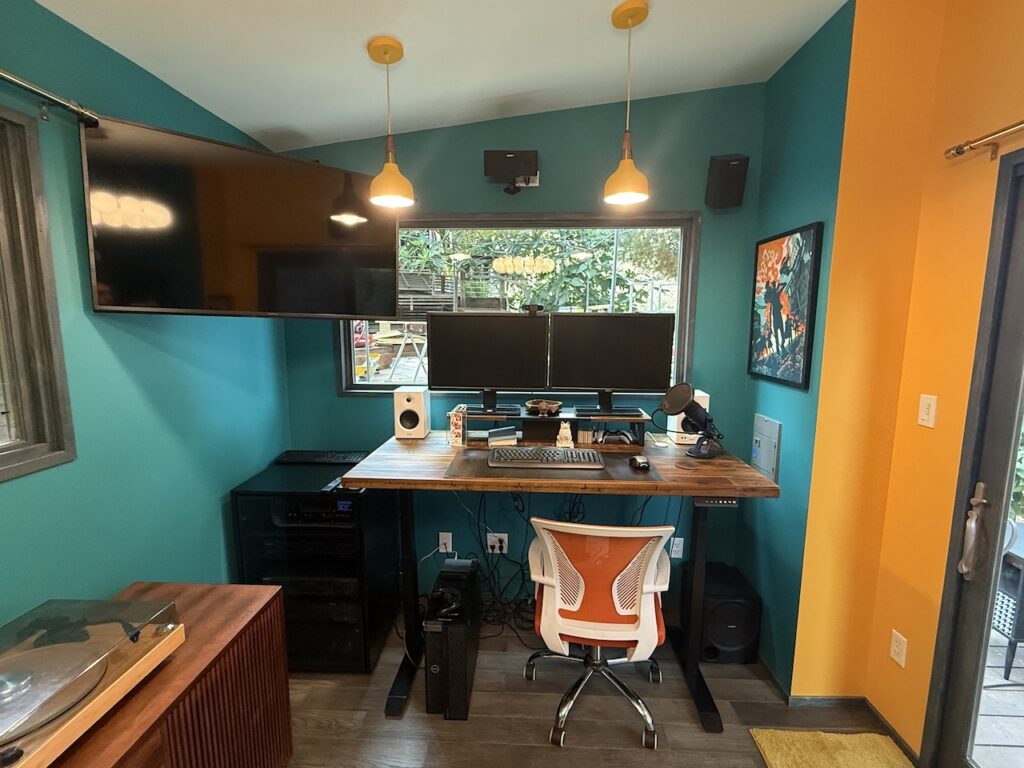
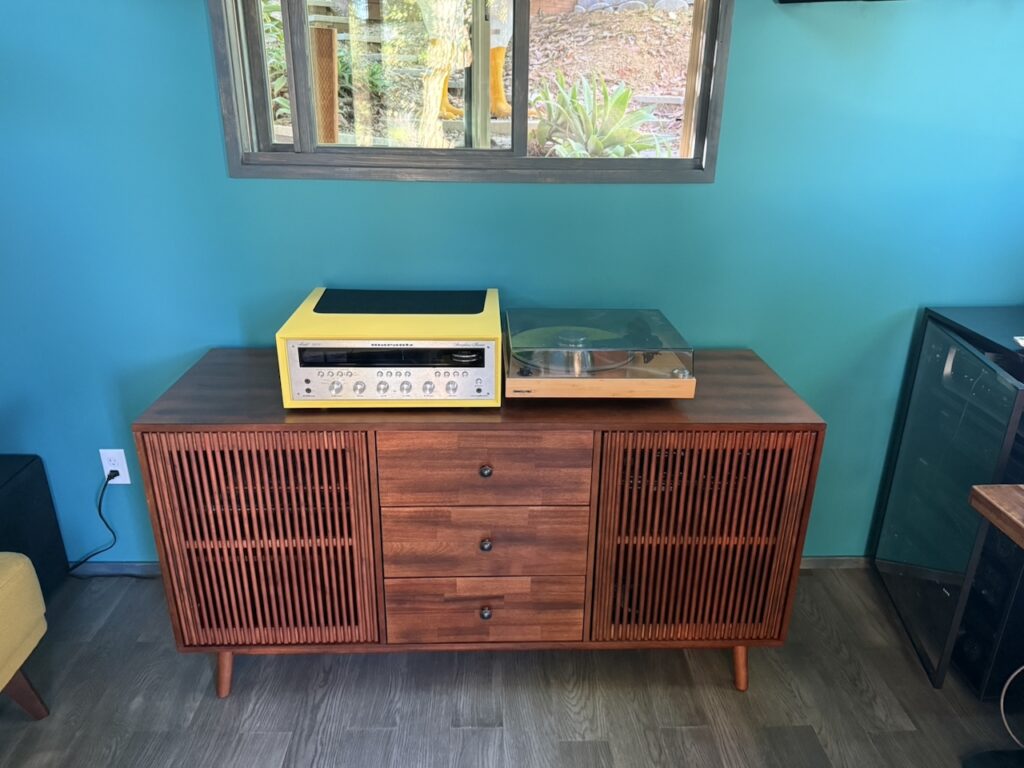
It was then time to start pulling all the furniture items I’d been storing for the past couple years. Sofa, credenza, desk, and TV…
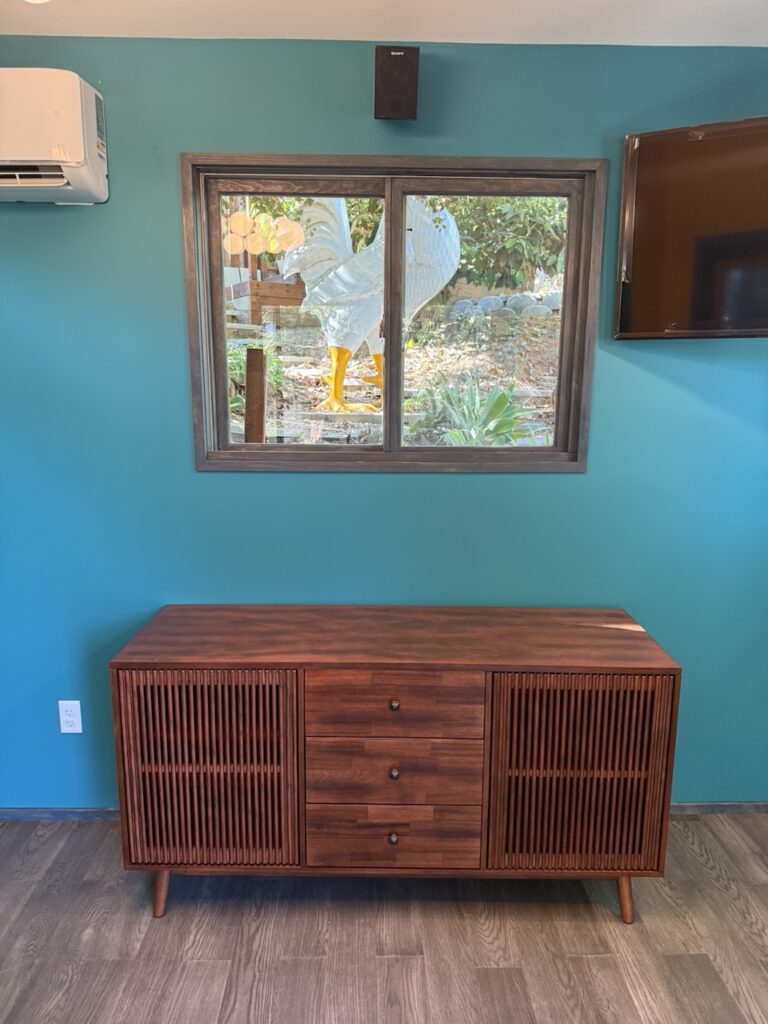

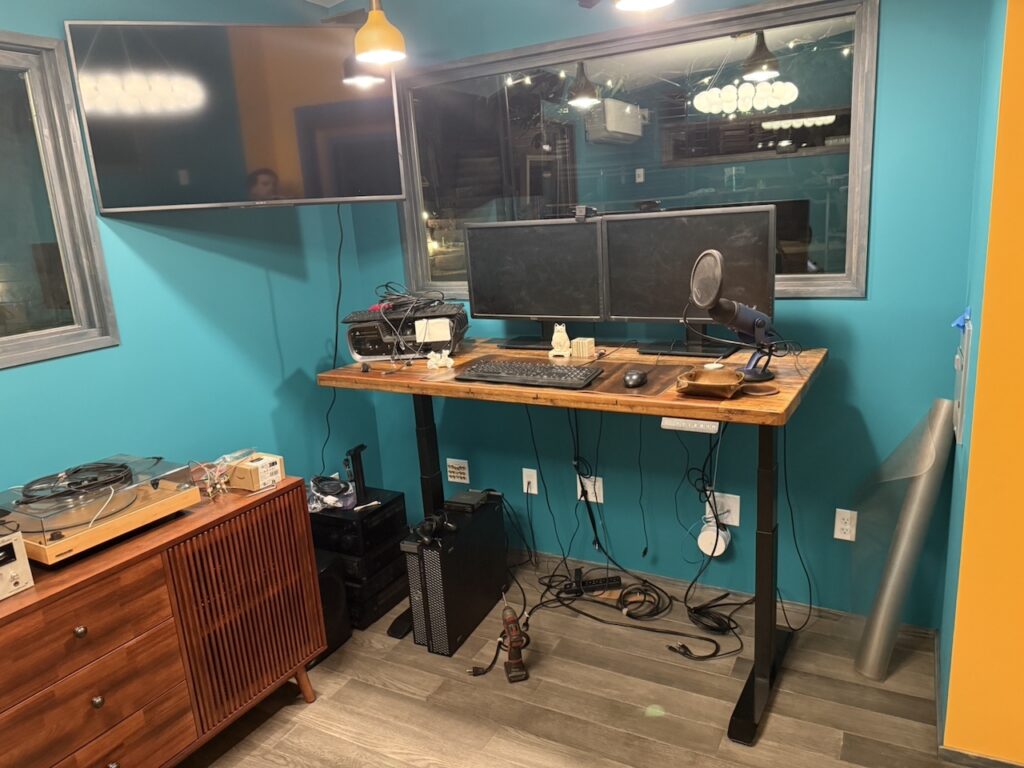
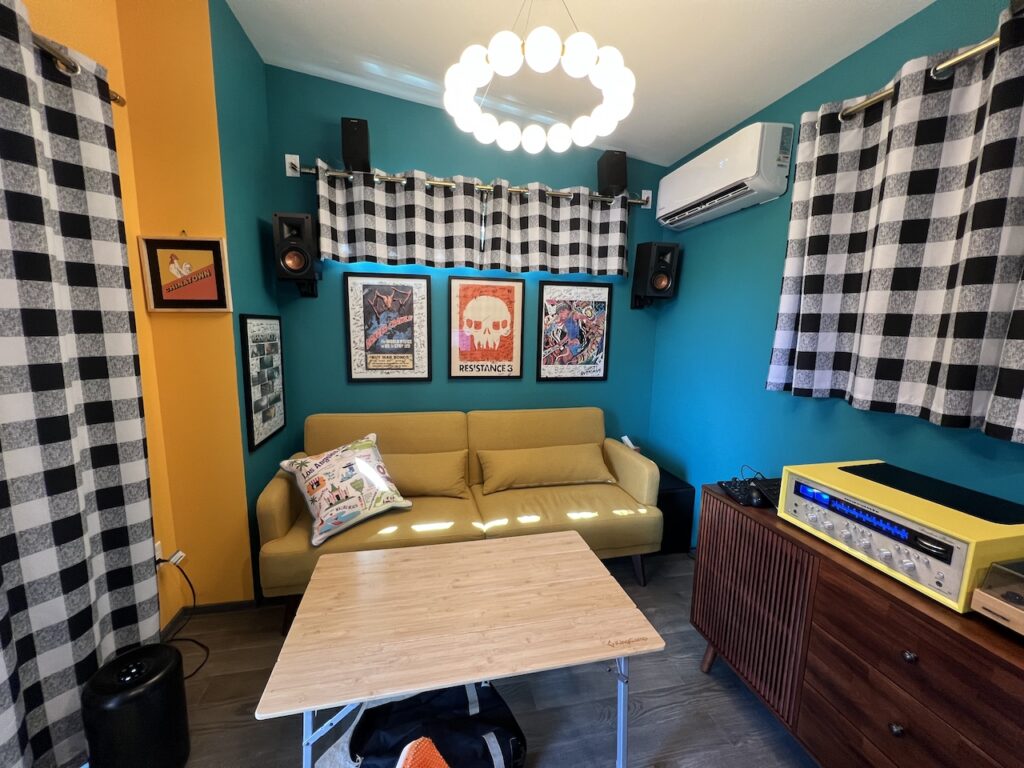
The near final interior:
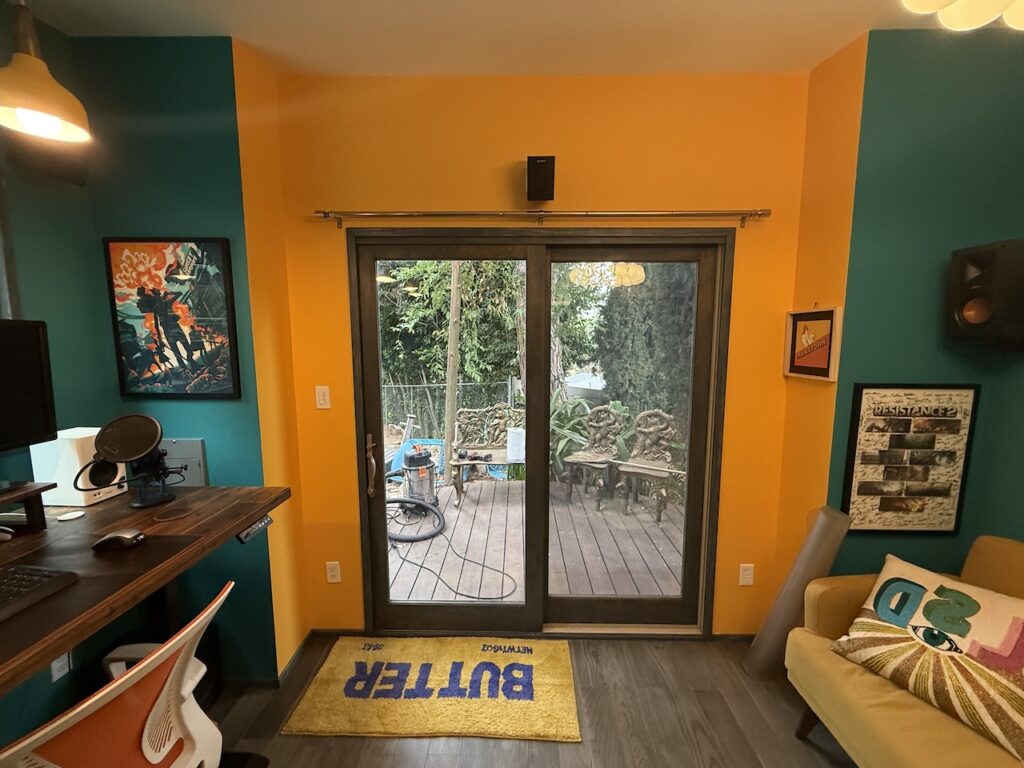
Sylvia ordered and augmented some curtains so privacy and/or darkness can be achieved.
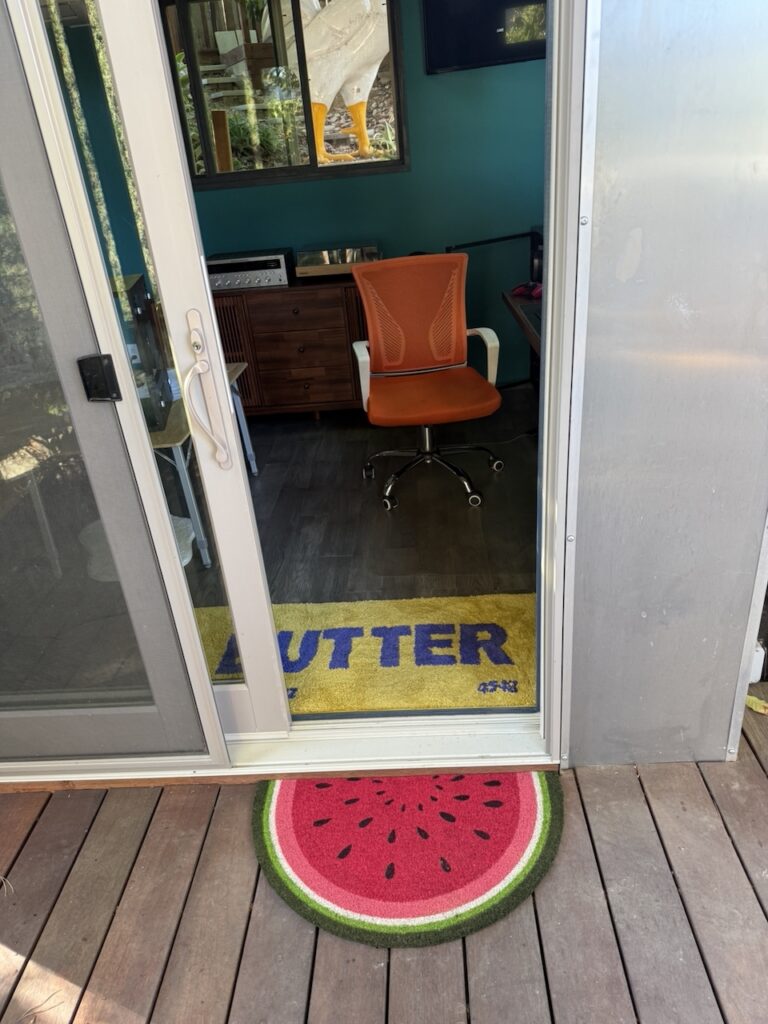
I ordered a few more items: had a custom made receiver cover made in yellow and added a doormat to try to wipe off some of the outside before stepping in (the dog is not helpful in this regard).
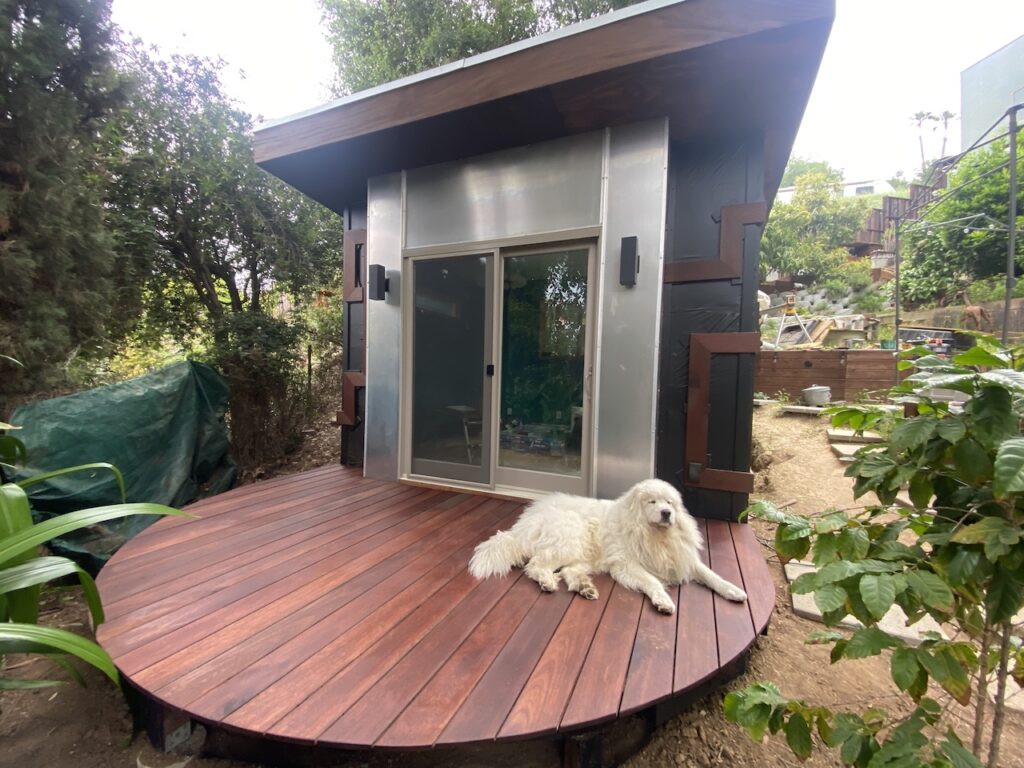
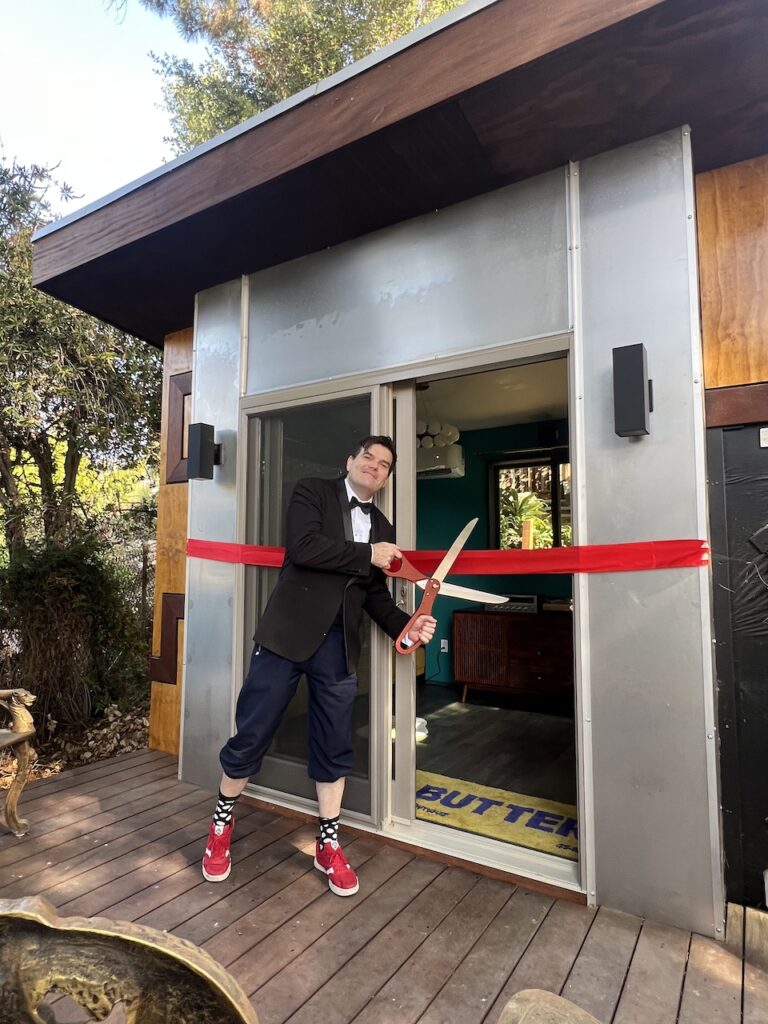
We had a little ribbon cutting ceremony before my first day using it as an office for work (even through there is a ton of work yet to do on the outside) using a giant scissor and ribbon kit Sylvia had gotten me for Christmas a year or two earlier.
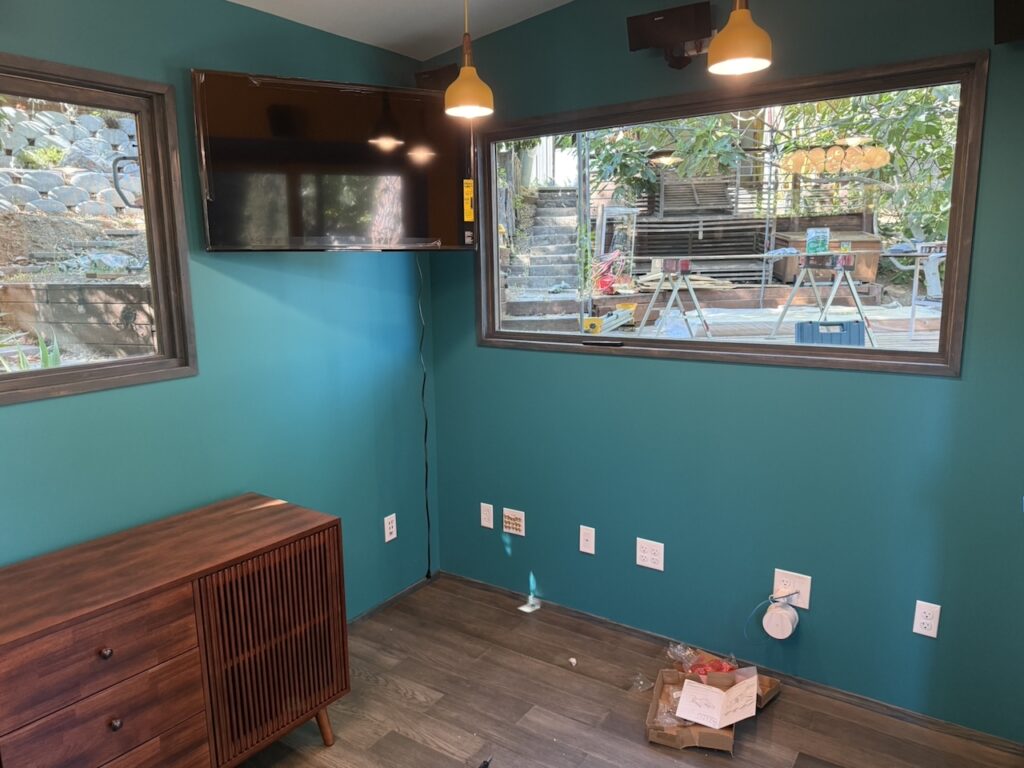
An updated look at the inside now that I’ve been working in it for six months or so: